
In the beginning…
This is my current restoration project. It really started likely around 20 years ago.


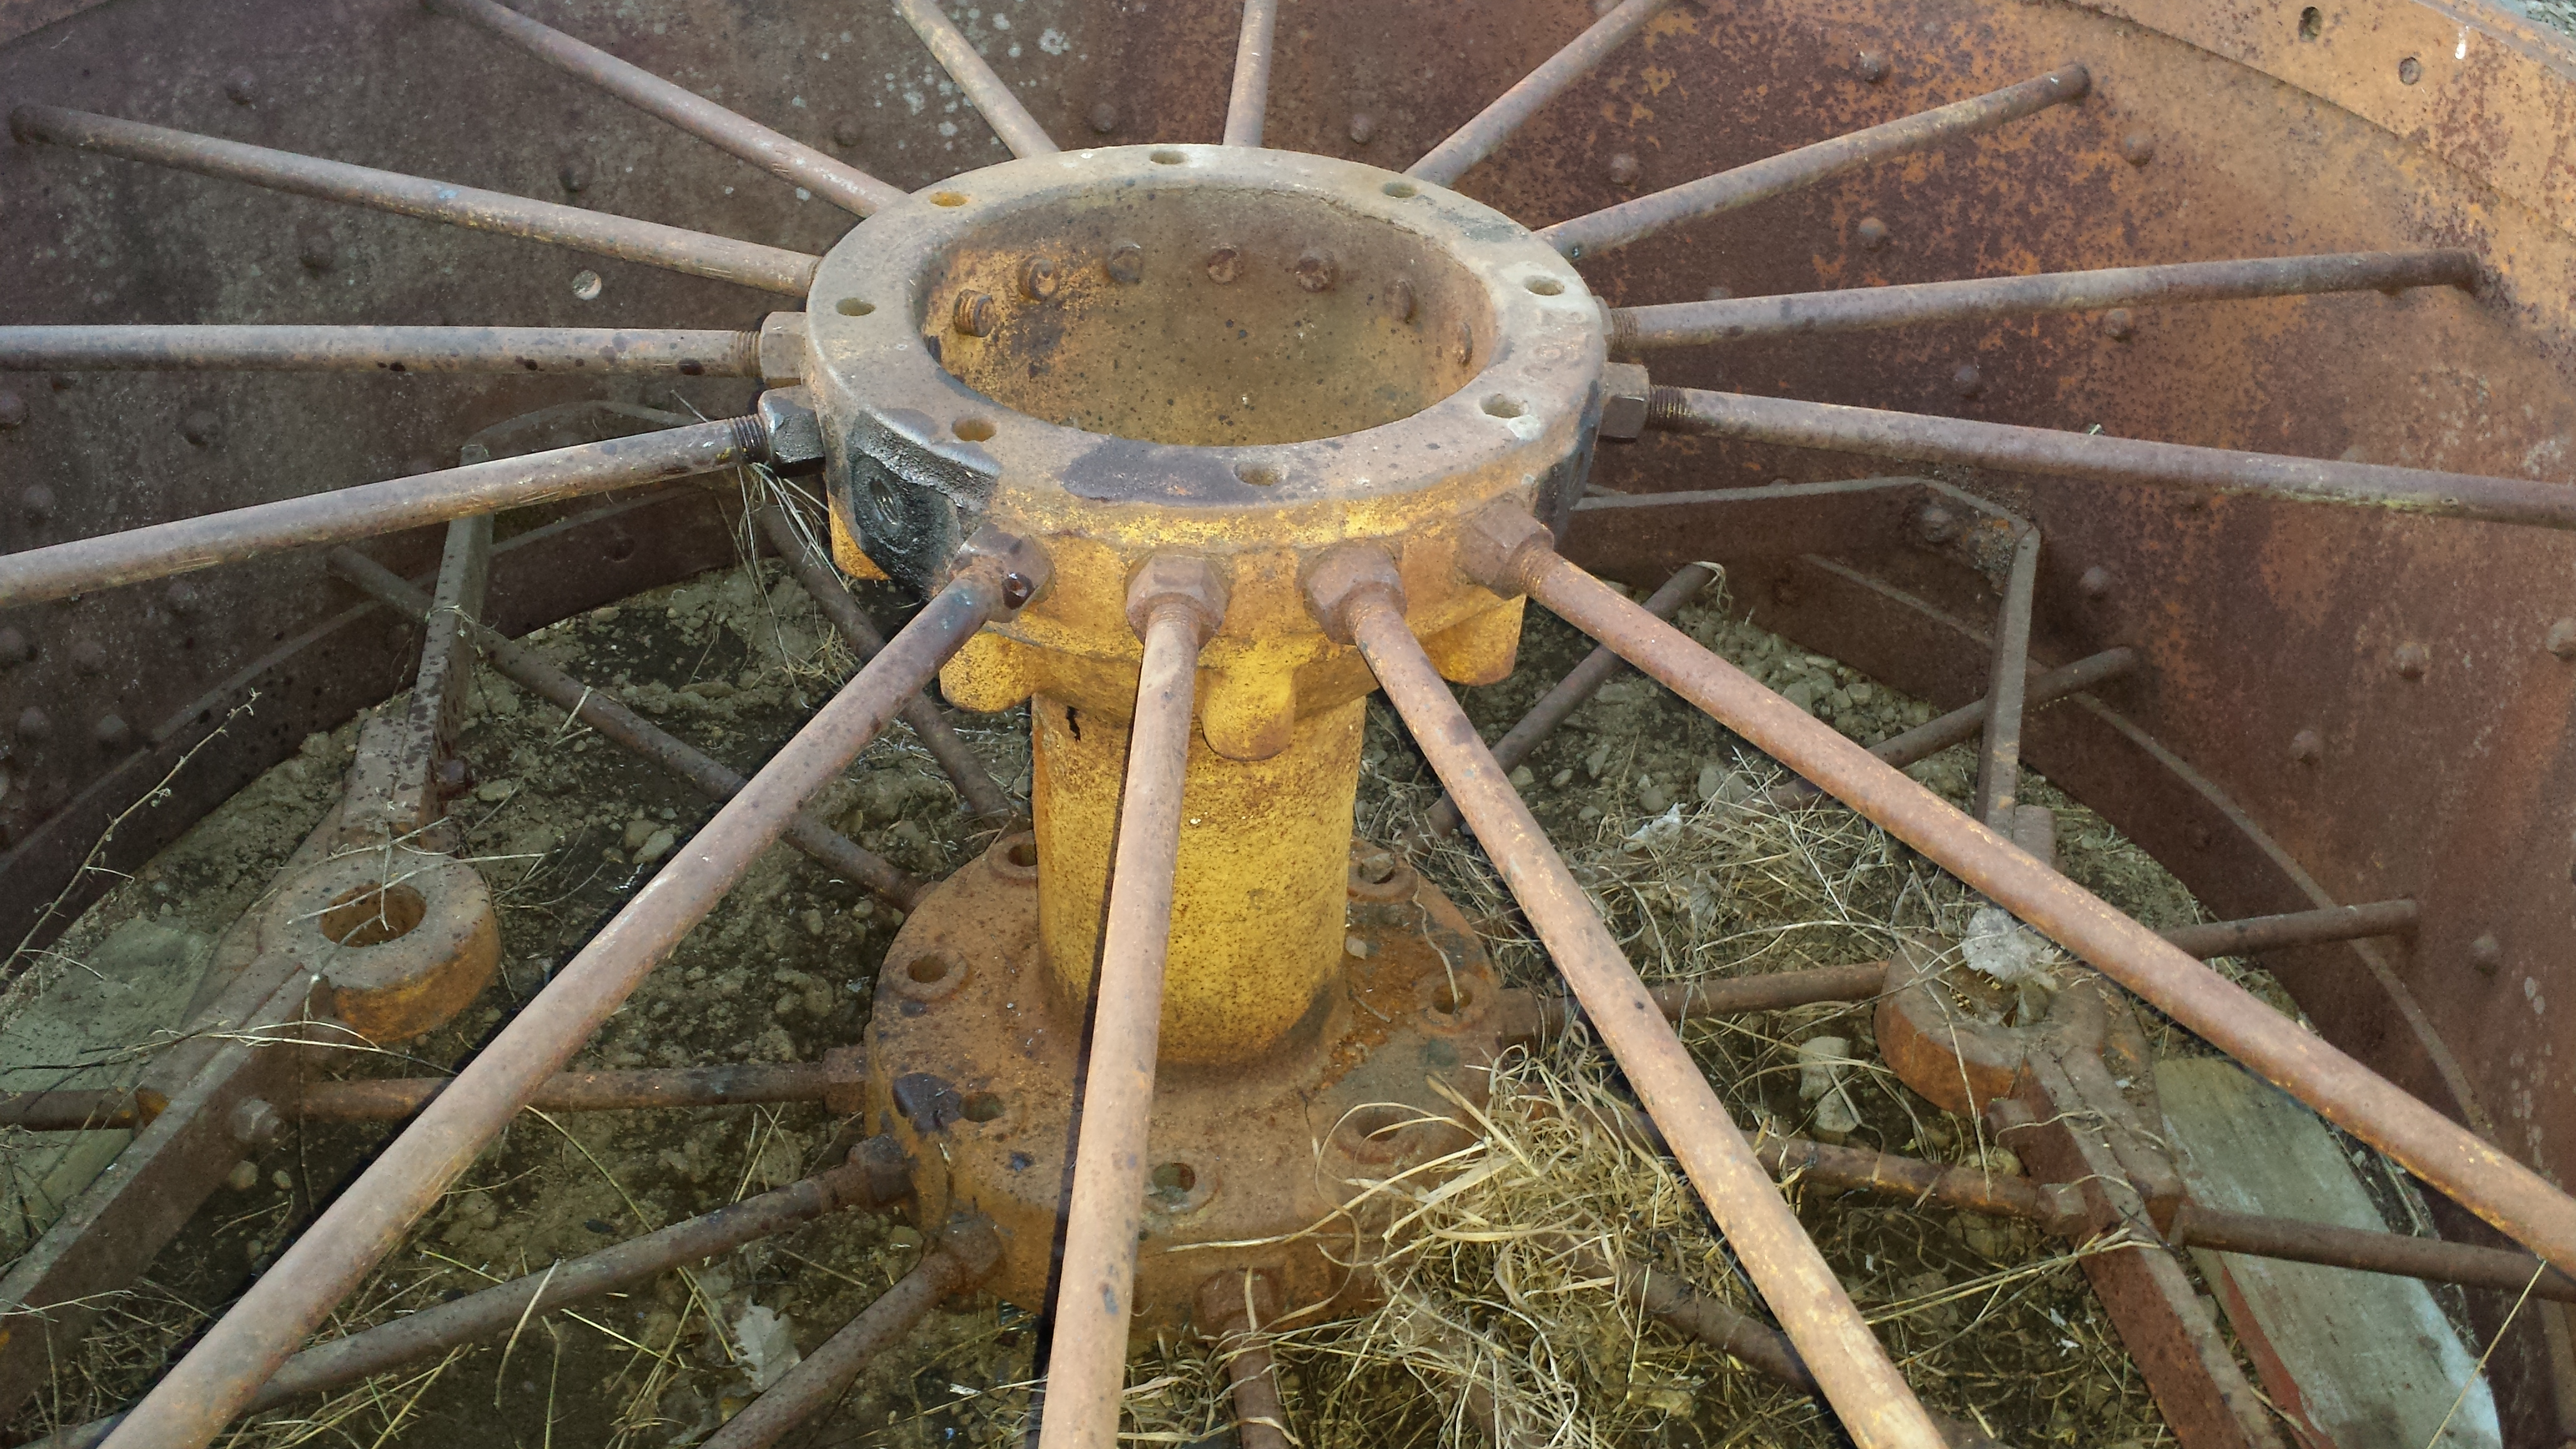
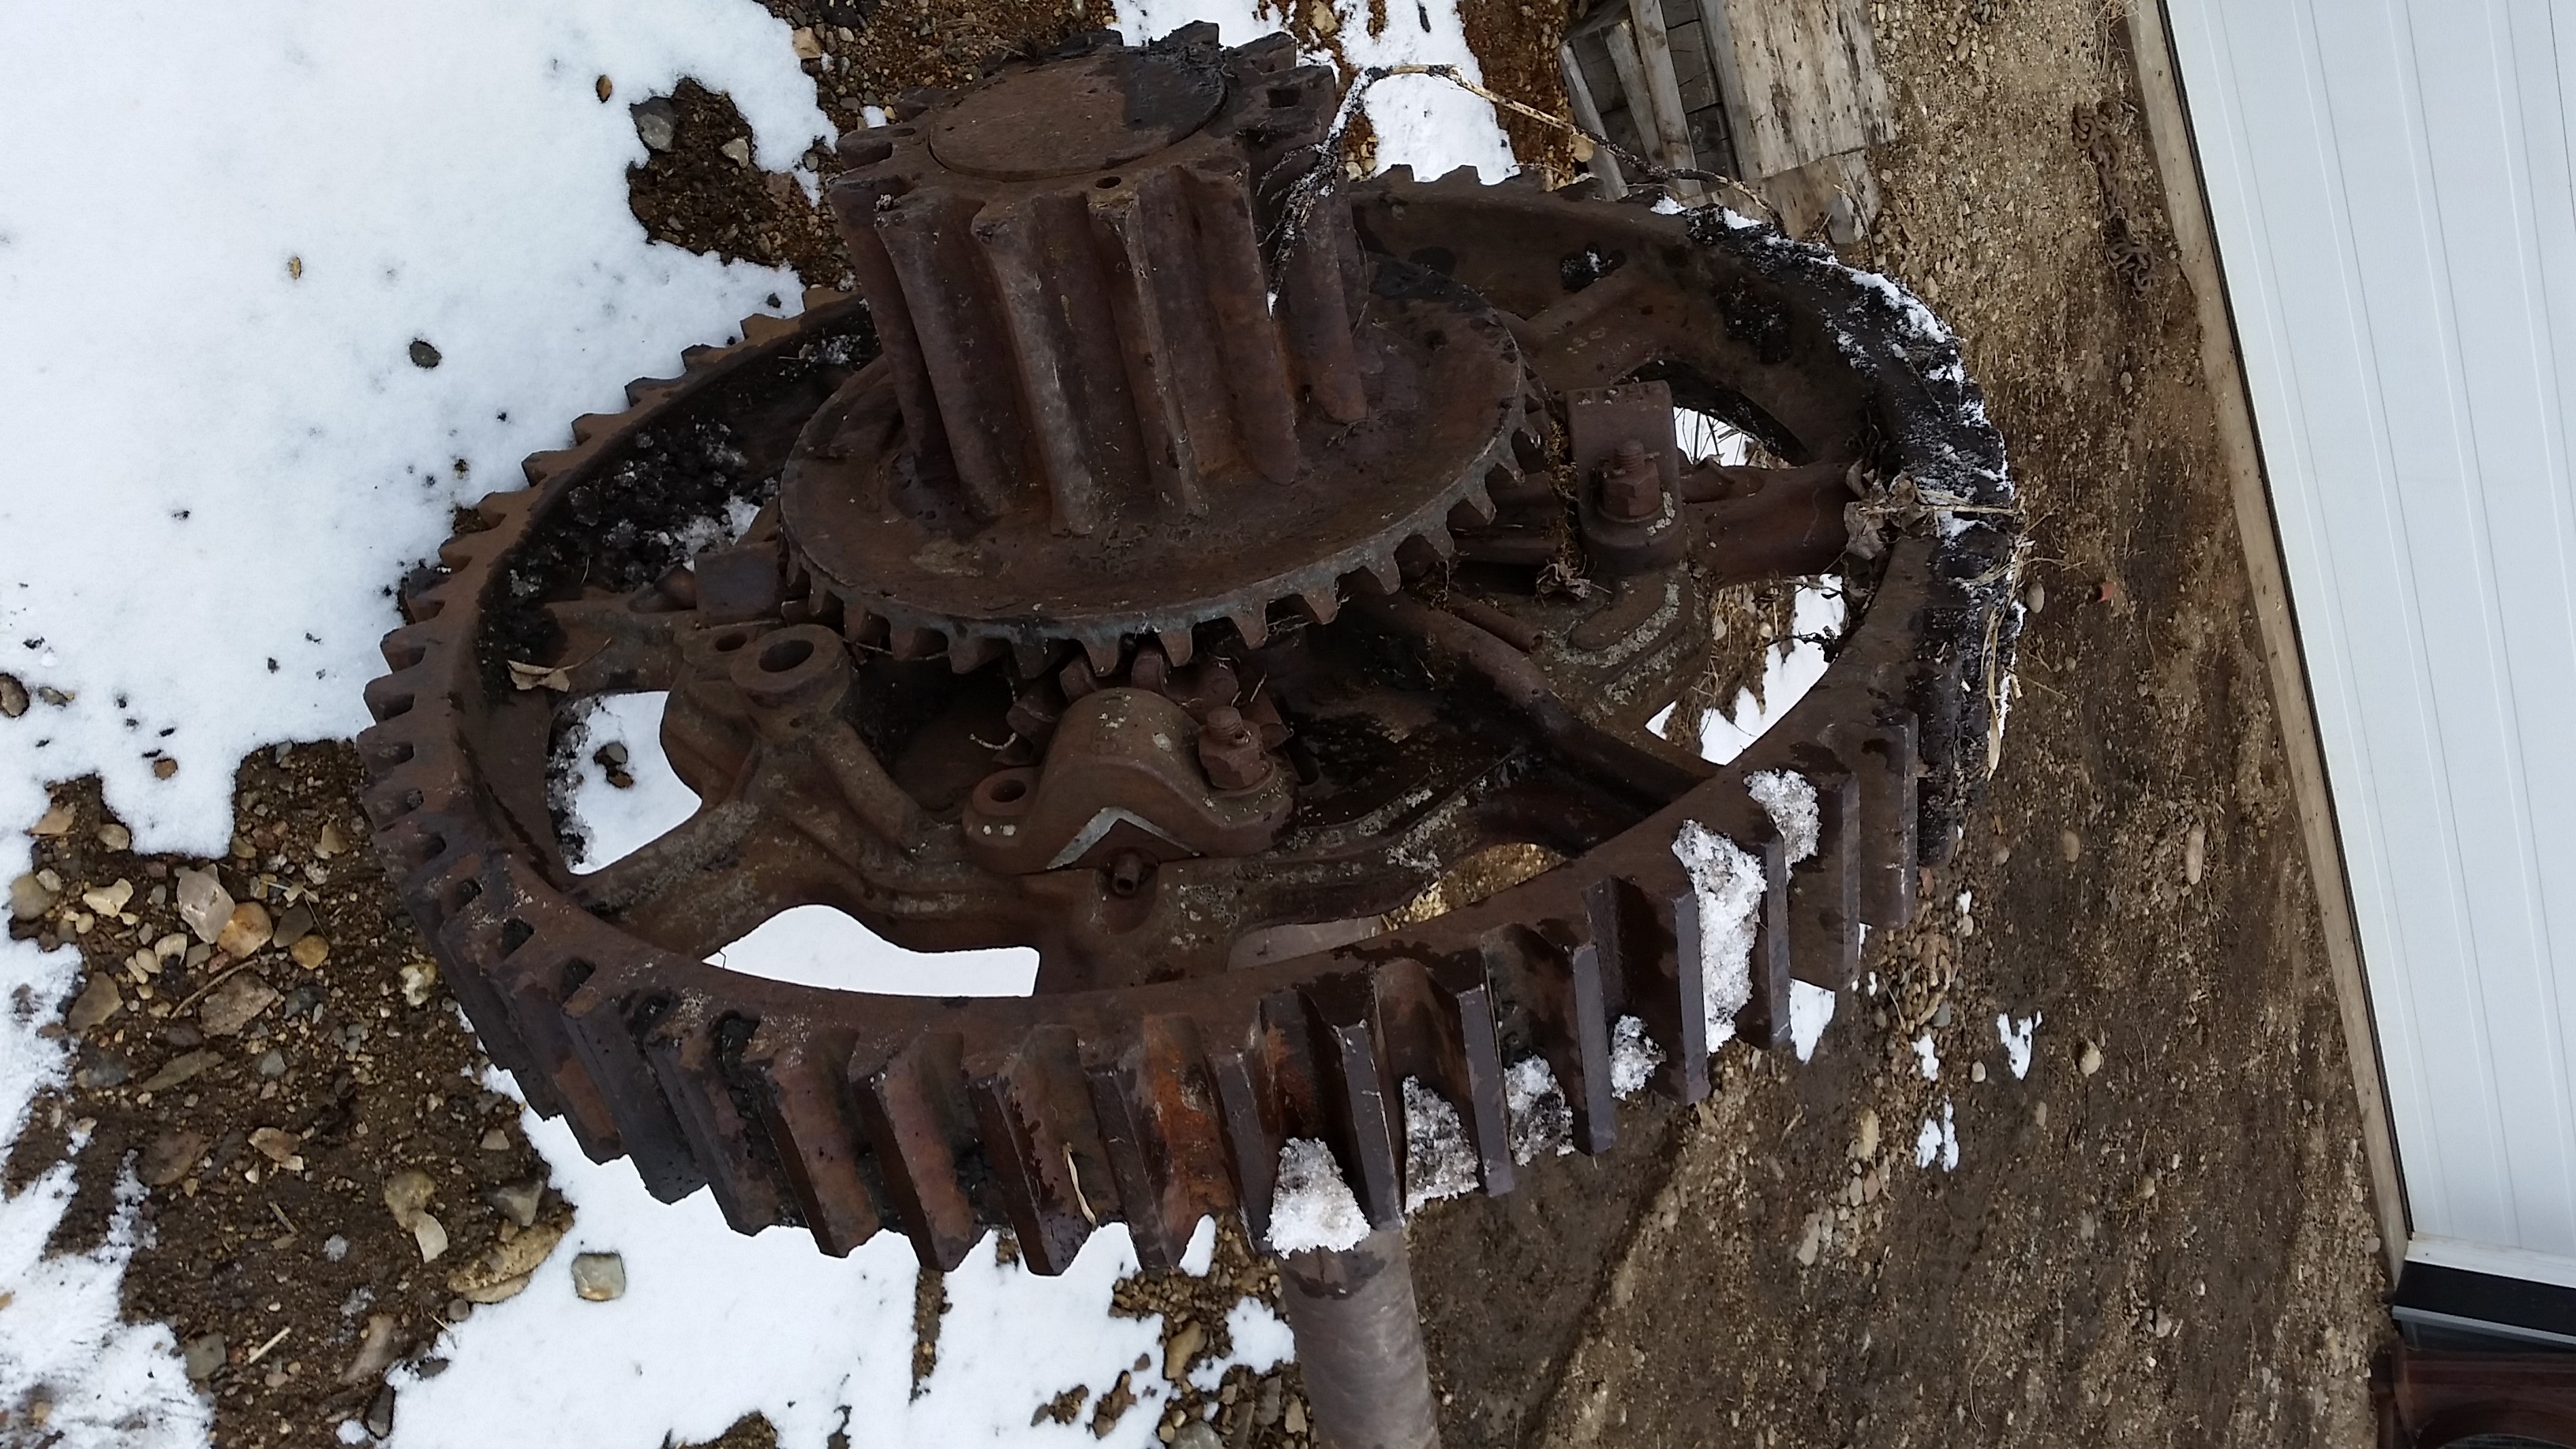
Here’s how it looked in April 2011. I think the first time I saw this engine was when I started university. I was operating the Austin Museum’s 25hp Gaar and fell in love with it. It’s big, fires easily, powerful, and well built, so naturally I wanted one of my own! But this was Bob’s engine, it was going to be his “pet”, as he put it. So it wasn’t up for sale. He had also just finished restoring the Museum’s Gaar, so it made sense for him to finish off his own.
Bob, in fact, had gotten close to completing this restoration. I recall him talking about it being ready for operation “this fall” one year. It sat in front of his shop for 2 decades waiting for that fall to arrive.
July 2010
Fast forward 20 years, and a week before the Threshermens’ Reunion at Austin, Bob came to visit me. We were busy working on the World’s Largest Plow (http://www.youtube.com/watch?v=p_OYNV1BHyw) and Bob asked if I wanted to take over his project! The decision was easy! And it’s an honour to embark on finishing this restoration.
July 2, 2011
Wow, hard to believe a full year has passed since Bob and I made this agreement! Well, after a few false starts (thanks to snow, truckers, etc.) we finally get the engine home!


Many thanks to our neighbour, John Peters, for hauling the engine. And many thanks to Andrew, my brother, for unloading the steamer and moving it across the yard.
August 4, 2011
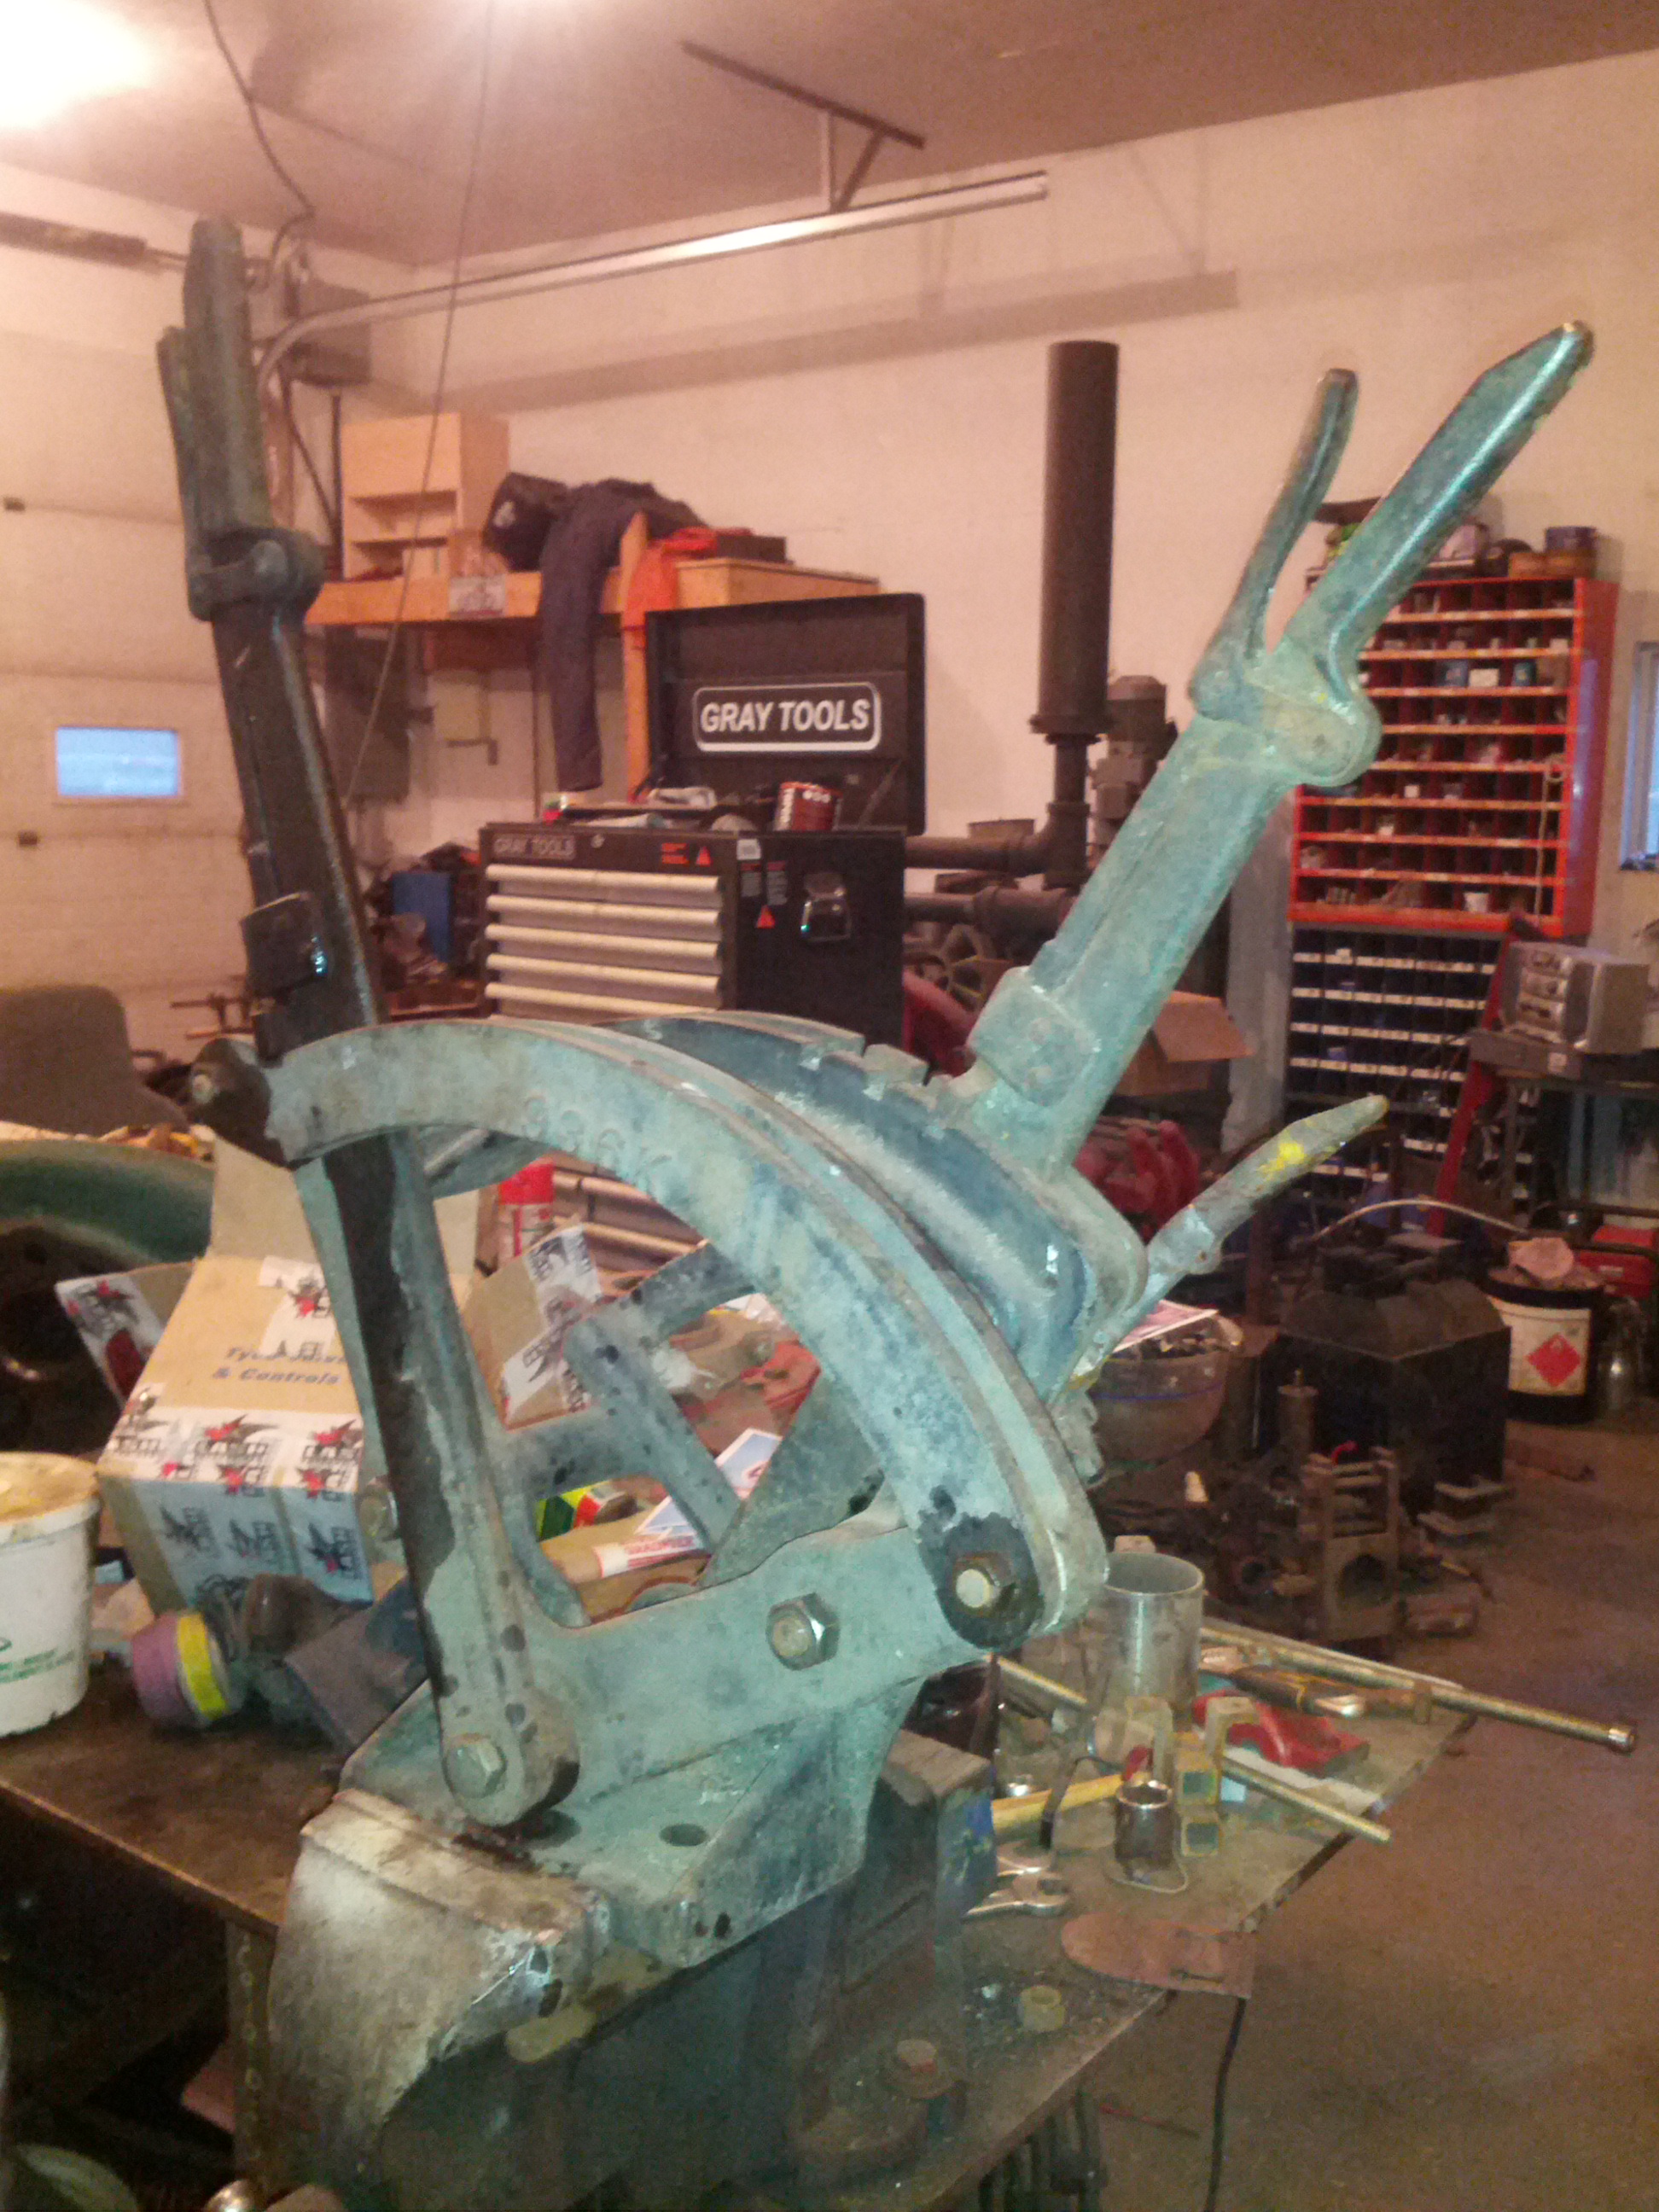
Bob was clear that the engine is in good shape. But I’m concerned about 20 years of exposure to the elements. Steam oil is an amazing thing, but it doesn’t hurt to clean parts up and make sure there’s no surprises. Also, the engine was never cleaned up and prepared for painting. So off the motor comes!
Finally, starting this project…
September 25, 2011
It’s time to start into the motor.


We pulled apart the entire motor. To date, we haven’t found any surprises. Nothing was seized, all the parts looked good just like Bob had indicated. New rings, and likely new D-valve rods. But we found reasons why it was good to tear into this.
- When I pulled the crankshaft, we discovered that there were no shims left in the eccentrics. No shims usually mean lots of wear, so we’ll rebuild those.
- The pins on the Stevenson link showed a lot of wear. It’ll be worth-while to tighten these up.
- There may be small crack in one of the big end brasses, so we will have to investigate further.
- One cylinder is slightly scored. The score is only a few inches long and you can can feel it, but it isn’t deep enough to catch your thumb-nail on, so it should hone out.
Given these findings, I’ll do a full tear-down, clean-up, rebuild, and re-assembly. We’ll likely start with giving both engines a linebore – lessons learned from the Case restoration!
October 2, 2011
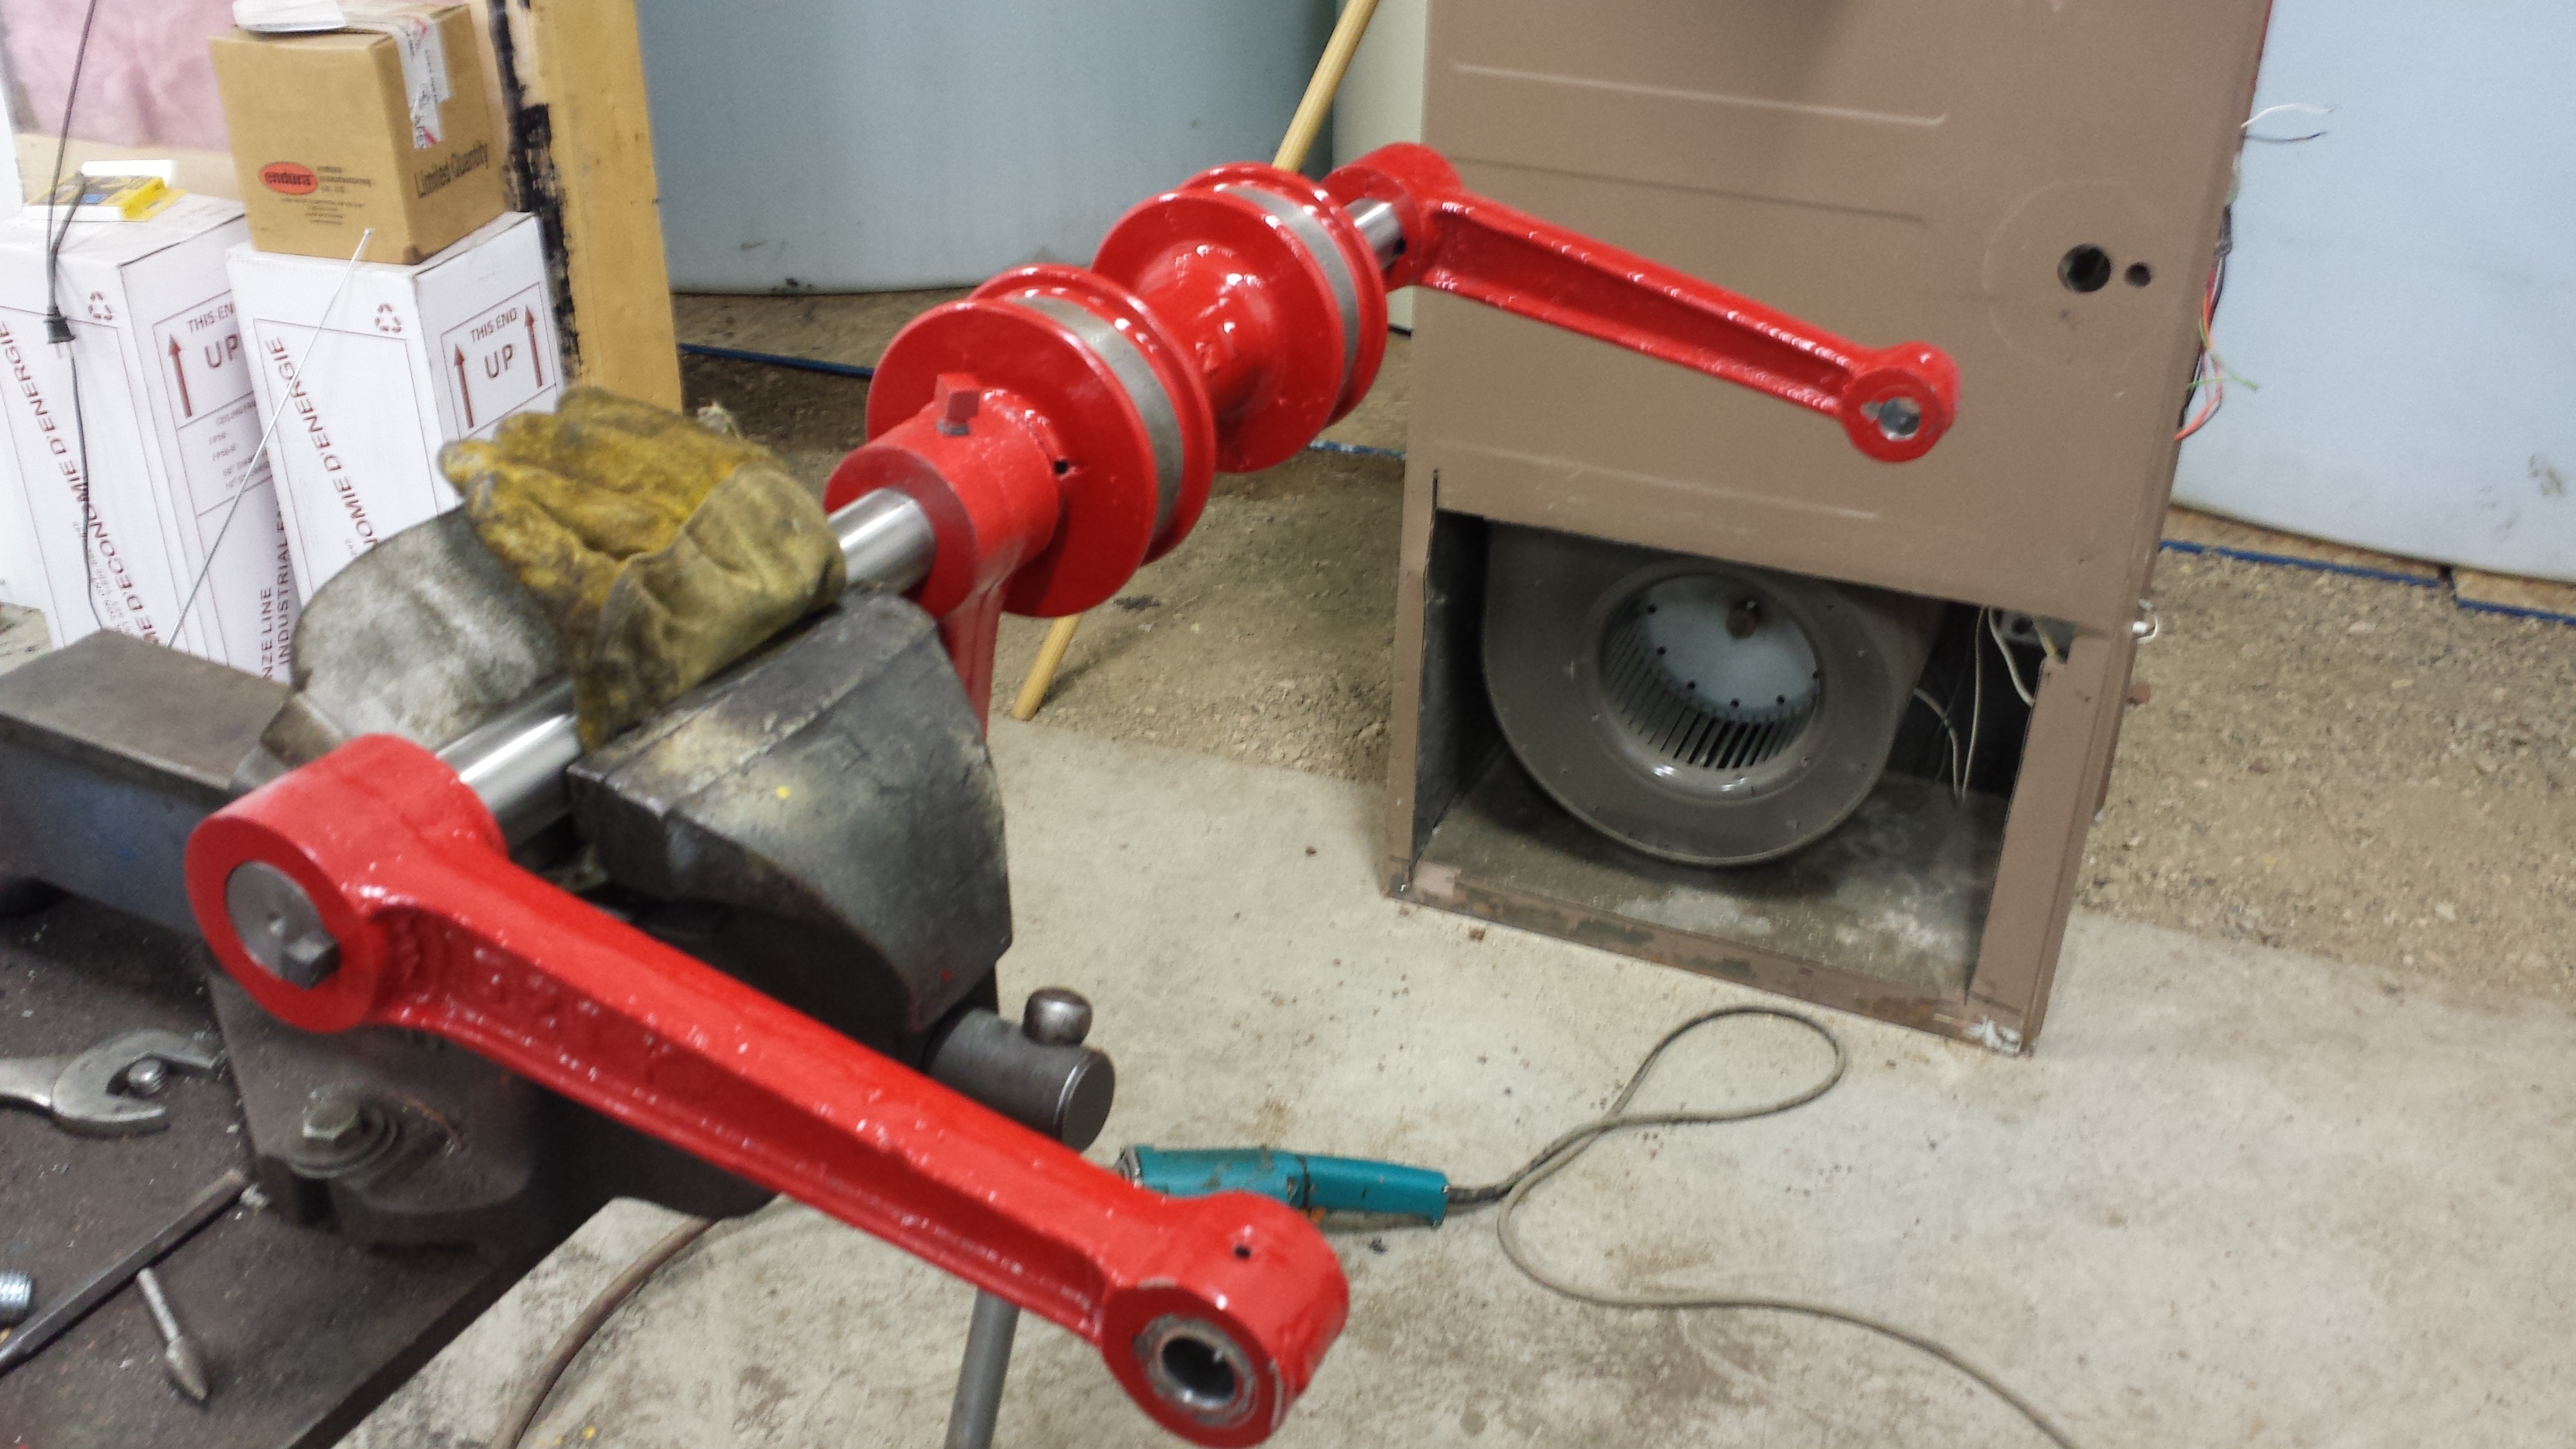
We’re going further into the motor. I’ve decided that we’ll just simply send the crankshaft in for machining regardless of its condition. I’ve already decided that the eccentrics will be redone, so everything has to come apart anyway.


As you can see, the crankshaft pinion is in great shape, but the bracket for the clutch shoes was fabricated so will be redone. We got all the counterweights, flywheel, and eccentrics off. I needed some help from Garth for one eccentric, though, due to scarring on the crank surface from the set screw. So far that’s the only heat we’ve needed to take things apart, so that’s great!
October 10, 2011
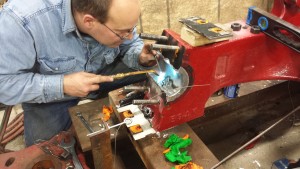
This work actually started over 2 years ago, when we (Bob and myself) drafted a repair plan for this boiler. Although the boiler had passed inspection and a hydro test many years ago, Bob had decided to fix the thinned area around the front hand hole. The repair plan was approved, so we needed to finally complete it.

Garth was able to help again! He cut the new patch of 516-70 boilerplate on a CNC table. Henry (our pressure welder buddy) did a great job here too!
November 19, 2011
Well, it’s time to get some of the engine valvetrain cleaned up. A good friend of mine, Wayne, is visiting out here. So we loaded up his truck full of parts and hopefully things will happen over the winter.


As mentioned earlier, it’s clear that this motor has done a lot of work. So we’ll make new pins, piston rods, etc. I’ve obtained new material to make new brasses for the con-rod’s too.
January 13, 2012
I just picked up the crankshaft from a local machine shop. Yes, I was crazy enough to have this crankshaft ground! They also checked it for cracks, made sure it was straight (it was). We had the main and rod journals ground and polished. The rest of the crankshaft was just cleaned up.
February 4, 2012
Wow, how time flies. Just been too busy to spend time on this project! Well, today was different. I sandblasted the bulk of the engine. I would have done more, but daylight also ran out. Maybe I’ll finish it tomorrow, but likely next weekend.


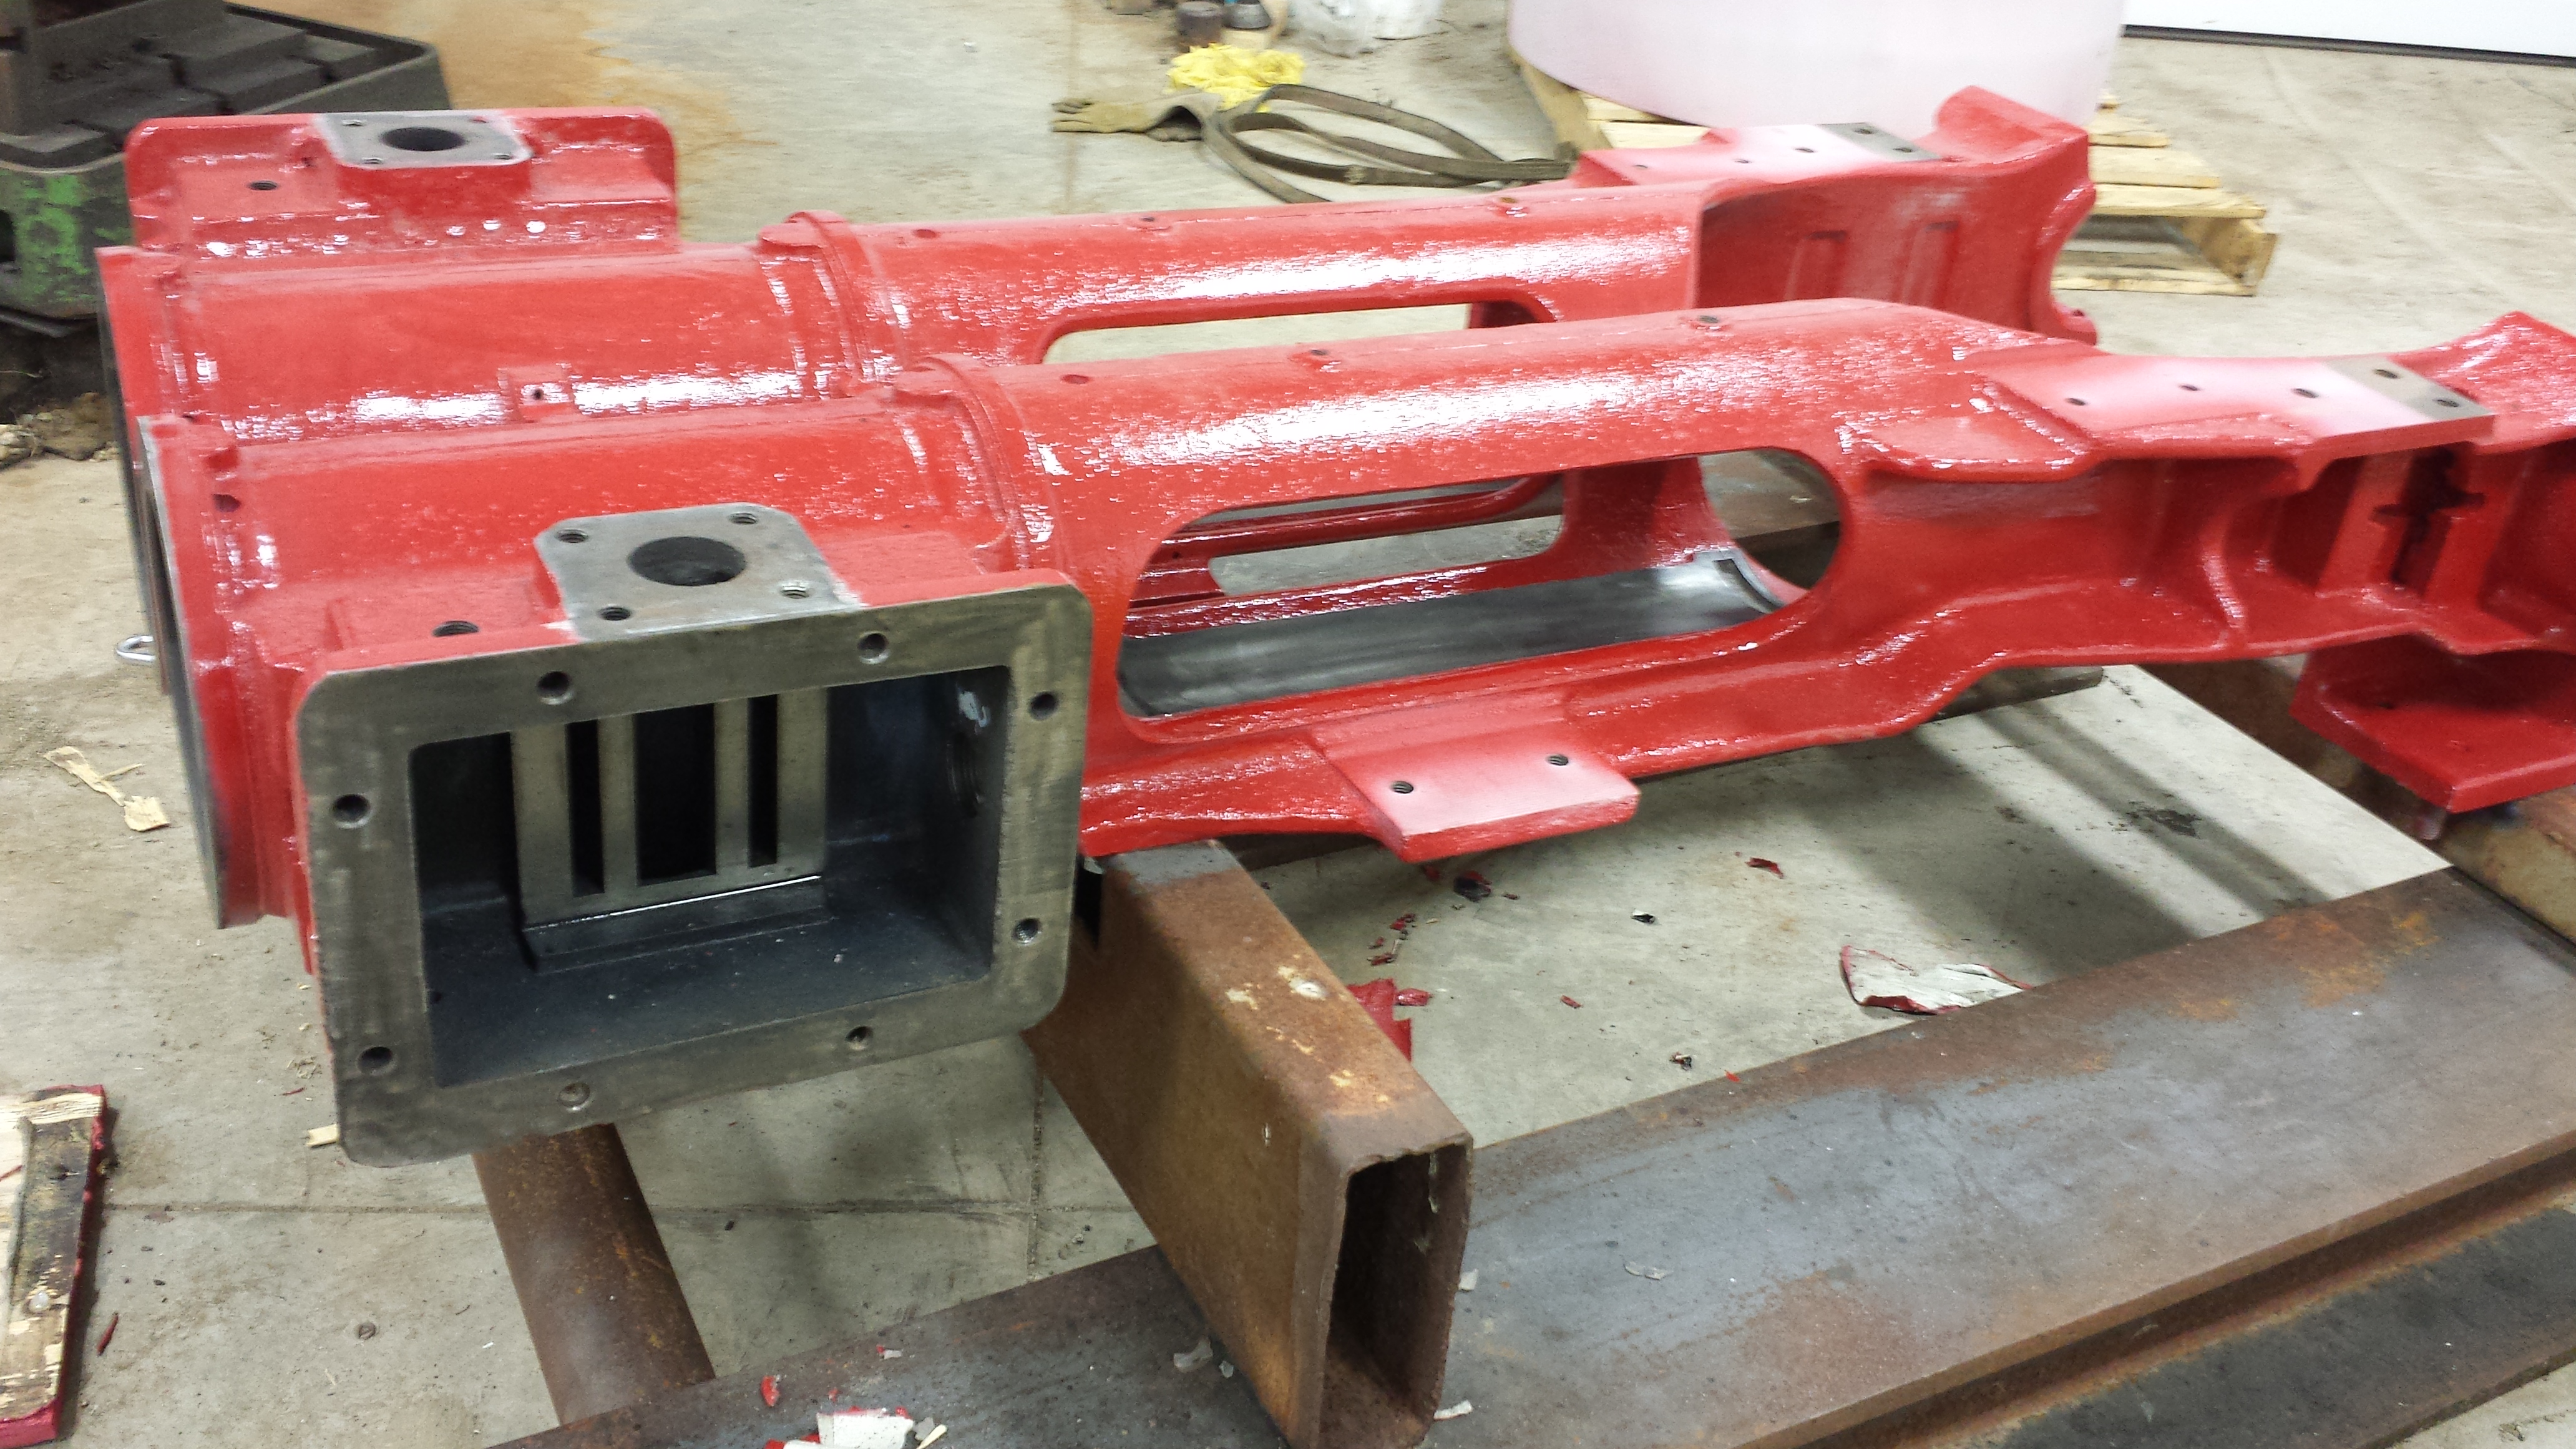
Indeed, everything is looking great! We’ve got a better idea of how we’re going to machine the engine beds now. I’ll be splitting them shortly. It’s nice that they are basically 2 separate engines – it’ll make it easier to set up to machine.
April 11, 2012
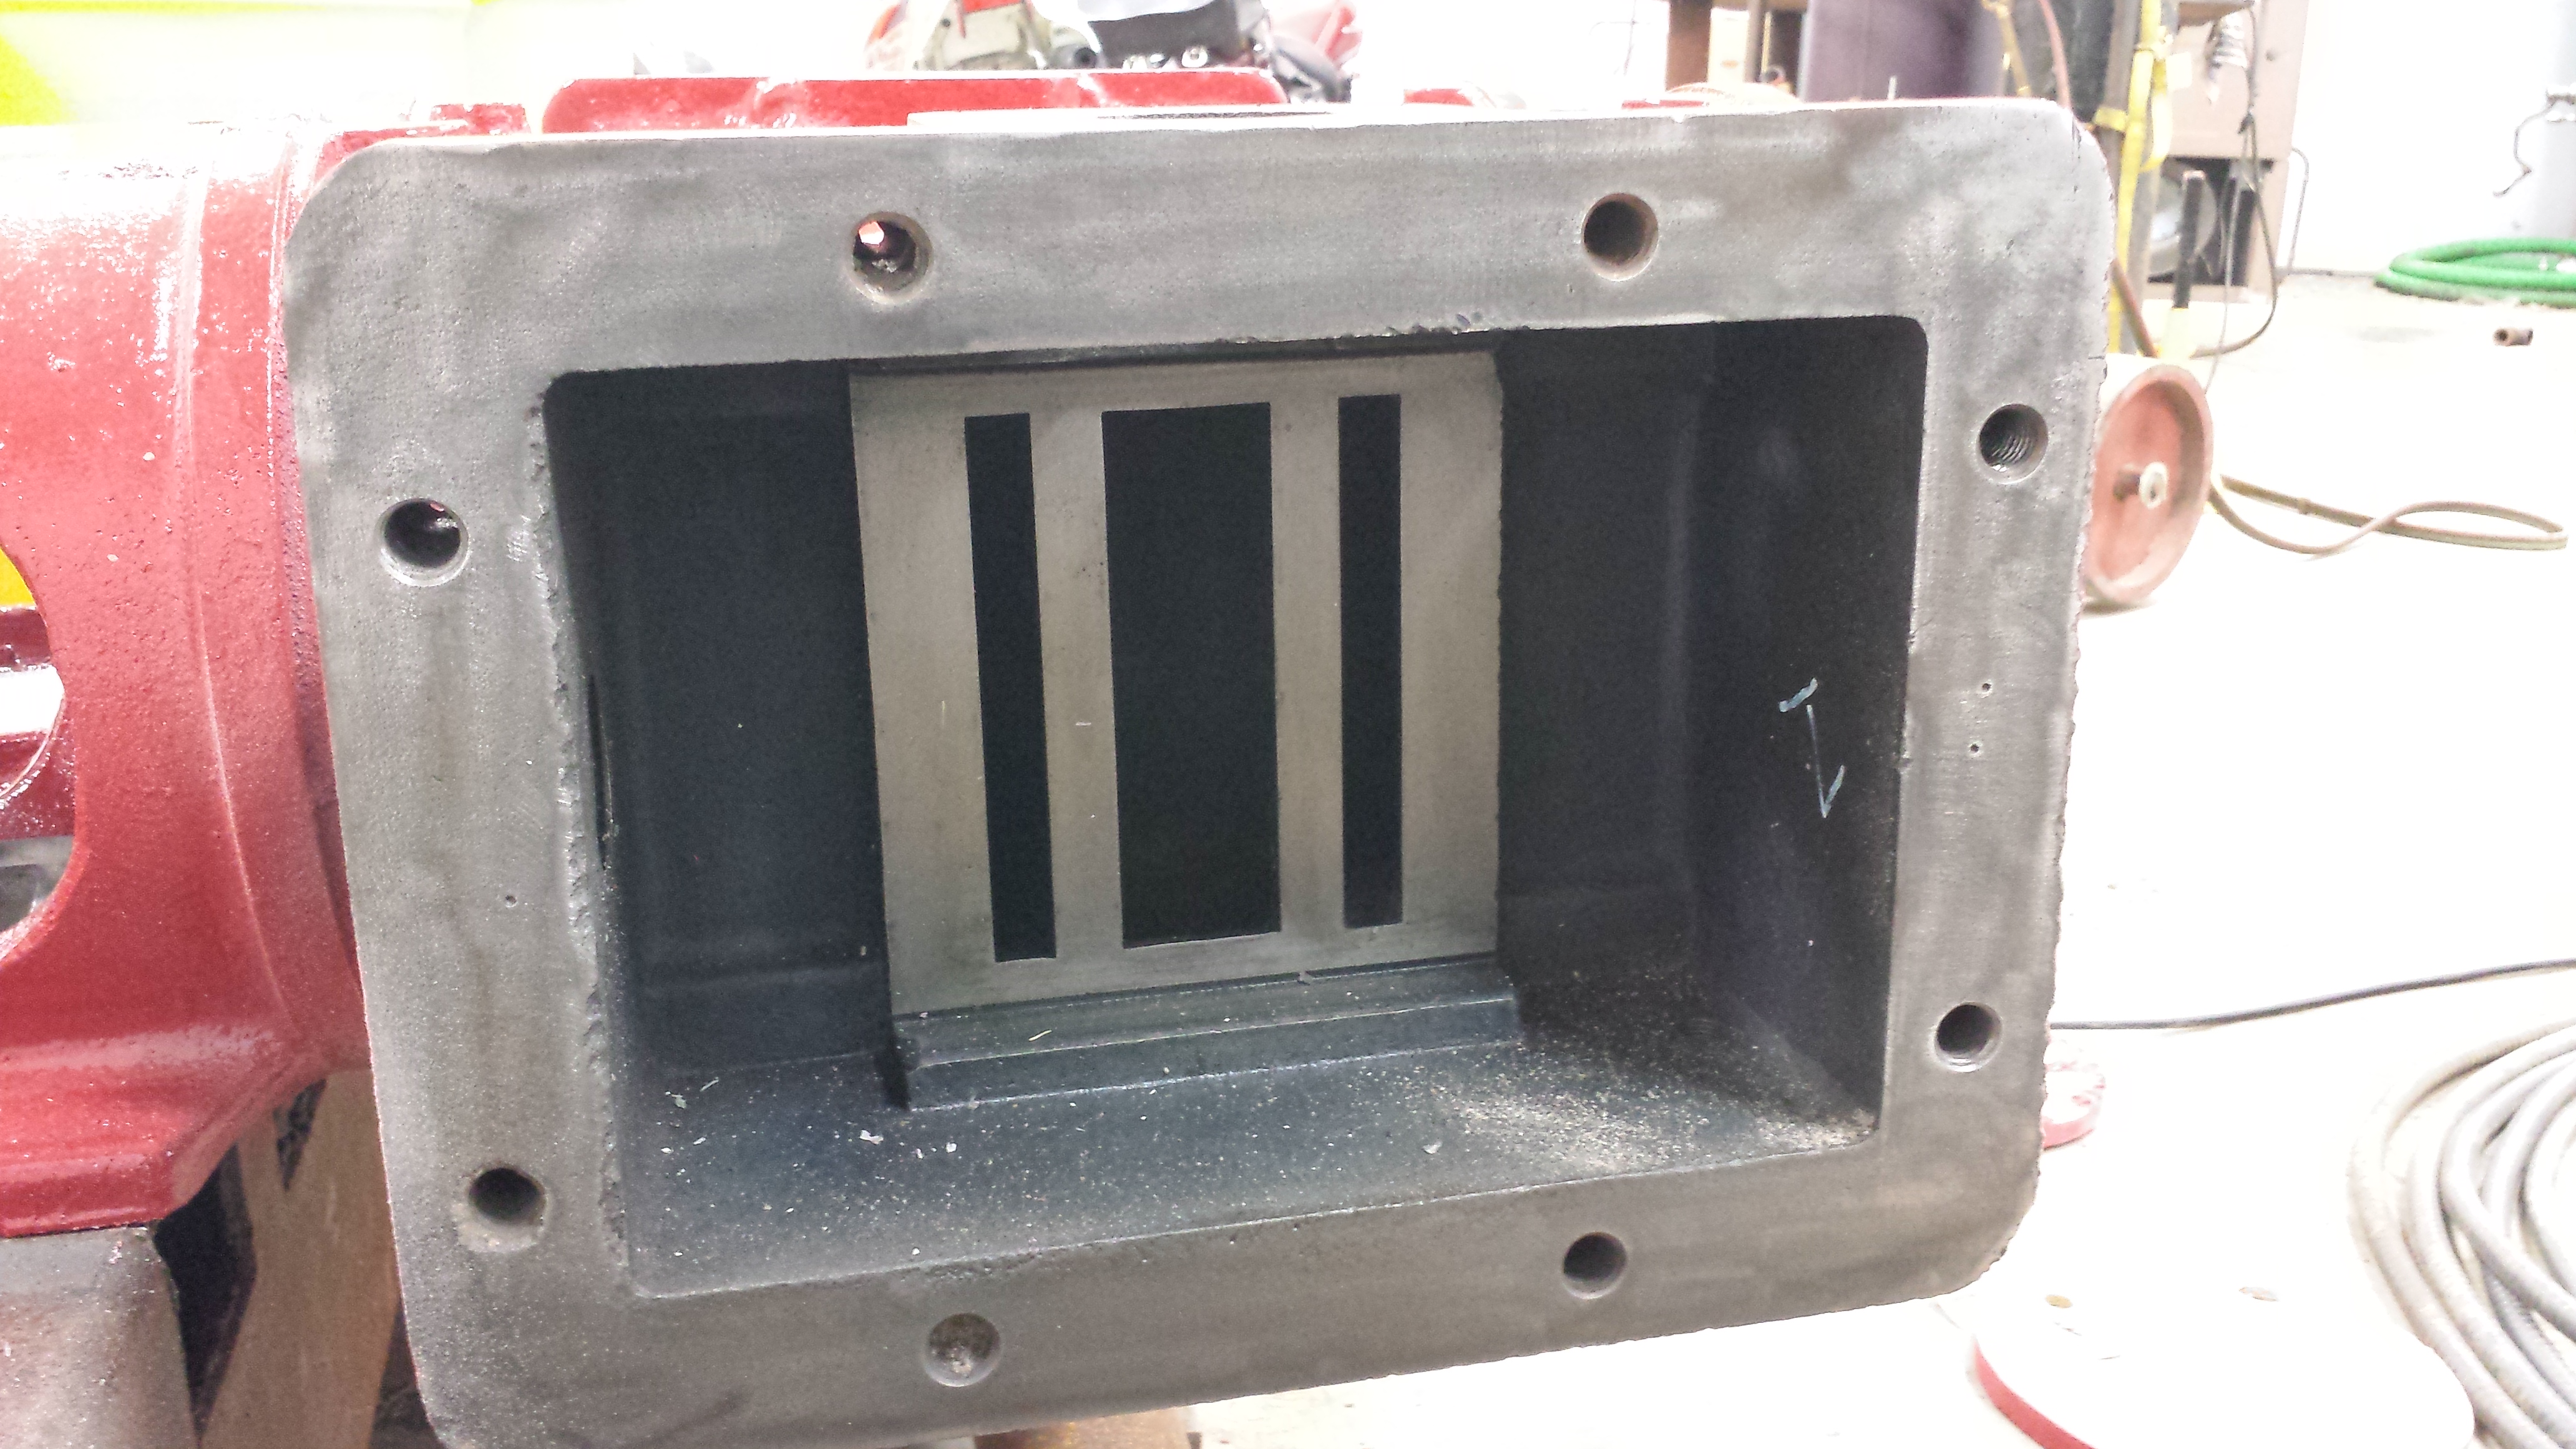
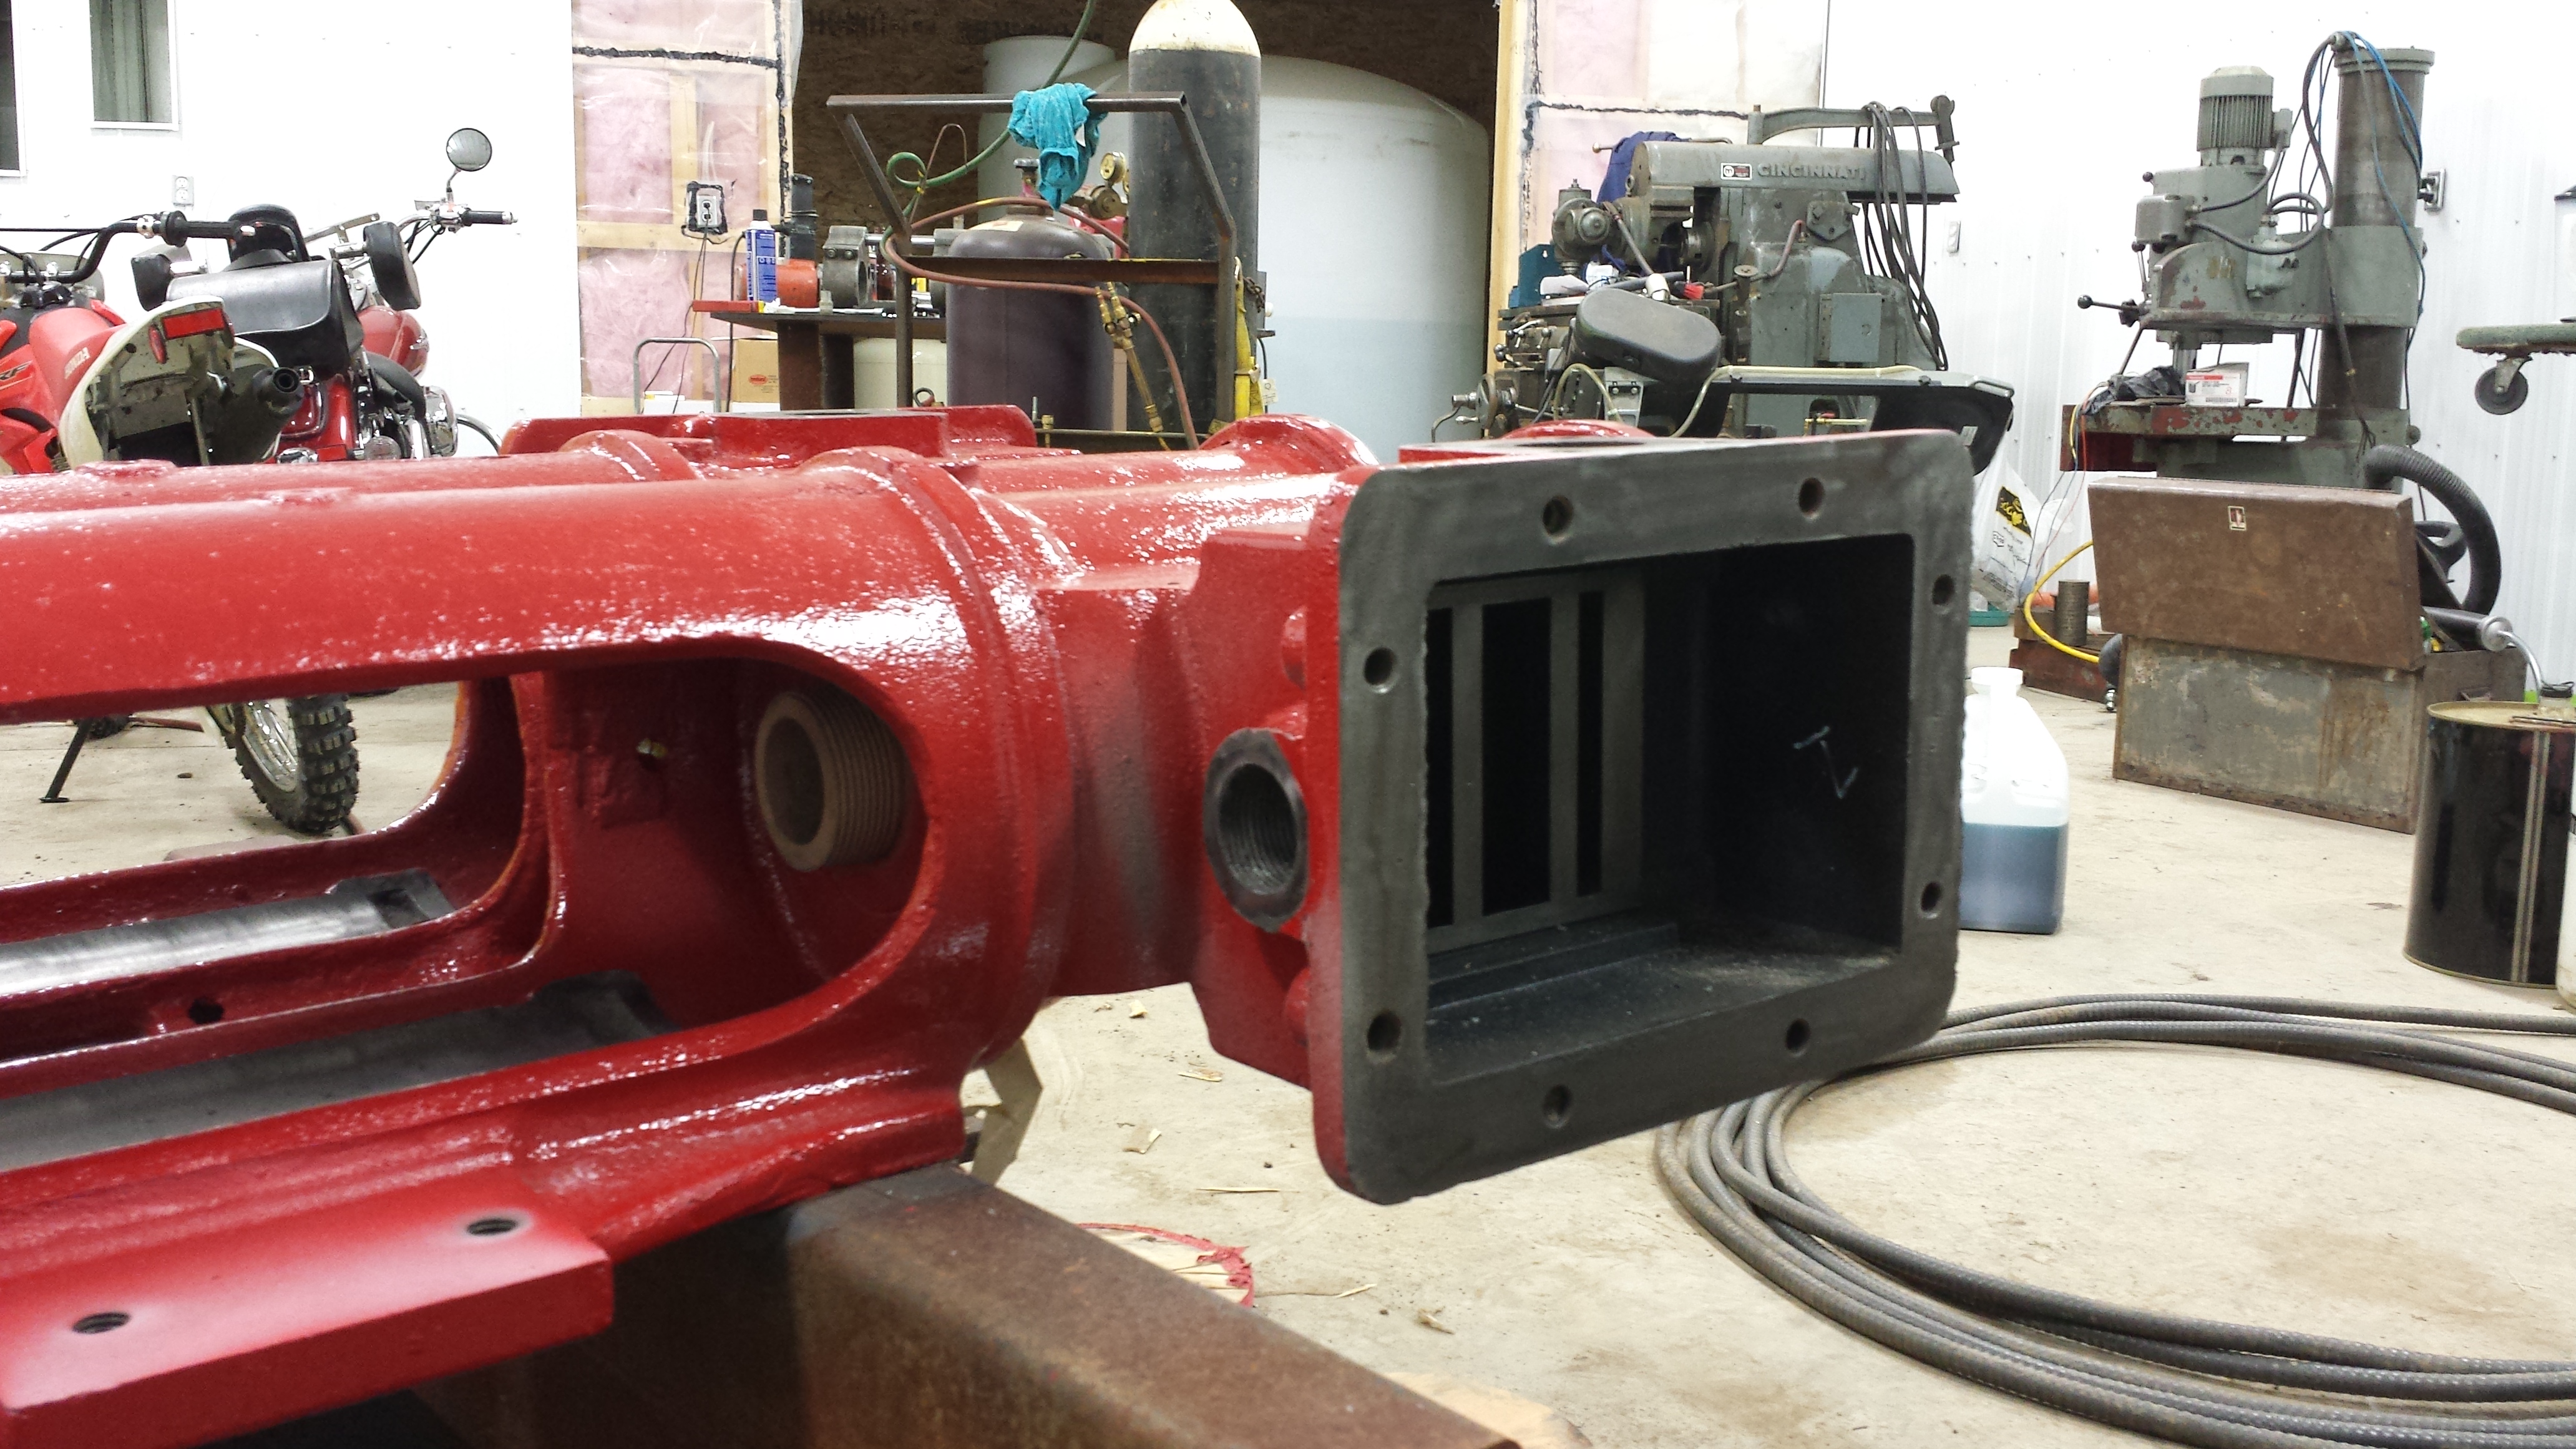
Well, I’m in Alberta and the engine is in Manitoba, but I still want stuff to get done. It’s time to get it up to Birtle so parts can get painted. Also, Bruce has a nice big shop here, so it’ll be a good place to deal with it. One of Doug’s friends hauled it up there. He’s how it looks. Notice the nice new stack that Bob had made for it, I believe Jim @ Larson Welding made it.


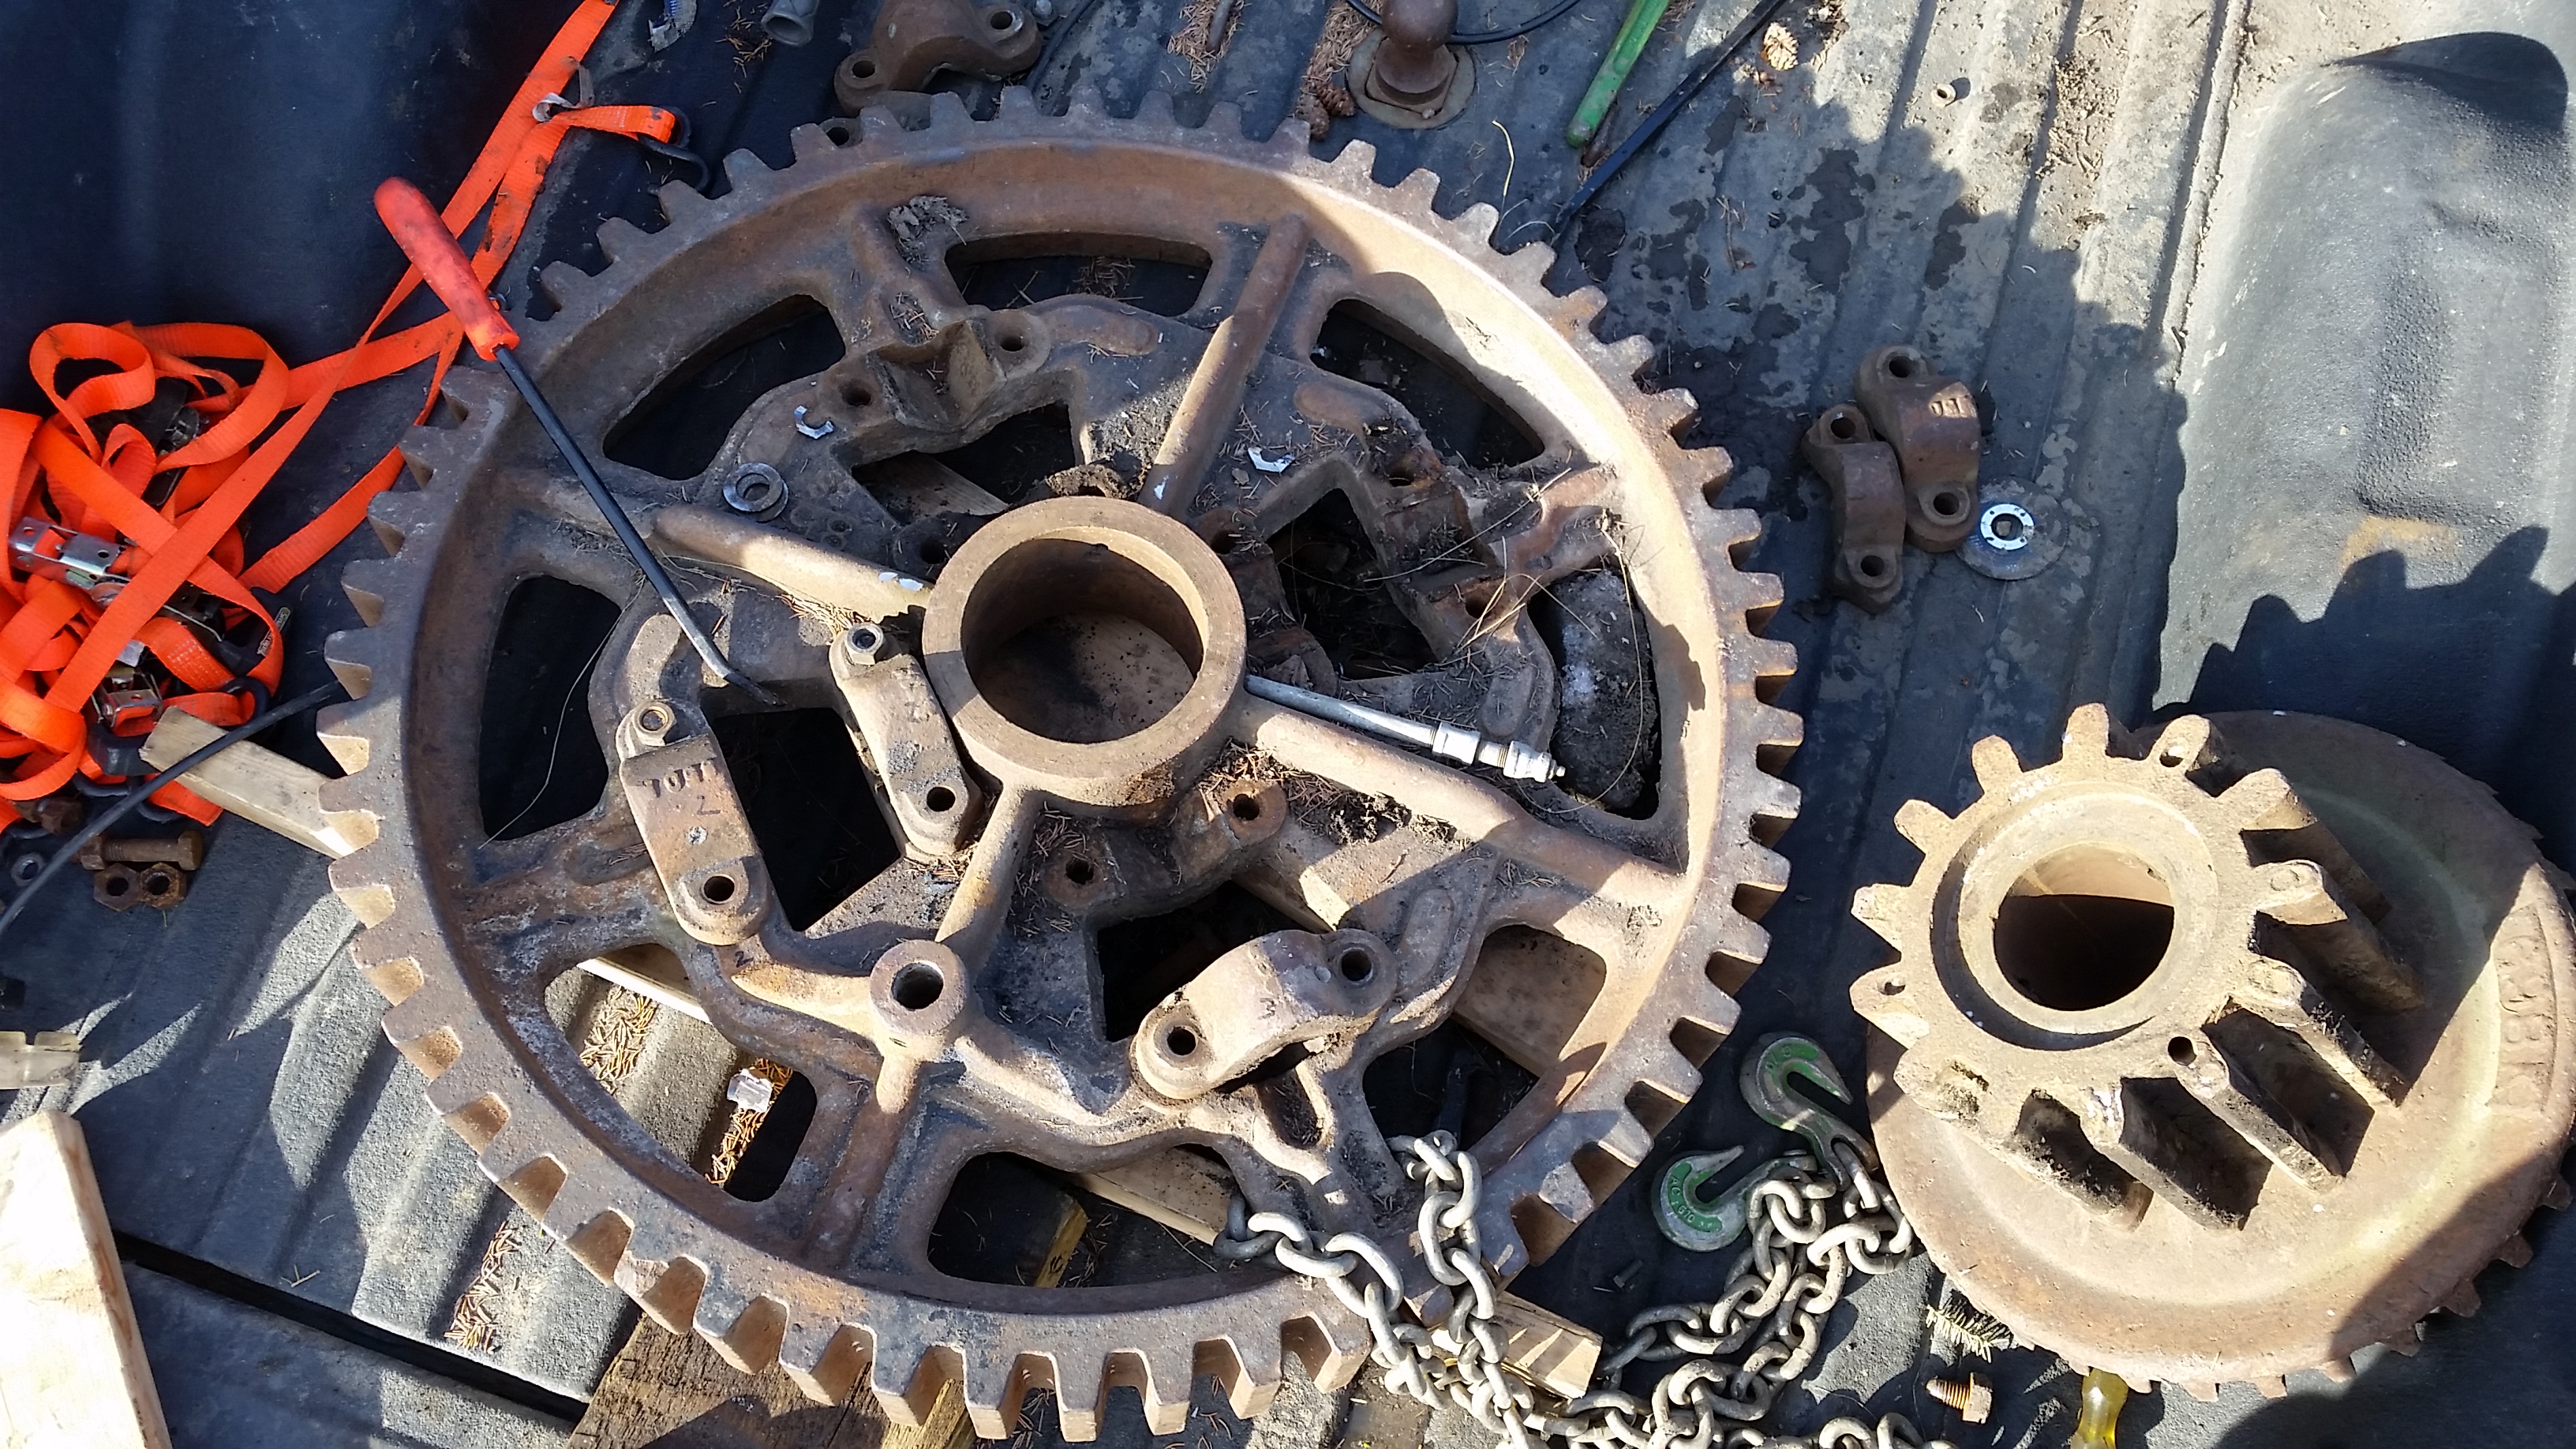
Bruce also lifted off the differential. I’m debating opening it up to check it out. We’ll see. If the teeth are any indication, it should be basically a new differential.
Bruce did warn me of a surprise. A lot of the hitch is held on by these “manufactured” bolts, so we’ll go through everything. They’re showing up other places too. I don’t really want something like this on this restoration.
September 17, 2012
I finally got some of the motor castings sandblasted. You’ll also see brand new clutch shoes here. Bob had these cast up, and I bought them at his last auction sale.
October 2, 2012
Bob really had a lot of parts cast up for this engine, but didn’t get the stuff done. Here’s another example – brand new lever quadrants. The throttle lever is brand new too, but the clutch and quadrant levers are old. Here, I’ve bolted them up and freed up the levers, finished off a bit more work that he started.
December 29, 2012
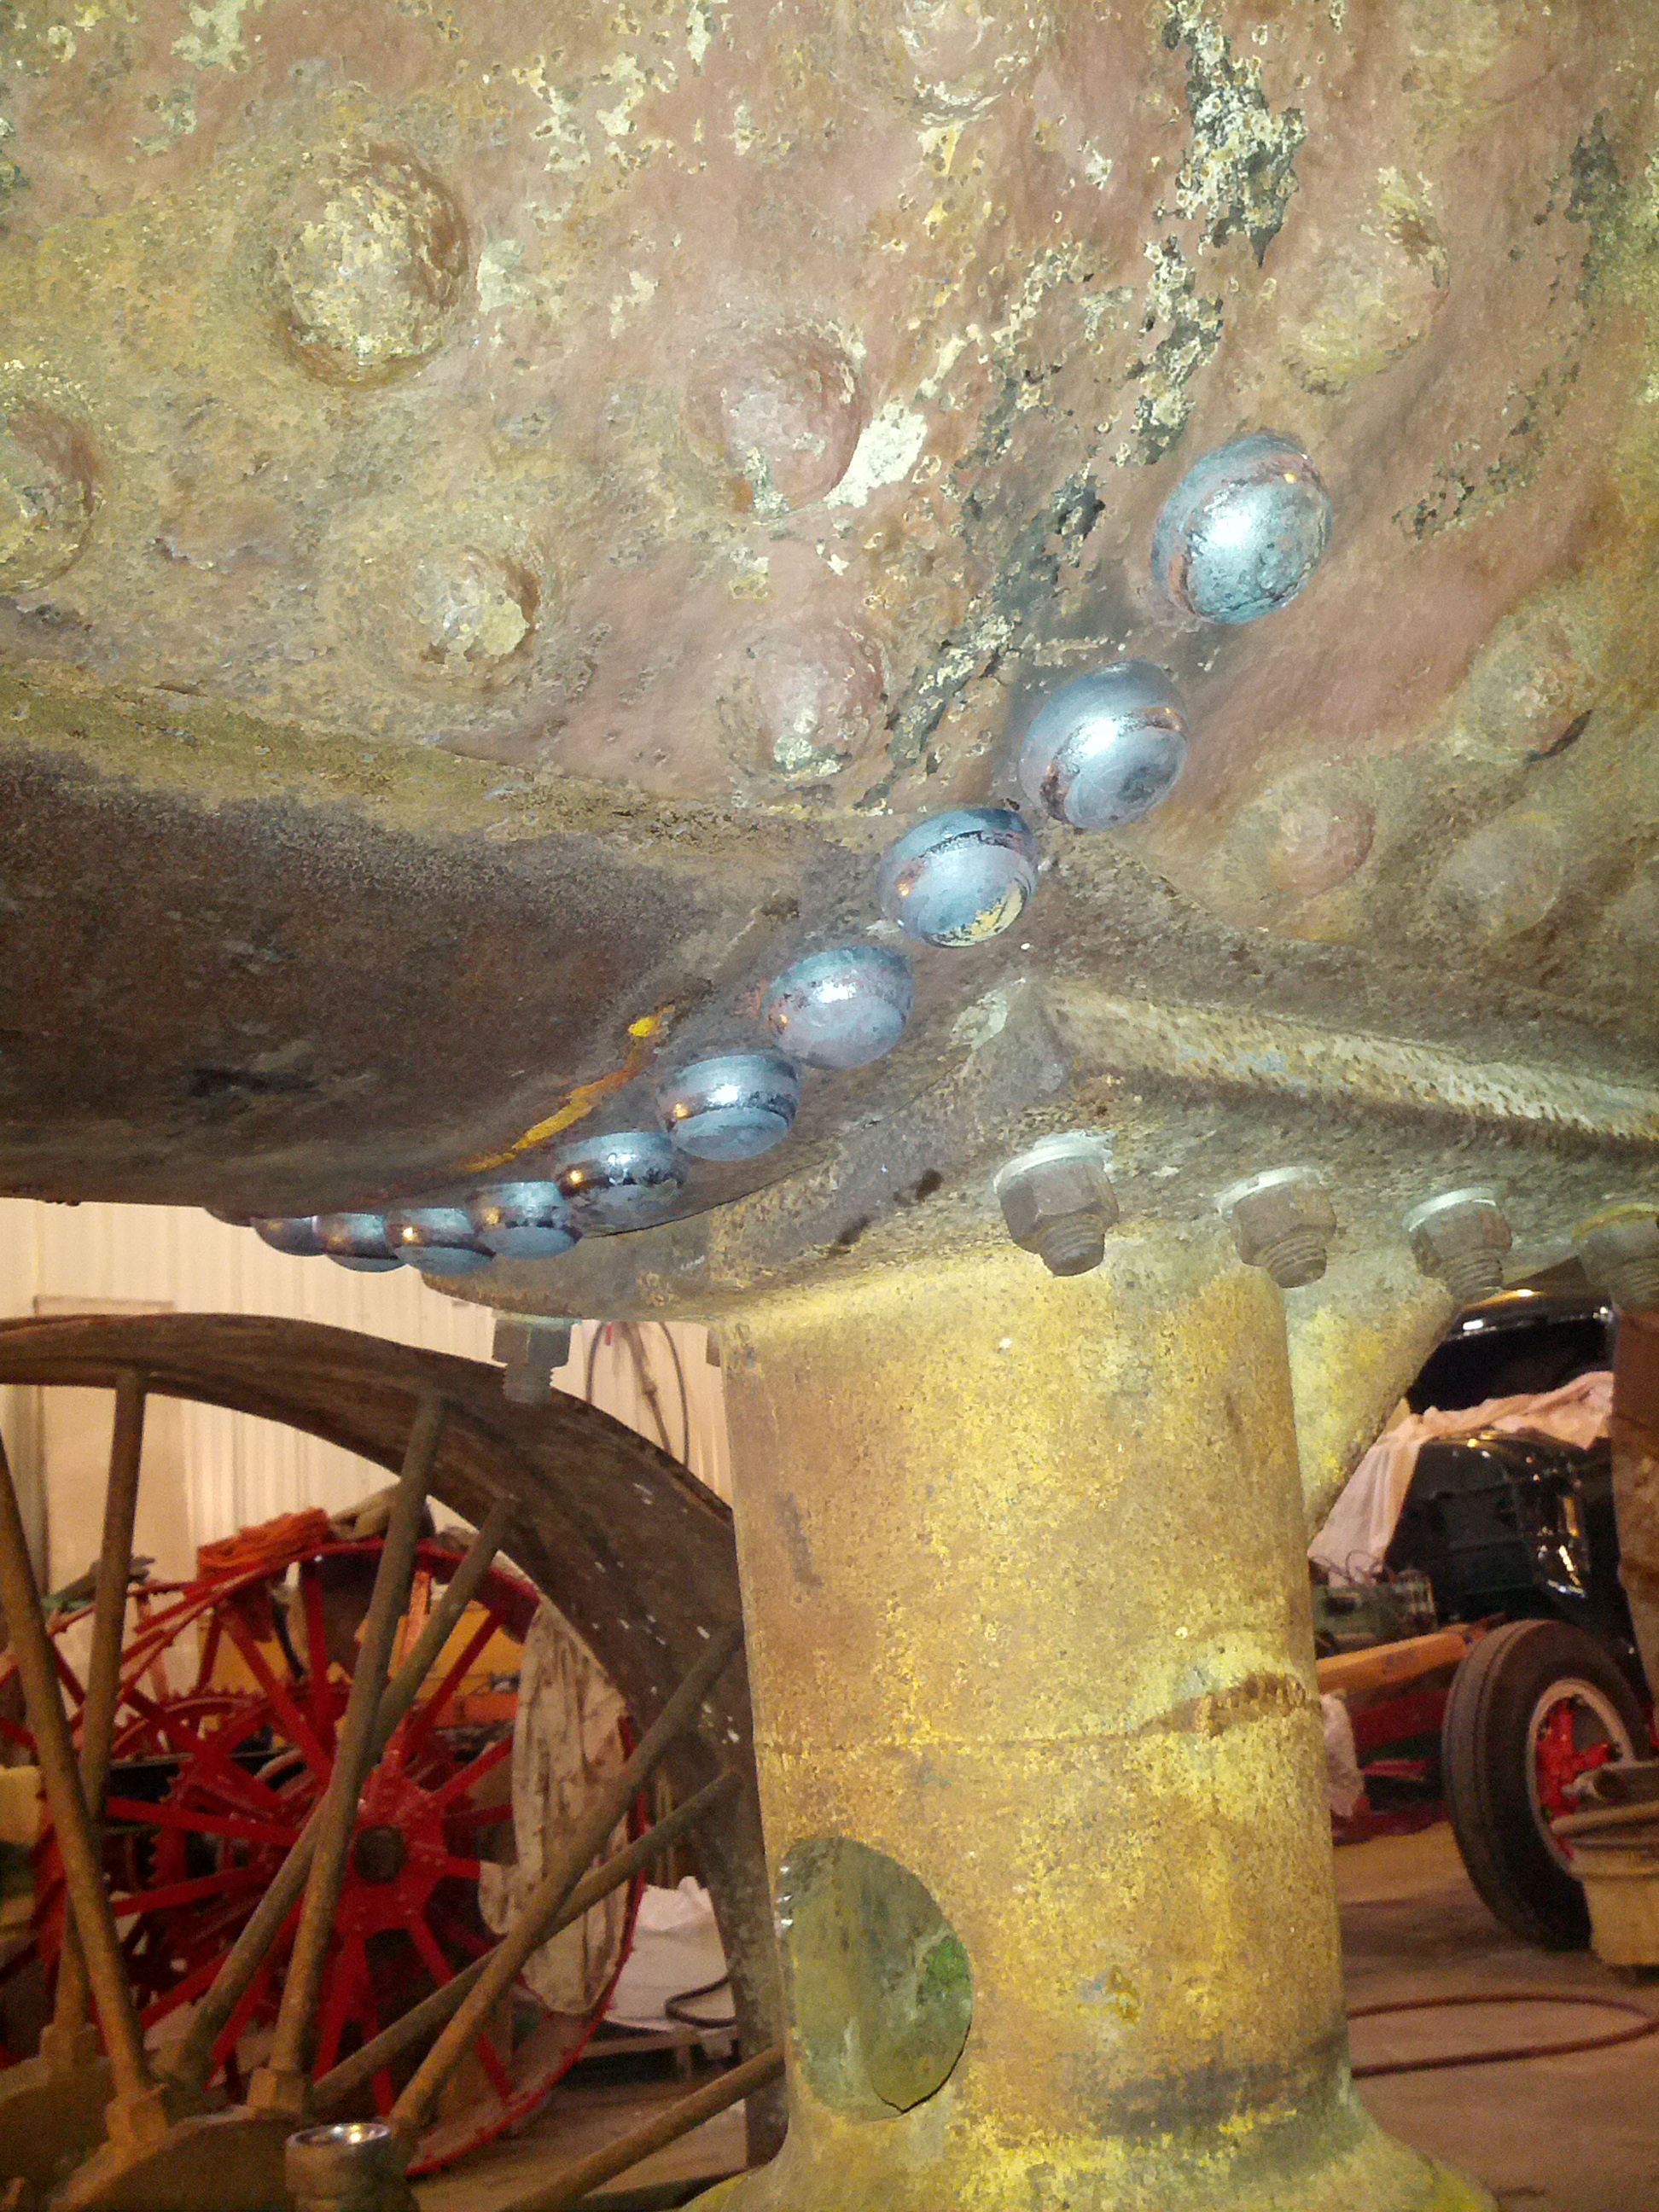
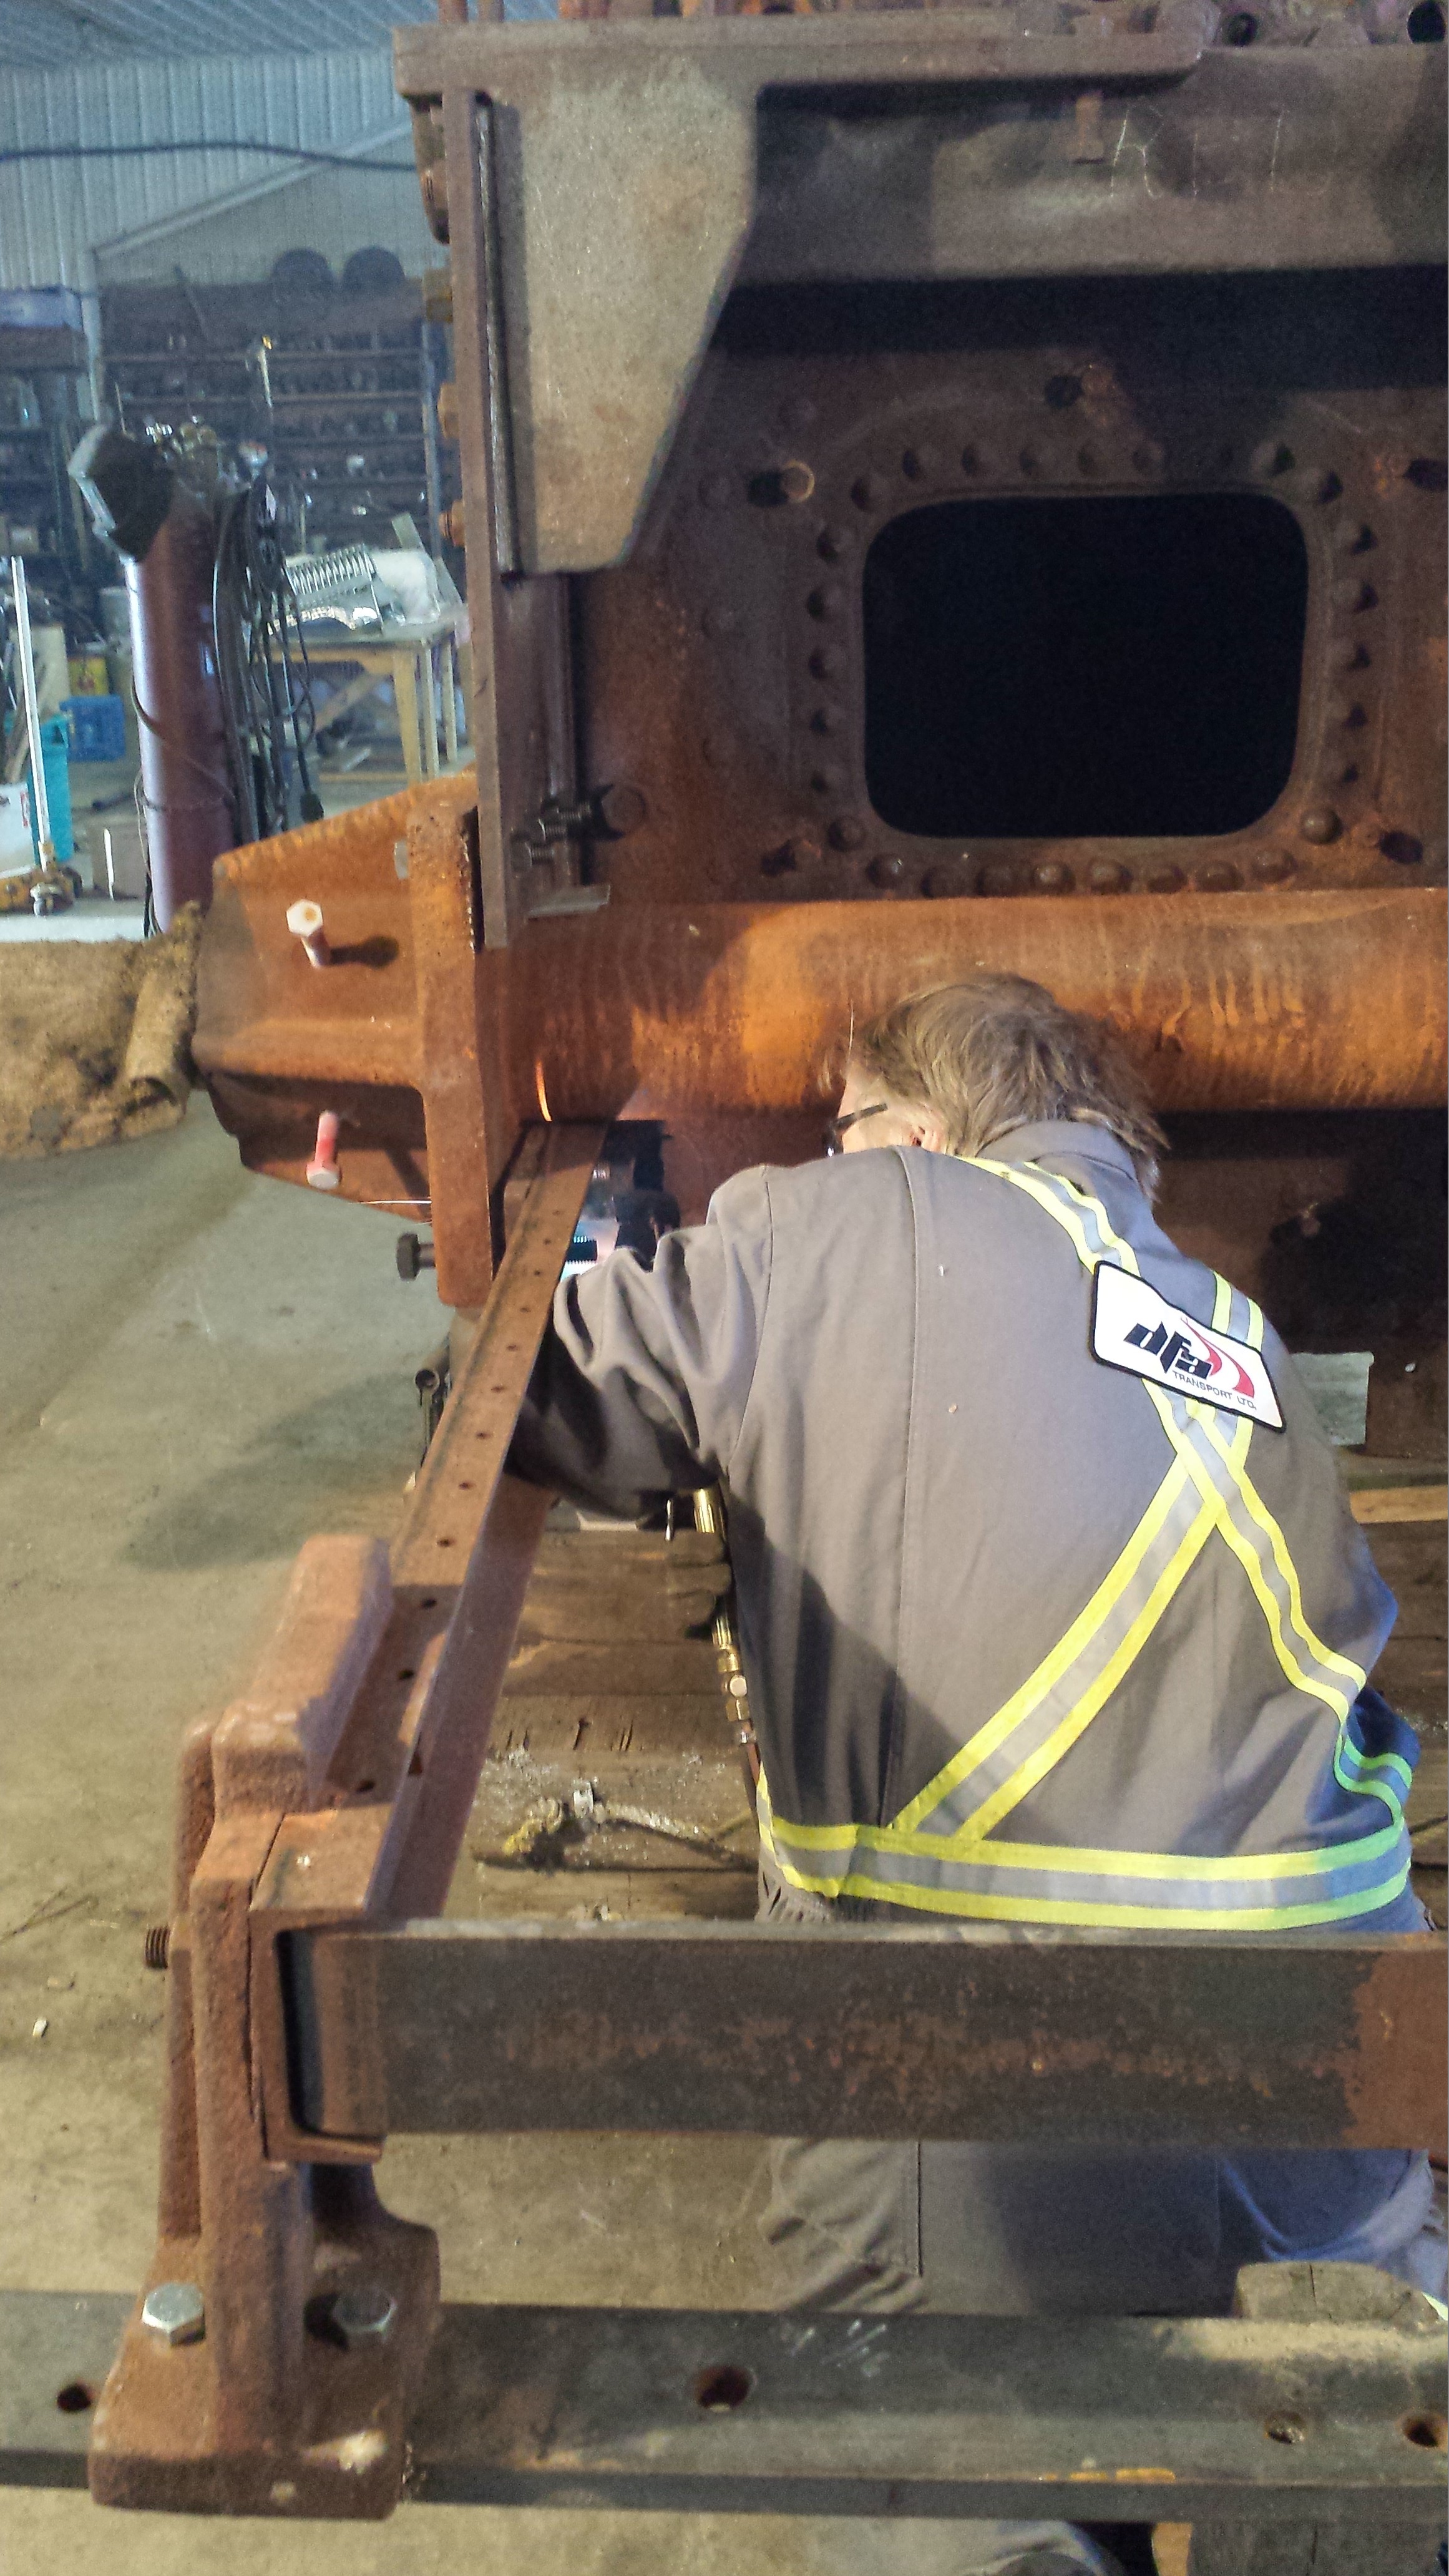
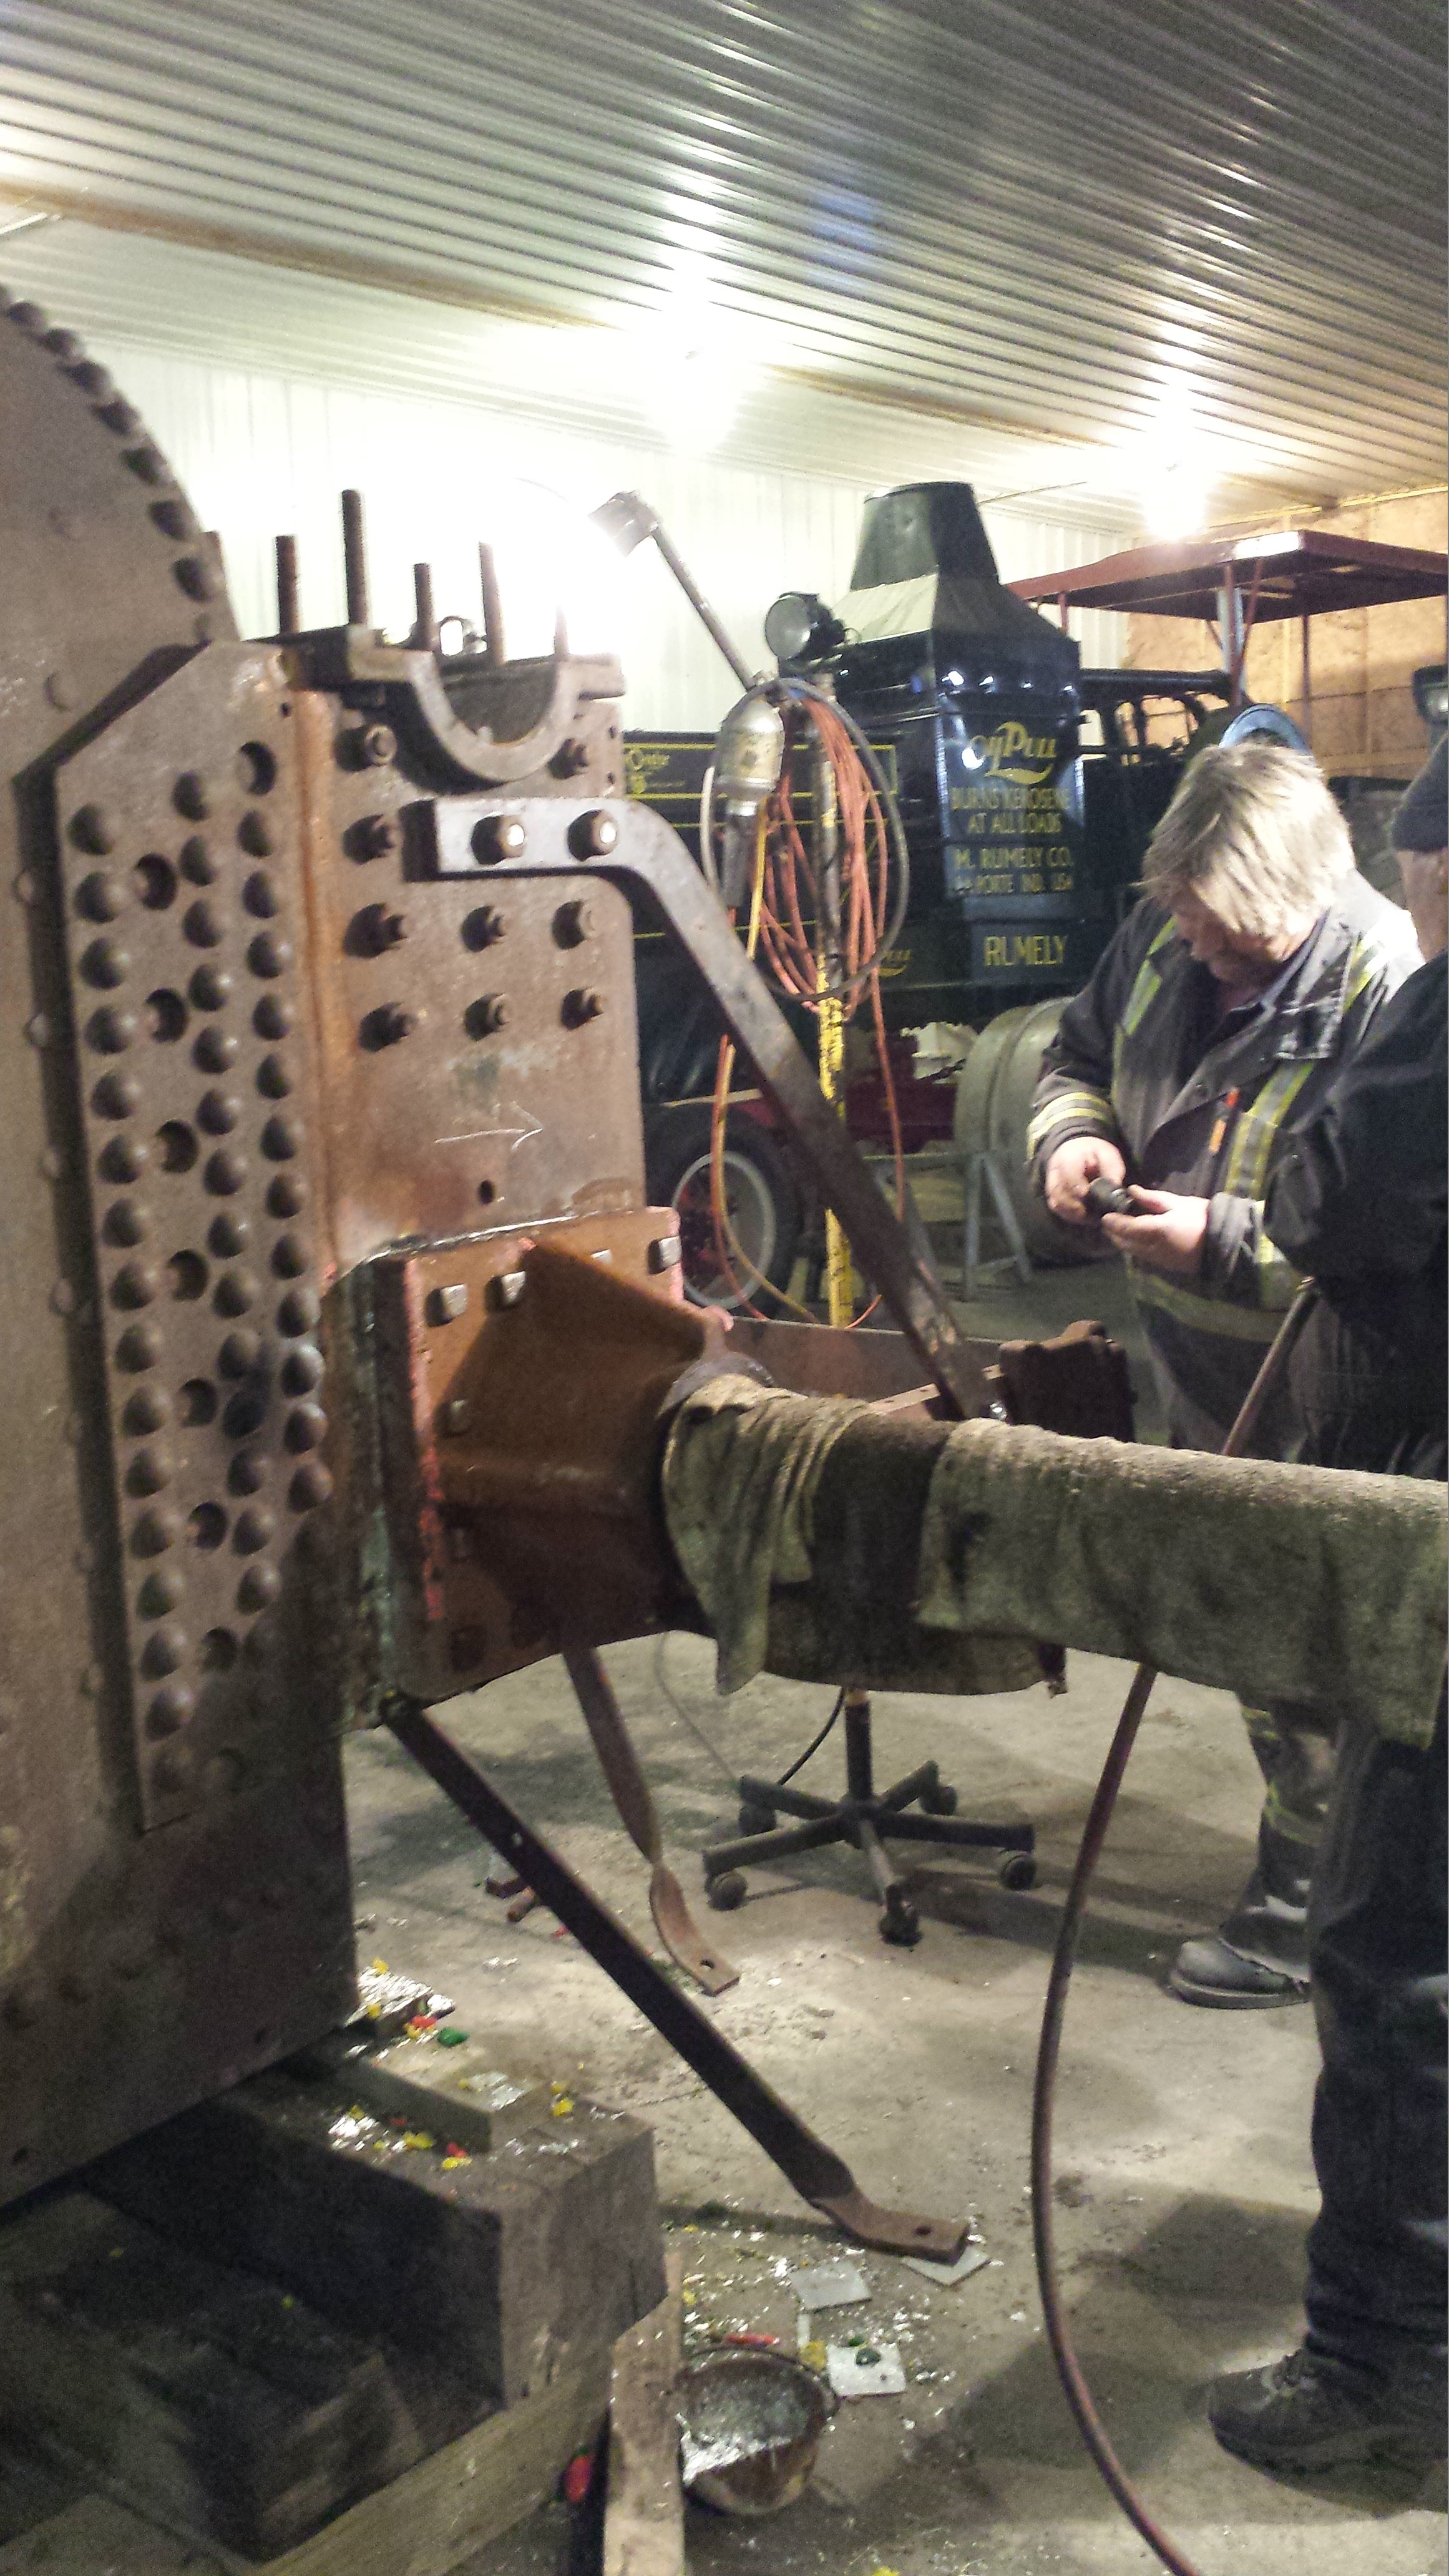
It’s hard to get back to Manitoba to work on it, but Christmas holidays make this possible. We had to get some rivets installed on the front tubesheet, due to corrosion in the firebox. We had a good crew of guys – Rod, Doug, Stew, Bruce, and myself. 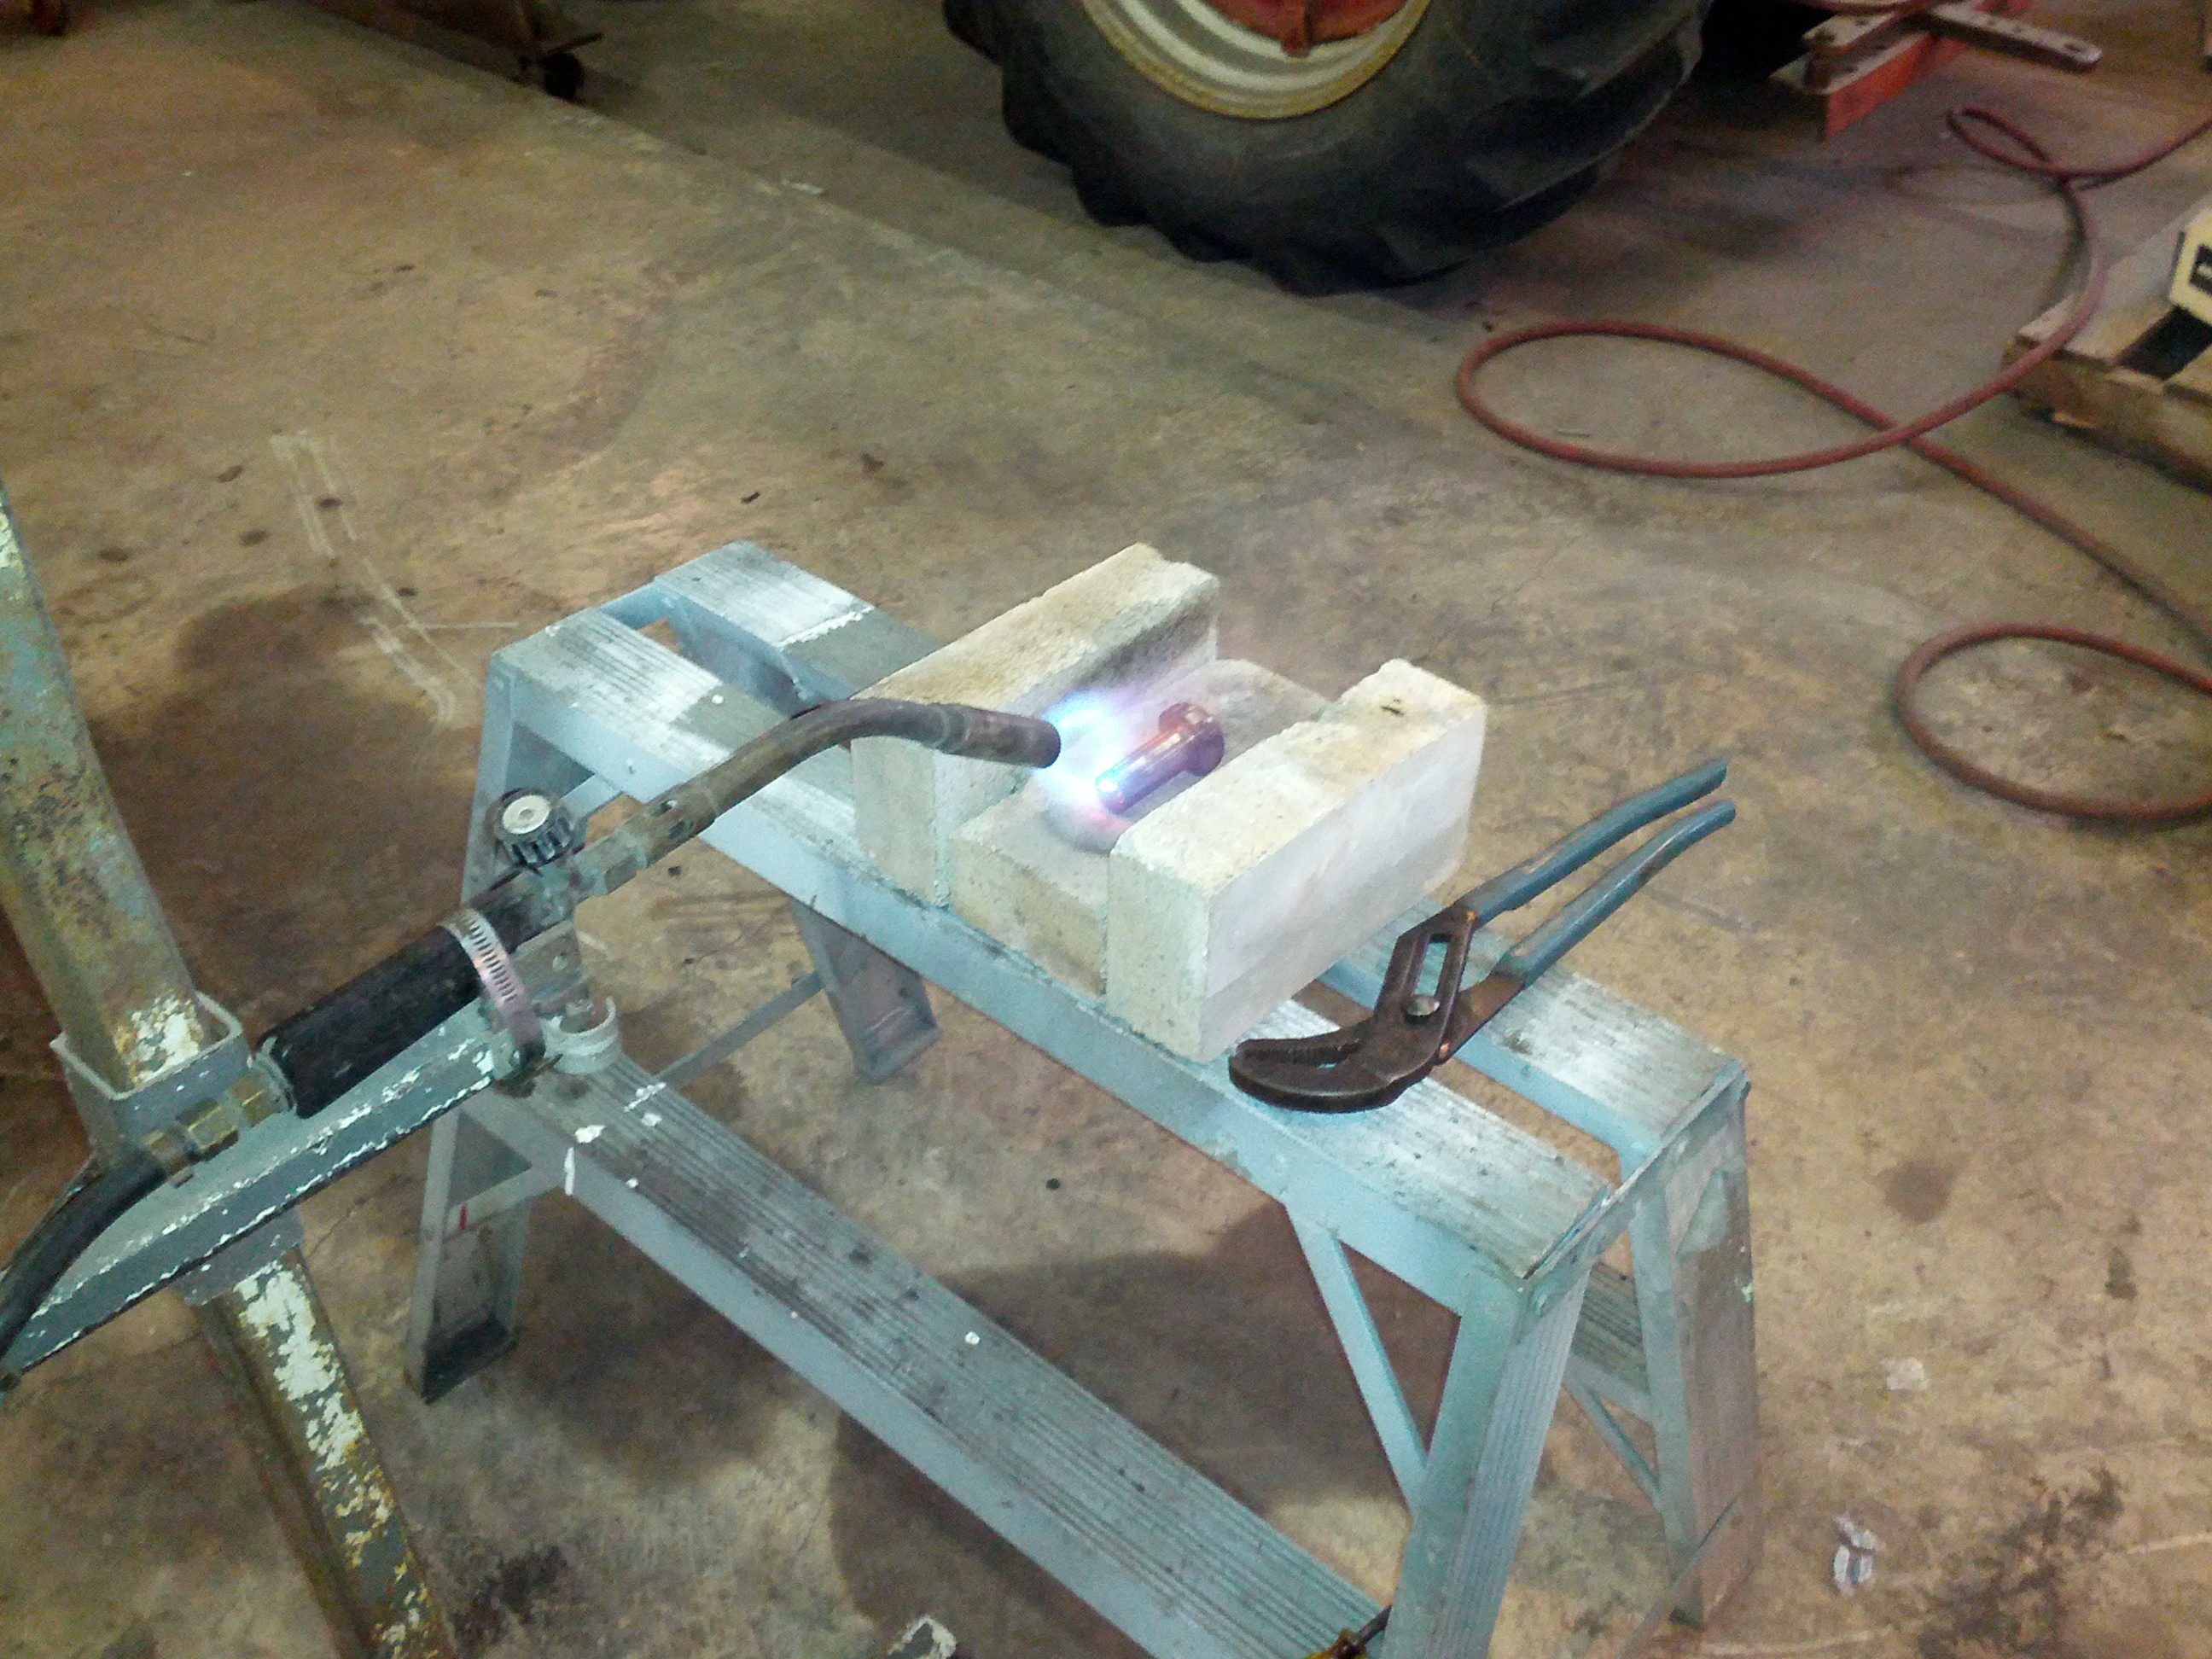
As before (and per the repair plan approved by the department), we took out the old rivets, replaced them with bolts, and then one at a time put in the new boiler-grade rivets.
Now, Gaar Scott (well Broderick) also didn’t use the standard button rivet head either, they used a tall rivet button, so I had to get some rivet snaps custom made to fit, and it was worth it!

Doug ran the air hammer and did a great job there. Bruce was cooking the rivets, where the rest of us were bucking and prepping the holes.

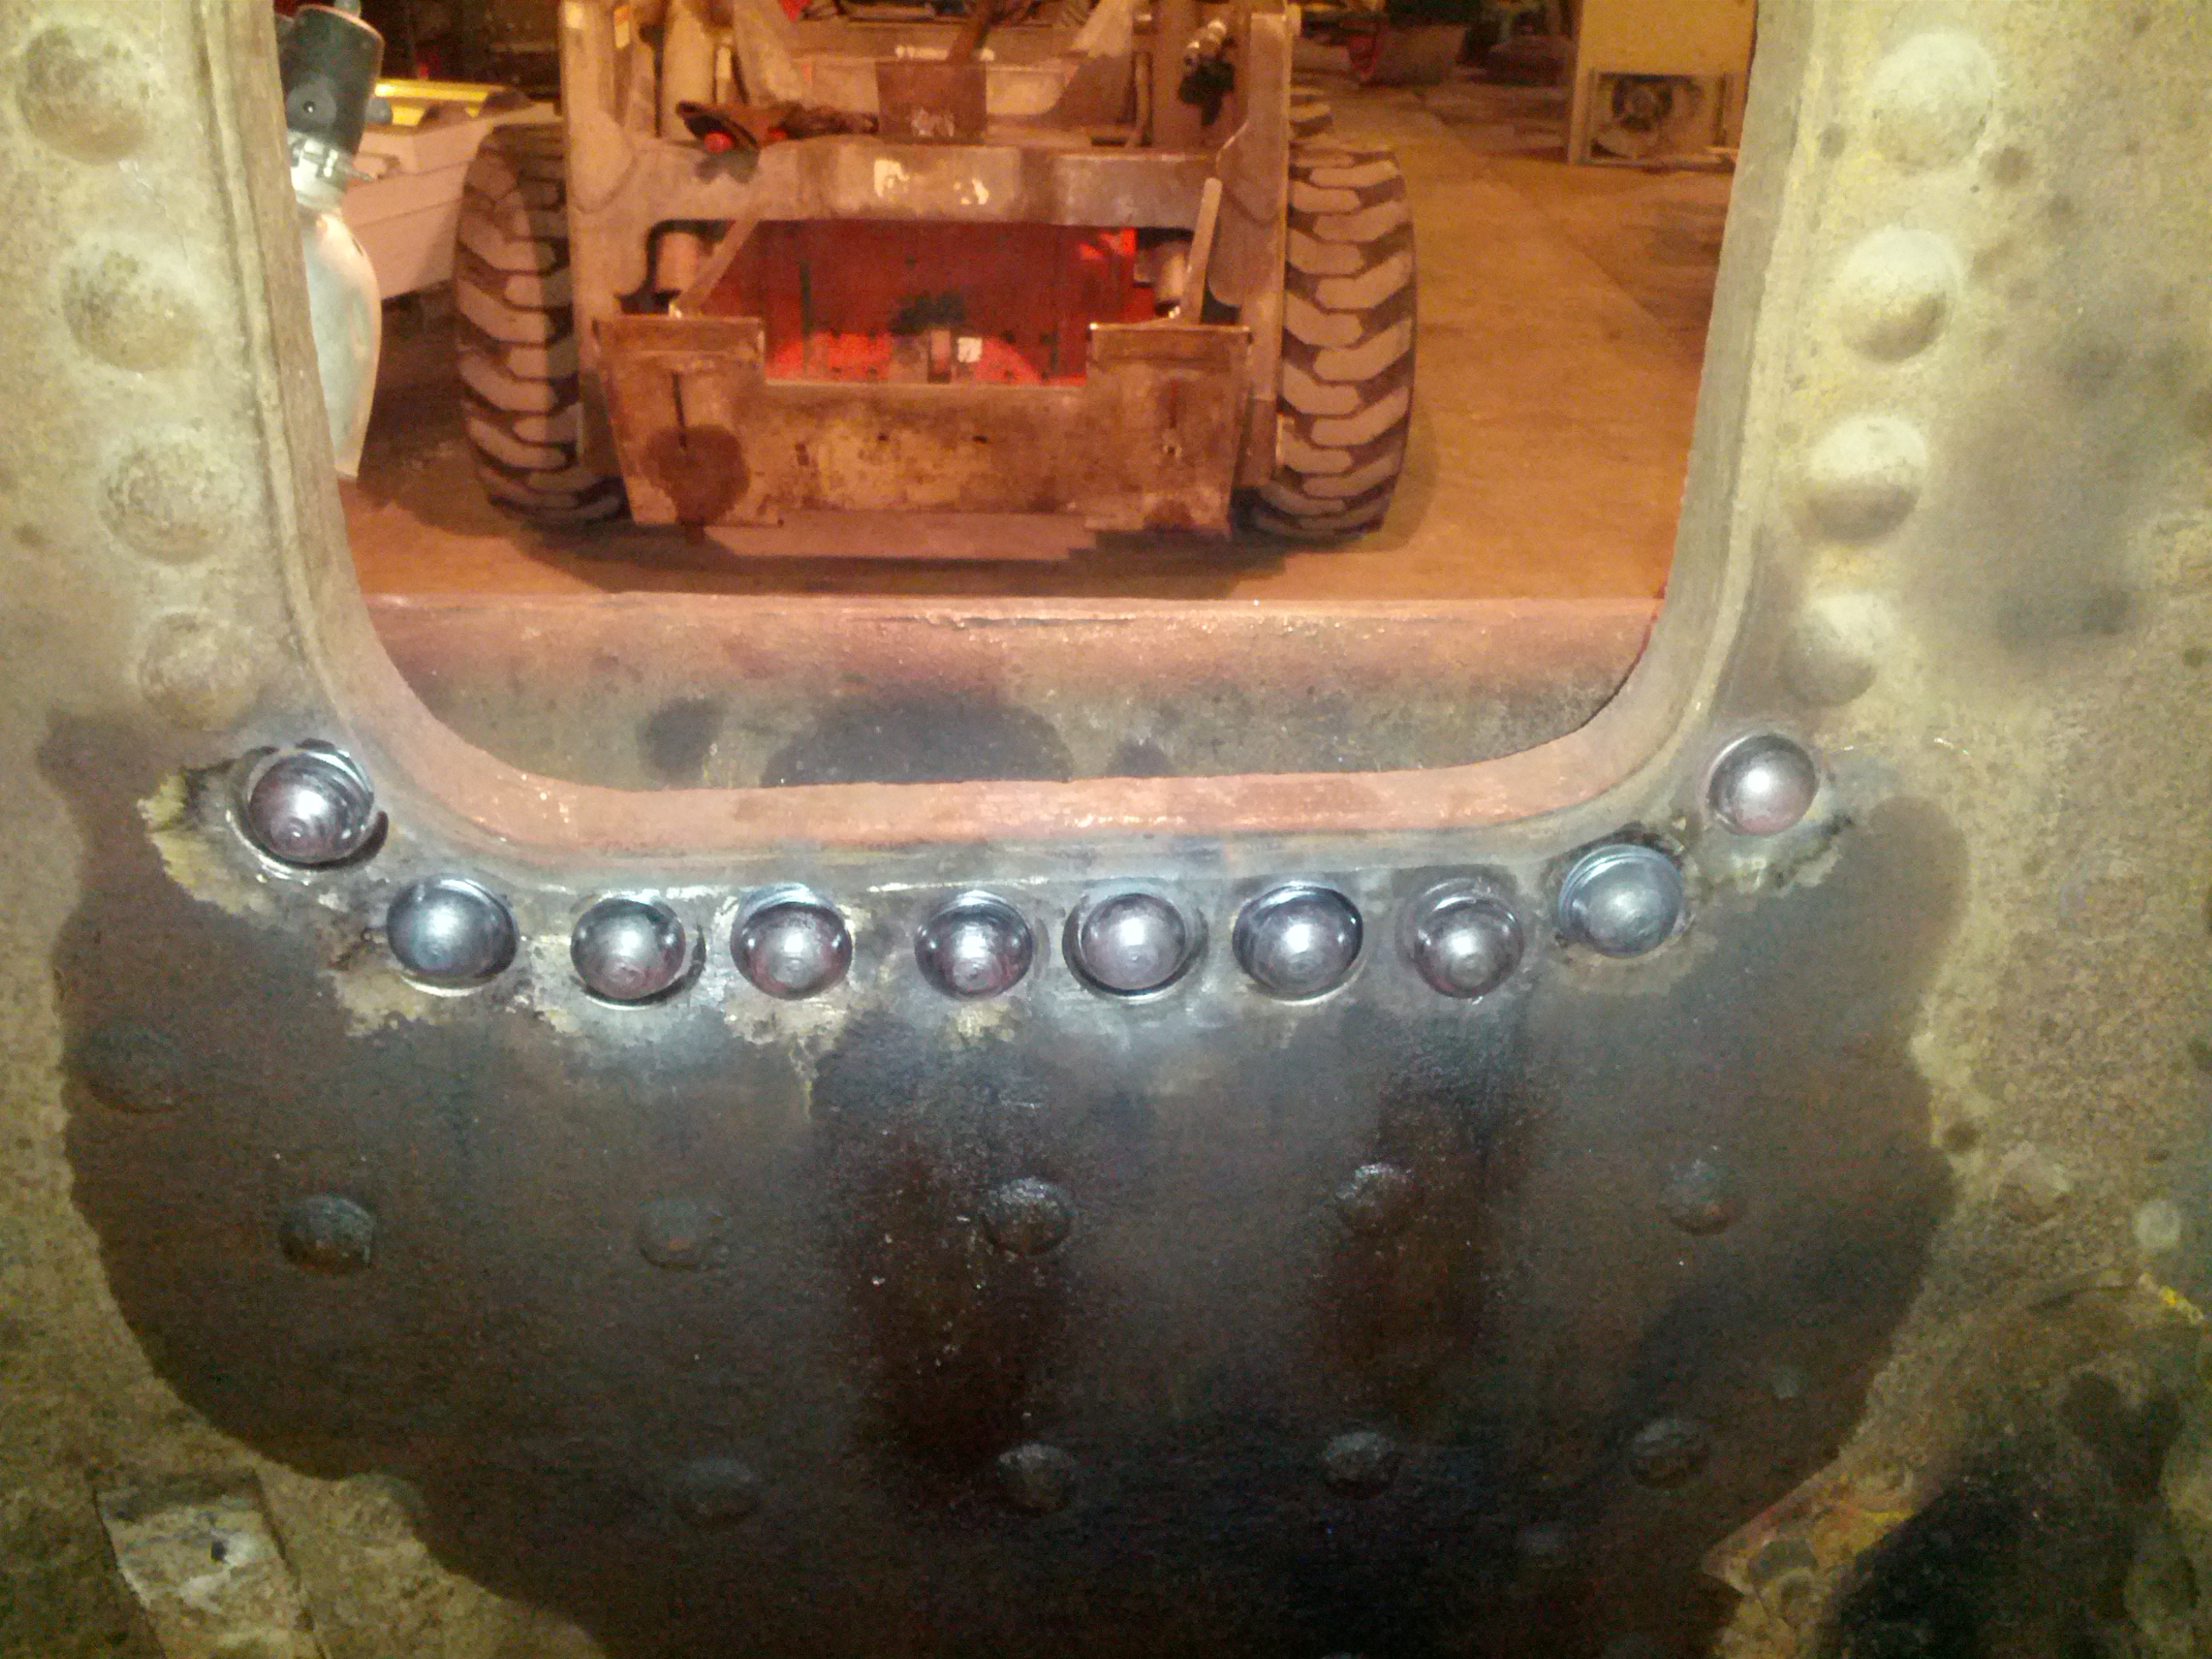
We also changed out the lower row of rivets around the firebox door ring. These were getting corroded down too. I just used regular button snaps here, though, since these rivets are hidden behind a casting.
Bruce also had a bunch of parts painted up, ready for me to start my motor assembly!

I spent a lot of time researching (being visiting with Bob) for the correct red. I’m pretty happy with this choice.
March 9, 2013
I’m VERY happy Norm’s work remachining all of the valvetrain for this motor! Wayne has been instrumental here too.
New aluminum pistons! All the parts were machined back to original spec! The block in the Stevenson link is new, and the links themselves were cleaned up as well! New pins and bushings everywhere too, she should run nice!
April 14, 2013
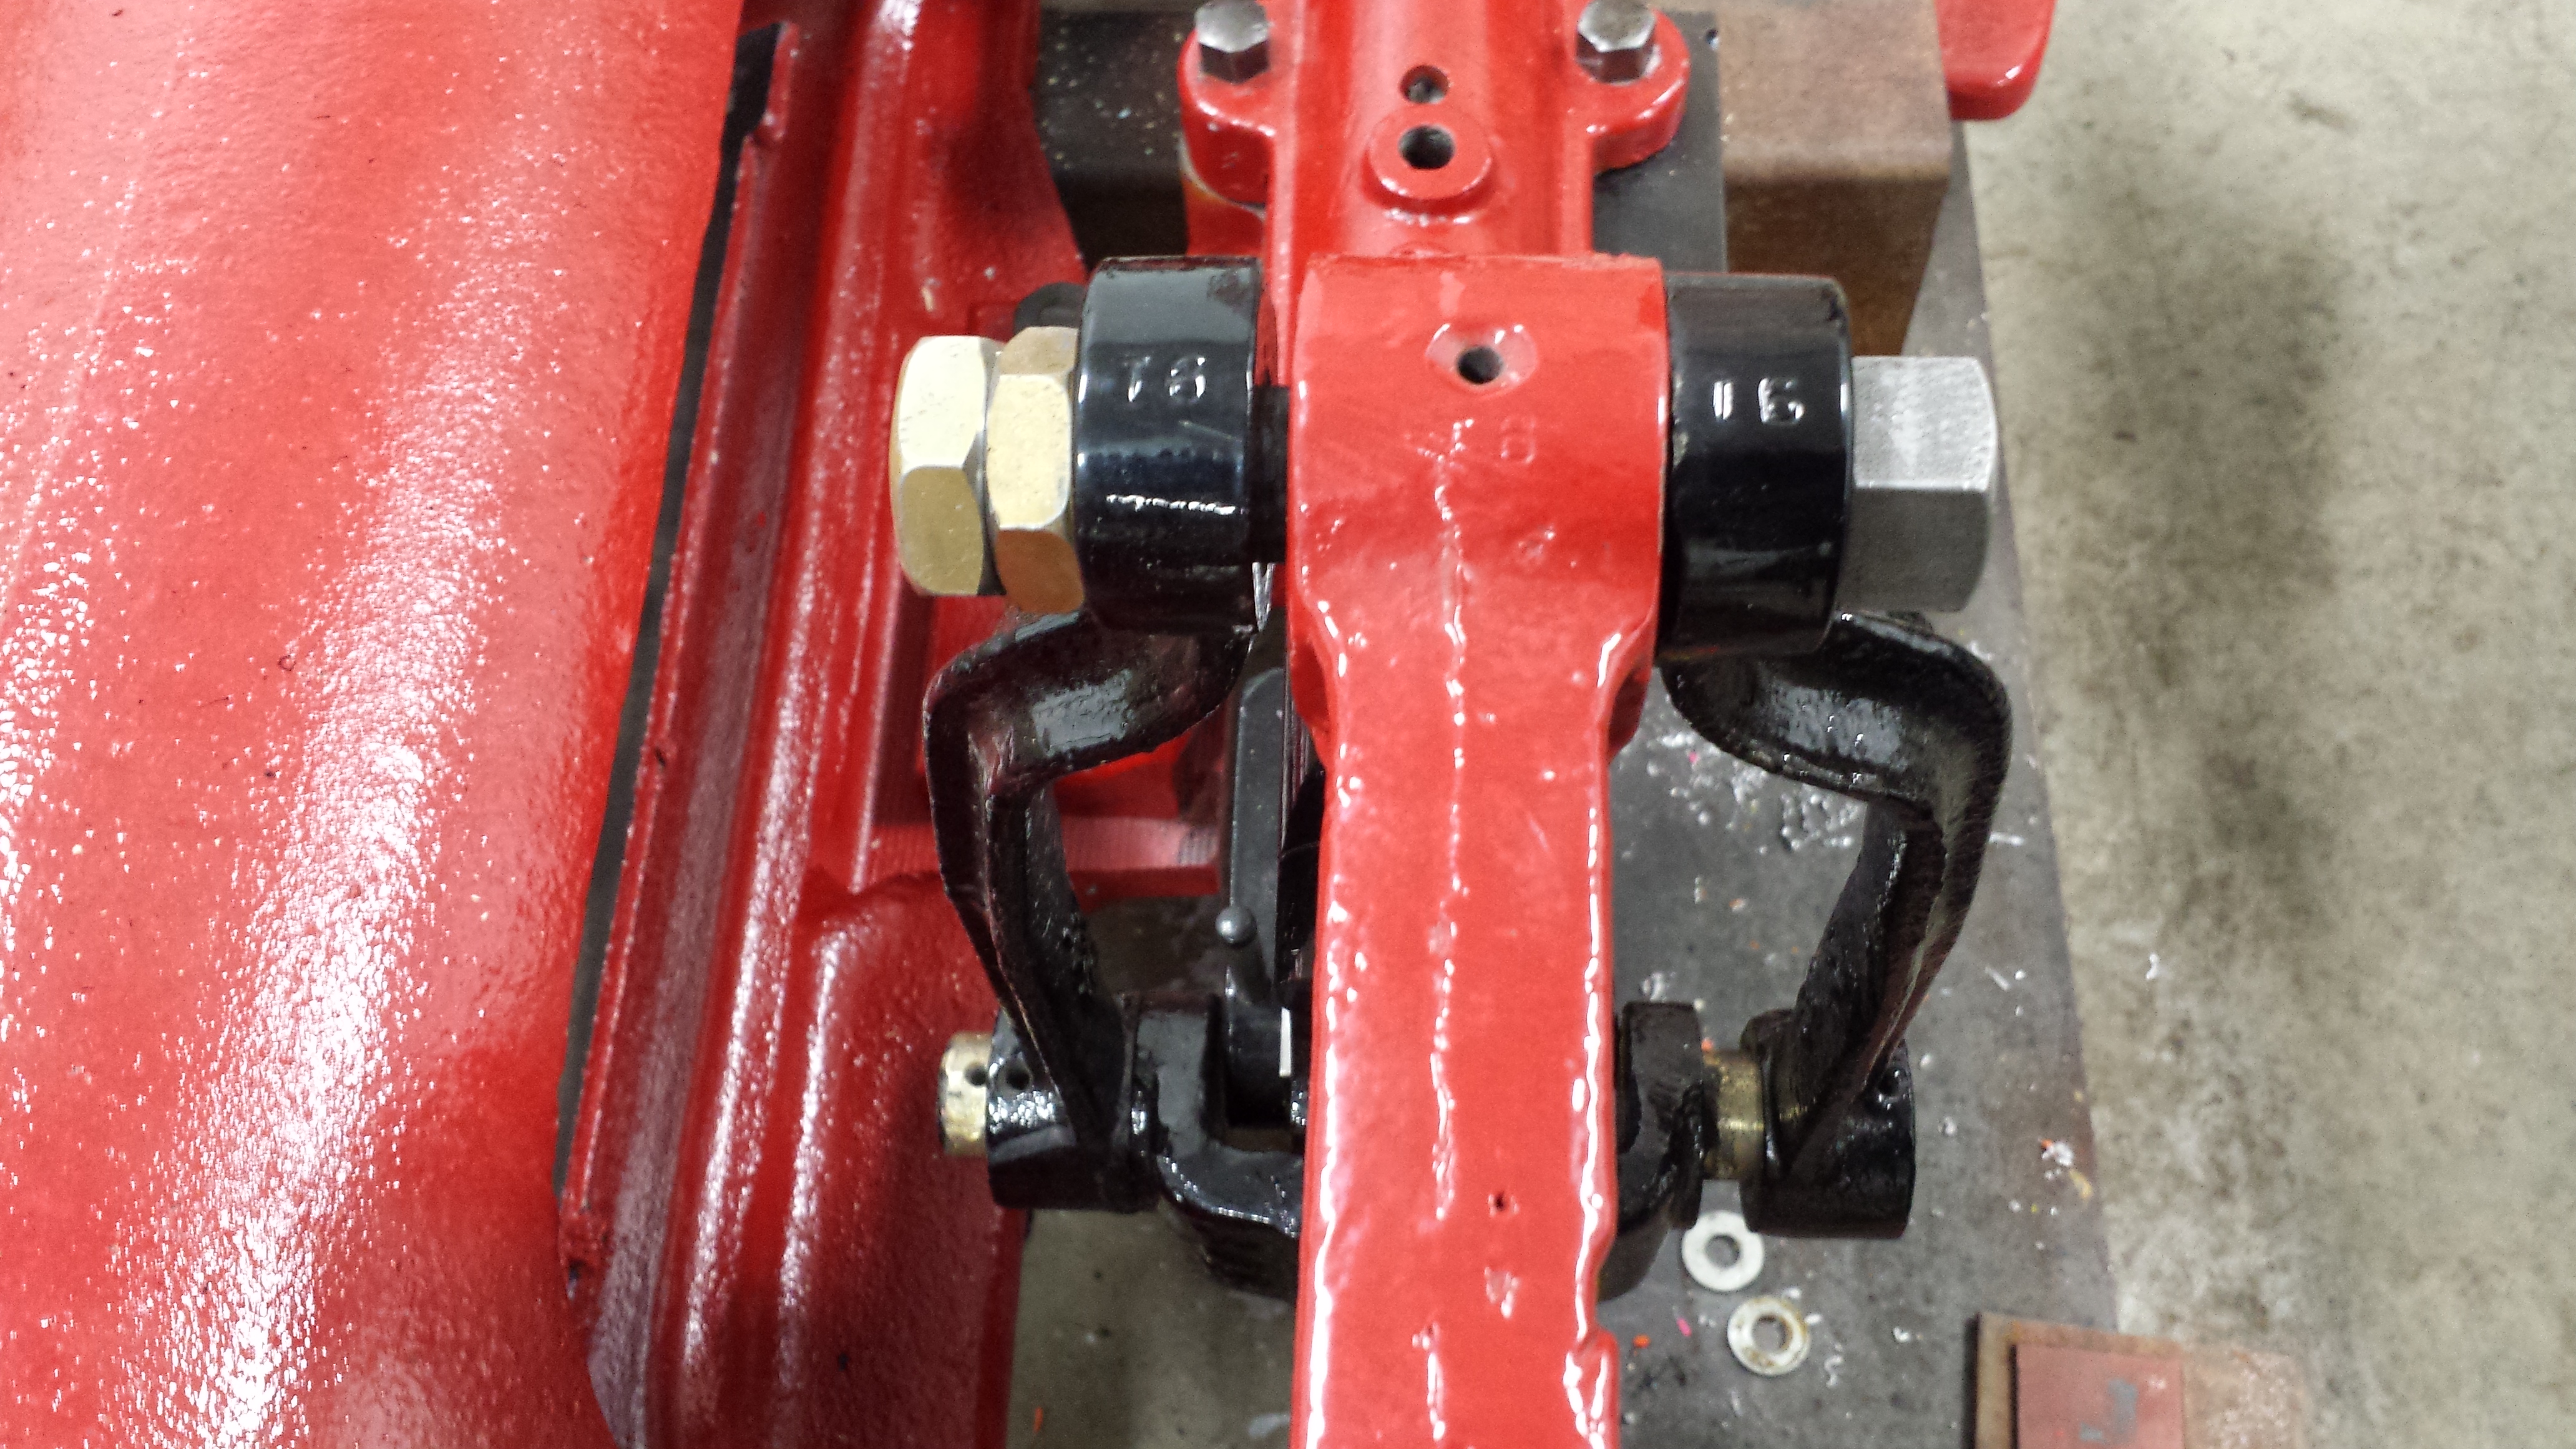
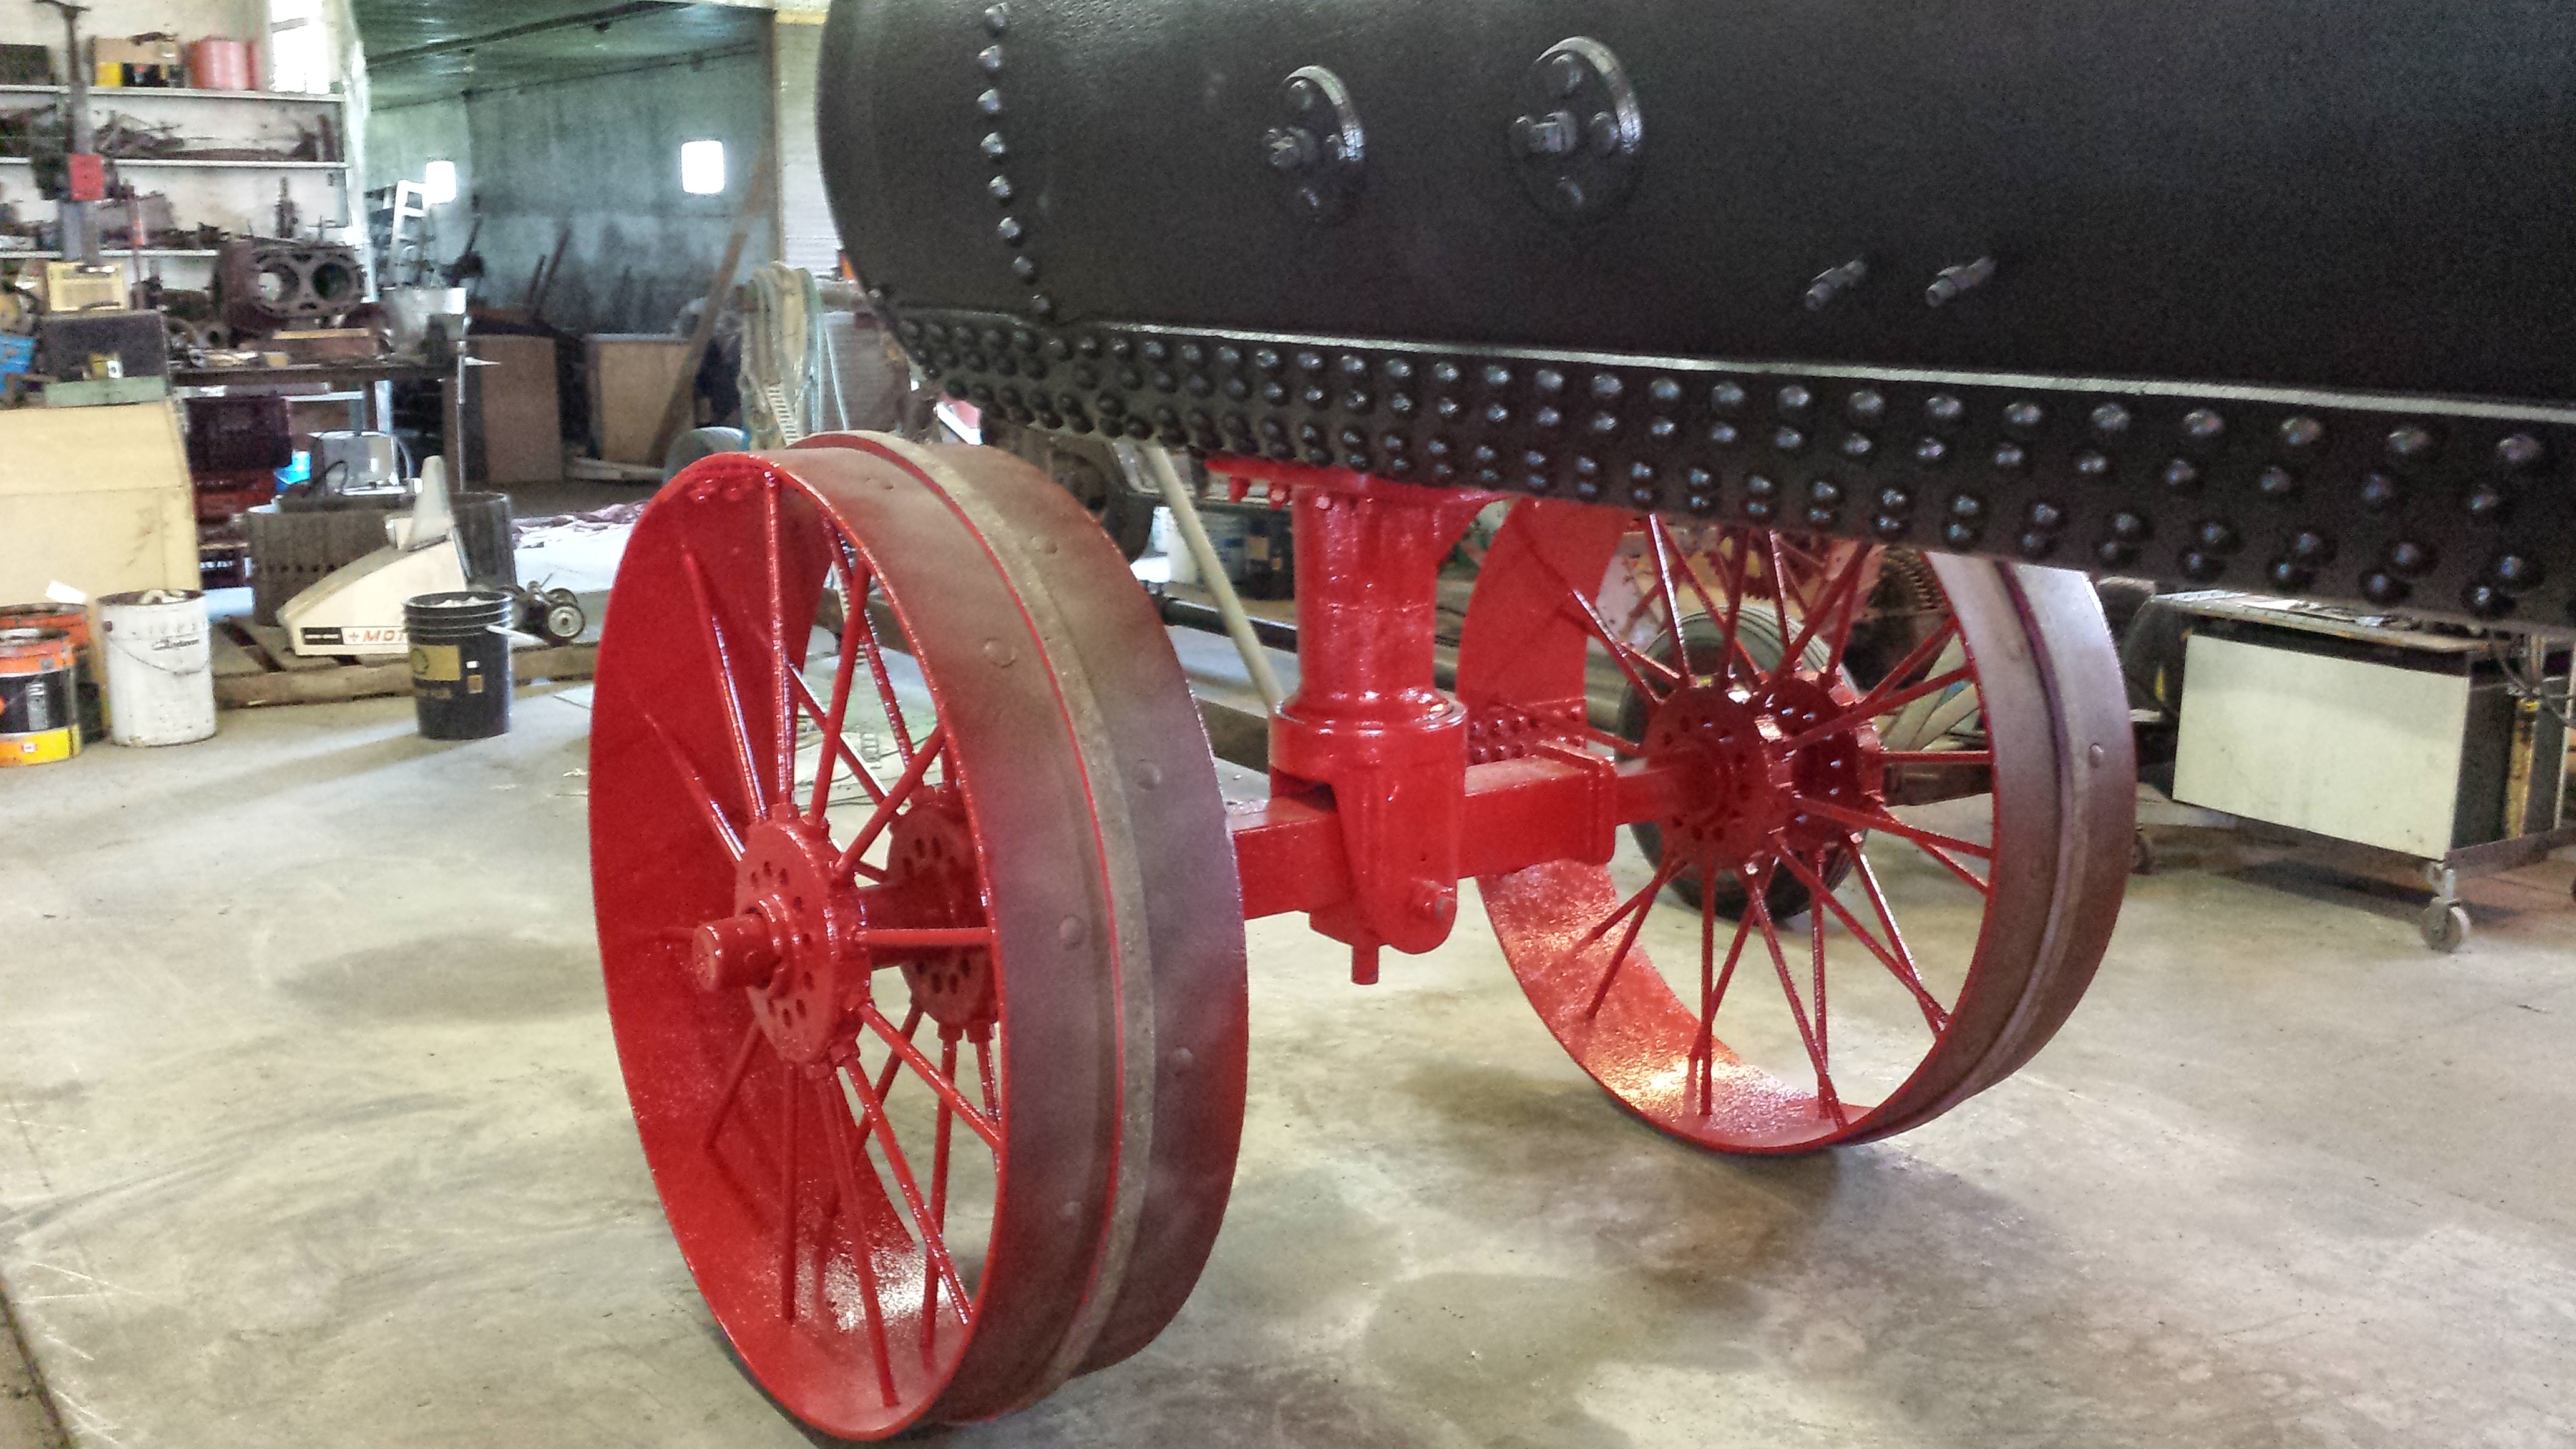
I don’t like pigeon-toed engines! Neither does Garth, so this engine is going to get a new front axle, after the front wheels are bored out. Here he is, working his magic. I sure like the looks of the finished hubs.
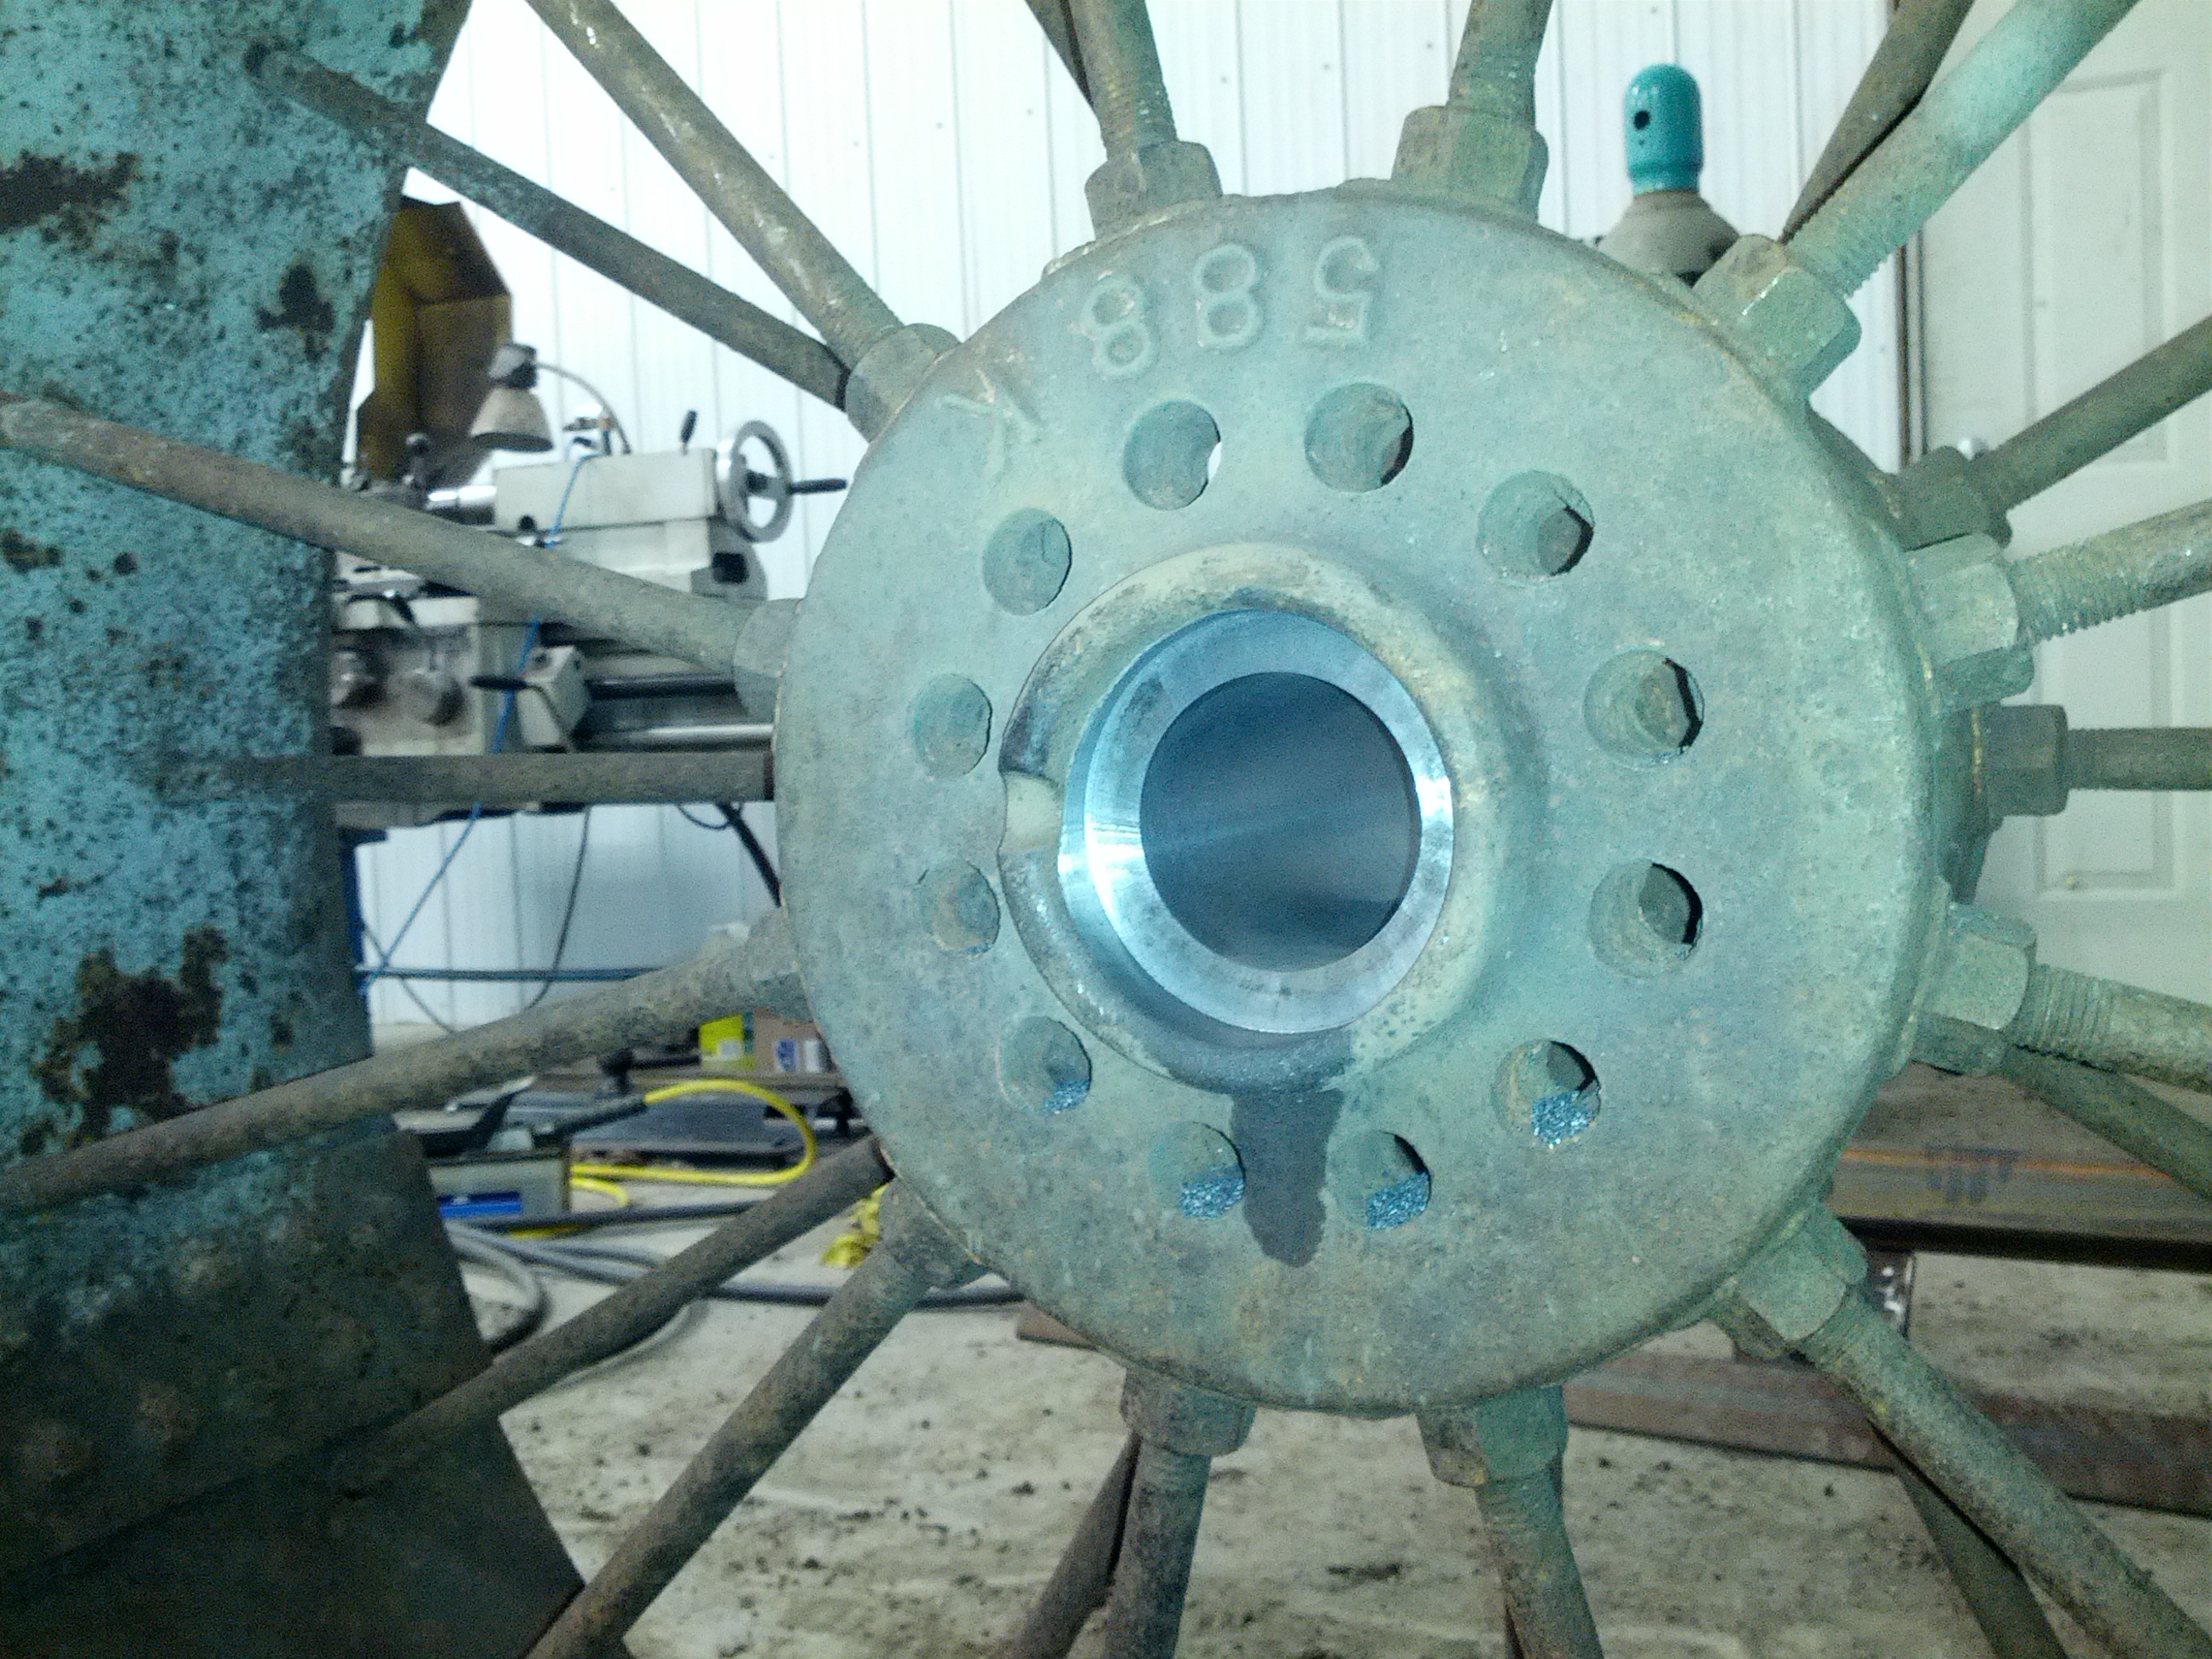
Both hubs were bored, too. Originally, there was a taper bore, but we changed this to a straight bore to make life easier. That shouldn’t impact anything here, so I’m not worried.
June 11, 2013
*sigh* Another surprise. The governor was supposed to be in pretty decent shape, pretty much ready to go. Broken springs, full of crud, and worn out parts would indicate otherwise. Off to the rebuilder, Zach!

It took an evening to just get it apart this far!
July 6, 2013
Finally, something nice and pretty to look at!
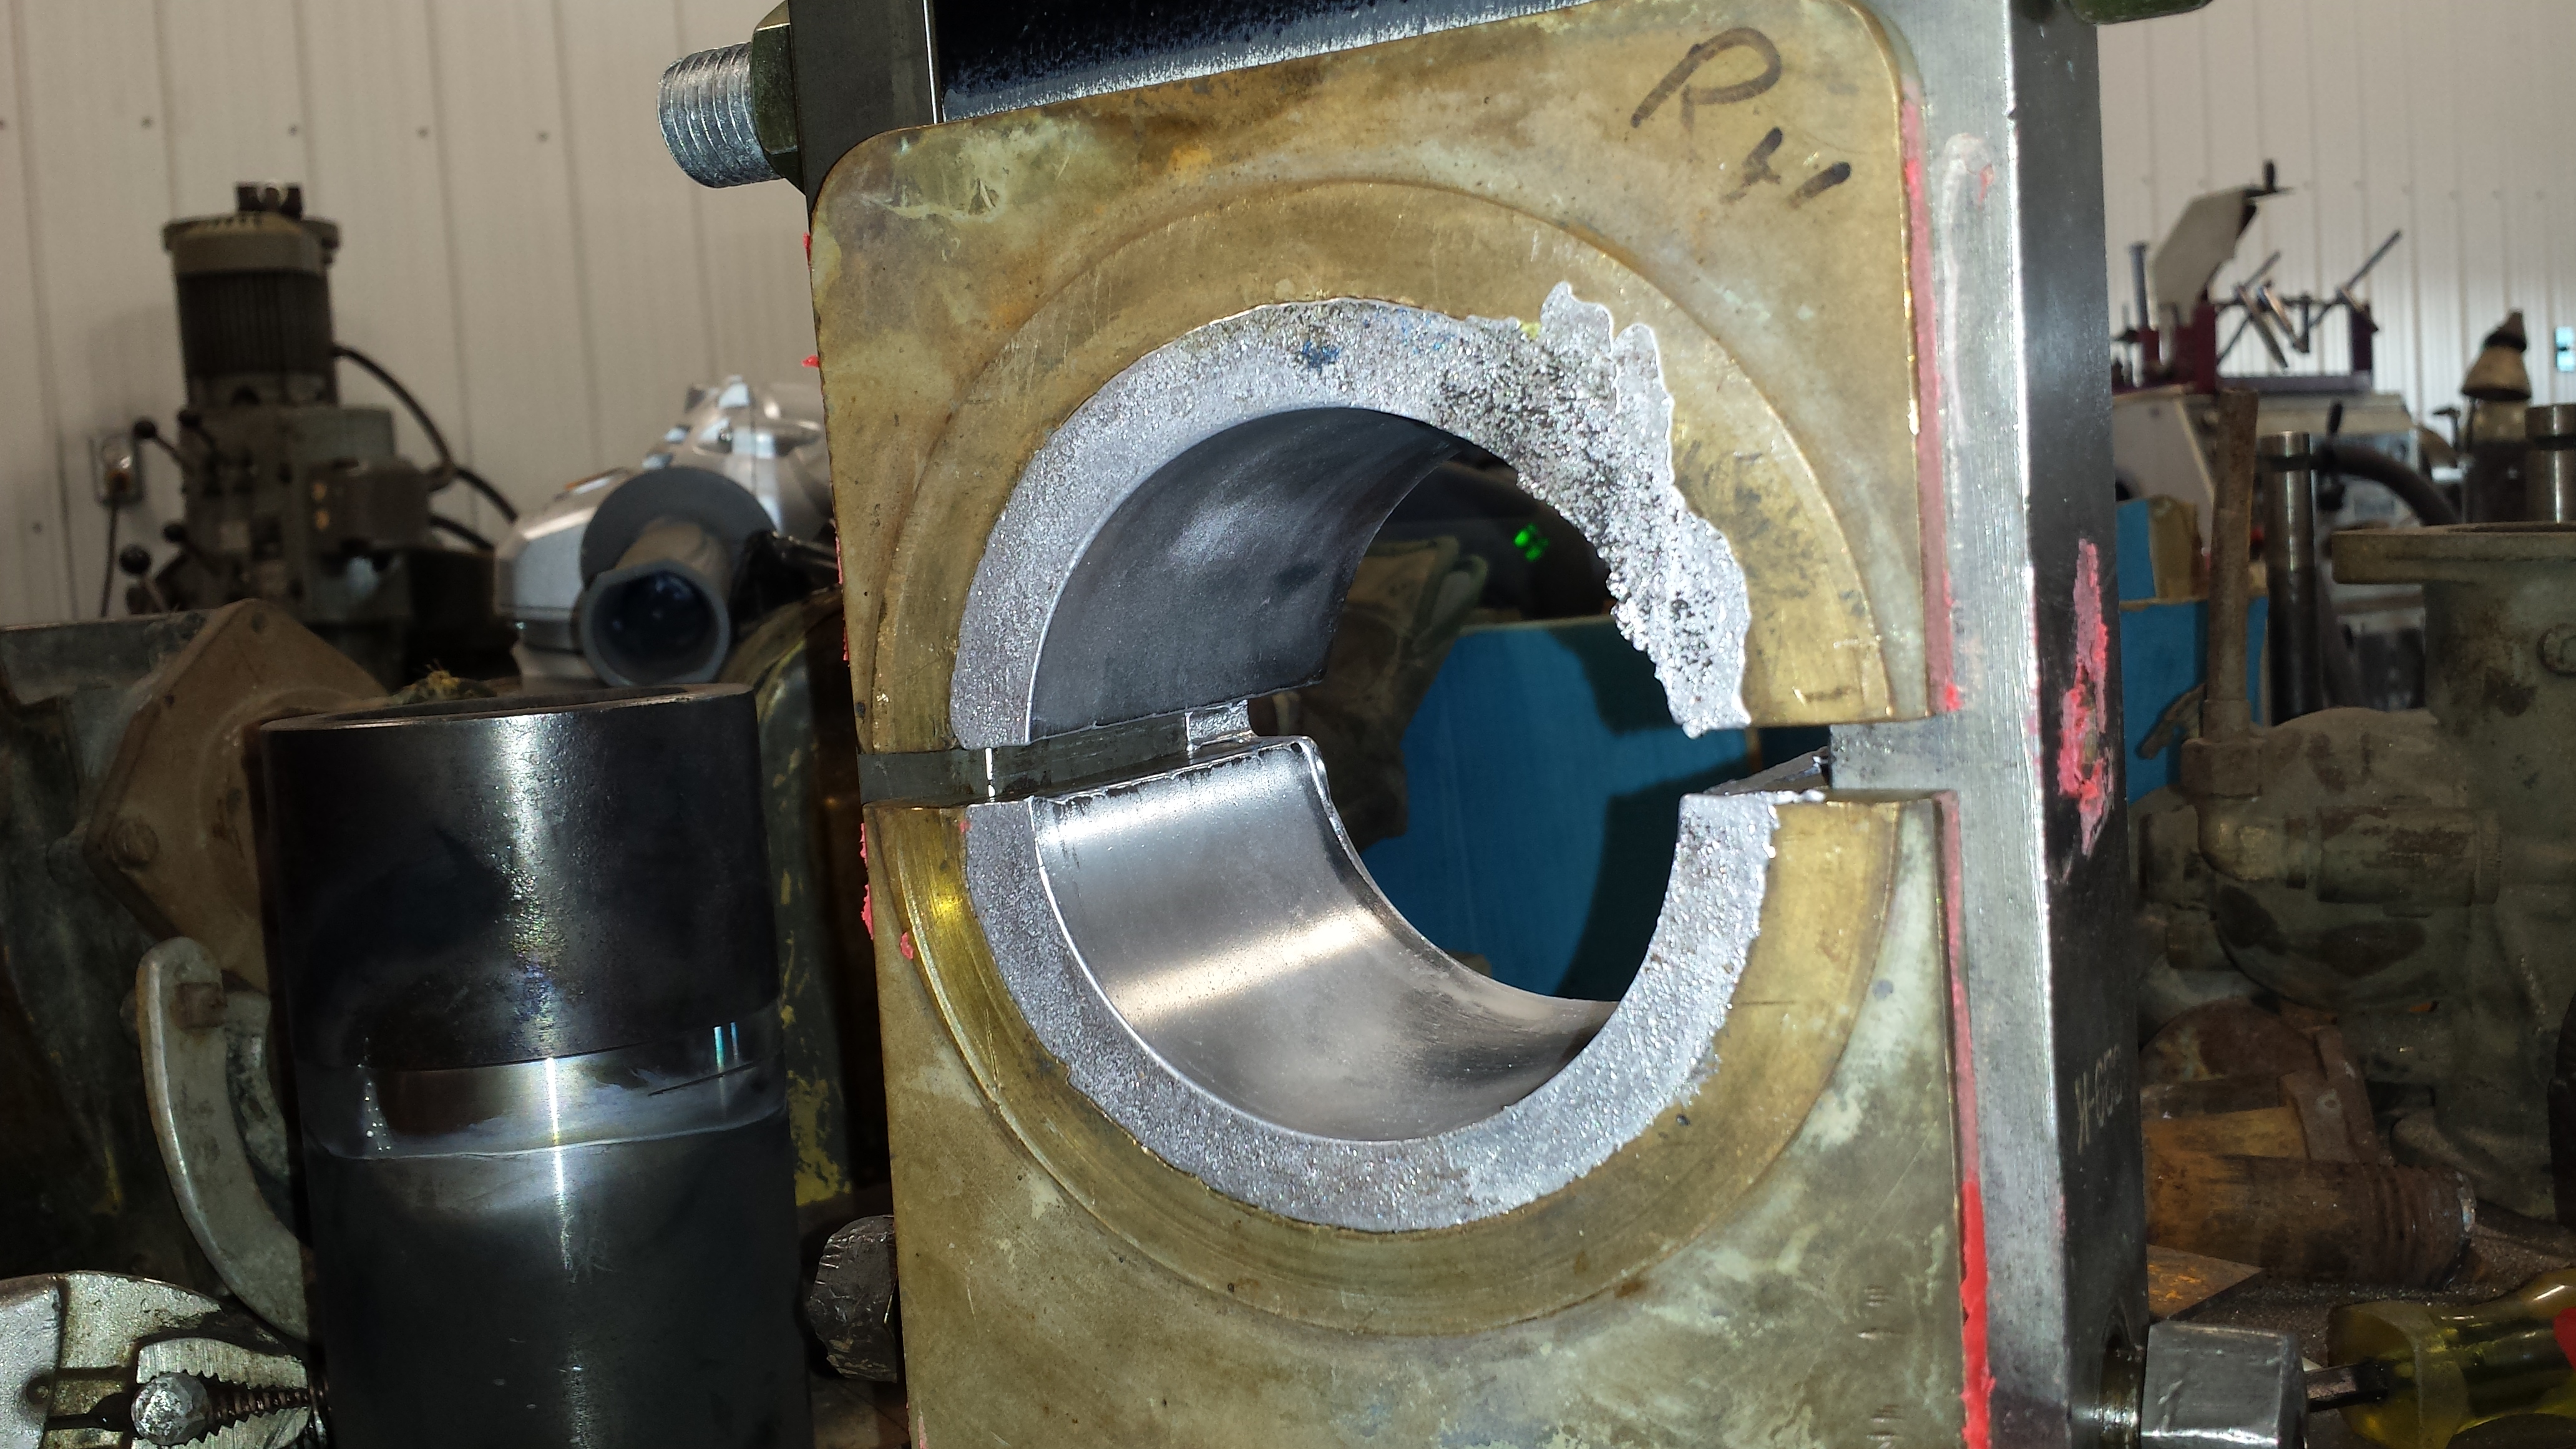
Ryan line-bored the engine beds, and also bored the cylinders. One cylinder was scored, but no cracks were found, so that is a good sign. The cylinder is cast together with the crosshead guides, so at least there’s no concern about misalignment there.
Here’s one of the attachments that Ryan made up for the boring.
Ryan was clear, this was better, harder cast iron than the Case engine parts he machined up for me a few years ago. There really wasn’t much wear on these parts either, so if that’s any indication, we shouldn’t have to worry about this for years to come.
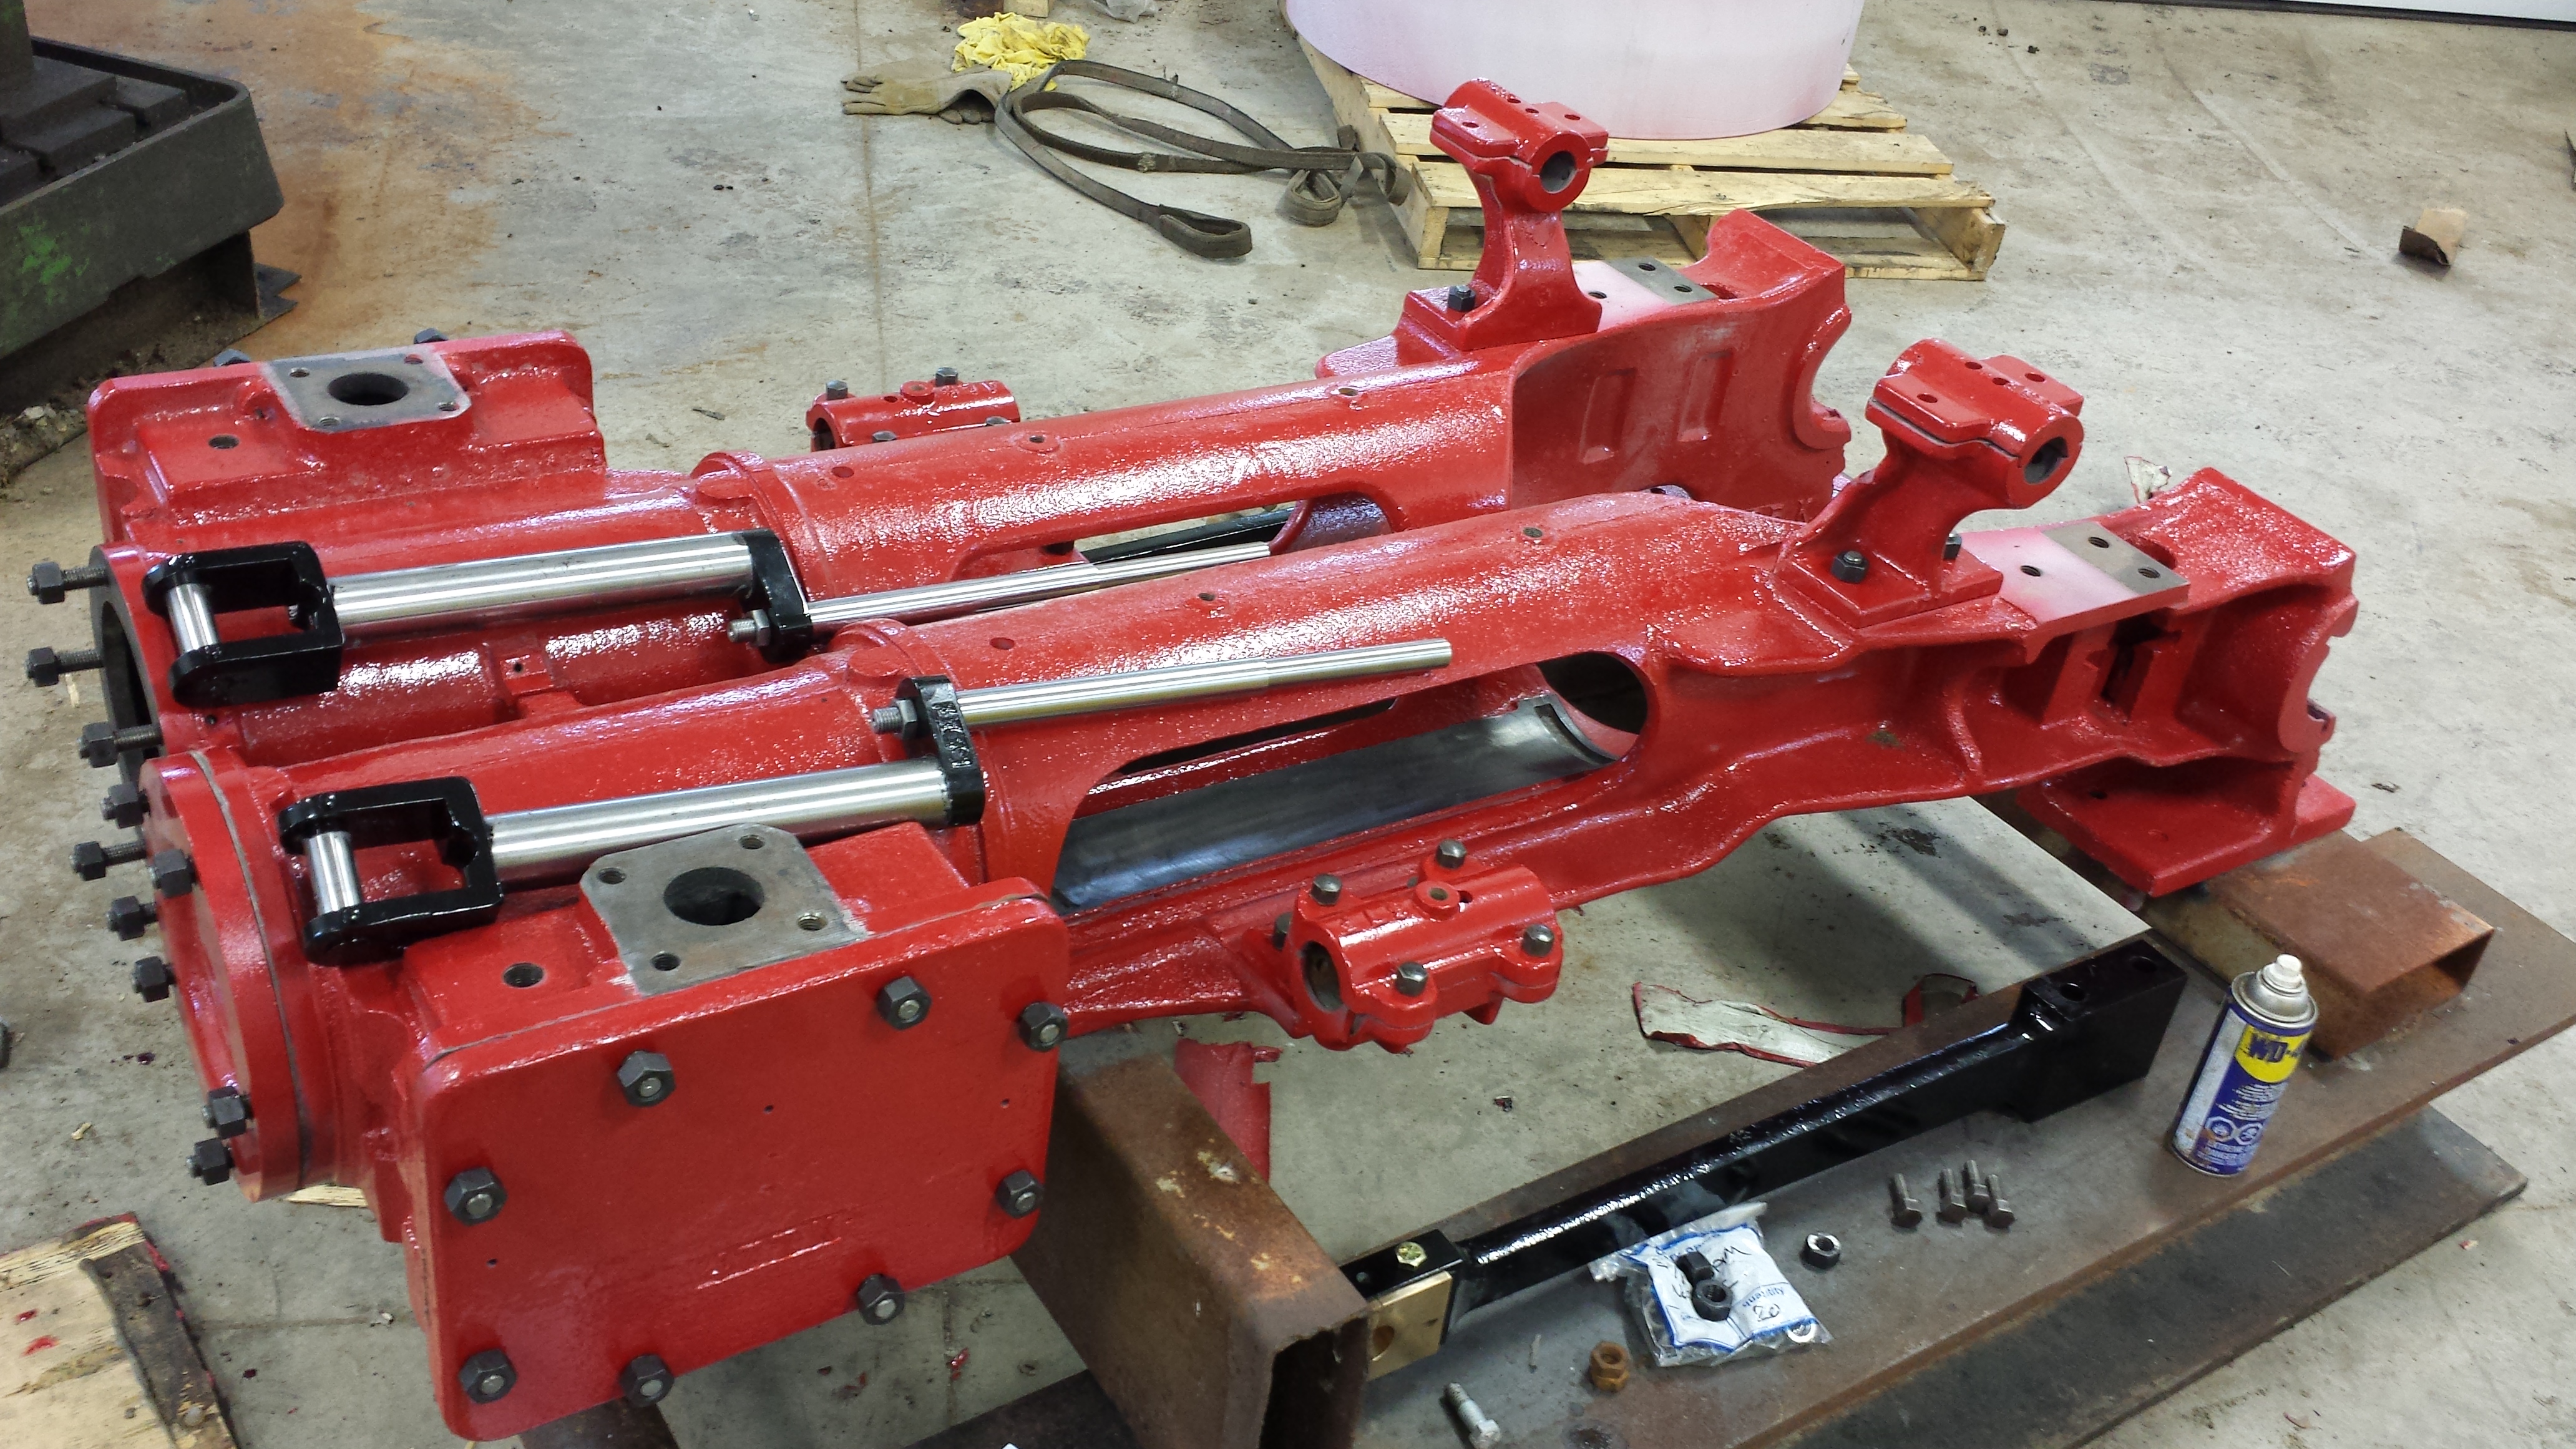
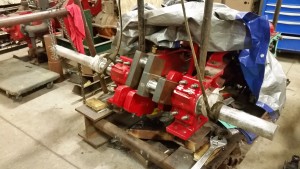
Bruce painted up these parts. Now time for some assembly!
…And for that, the engine is bolted onto a stand. Garth used this stand to build his Rumely E engine, and the dimensions are pretty good for this motor too. I’m thinking it’ll be a whole lot more convenient to build it here, set the timing, etc. than to assemble it while it’s on the engine. That’s certainly one very good thing about this Gaar Scott design.
July 6, 2013
Here’s some more pictures of the beginnings of the motor assembly!
Ryan also faced the D-valve seats, as well as the D-valves themselves. The ports seemed in really nice shape, so I asked him if he had machined those too – nope, Gaar Scot must have machined these ports when the engine was first built. That’s a nice touch to detail and should give it nice, precise valve cut-off, etc.
Norm had made new D-valve rods, and cleaned up the original valve guides too. Bruce is also credited with more painting here.
July 11, 2013
More sub-assembly work!
August 8, 2013
Well, we’re back from Manitoba with more freshly painted parts!
Norm had re-bushed the pulley assembly that goes on the reversing rod, so he also made up a new for it too. So far, it’s just figuring out where all these parts go, so I can get them assembled on the right side of the engine, etc. These engines are essentially mirrors of each other, yet it’s clear that one part always fits better than the other on one side of the engine or the other. Many are interchangeable, just fit “better” than the other.
August 11, 2013
Completed reversing lever assembly, with new keys.
August 26, 2013
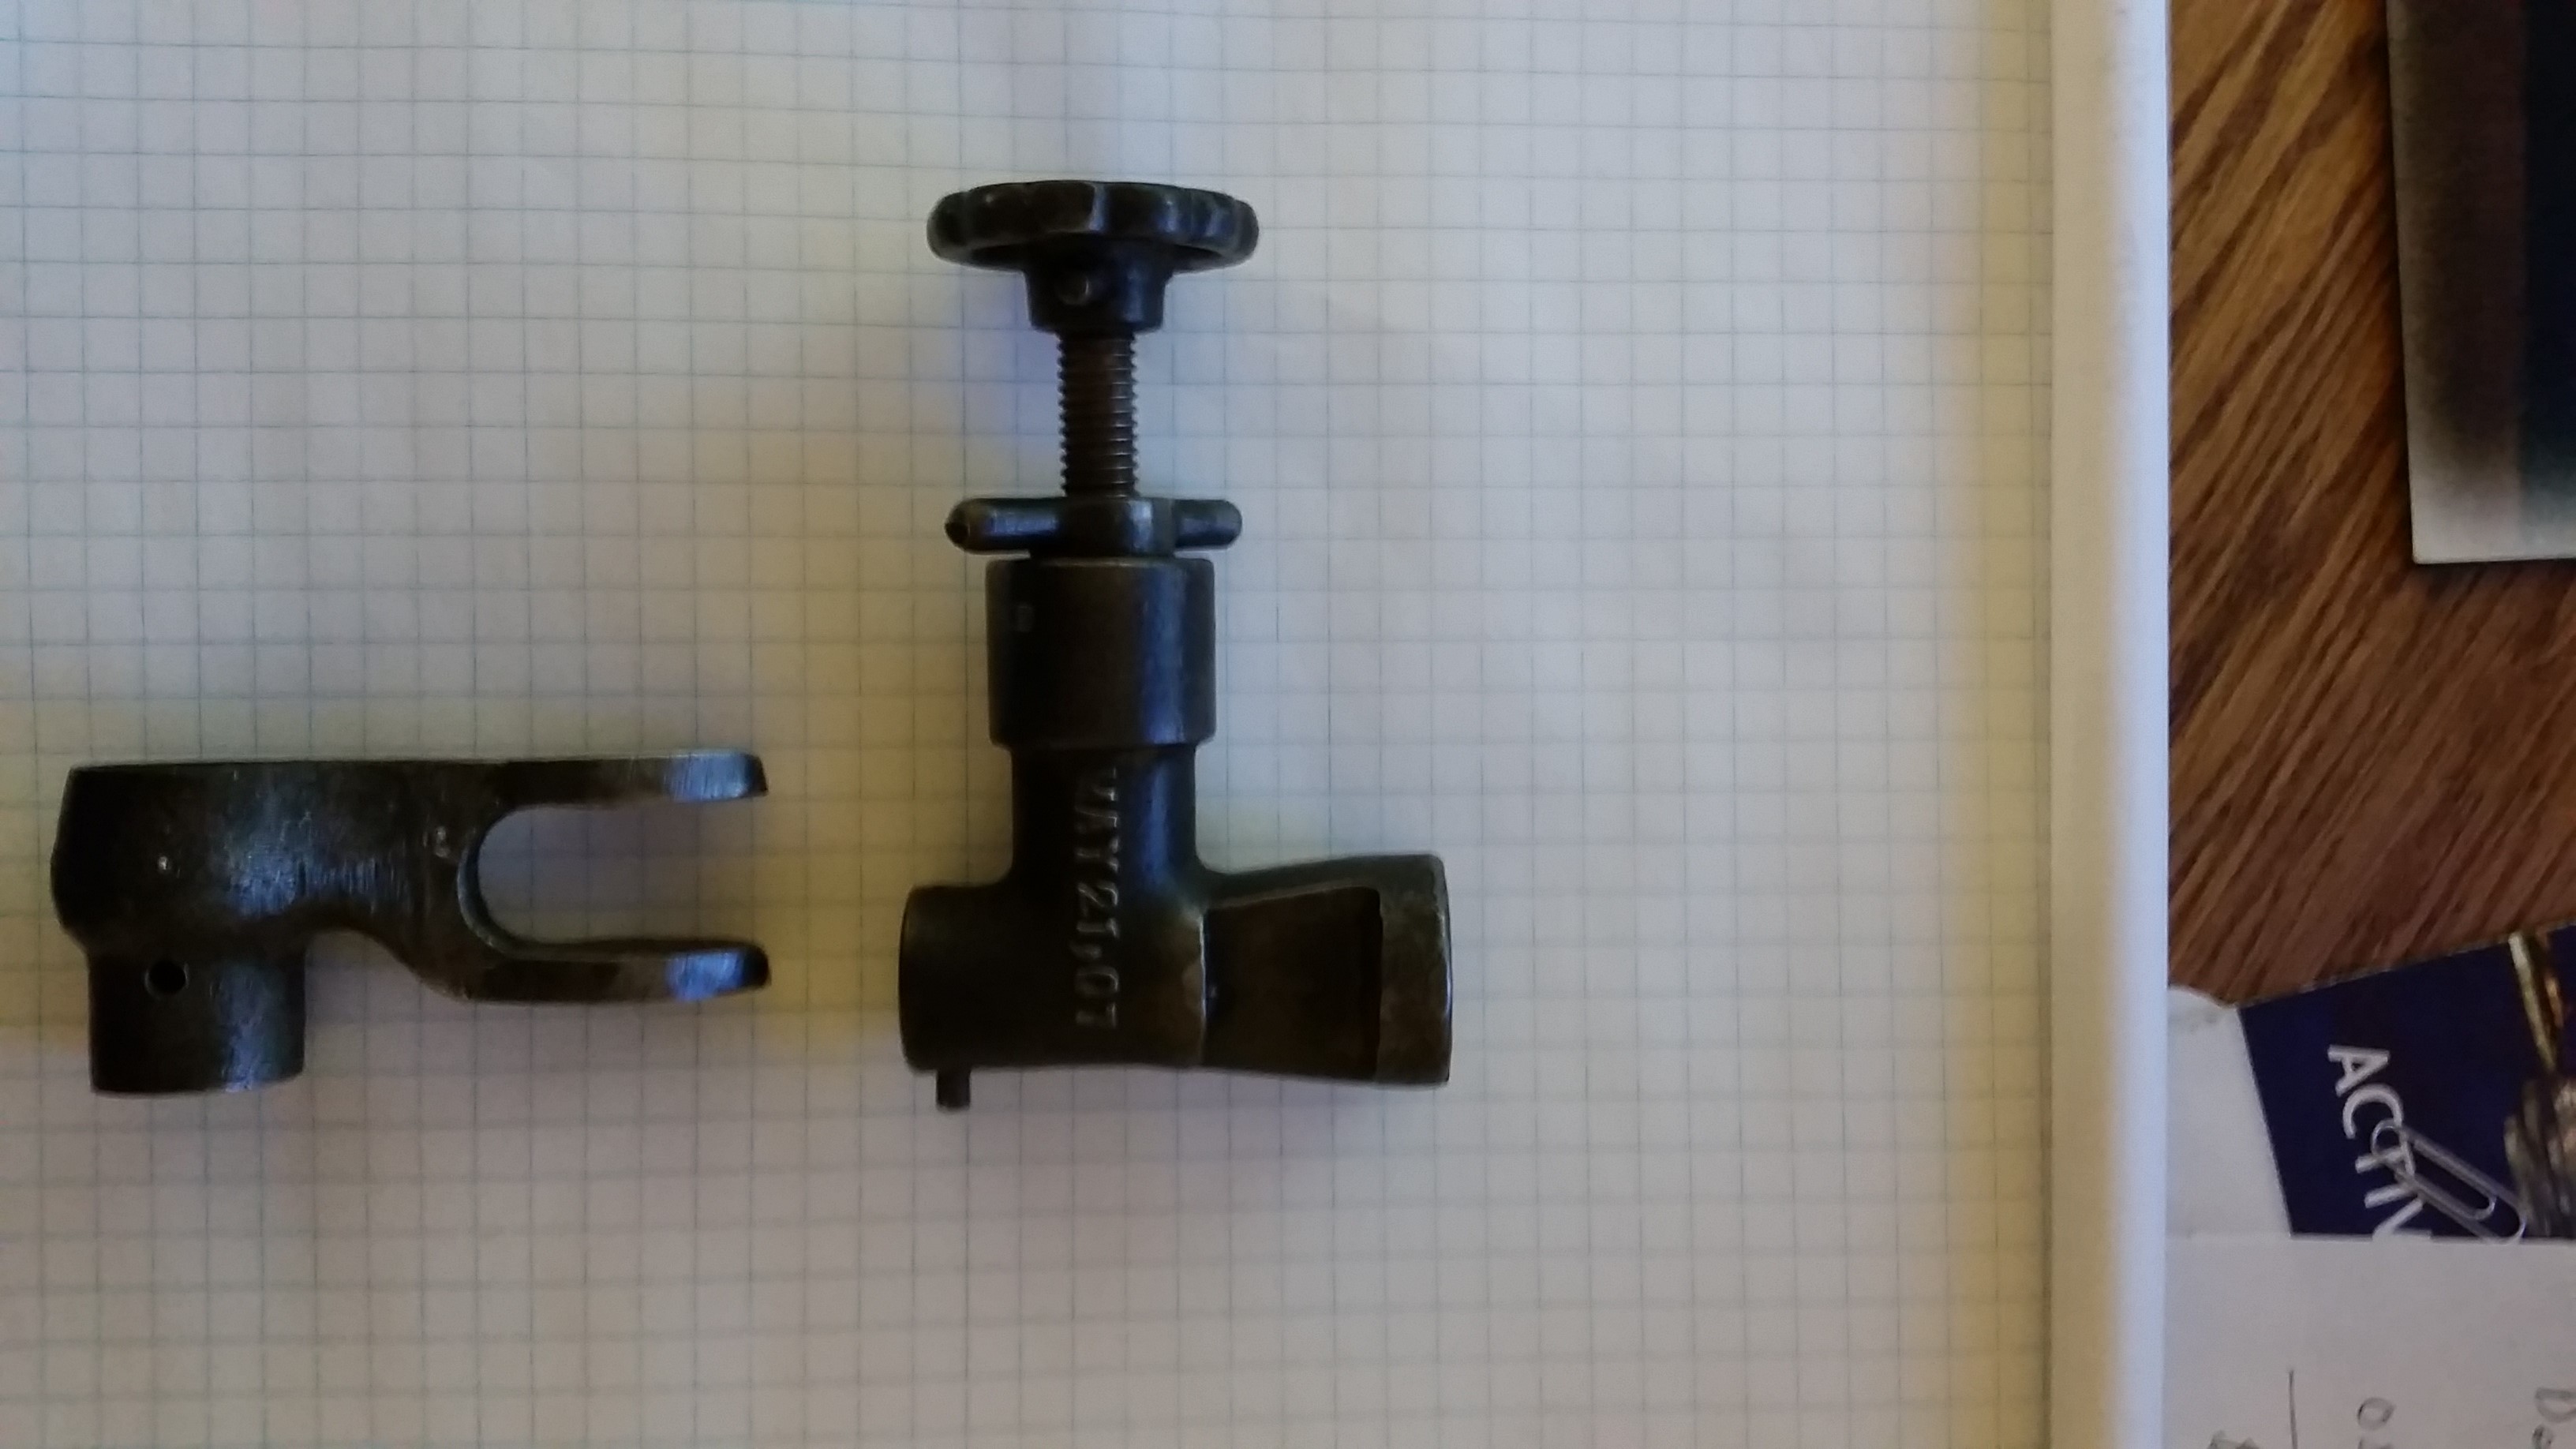
More of Norm’s great work completed: the drain cocks for the cylinders are all remachined and ready to go. Nice to find a pair of correct originals!
September 9, 2013
A bit more work on the quadrant shelf: I needed to cut notches in for the different positions. I cut out the bulk of it, then filed them so that the quadrant lever lock would fit tightly, but not all the way down, so that there’s room to wear in the years to come.
September 17, 2013
More slow but steady progress.
September 21, 2013
I had the original tin that holds the insulation on top of the cylinders, so I was able to clean that up and paint it. Garth and Denise helped me install it – it was a bit tight because of the insulation that Garth had. It feels good to have that done, it’s another step in the right direction.
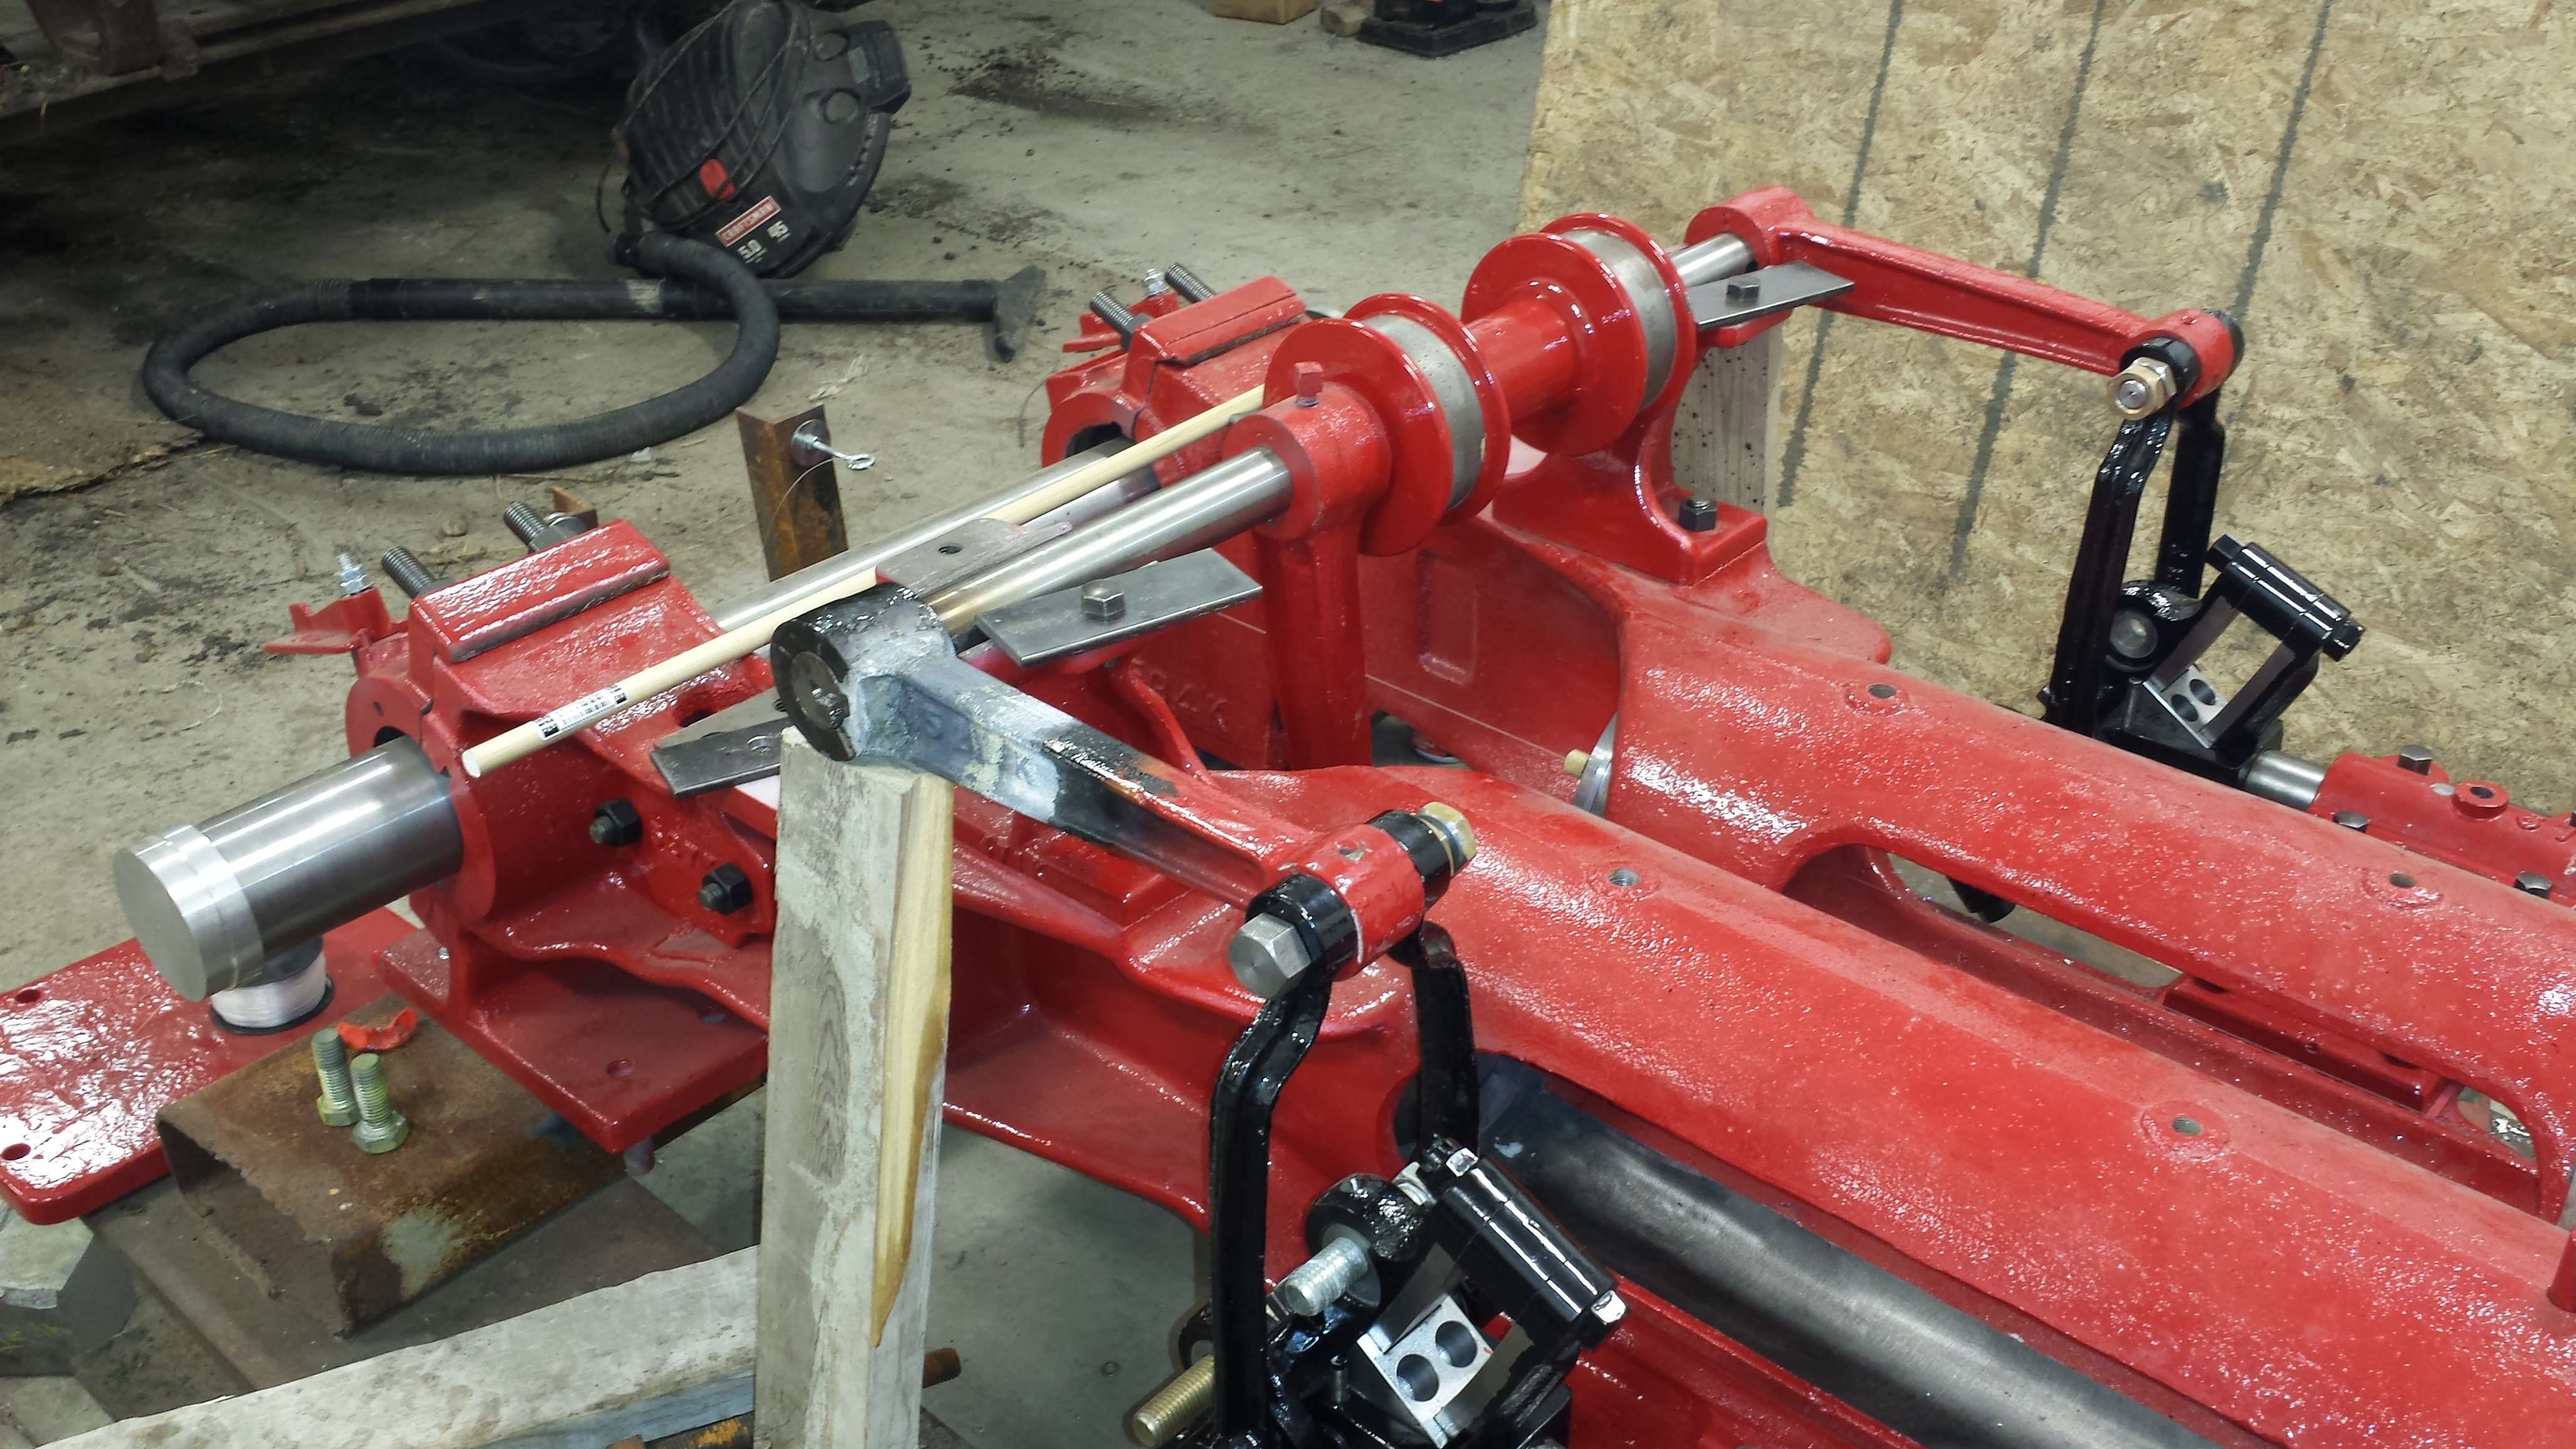
I am also able to start jigging up the motor to set the crank. Since the engine is separate from the rest of the engine, I can line it up precisely on the stand. Garth helped here too, and came up with an idea for a dummy crank, using the original line-string approach to squaring the motor.
September 24, 2013
Progress on squaring the motor.

It’s surprising how good everything is lining up. I didn’t know for sure how parallel the 2 cylinder bores were and they were as close as I could measure with the jig here, which is a good sign.
October 13, 2013
I’m still lining up a lot of the motor here. I am doing trial assemblies to make sure that the positioning of all the parts make sense before I pour any babbit.
So far, everything is making sense, but some parts definitely belong on the right-hand motor, and others on the left-hand motor.
October 23, 2013
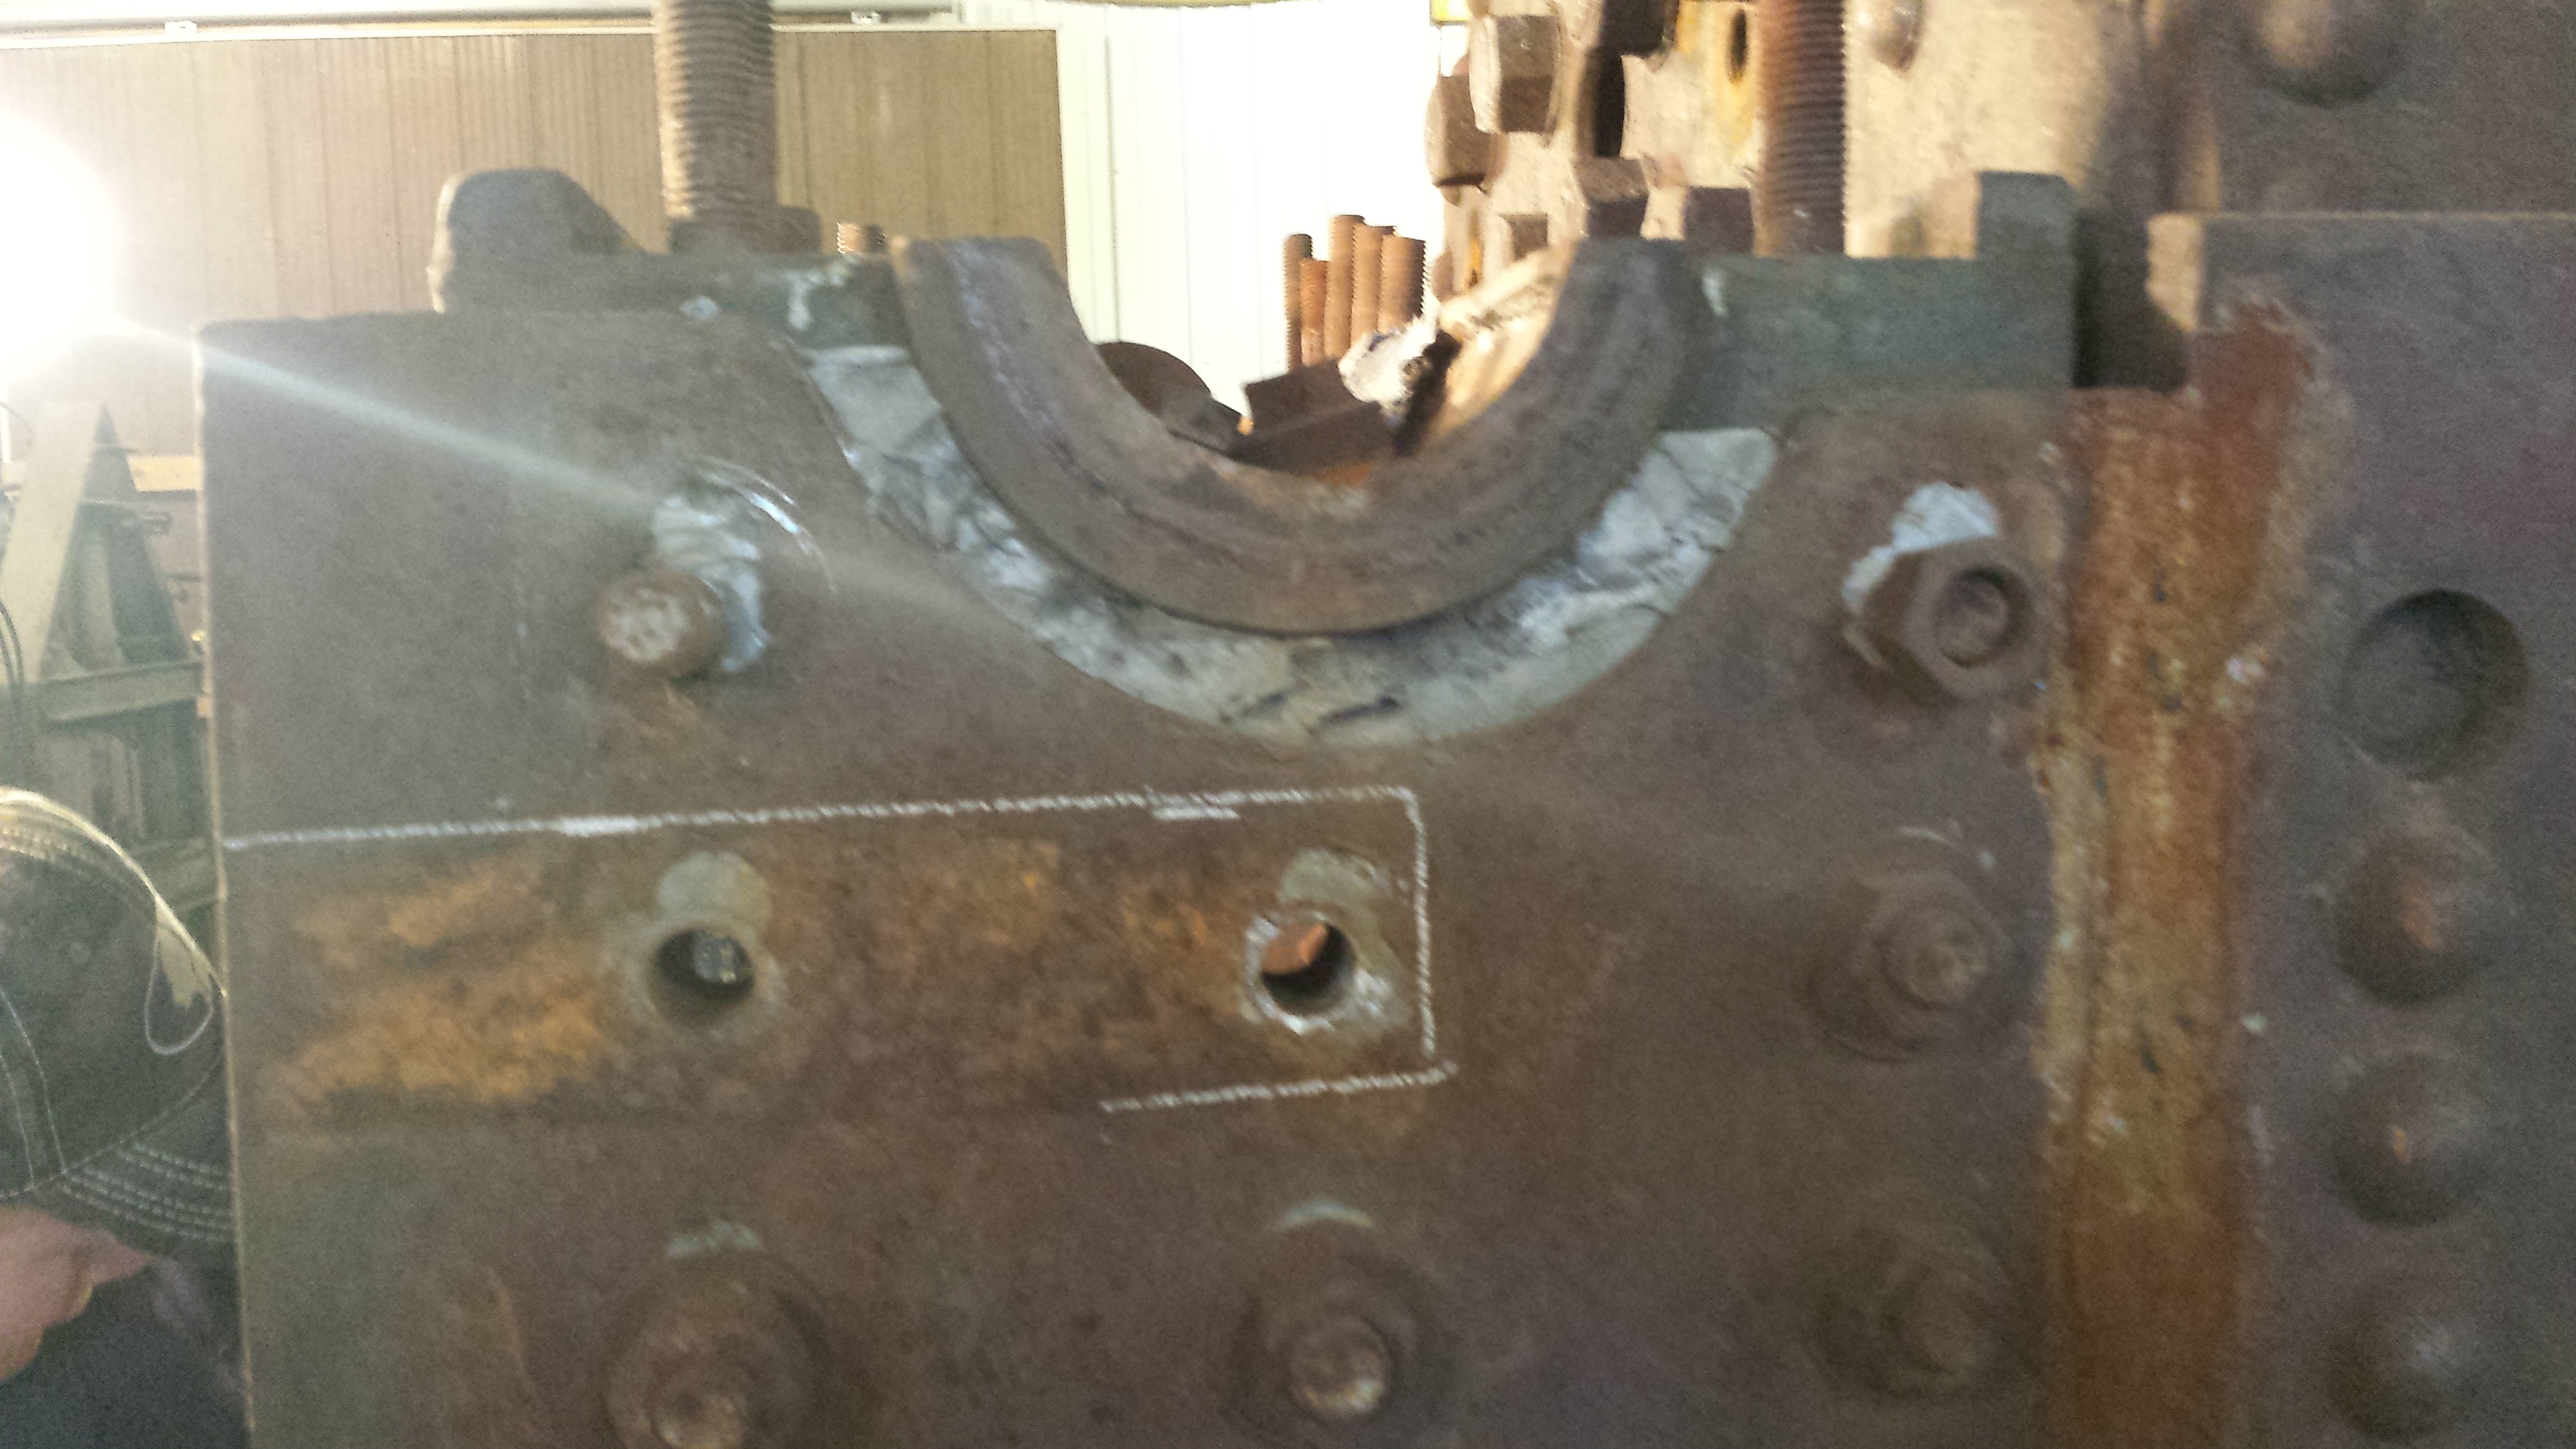
The other thing that I’m realizing, is that the engine builders planned for close tolerances. Everything seems to be positioned where it wants to be, and I’m not having to grind out any castings like I did on the Case project, but there certainly isn’t any extra room. Also, the bearing caps, everywhere, expect shims. Depending on where it is, the shims are either from 1/8″ to 1/4″. This matches what I saw when I took it apart, it’s just surprising that this engine couldn’t be set with no shims.
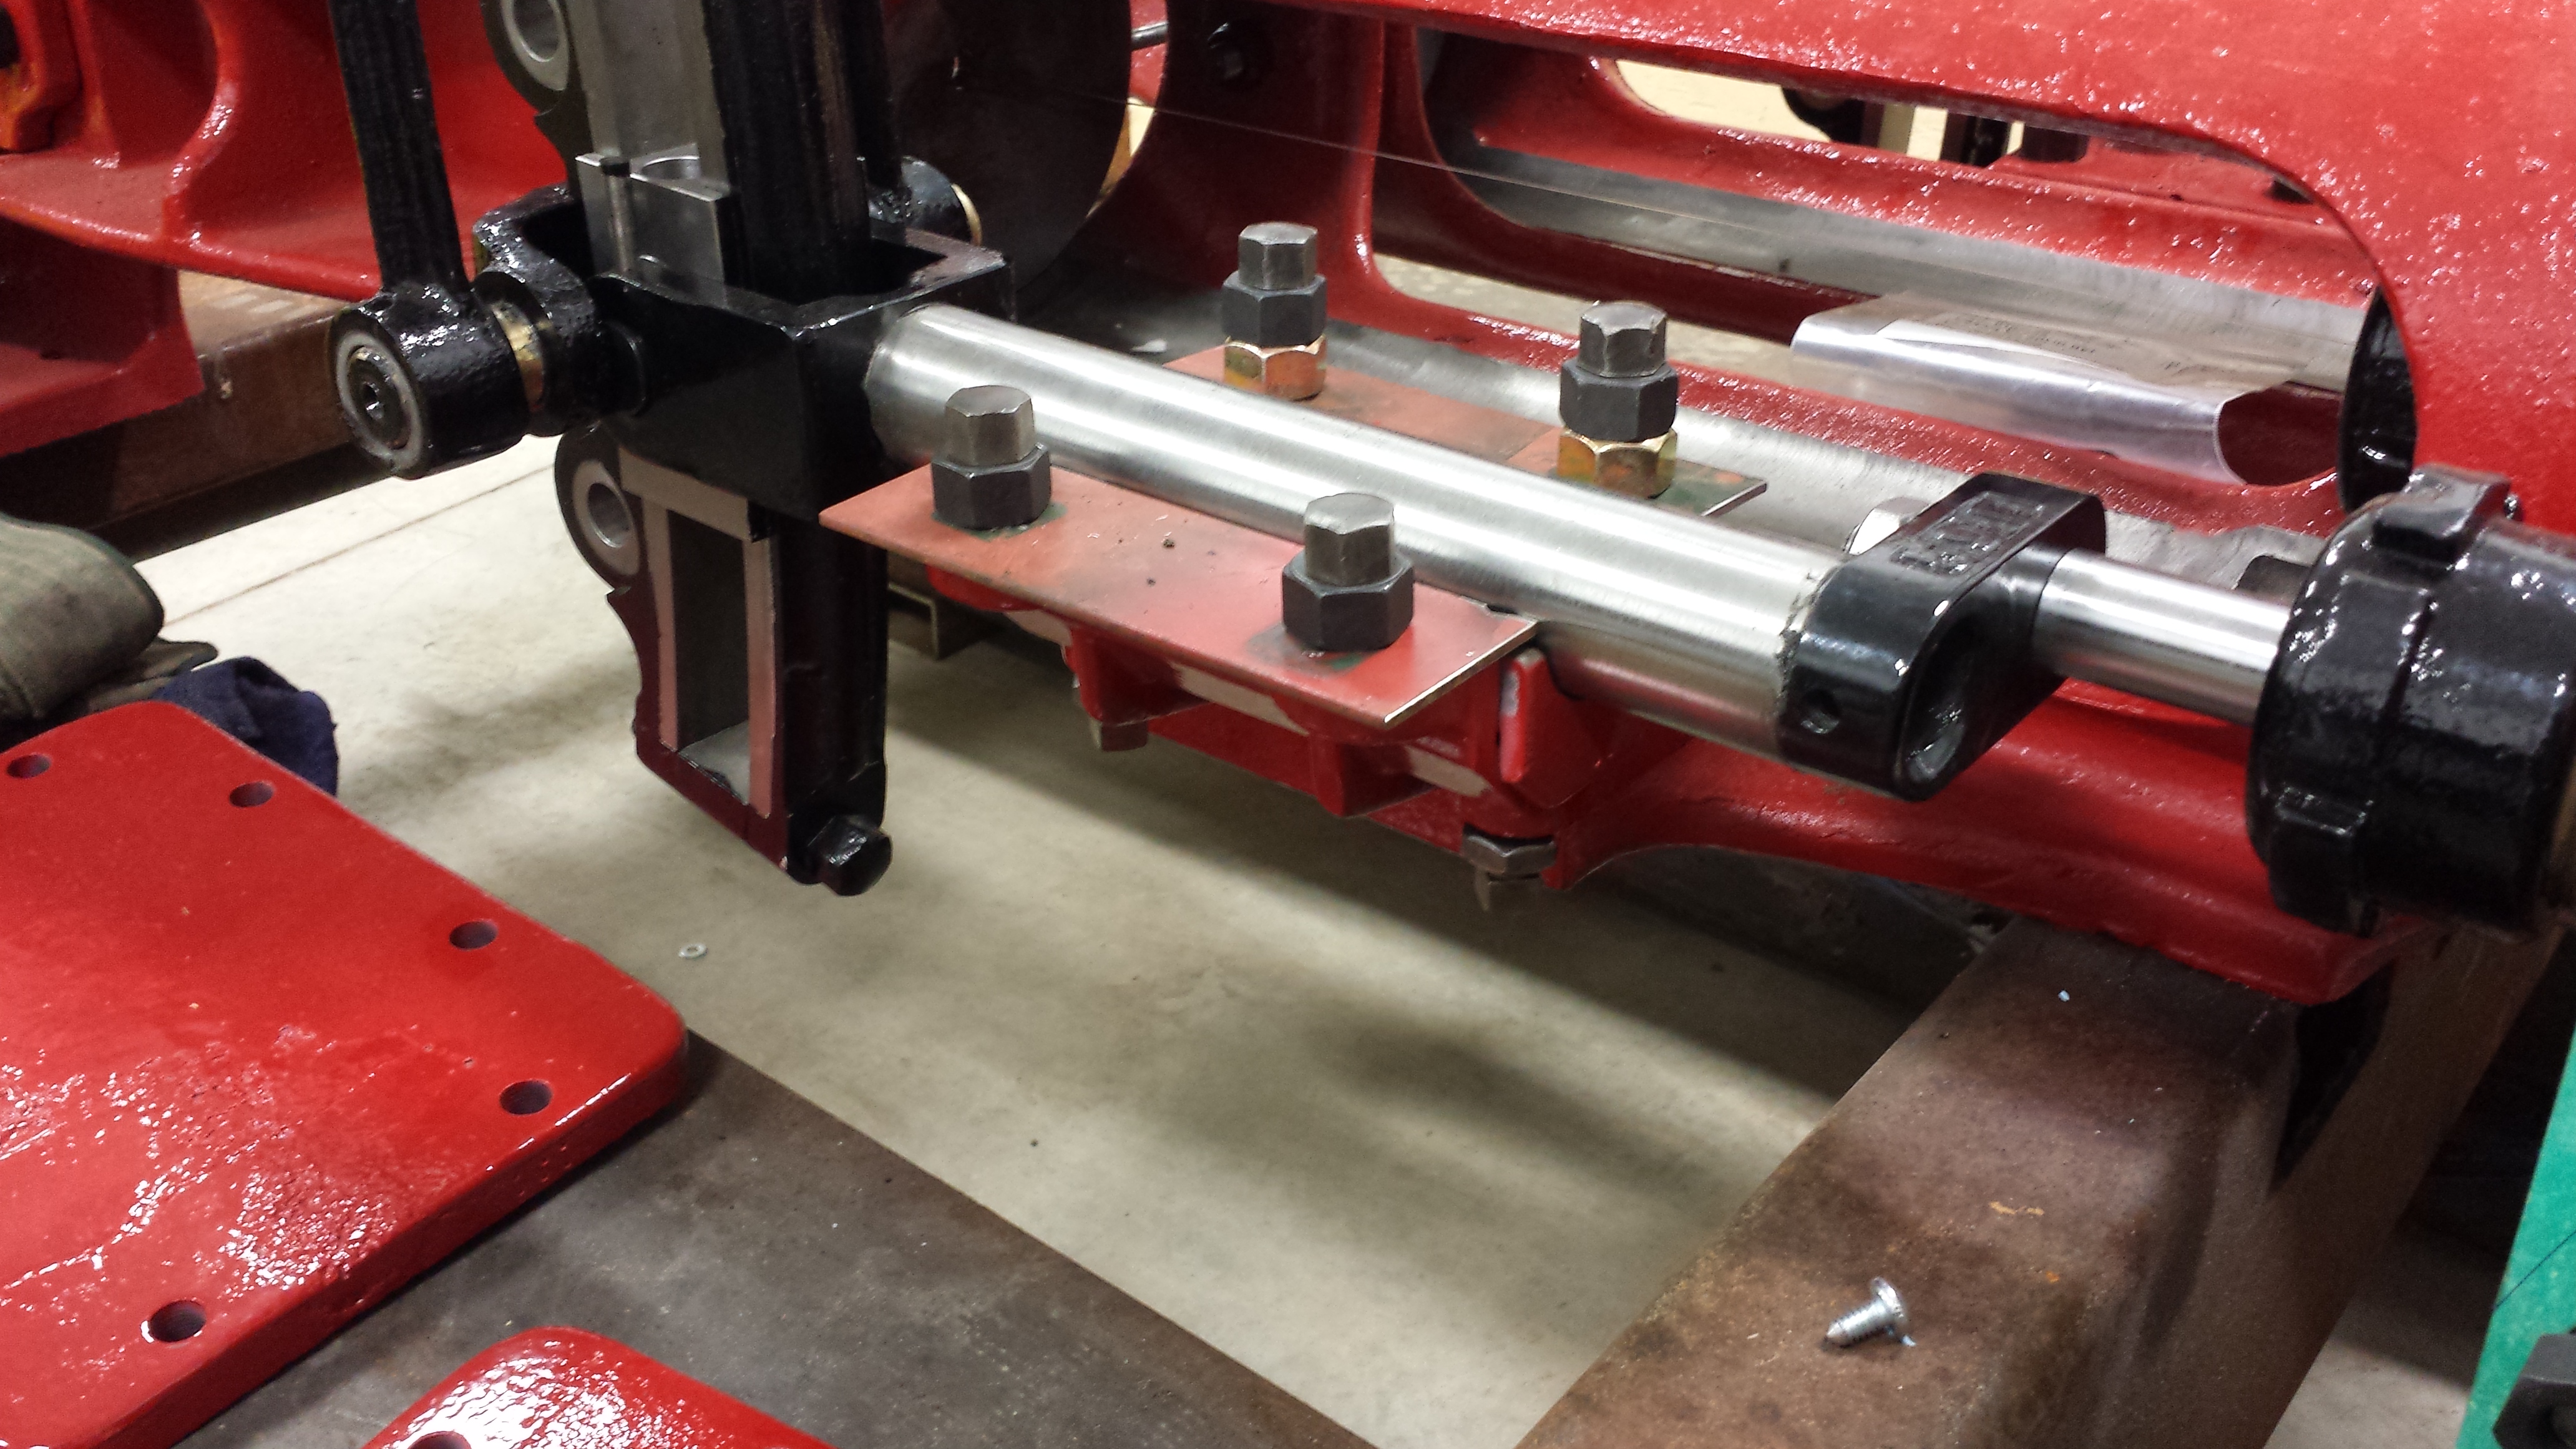
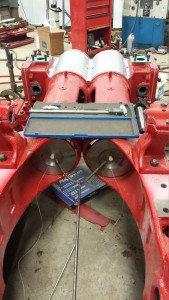
Getting ready to pour some babbit! I’ve assembled the valvetrain right from the D-valves through to the reversing lever. This way, I can make sure that there’s no load on the Stevenson links when they travel through their motion. I also double-checked and confirmed that the valvetrain assembly is square to the piston/crosshead bores – everything is looking good!
October 24, 2013
As a rank amateur, I’m pretty happy with this pour! I had heard that Play-Doh can be used as a babbit dam. We used regular flour and water on the Case, but this was more convenient – and it worked! And it cleans up better too.
November 2, 2013
Everything is cleaning up well after the pour.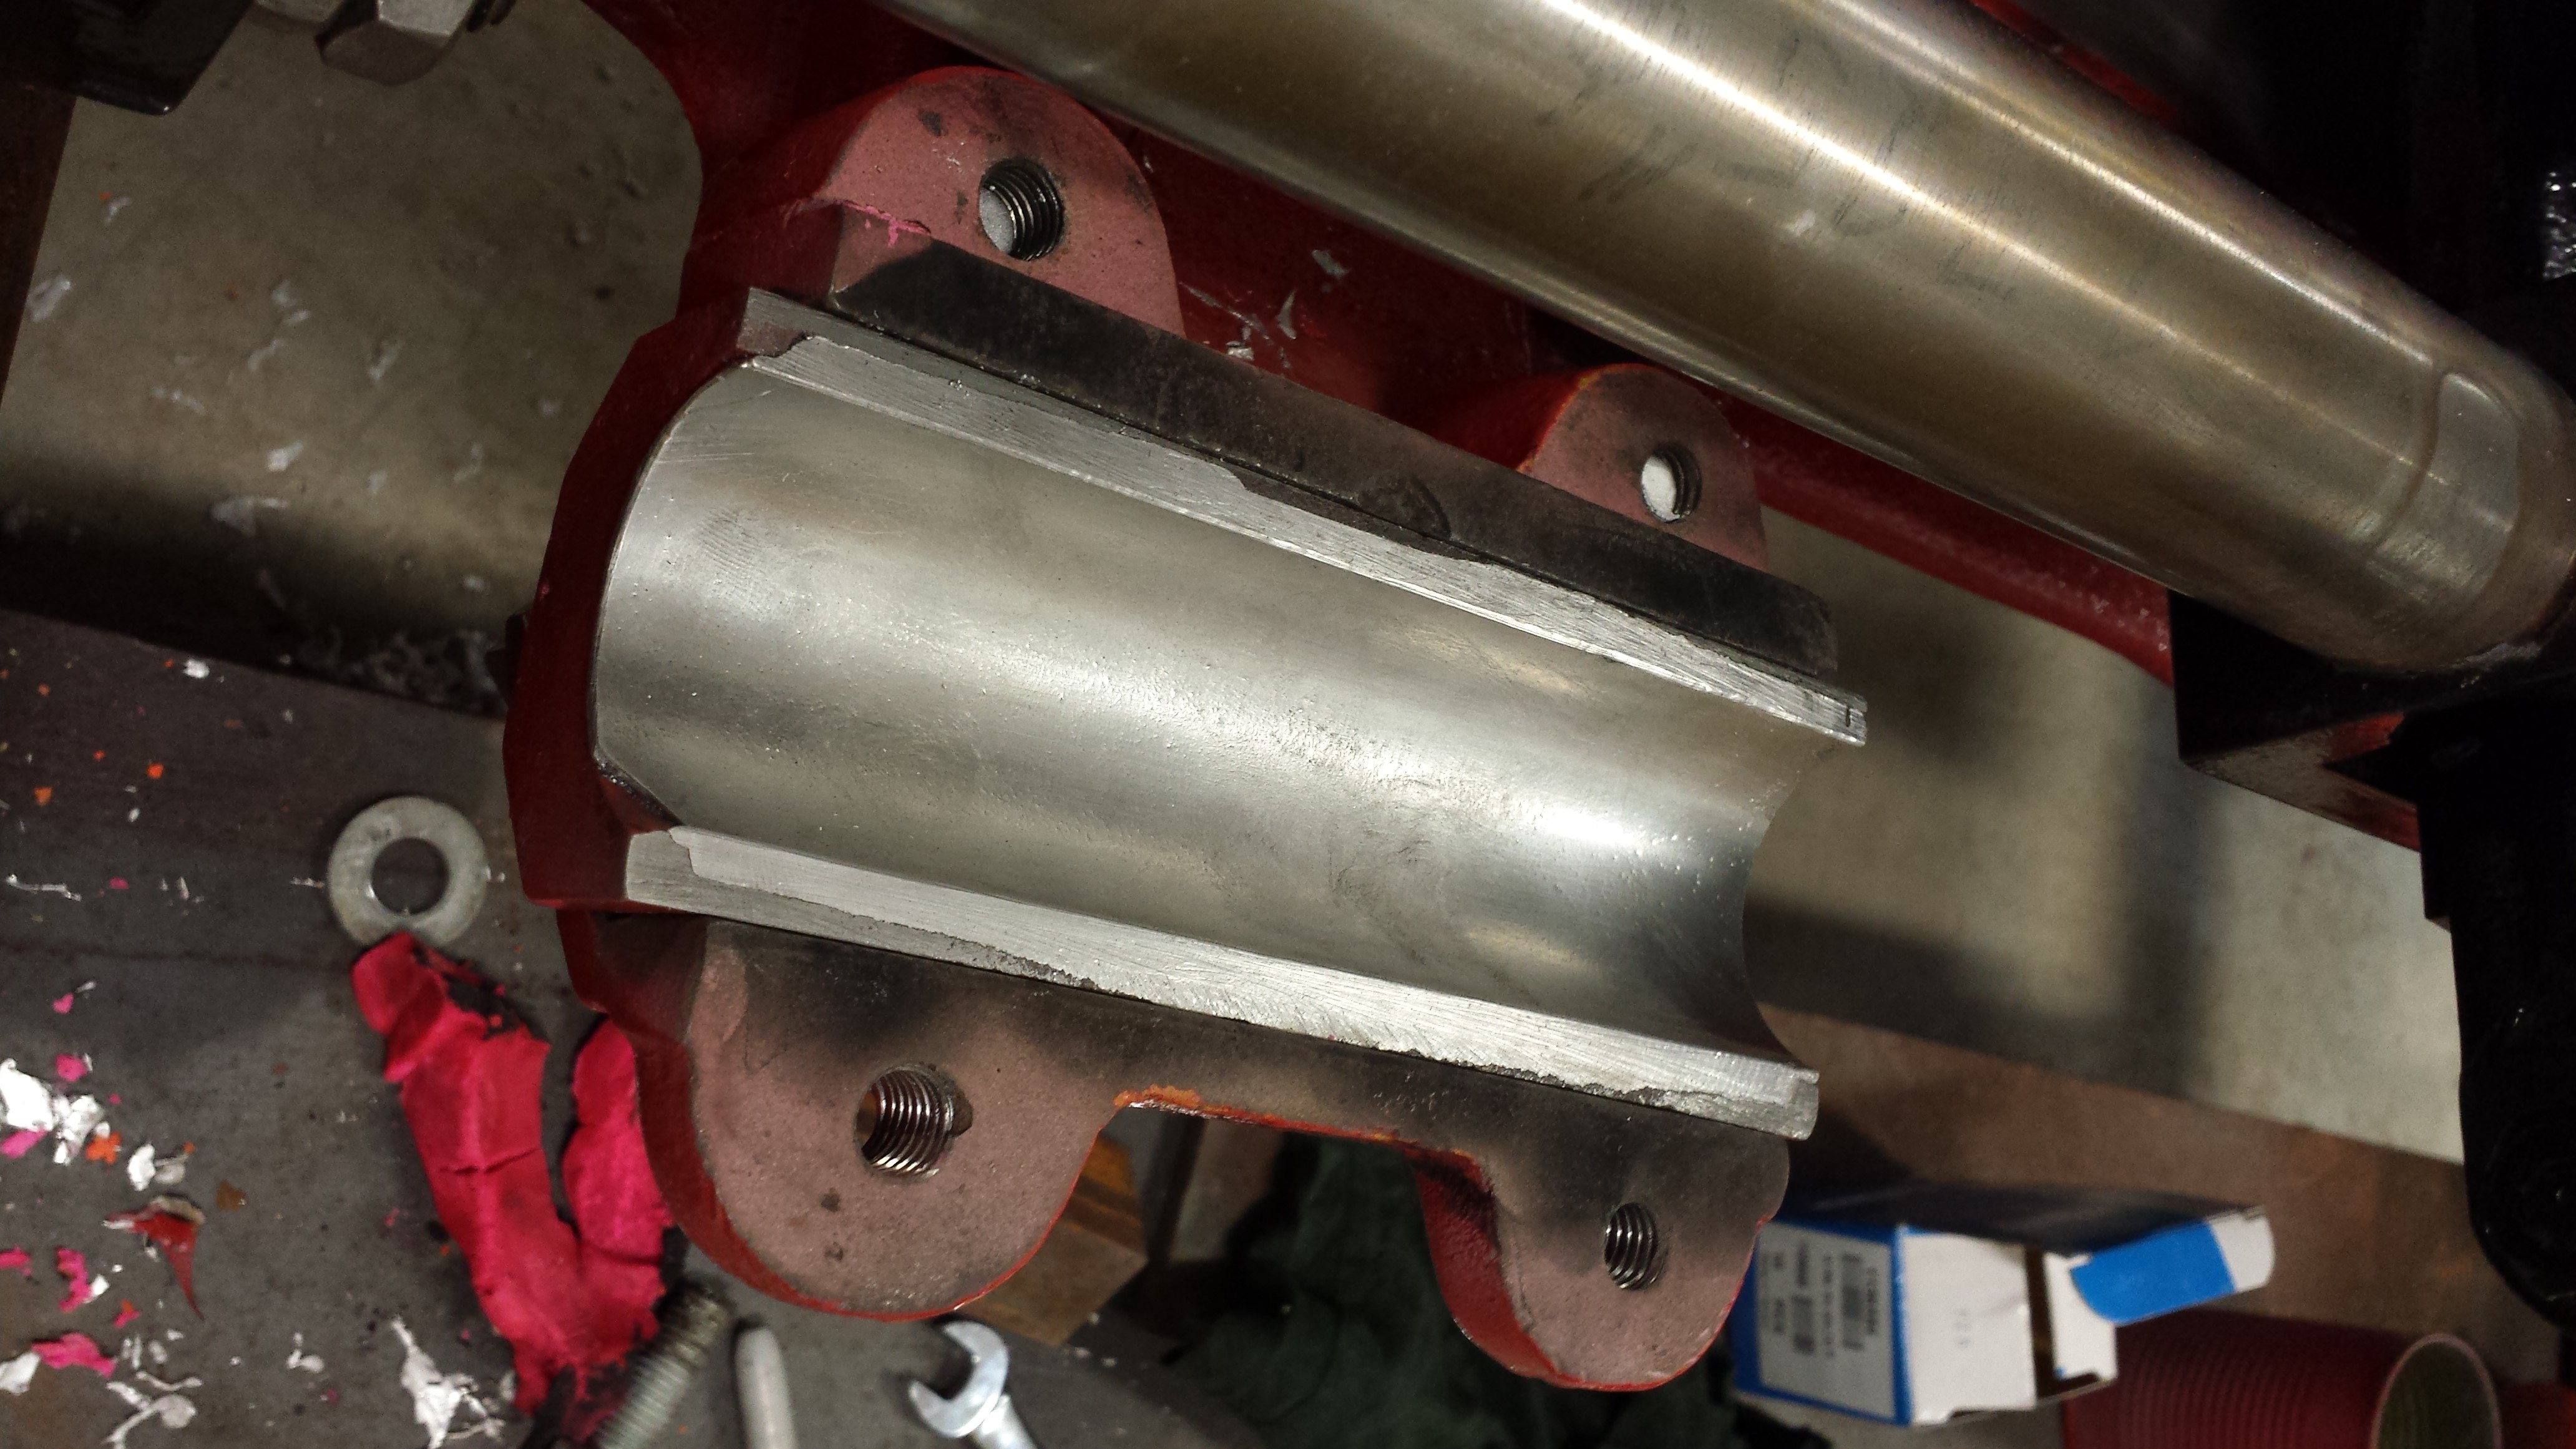
November 16, 2013
Top and bottom halves were poured separately. You’ll see that the reversing lever was “carefully” positioned! The effort here is that when the D-valve is centered, and the Stevenson Link assembly is also centered (vertically), that the reversing rod lever is perfectly horizontal, and the lever itself is also horizontal from side to side.
I actually wrote a computer program to help me out here Since we had no indicators left for precise locations of various parts, I did so, so that we could try to obtain ideal – and first we needed to know what ideal was. There really wasn’t much option, though. All the pieces were already pretty precisely located, and the room for babbit wasn’t much. It’s clear that the guys took pride in their design, and in execution of the design, the casting tolerances are nice.
November 18, 2013
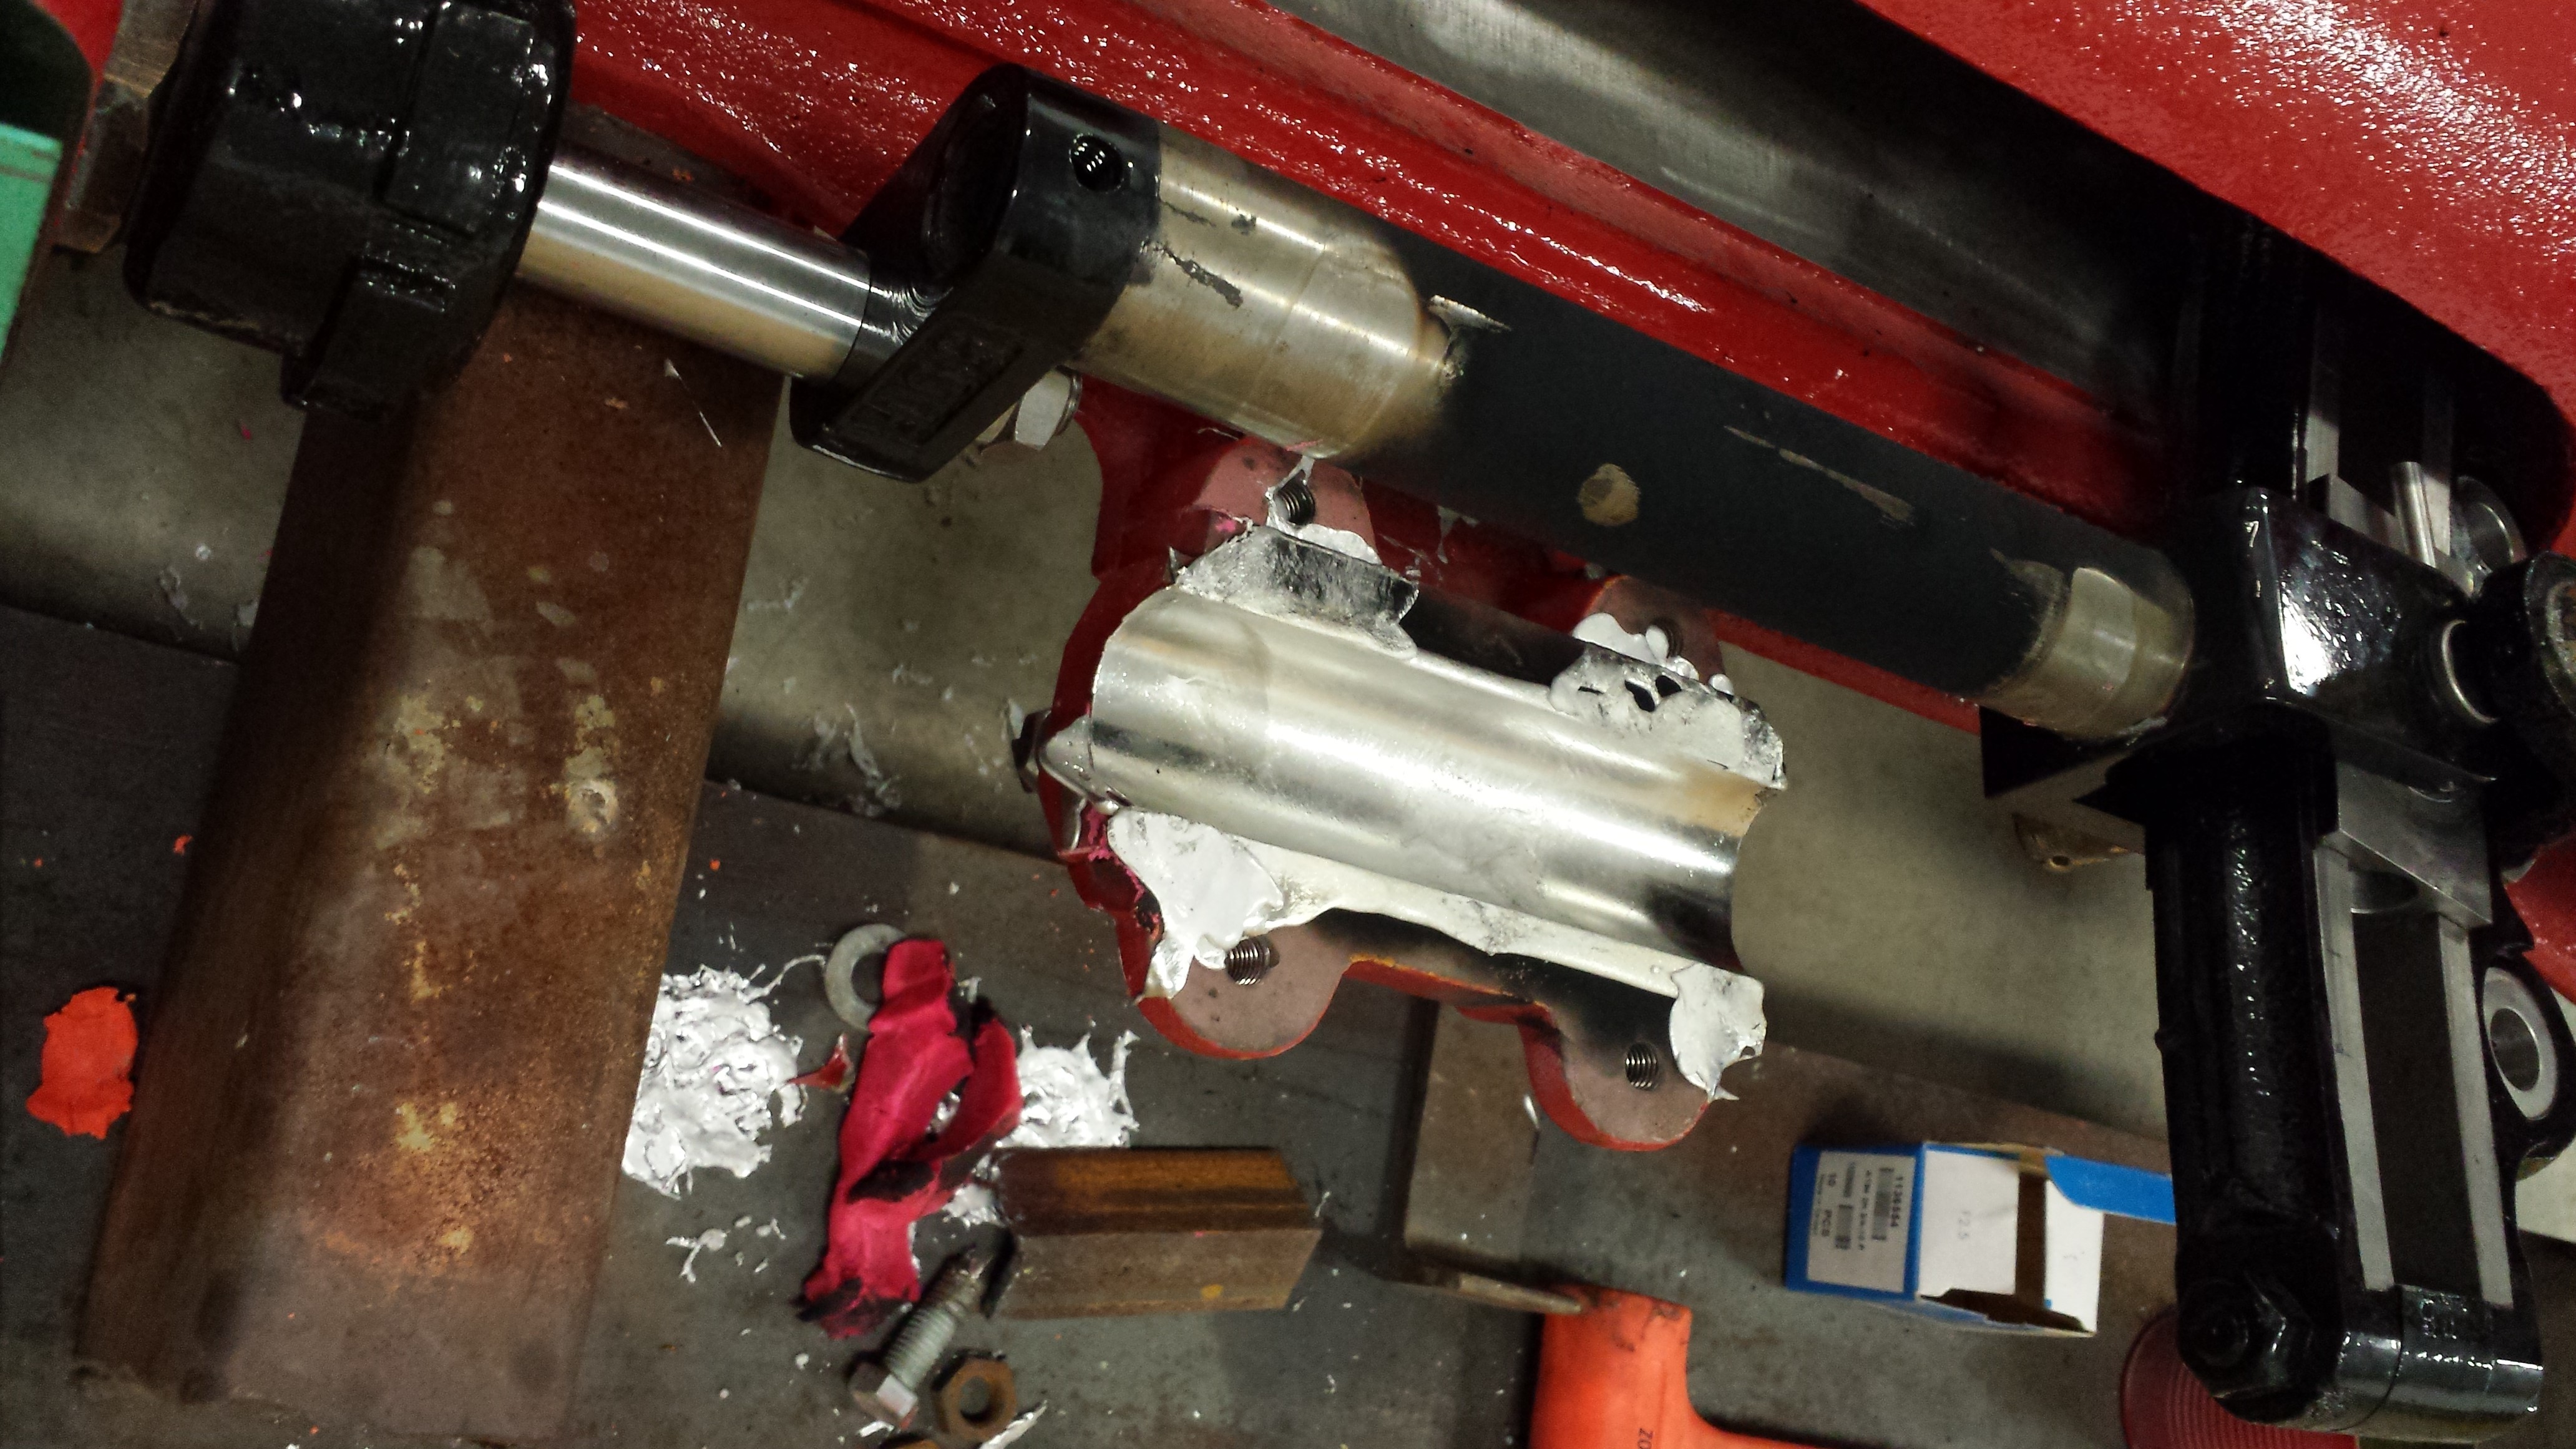
Here’s one situation where I’m told I’m taking it a bit too far. 🙂
Here, you can see some misalignment. The other side lined up perfectly, and there was no room for adjustment for the lever on the new reversing shaft, so that means that the hole drilled in the lever wasn’t perfectly square. We proceeded to fix this, using heat…
December 2, 2013
…the fix affected the paint, but paint is easily fixed. This is no longer a concern. In talking with a few friends, we figure that when Norm remachined the pieces for the link assembly, he went to a tighter tolerance than the original parts were. This tighter-than-new tolerance is likely okay with modern oils (we’ll find out), but this misalignment showed up, where-as this wouldn’t have been visible before-hand.
December 13, 2013
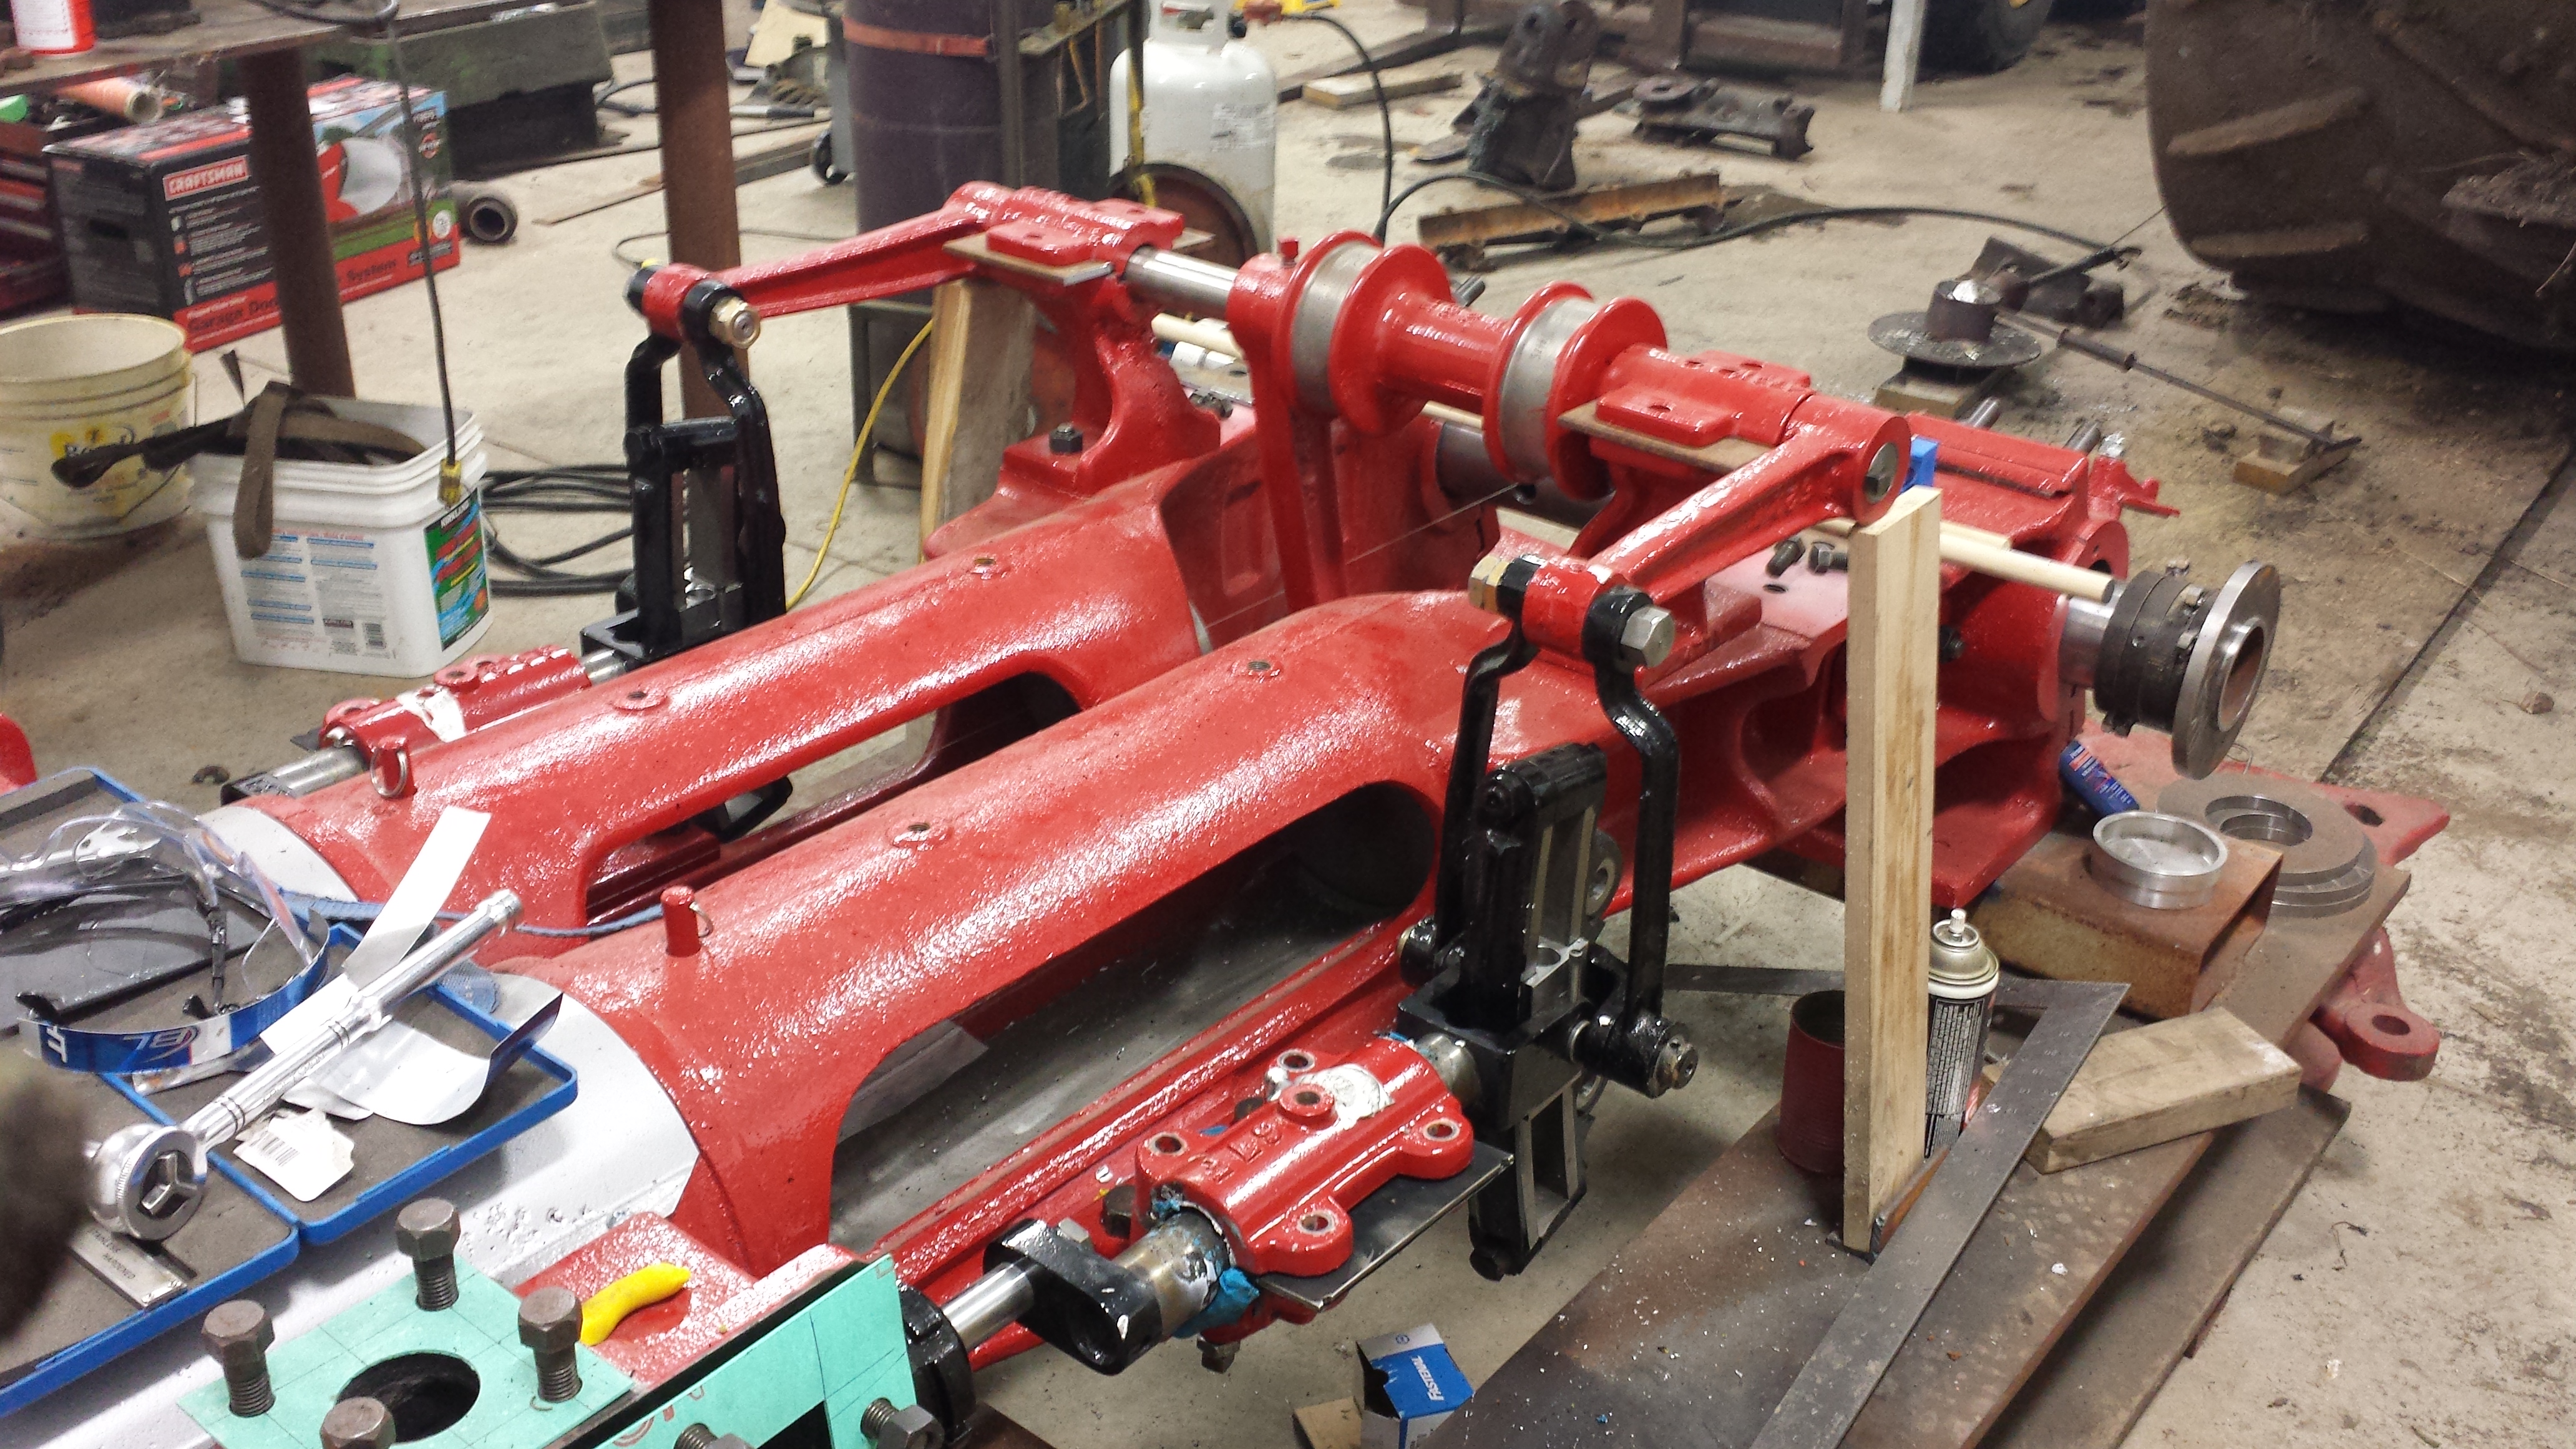
The day has finally come to pour the main bearings! I made up some 1/4-inch shims for the caps, plus added in another ~0.080″ to deal with future wear. All the original shims were hardwood, but I opted for steel. Brian came to help with the pour. I’m not using Heavy Harris babbit, but instead using High Nickel babbit, which shrinks/behaves a bit differently. The dummy shaft is purposely undersized, and despite that, Garth still knitted in a bit more babbit to make sure they were in good shape. (Actually, many thanks to Garth: Brian and I completed the pour and had a look at the caps when Garth was having supper with the family, and when there was a concern, he still got up and came to work his magic so this could be done when there was still a lot of heat in the parts!)

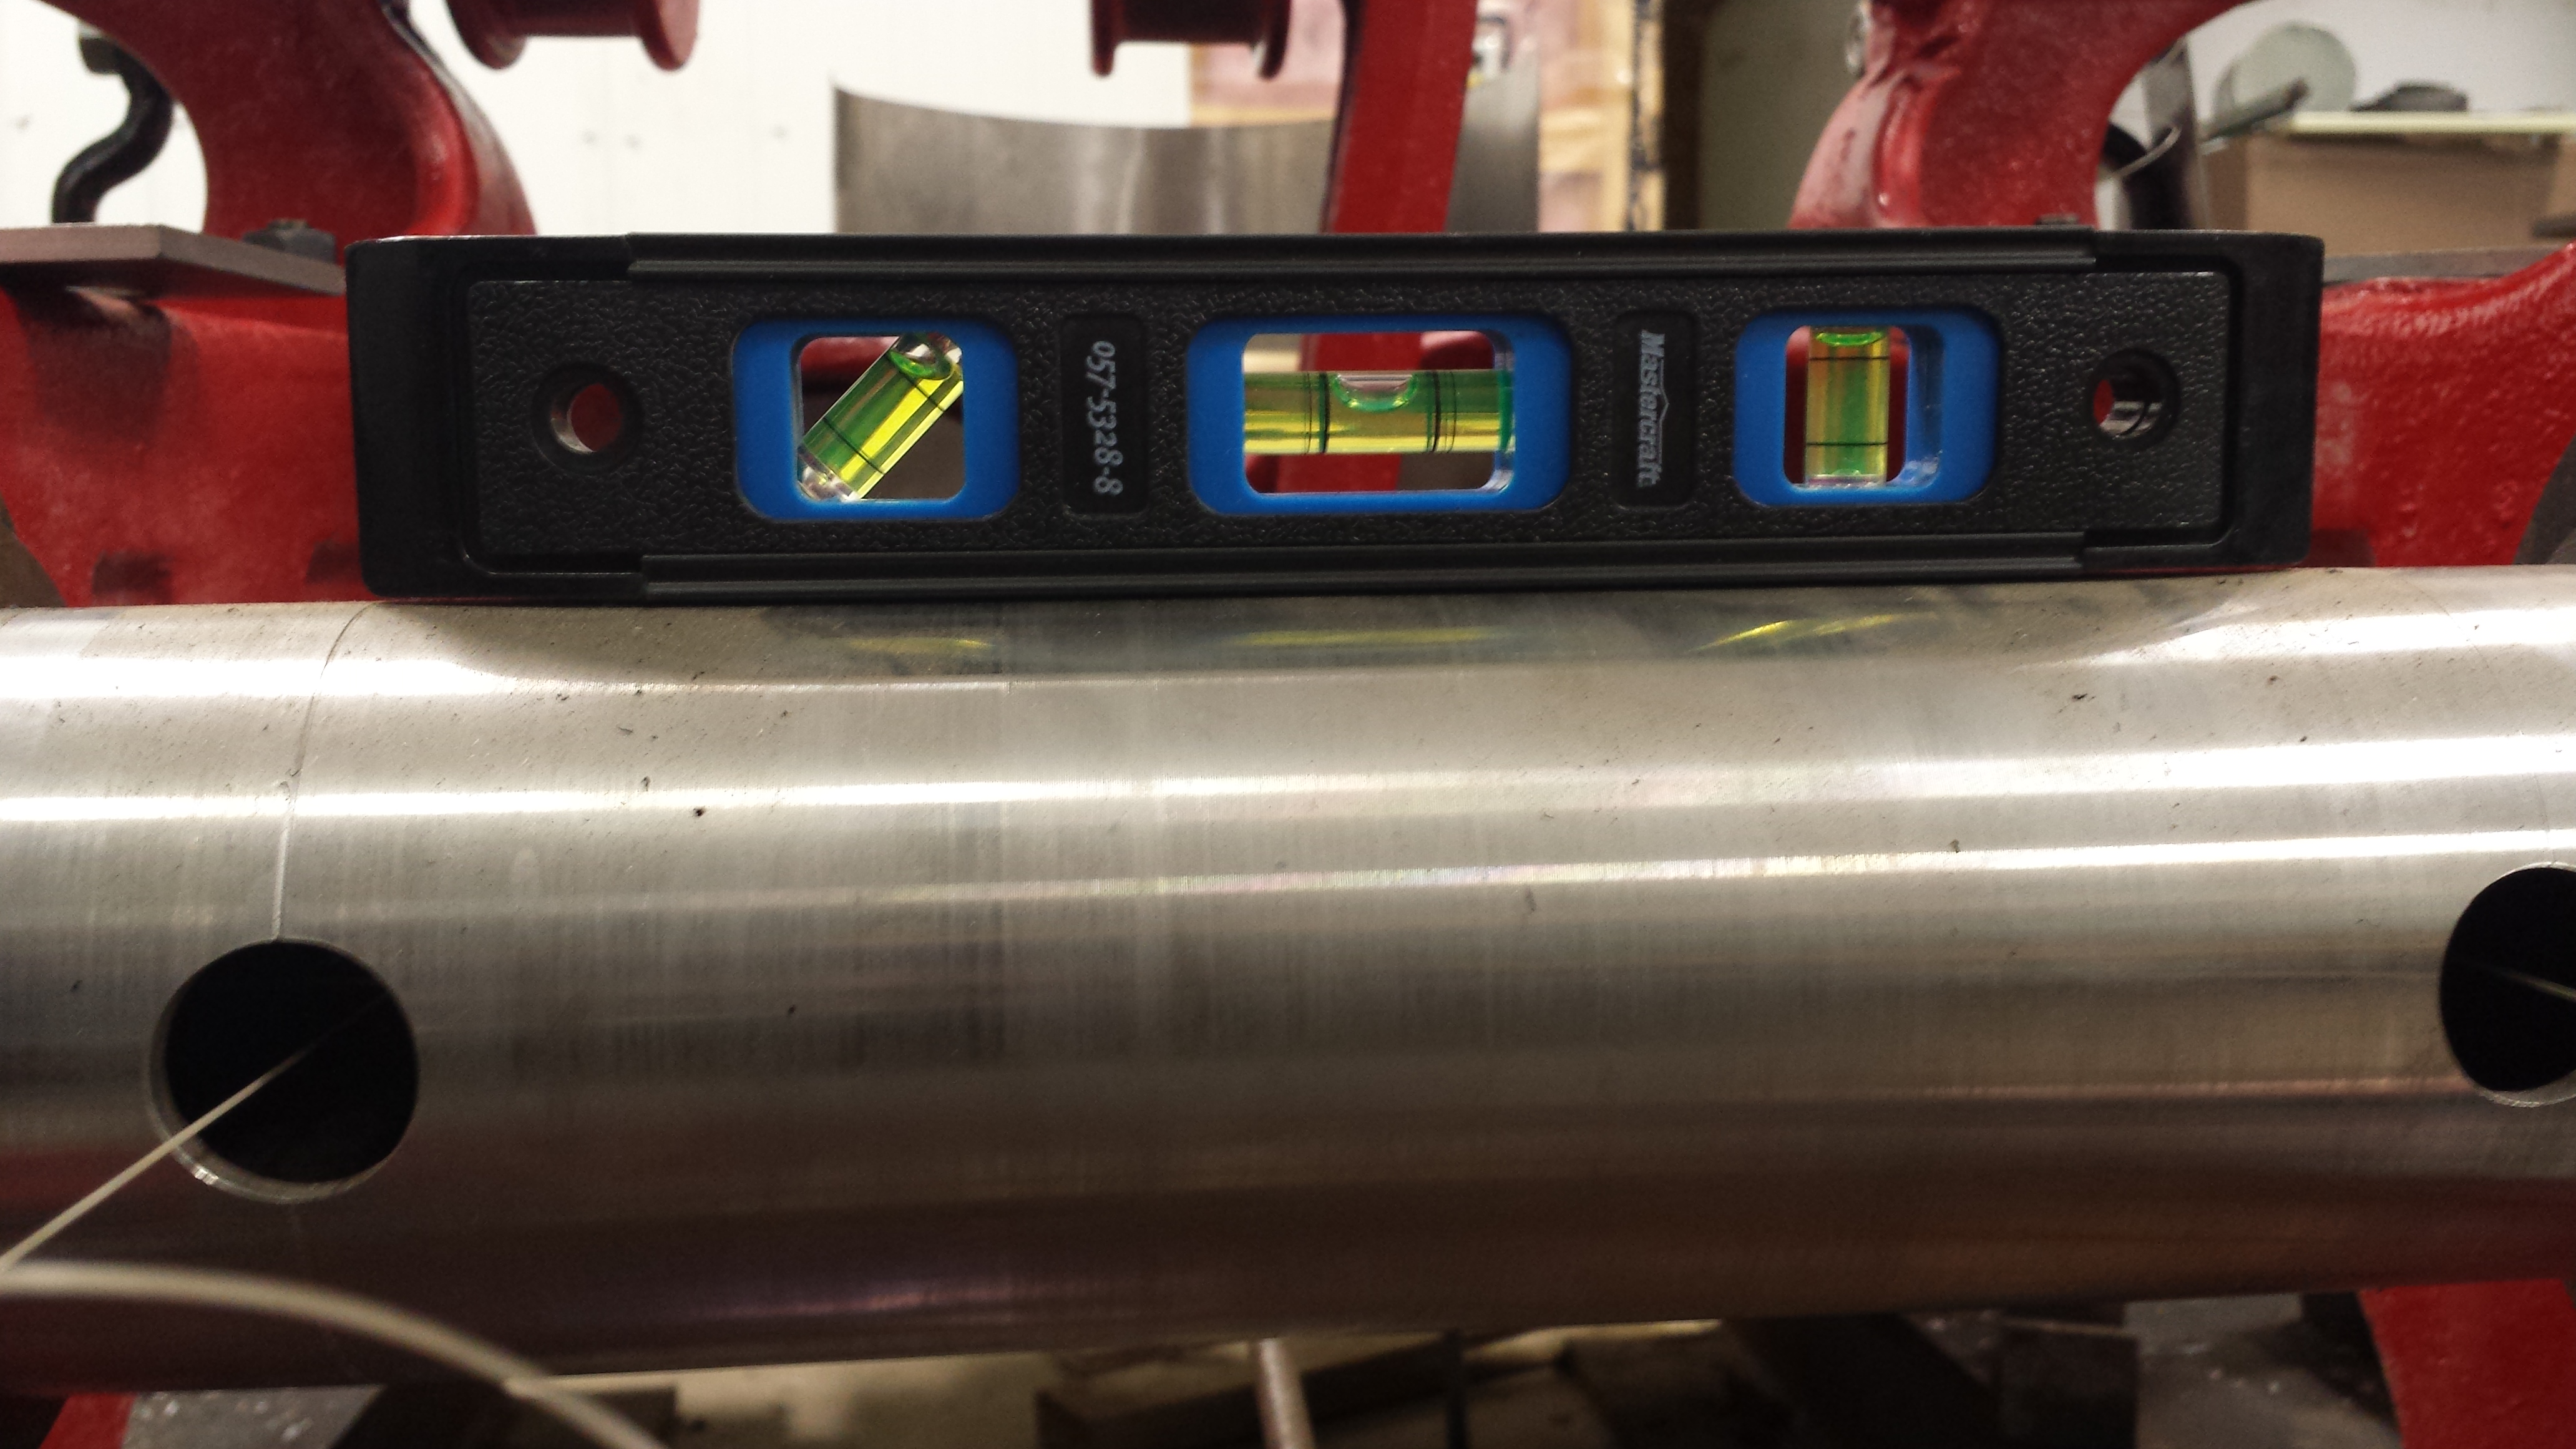
I had earlier mentioned about tight tolerances, and we had it here again. I was able to precisely level the dummy crankshaft, and have it line up perfectly through both cylinder/crosshead bores, and have suitable clearance everywhere! The dummy crankshaft also confirmed (again) that both cylinder/crosshead bores were perfectly parallel with each other, too.
Both caps were shimmed the same amount. The faces for the bearing caps fit perfectly from side to side, meaning no extra damming to retain the babbit when we poured it. All in all, I couldn’t be happier with this pour!
It’s also now very evident to me: building this engine on a stand where you could level everything, walk around and work on it at a comfortable height, and check and double-check in perfect conditions, i definitely the right thing to do.
December 15, 2013
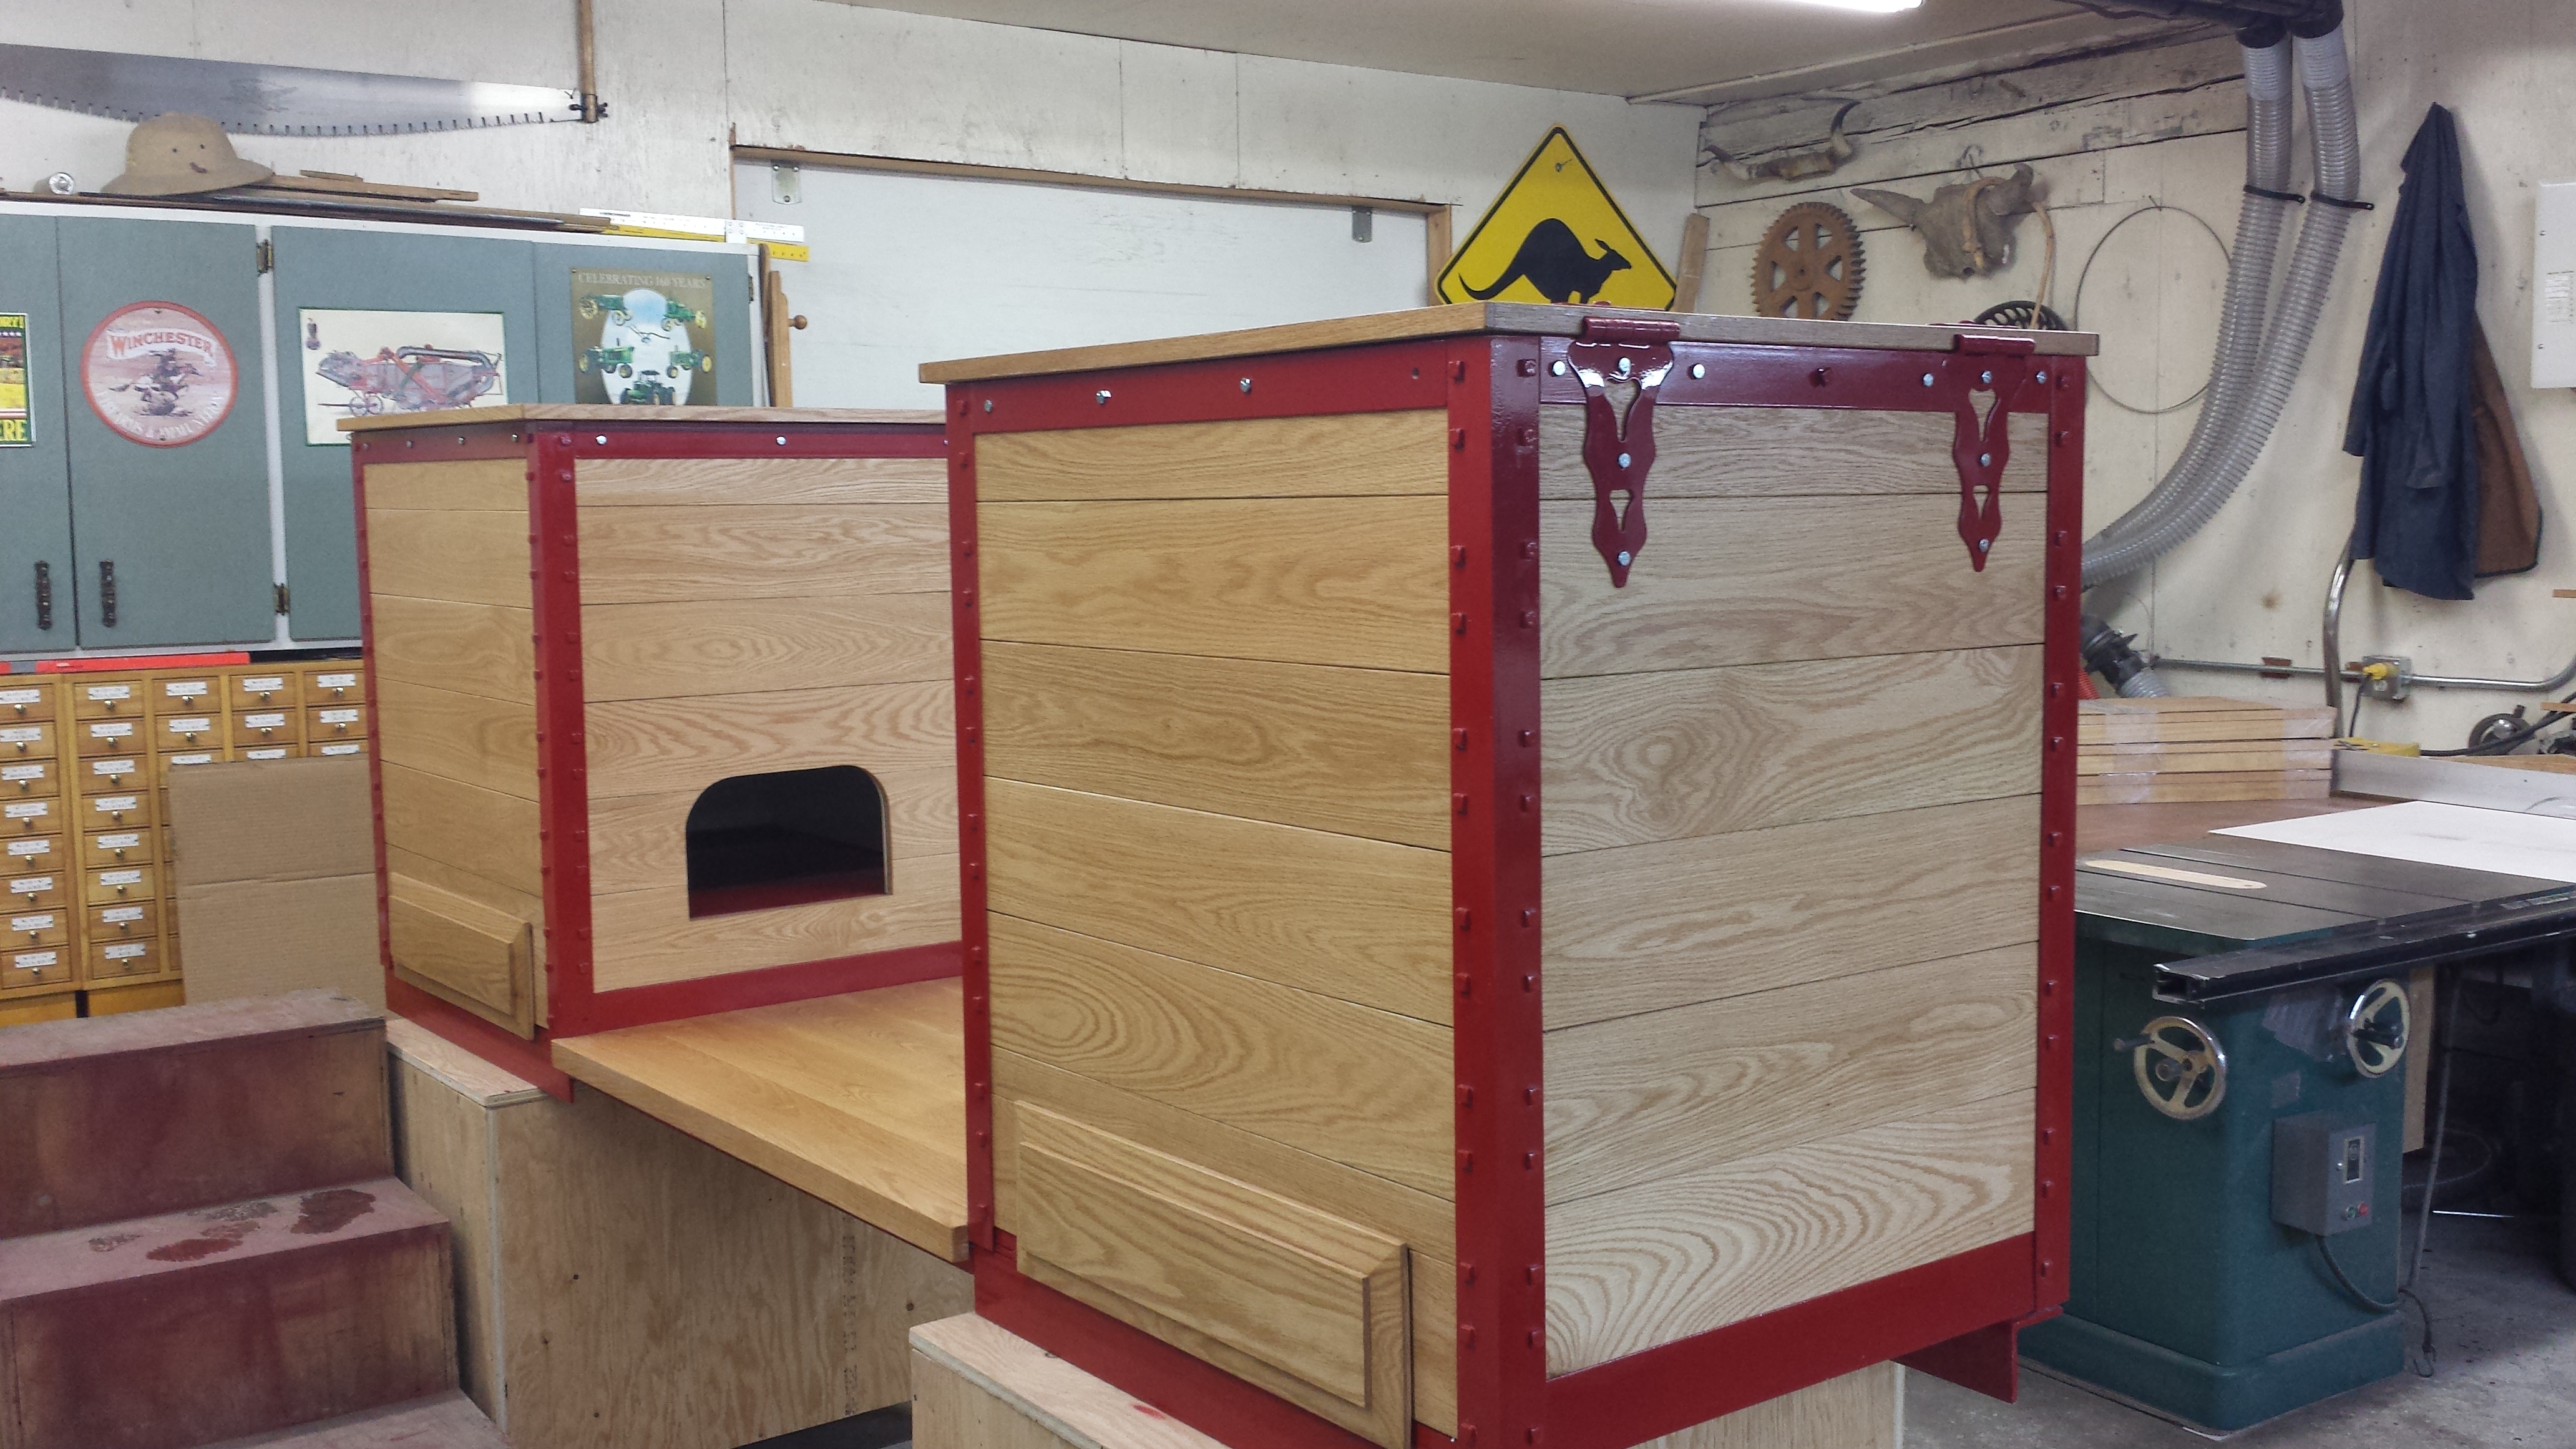
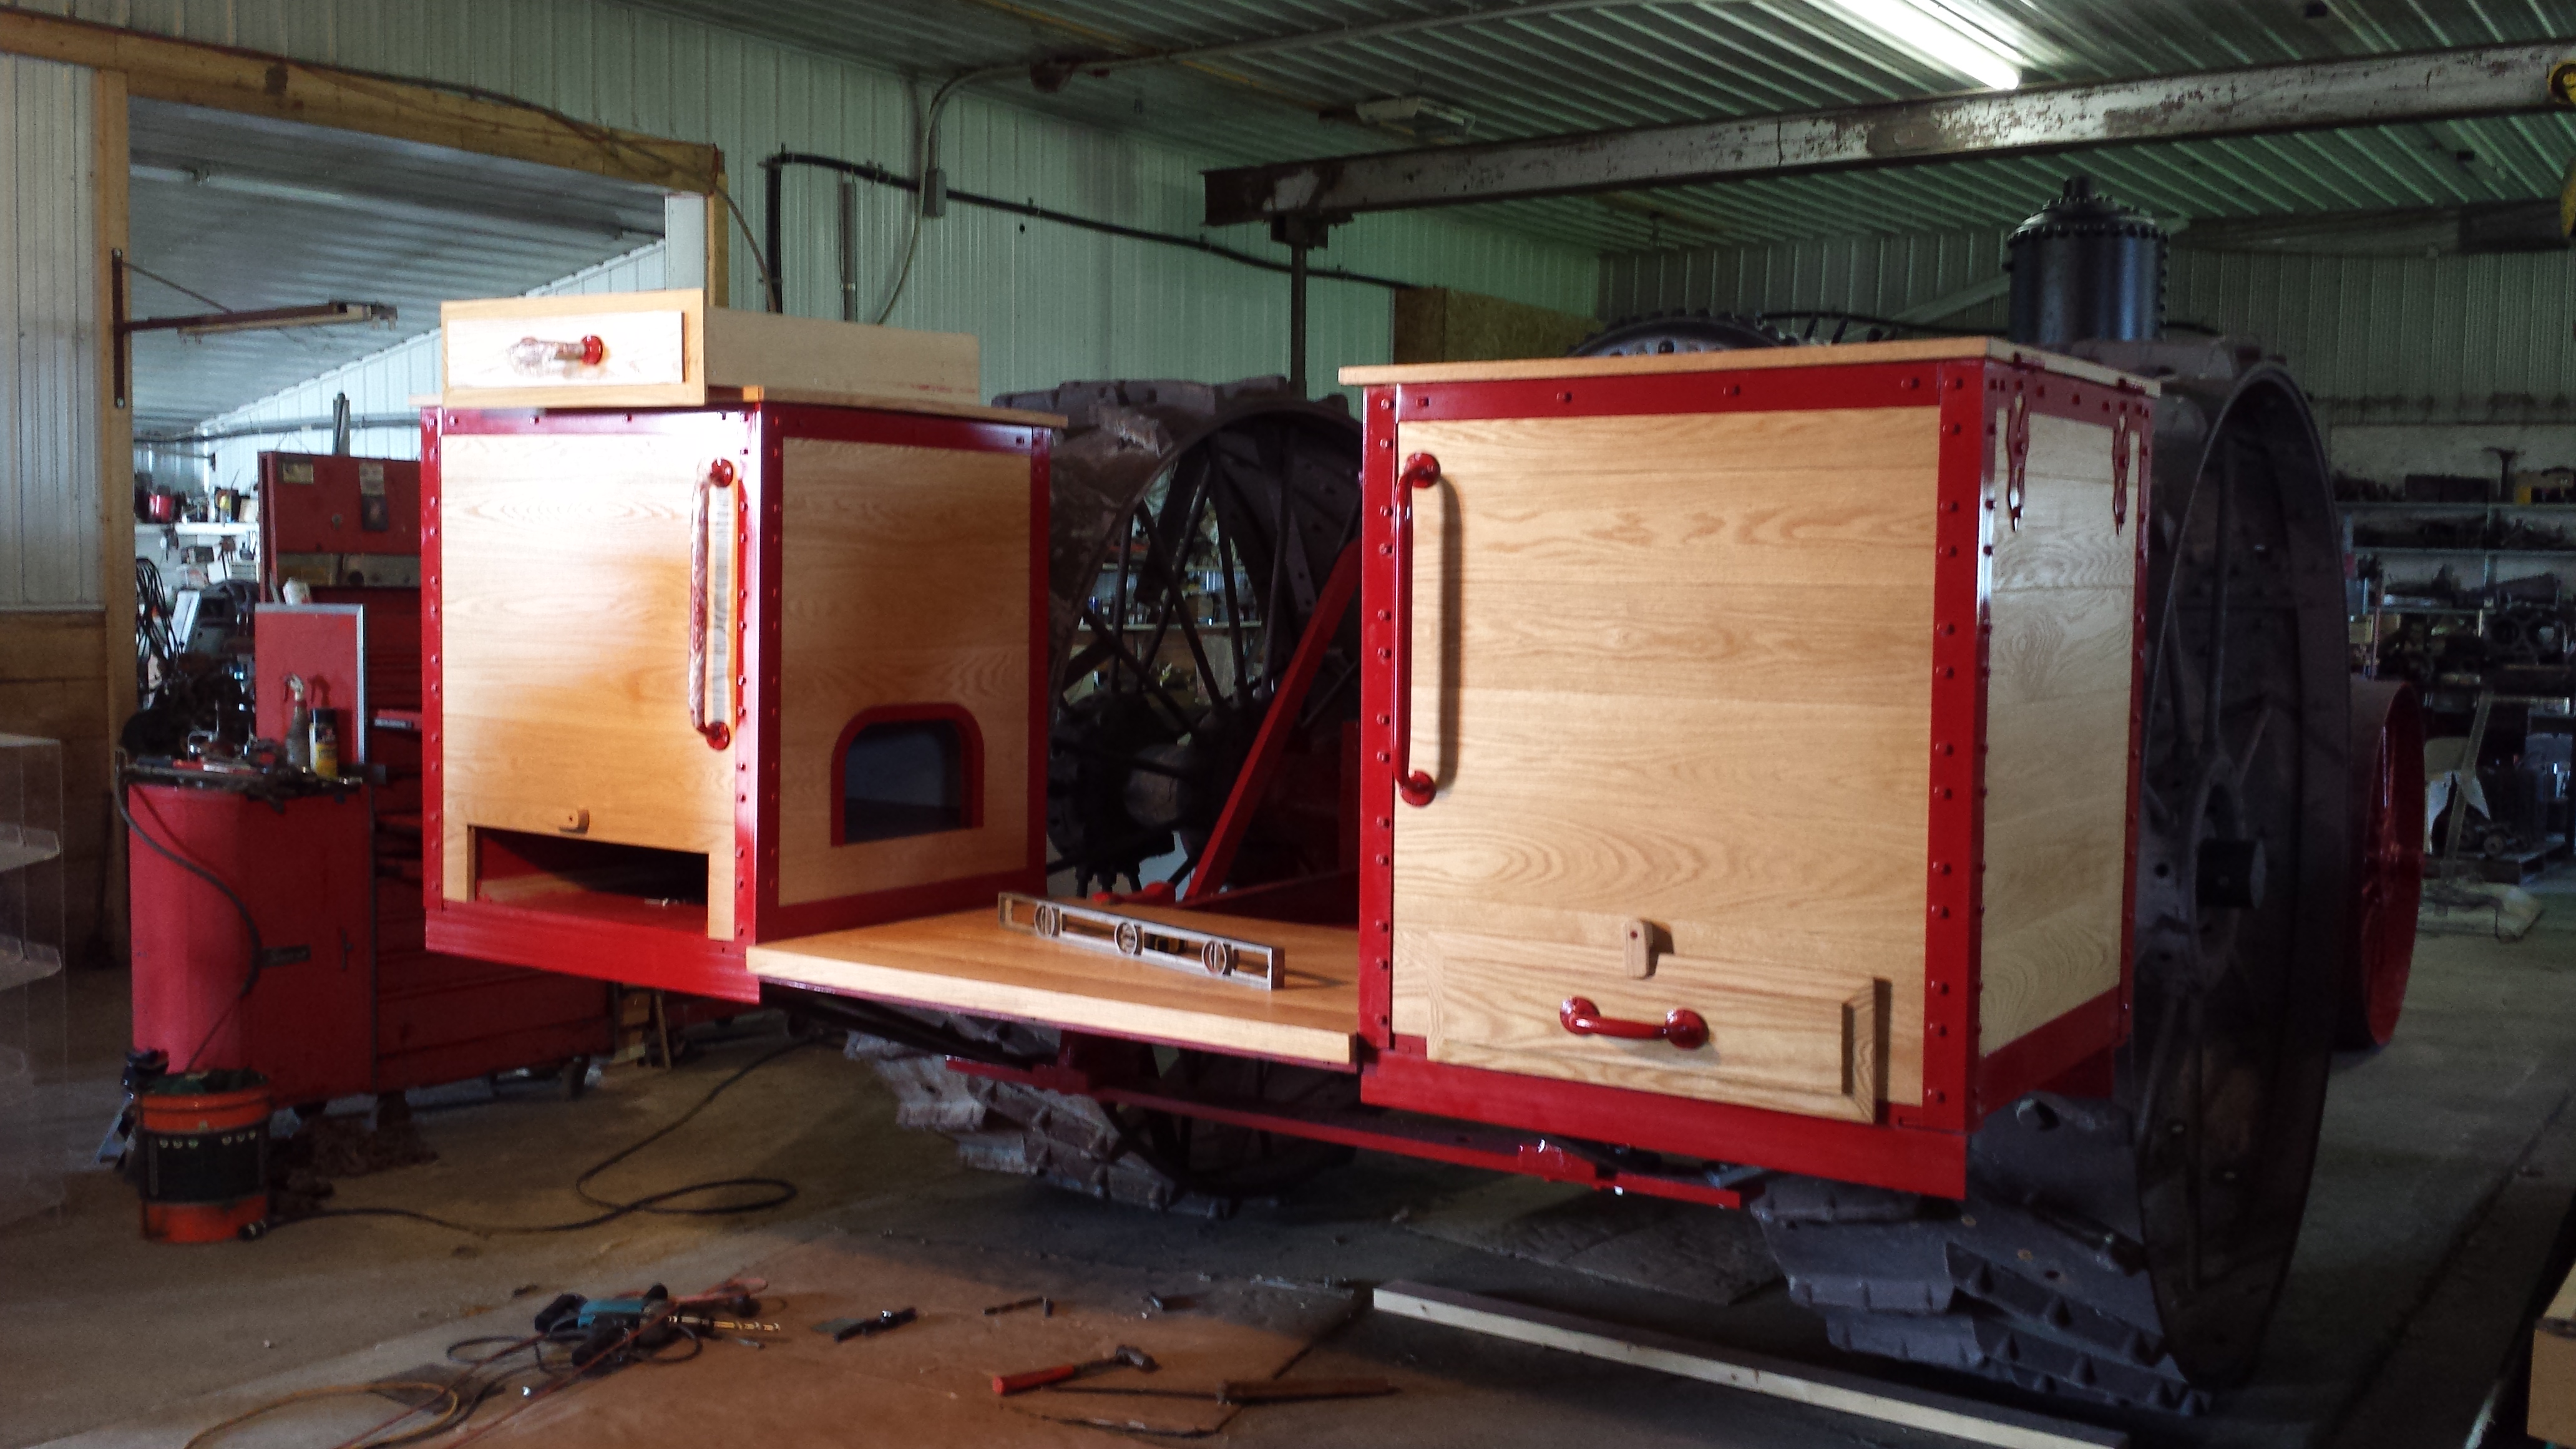
While we’ve been busy with this, another friend, Bernard has been working on my coal bunkers. Impressed is an understatement!
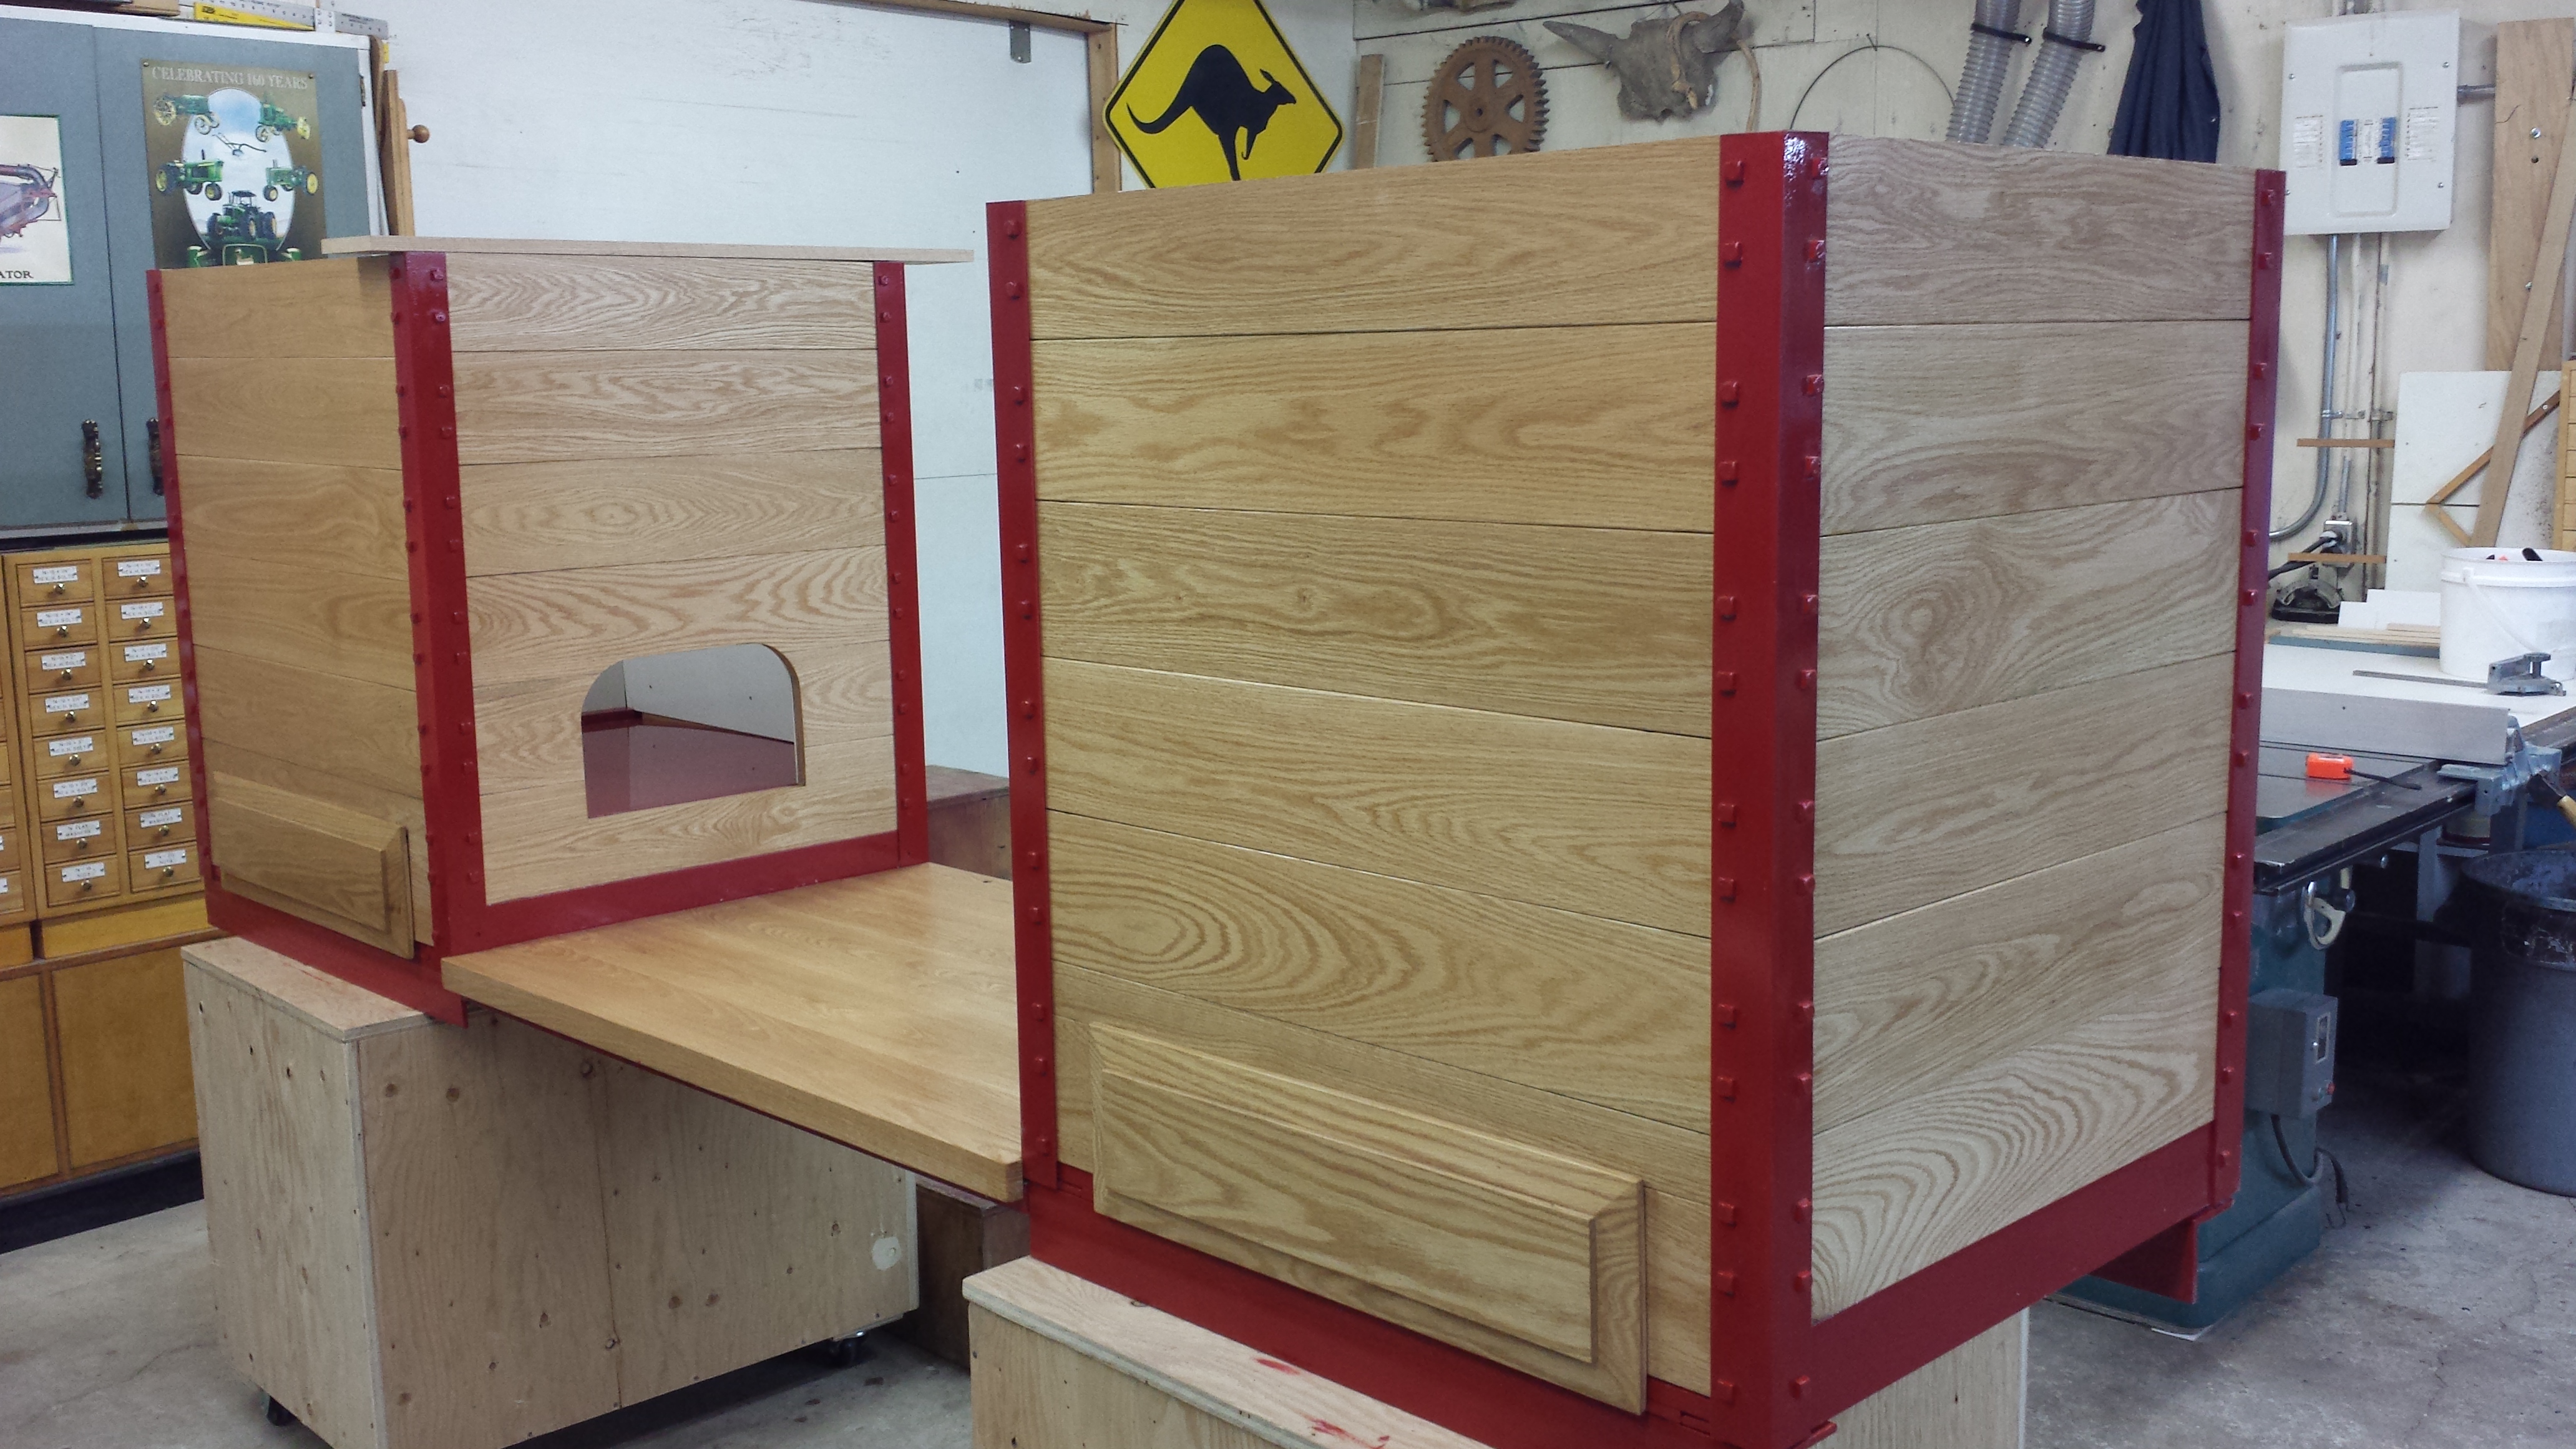

That’s real oak. I had made up a new rear portion of the hitch frame, and Bernard did the rest. Wow!
December 19, 2013
Back to the motor parts! Norm had worked his magic to make up new brasses for the crosshead end of the connecting rods. The originals weren’t that bad, they had some wear, but we also had new pins, so it made sense to make new brasses. Nice work, Norm!
As expected, the adjusting wedge needed to be right at the bottom. These should last as long as the rest of the engine.
January 4, 2014
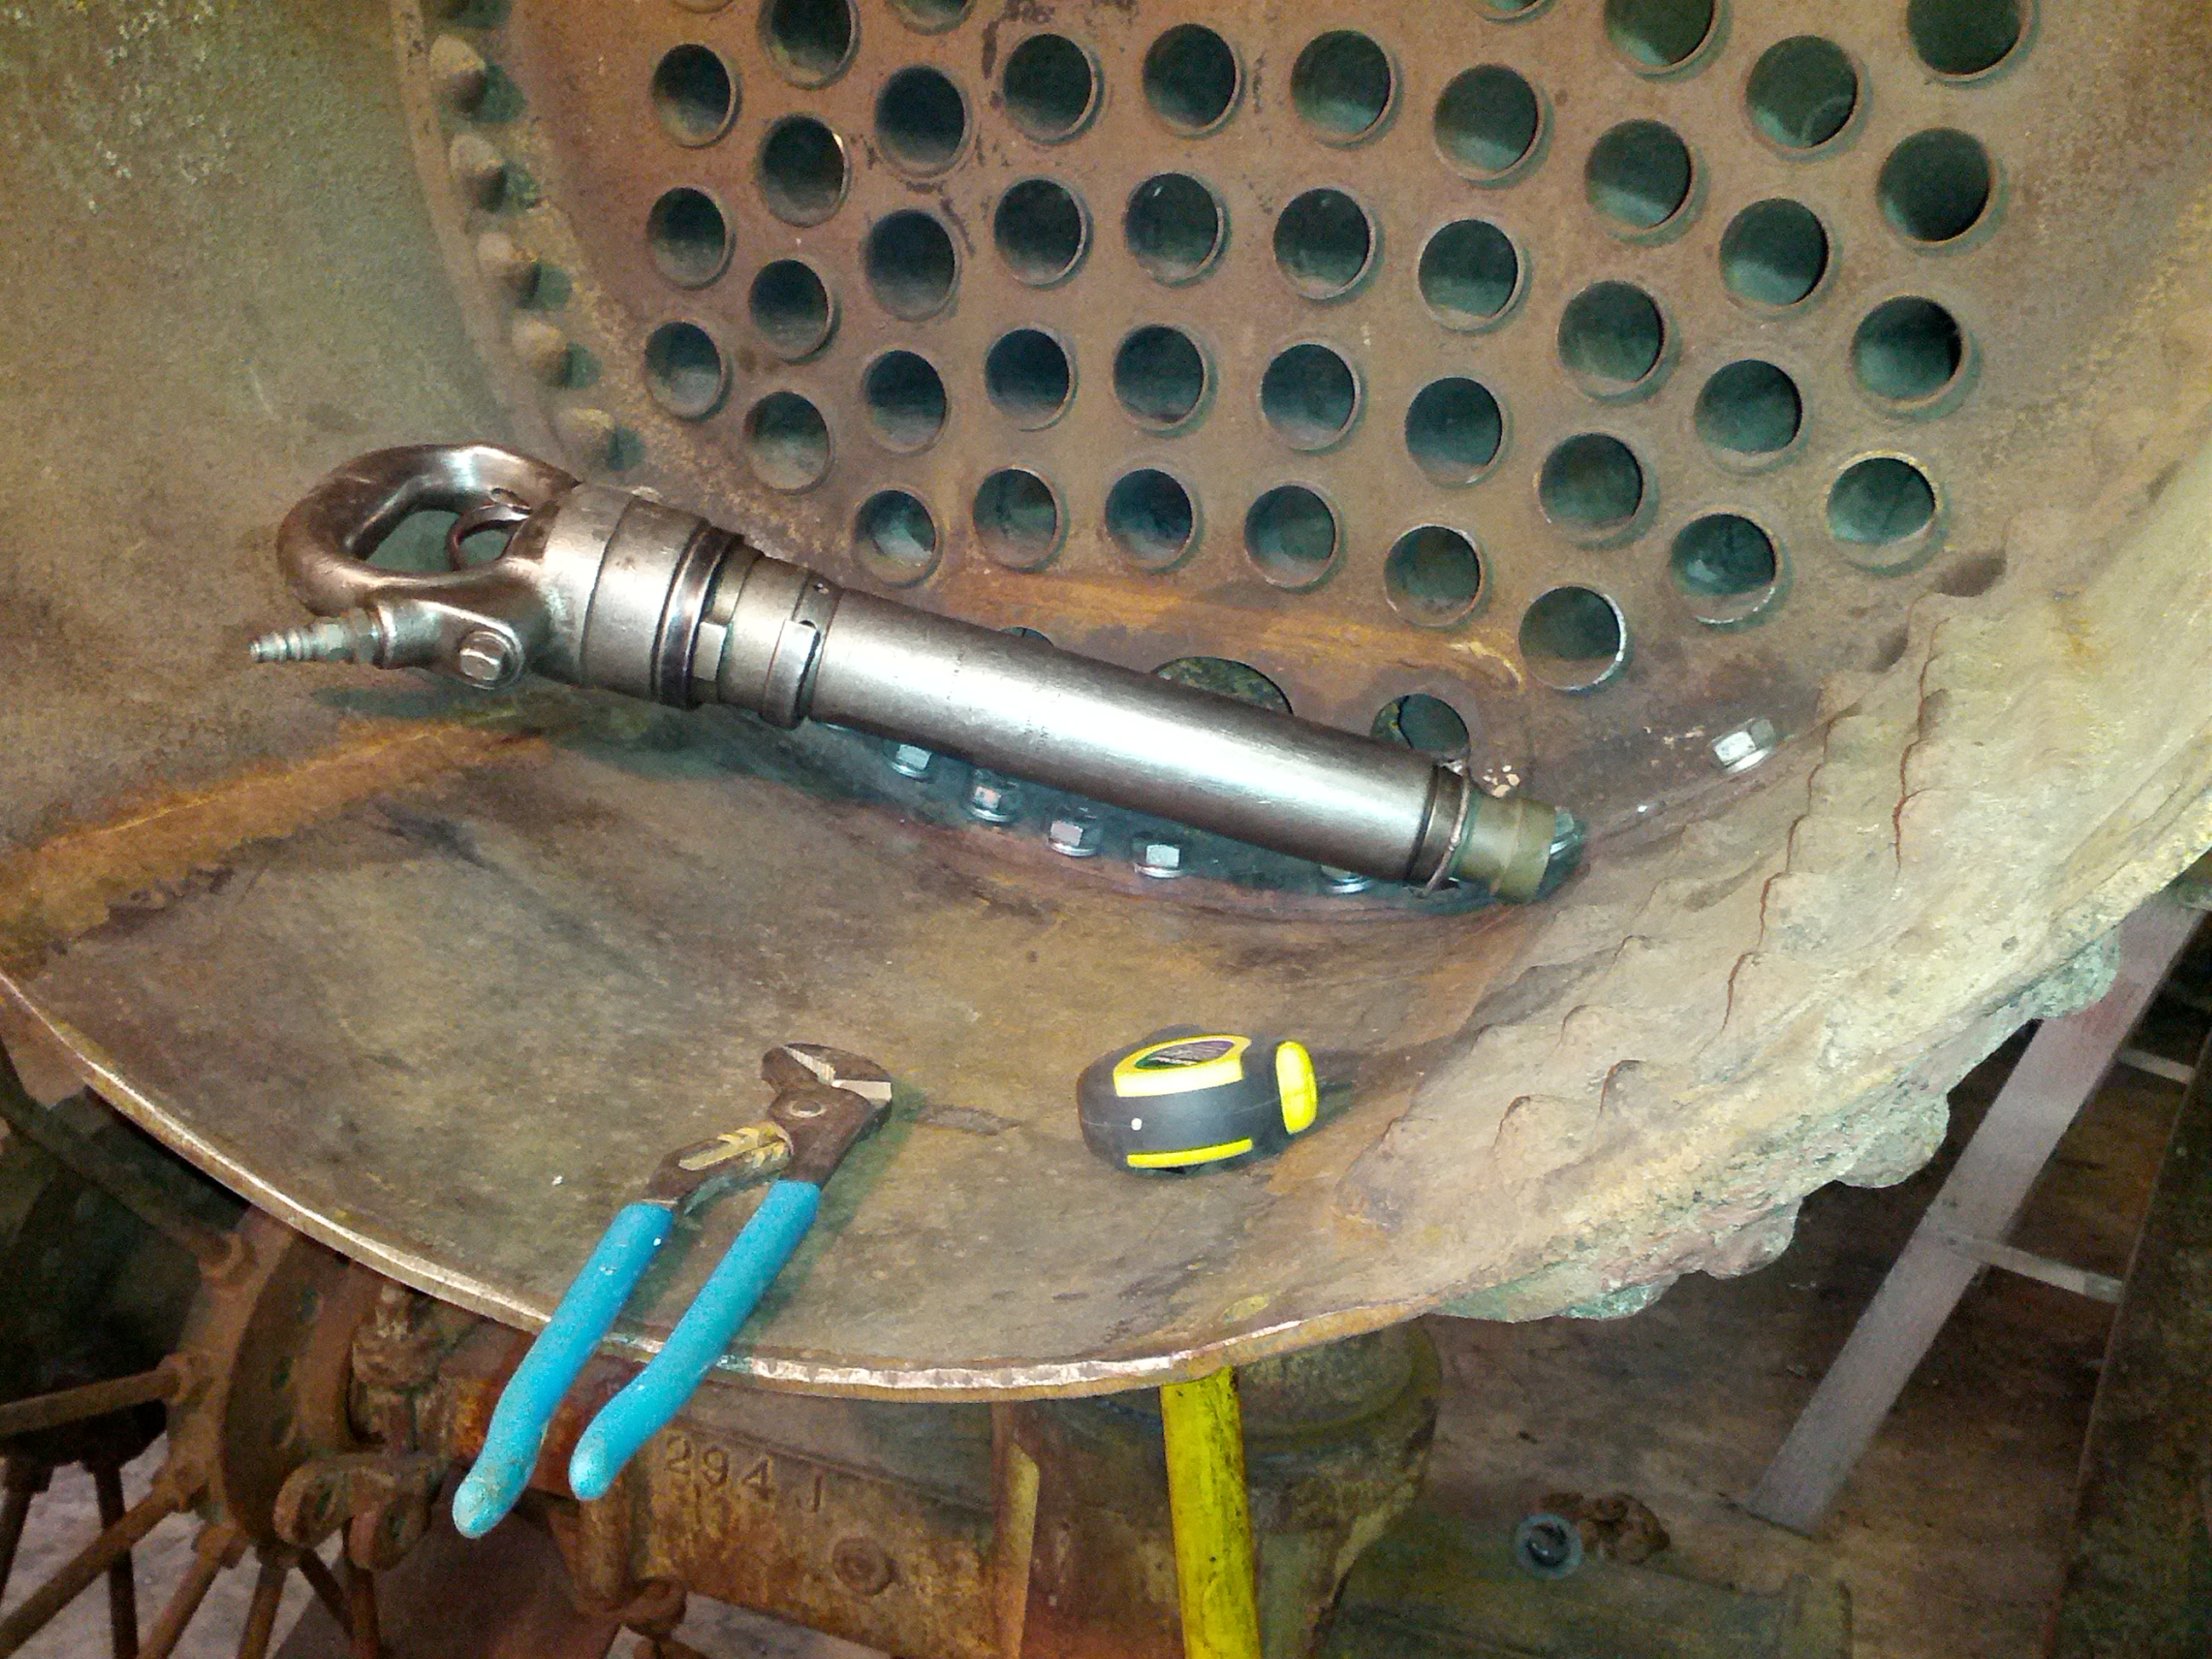
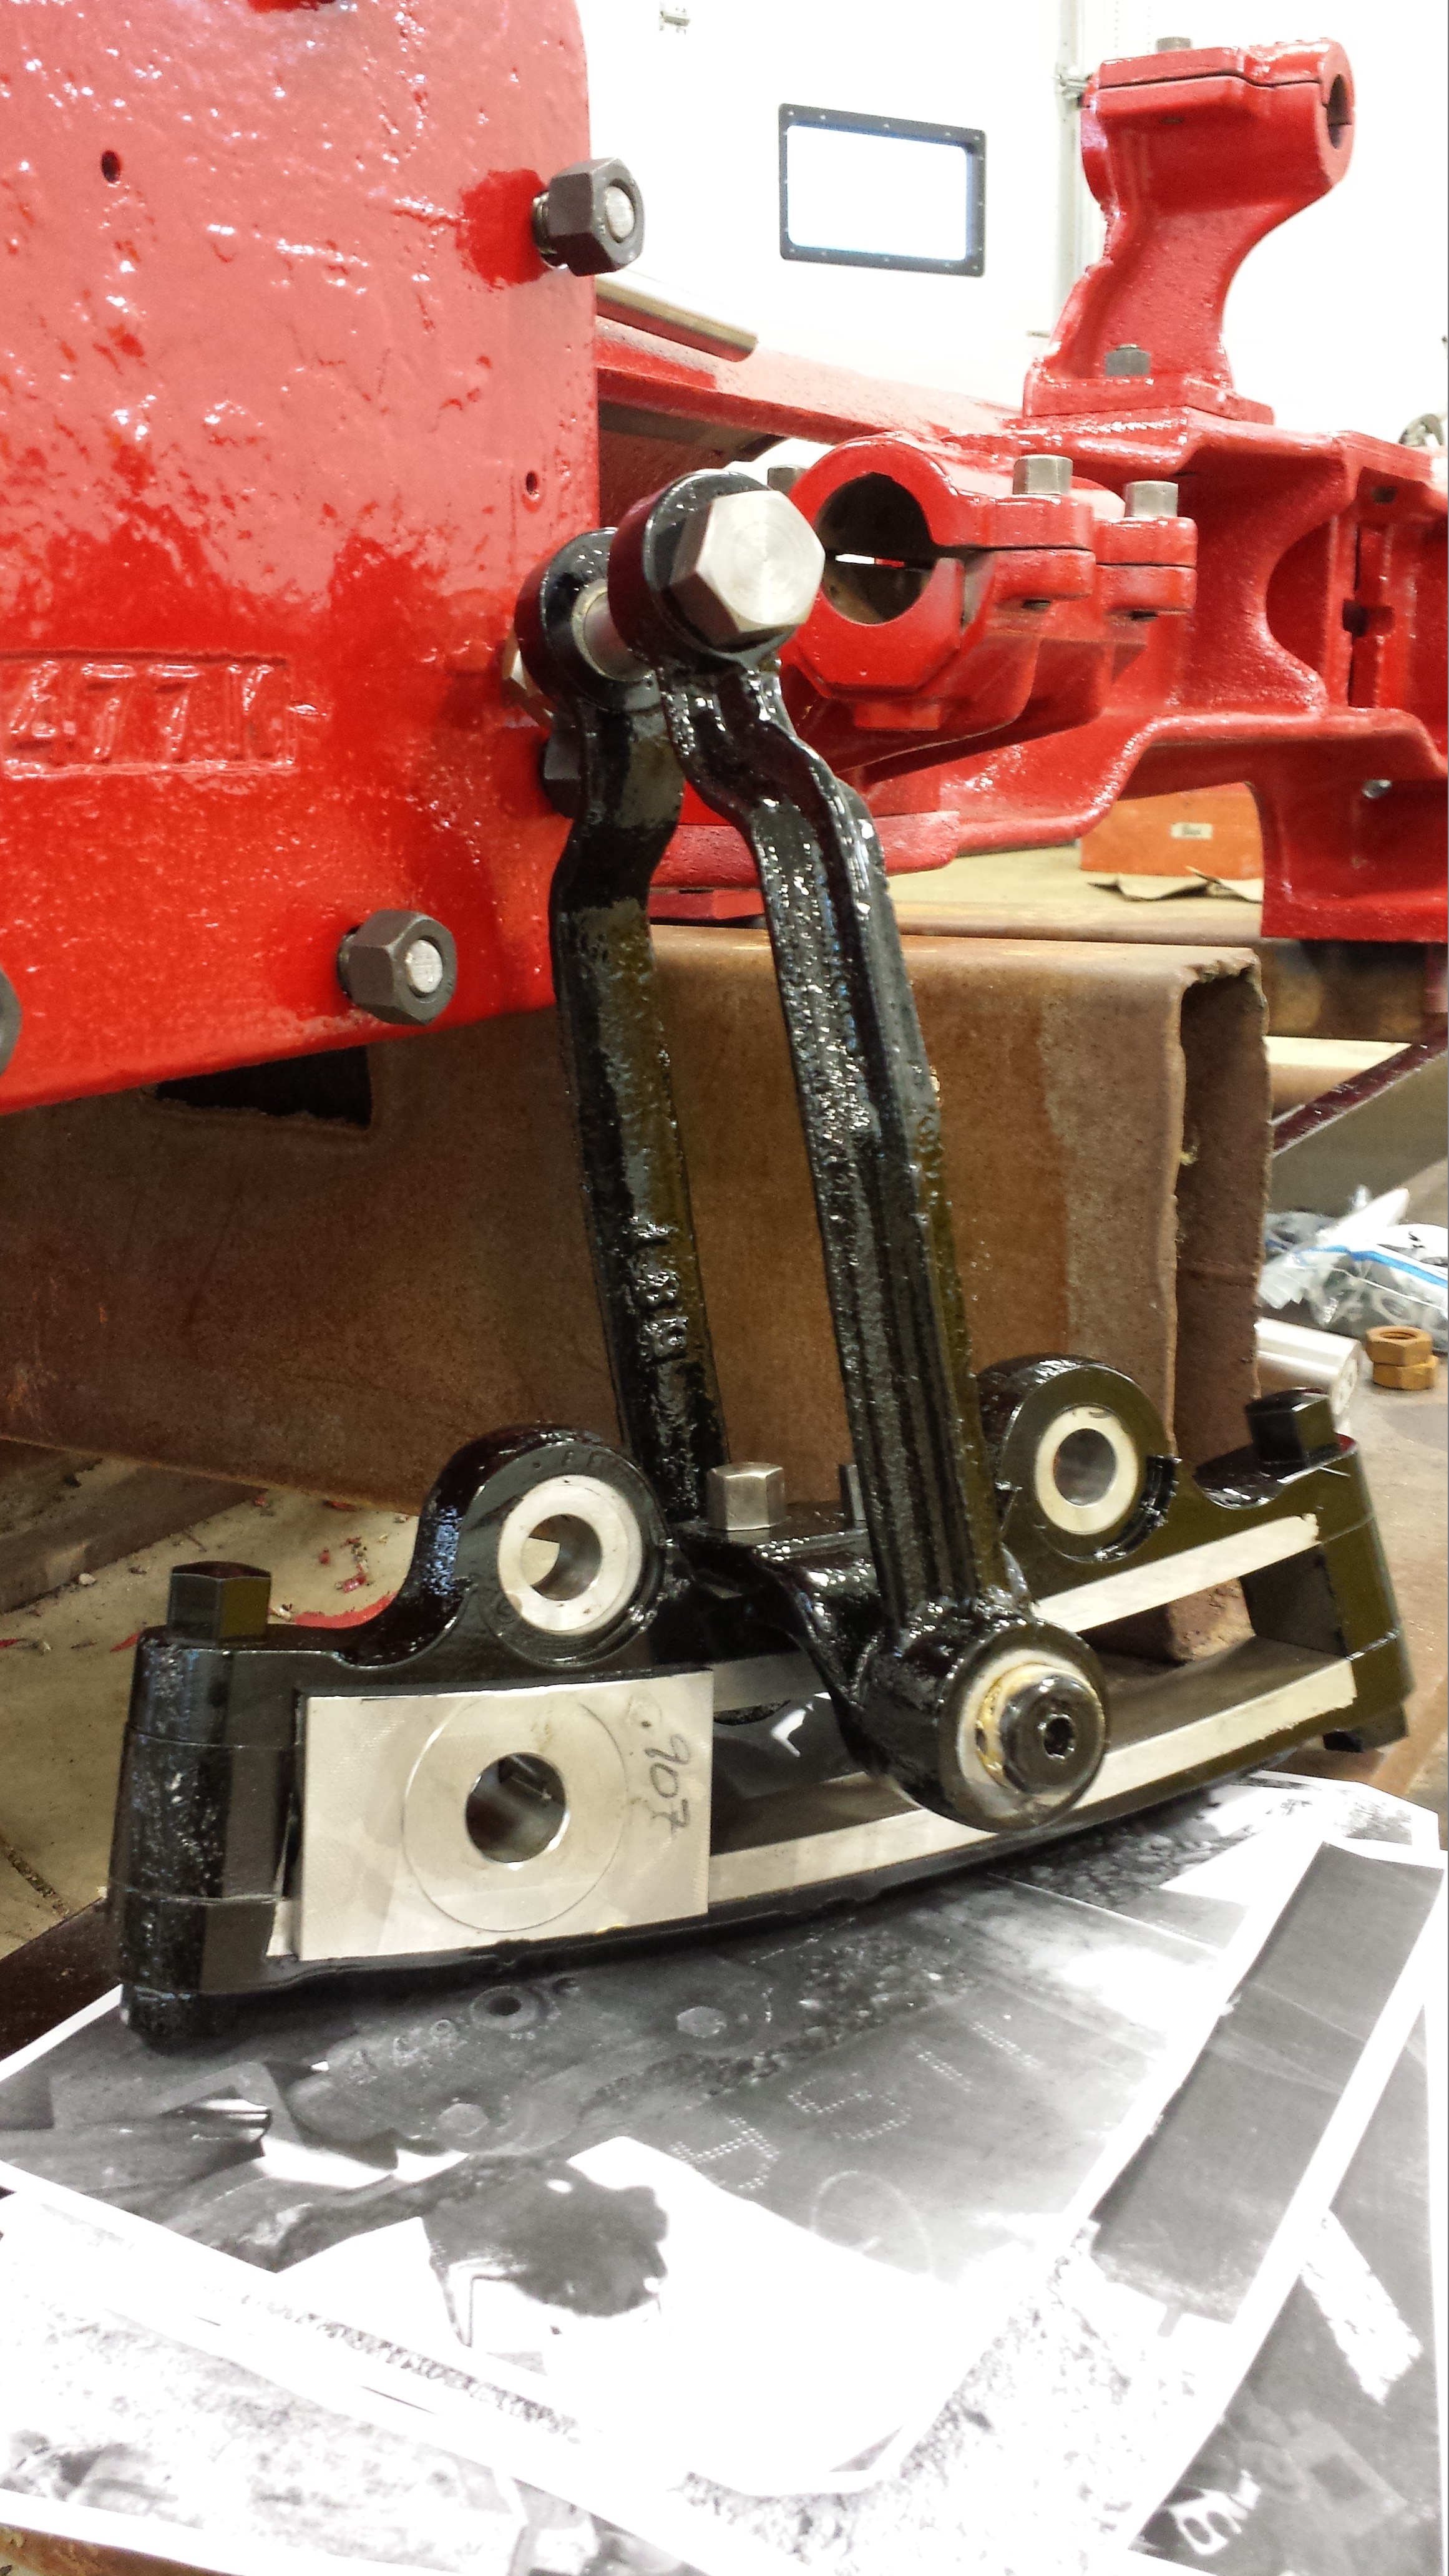
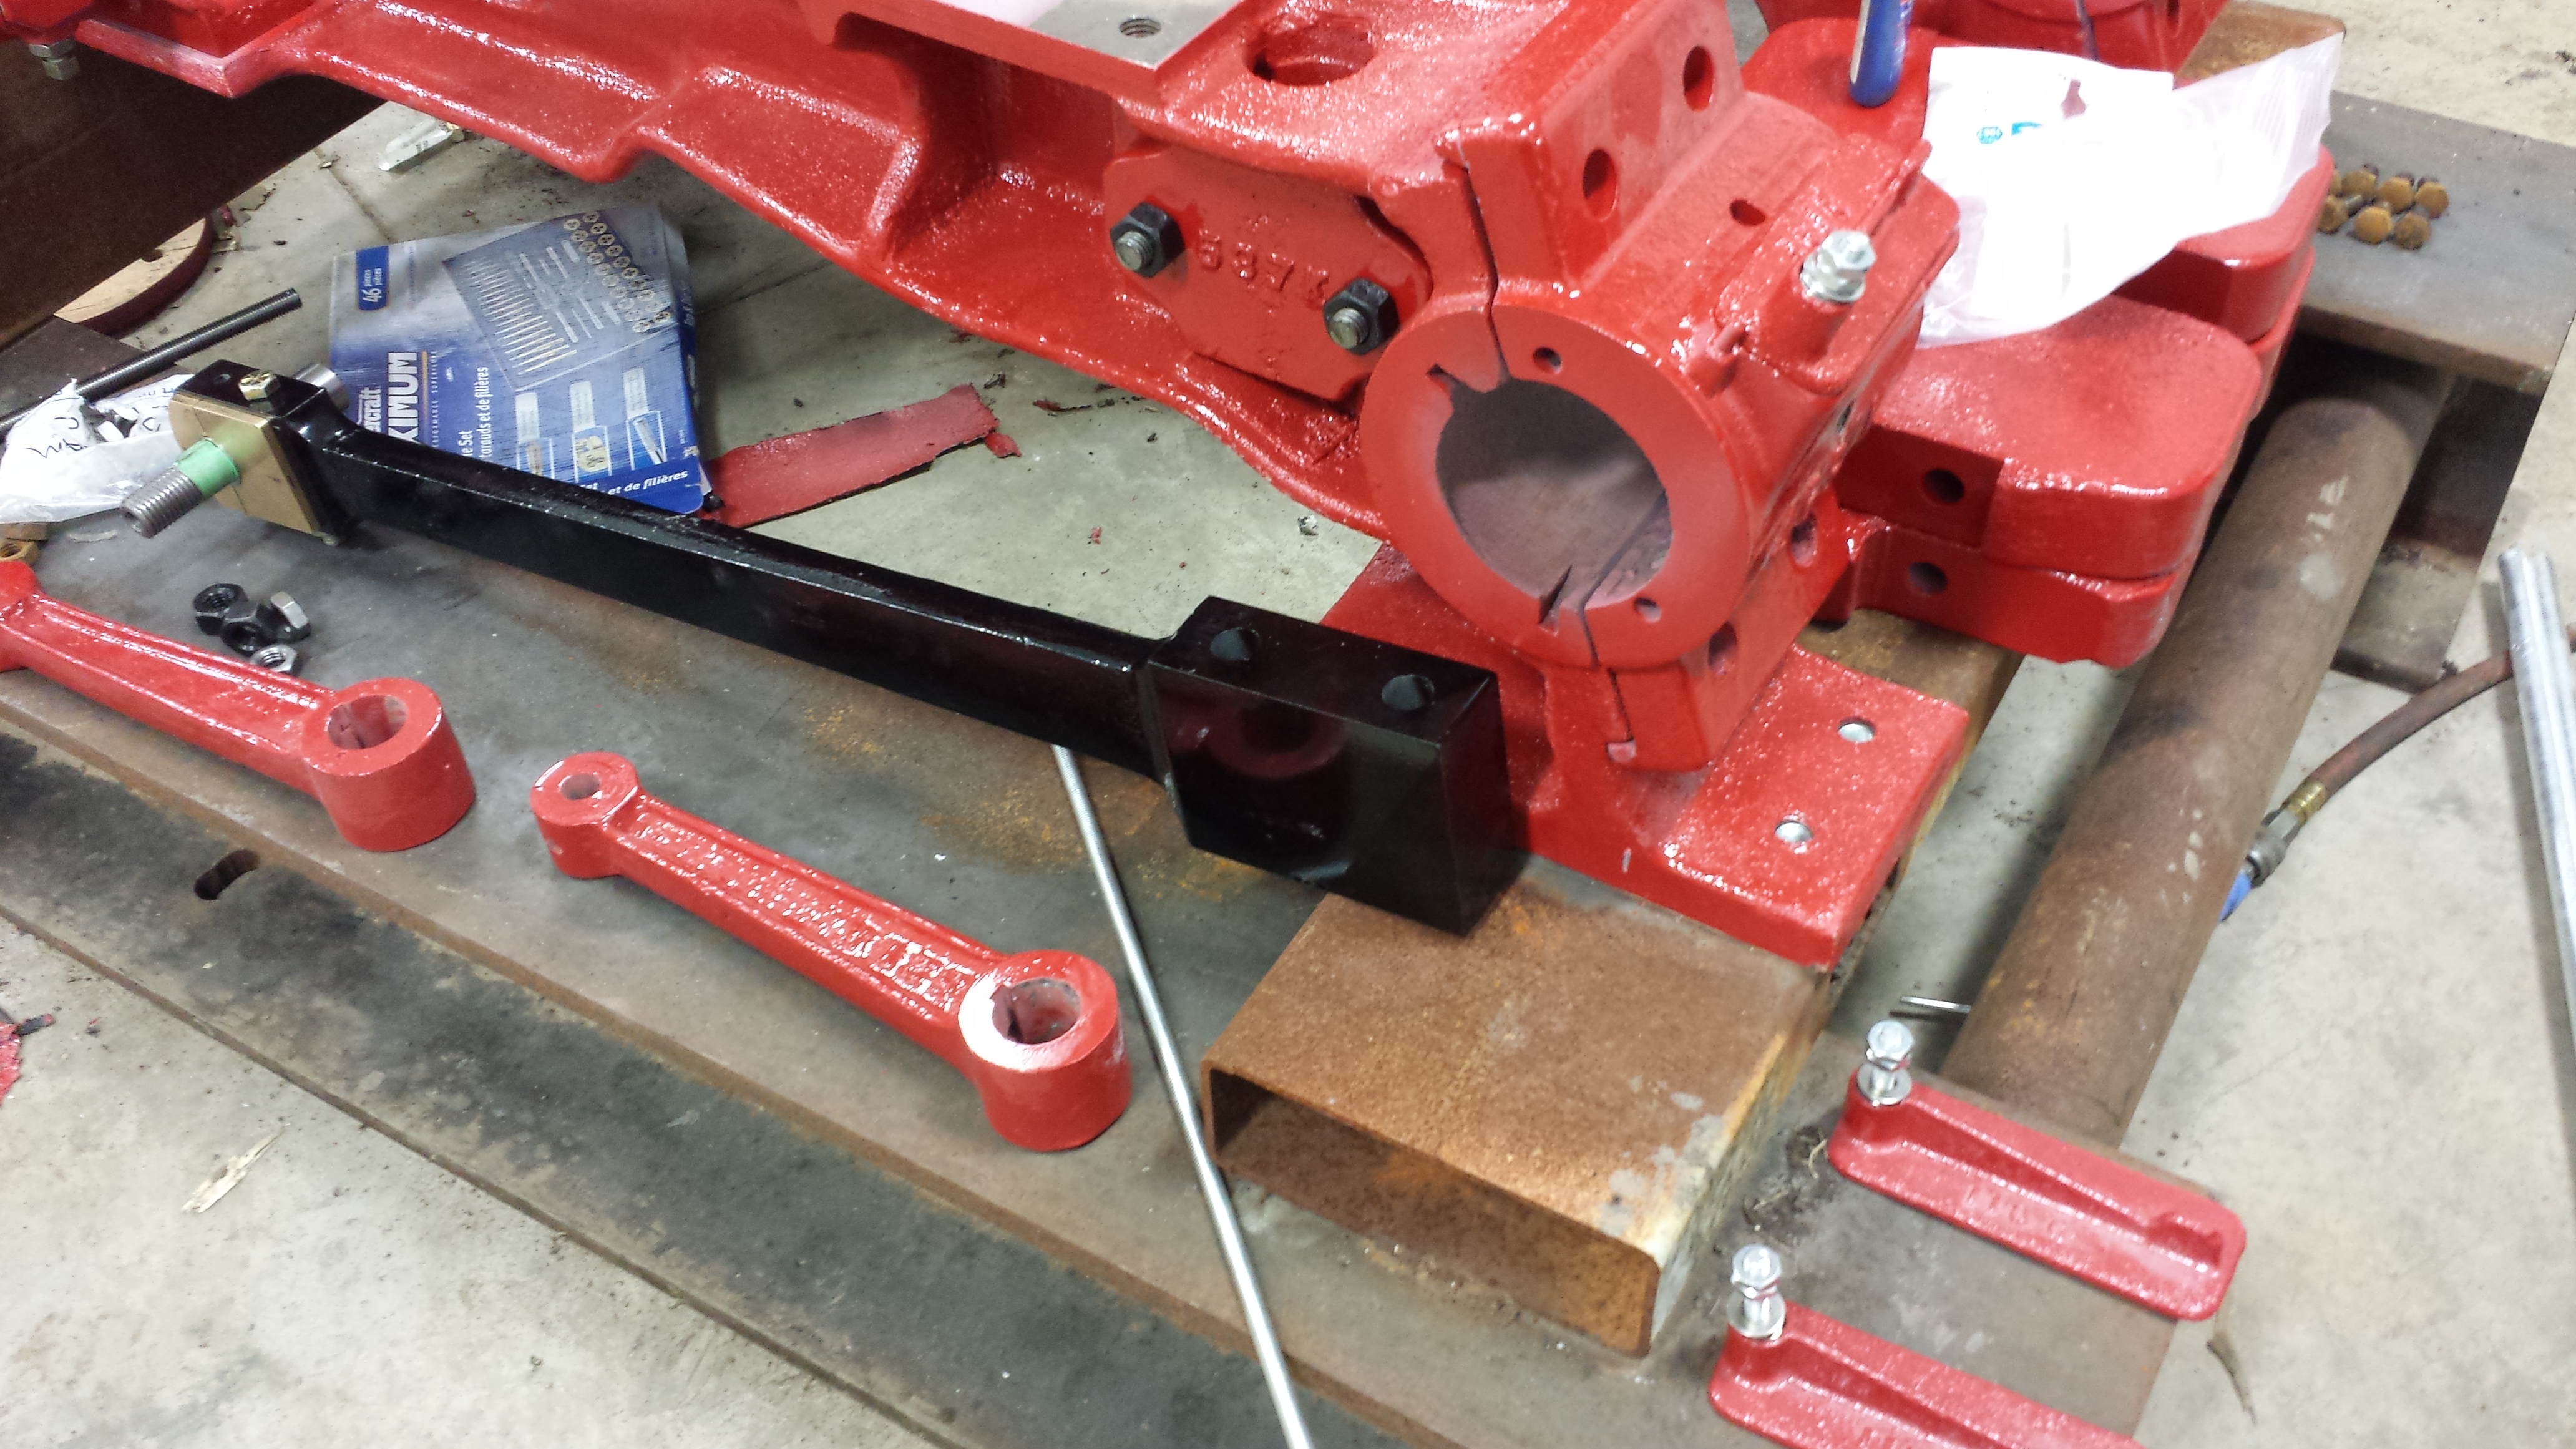
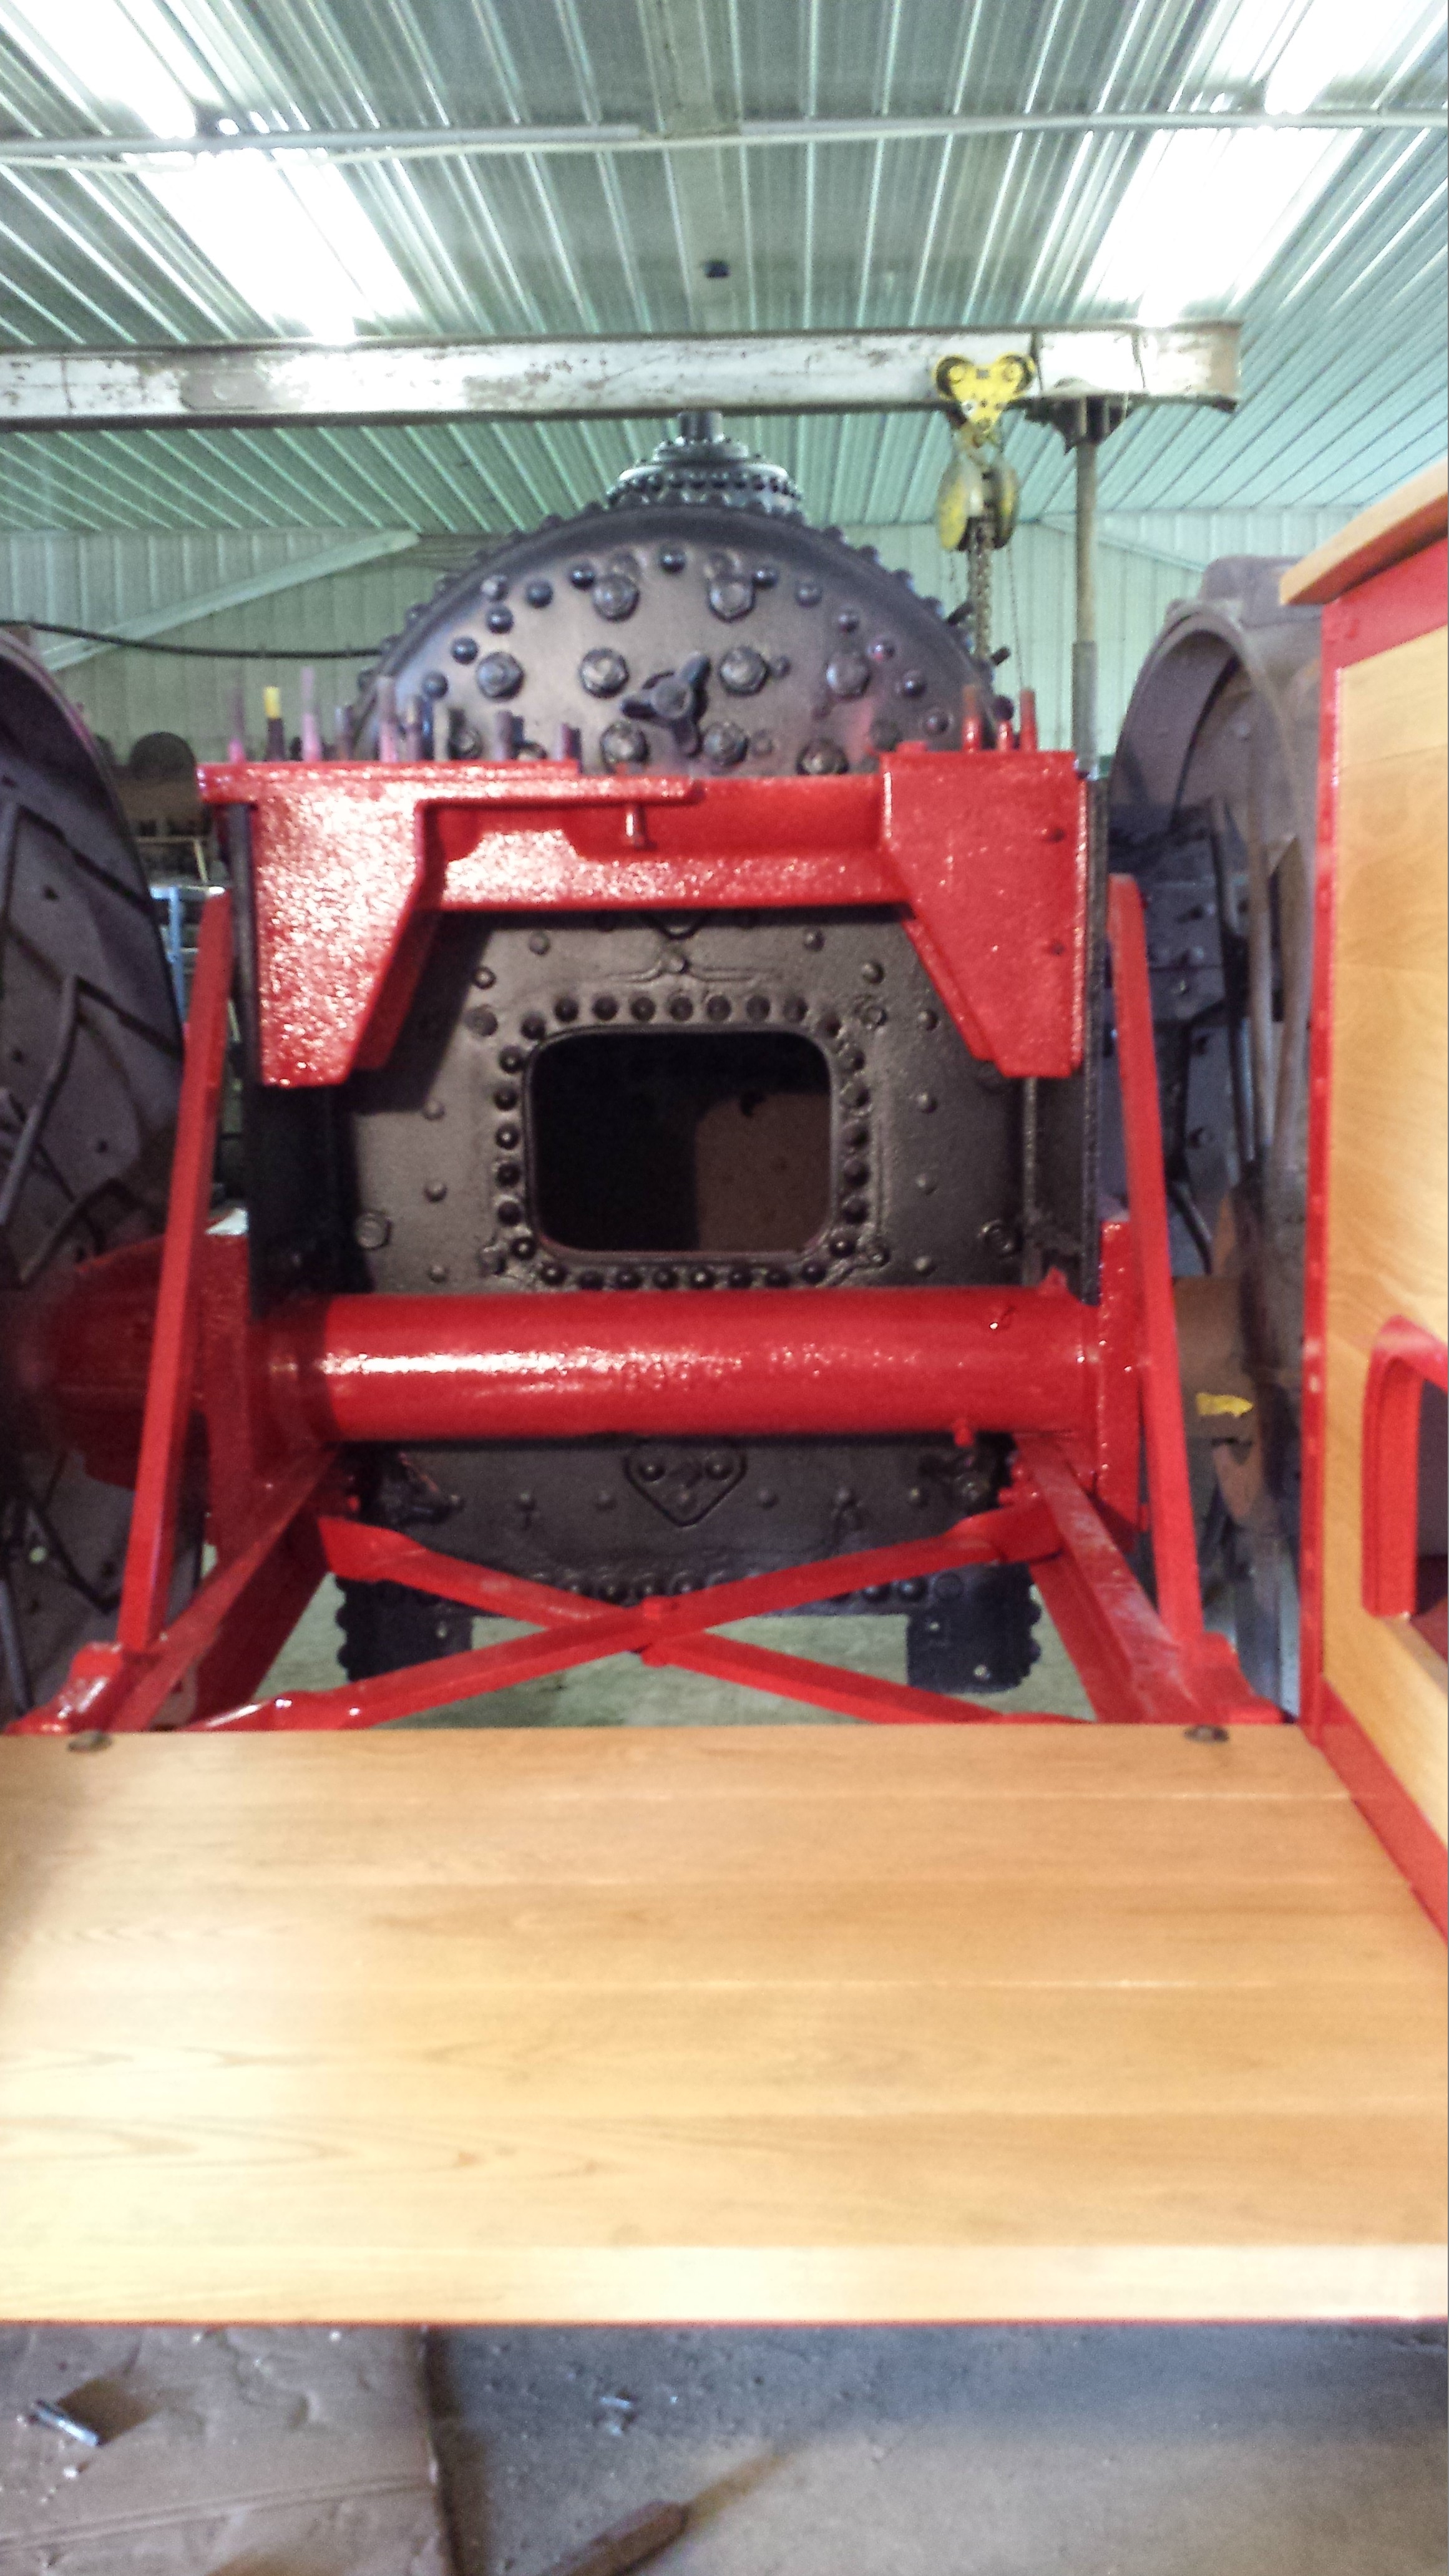
Wow, it’s been a full year since we did the riveting. I’m back in Manitoba so that mean another day to spend on the Gaar Scott itself. We did some planning ahead, and decided it was time to make the rear axle and lower cannon permanent. Bob had installed a decent lower cannon on this engine, but I purchased a better one (less wear on the shaft) at his sale (I have no idea why he didn’t use the best that he had…). With everything else we’re doing, I new I wanted to use the best parts I could.
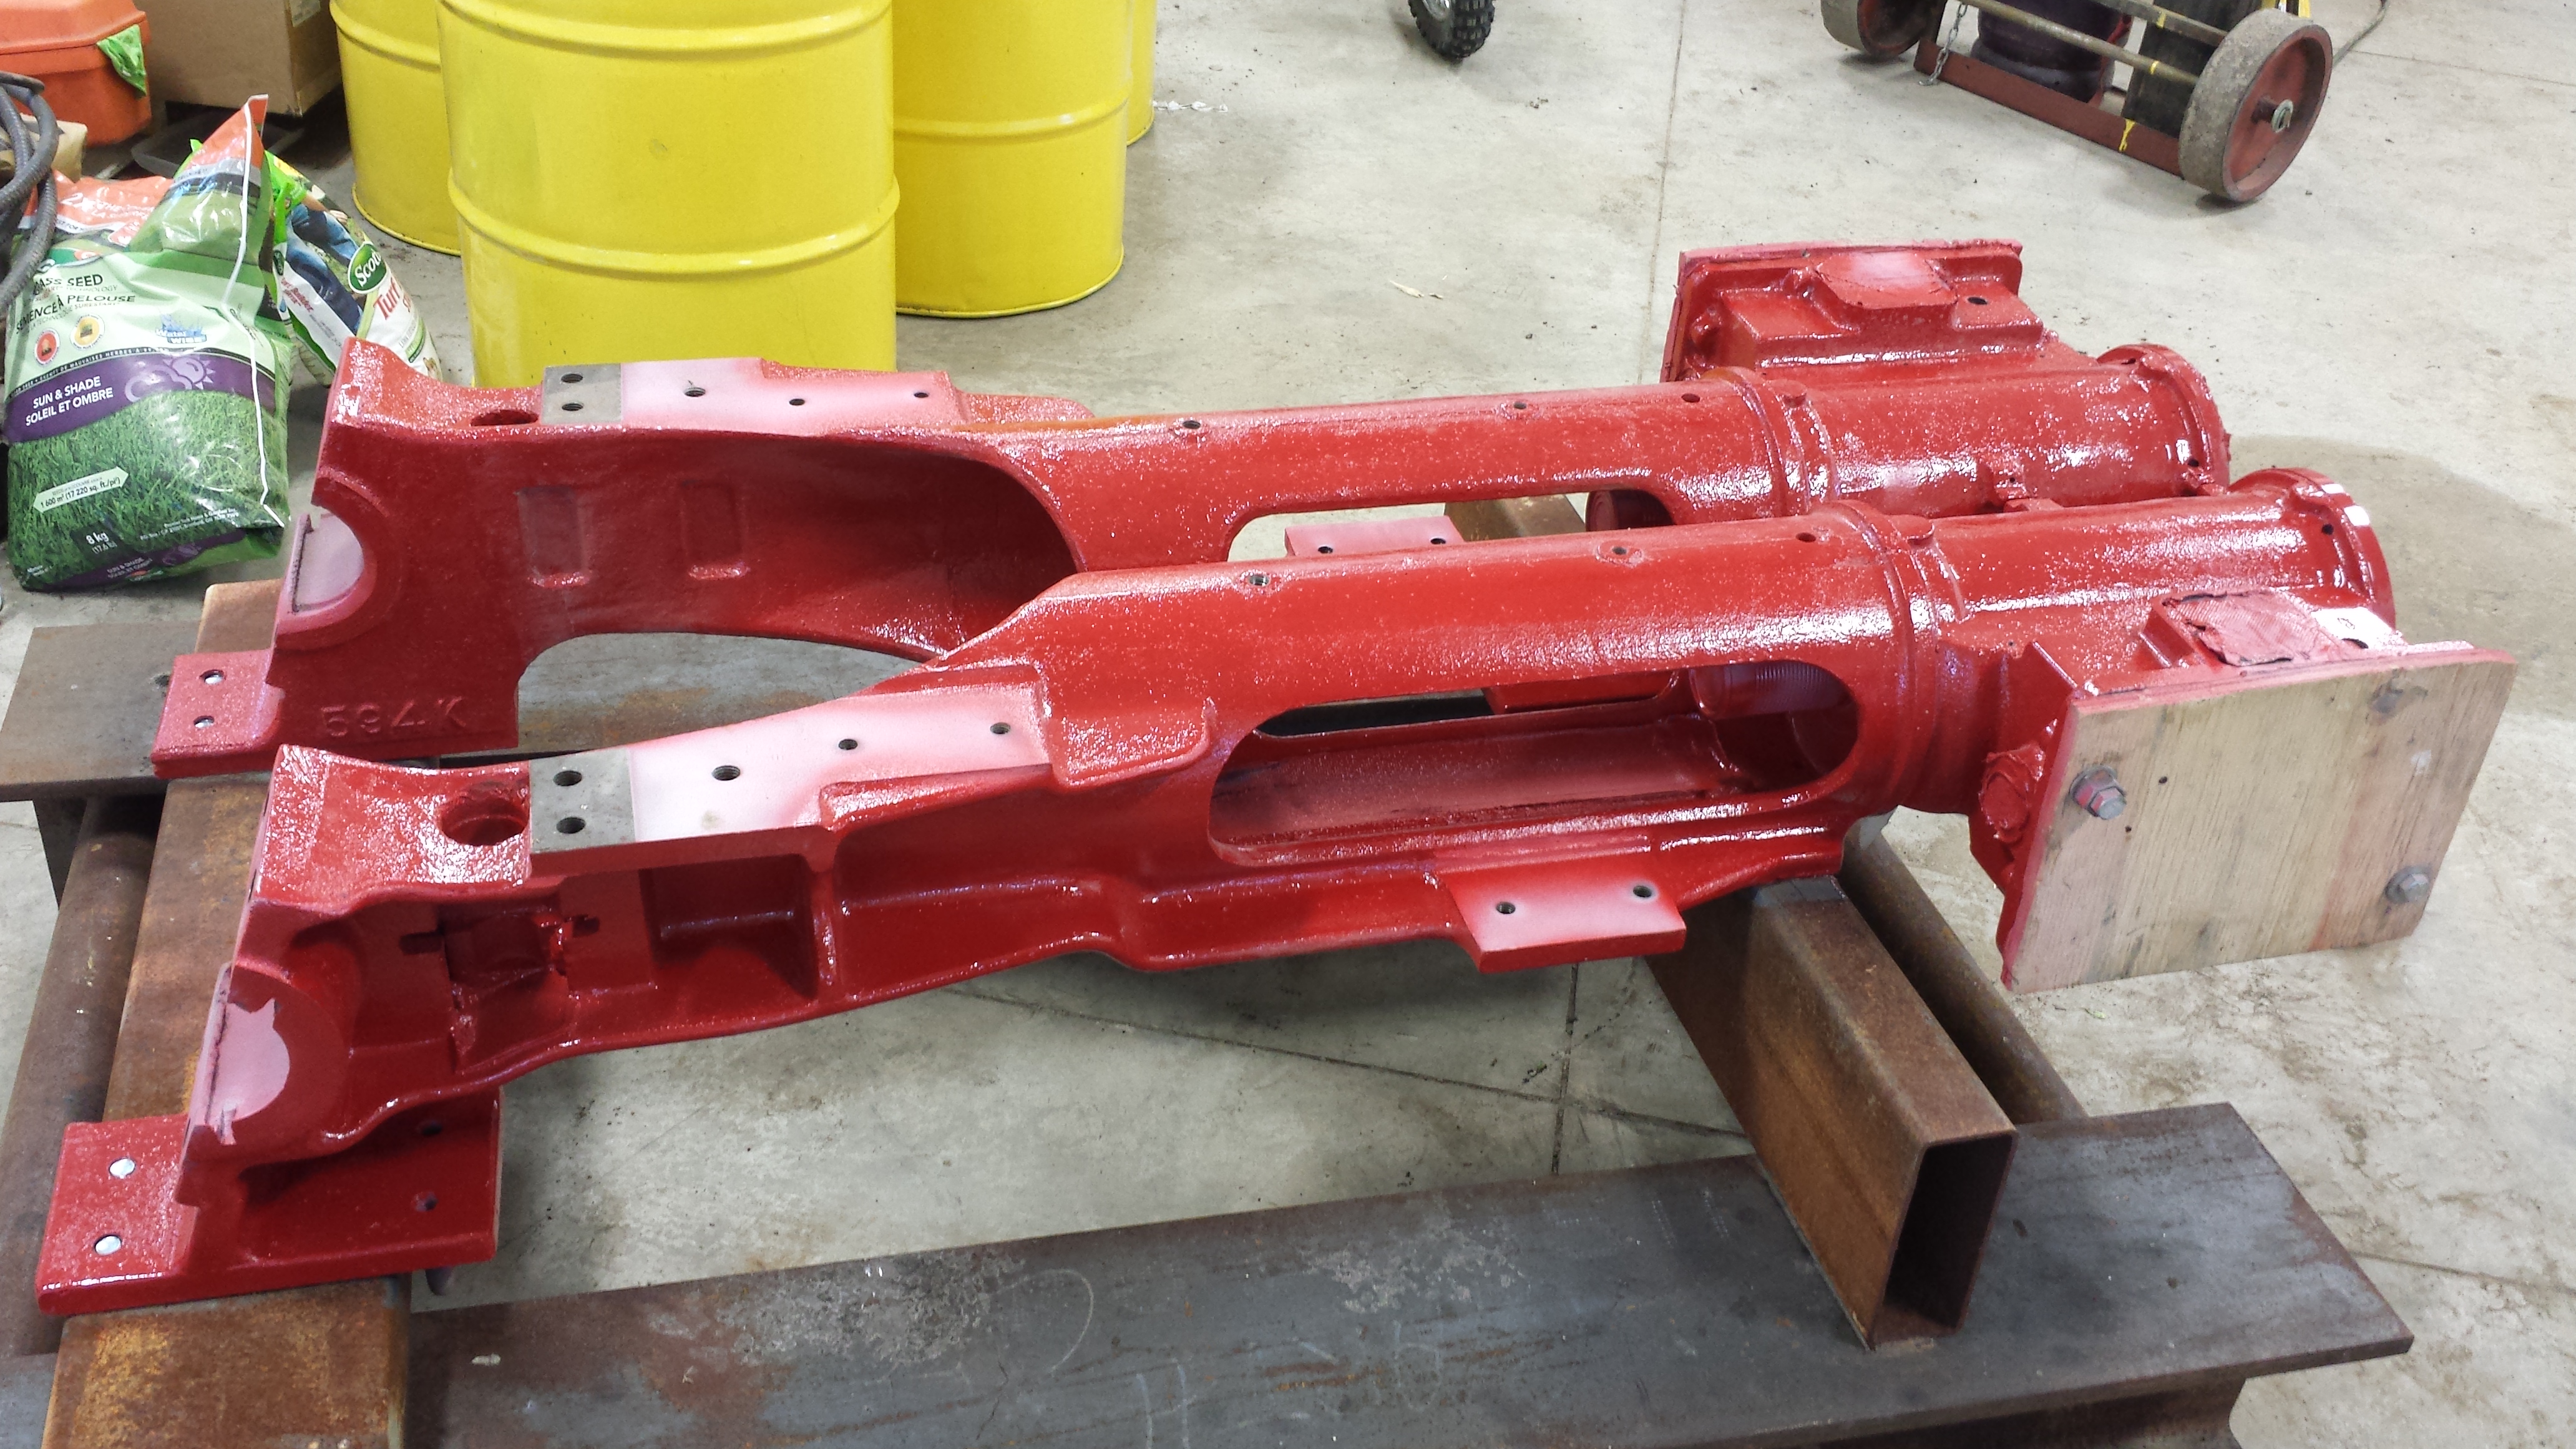
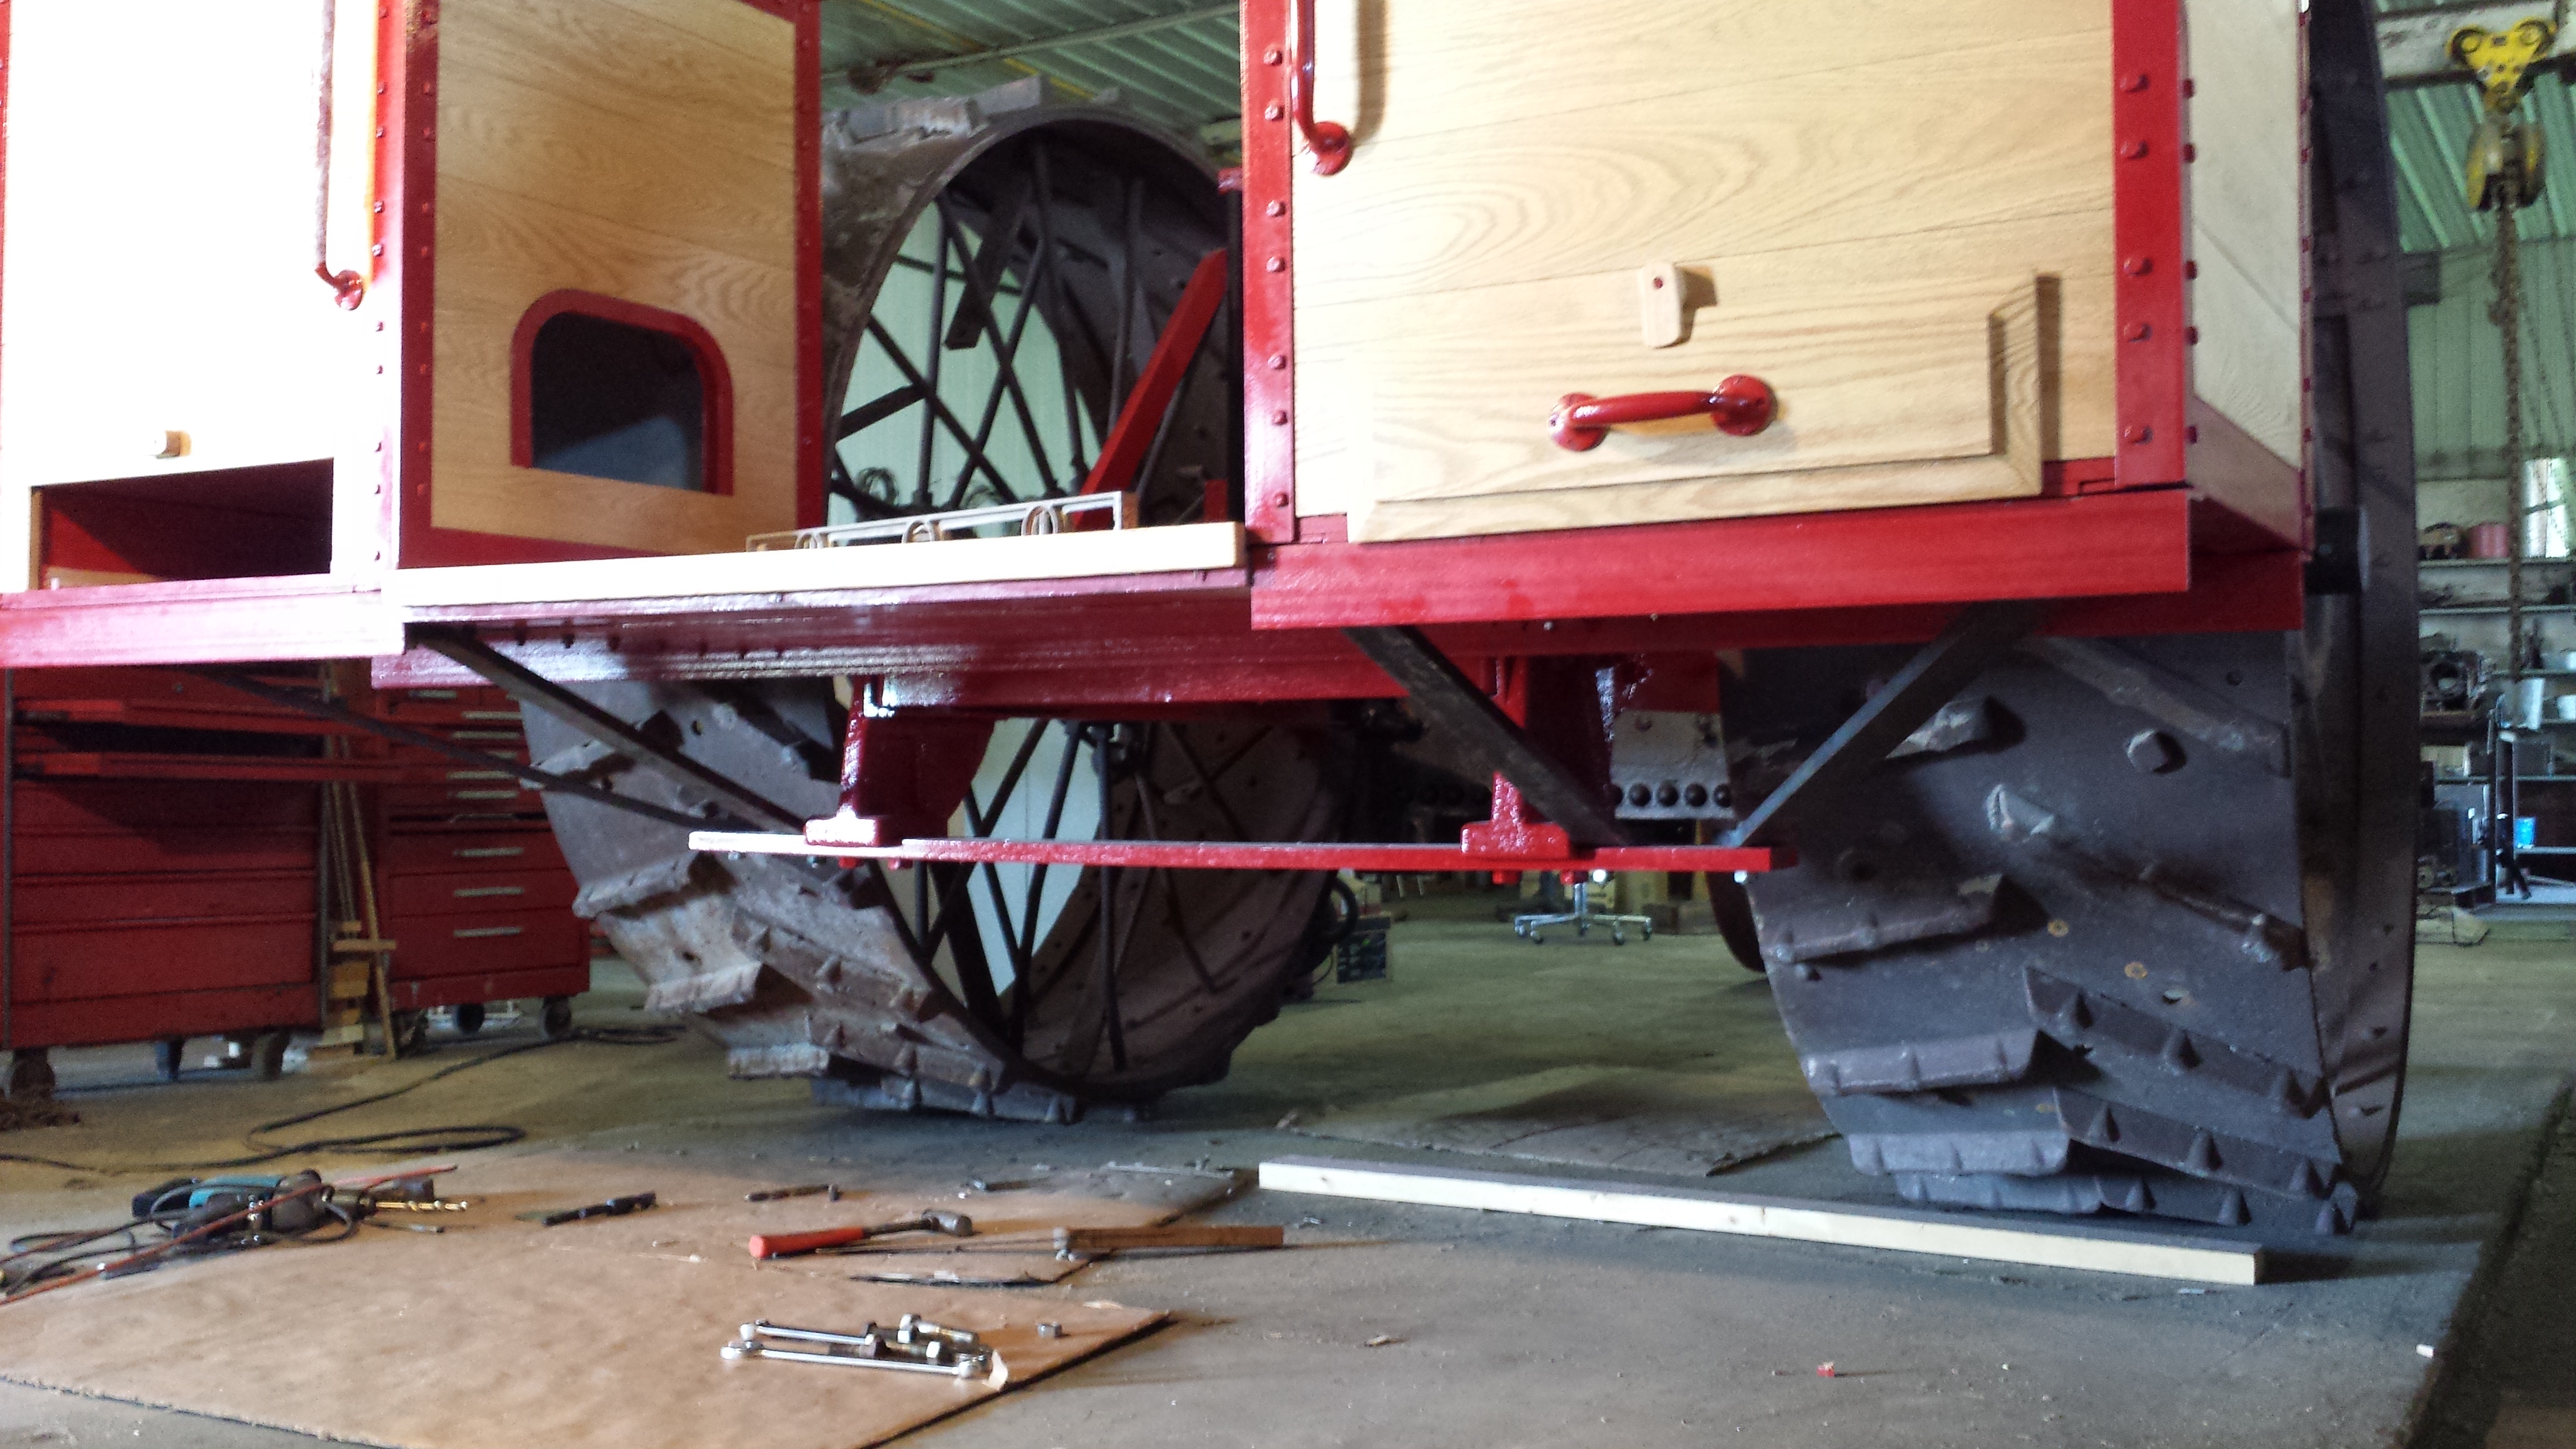
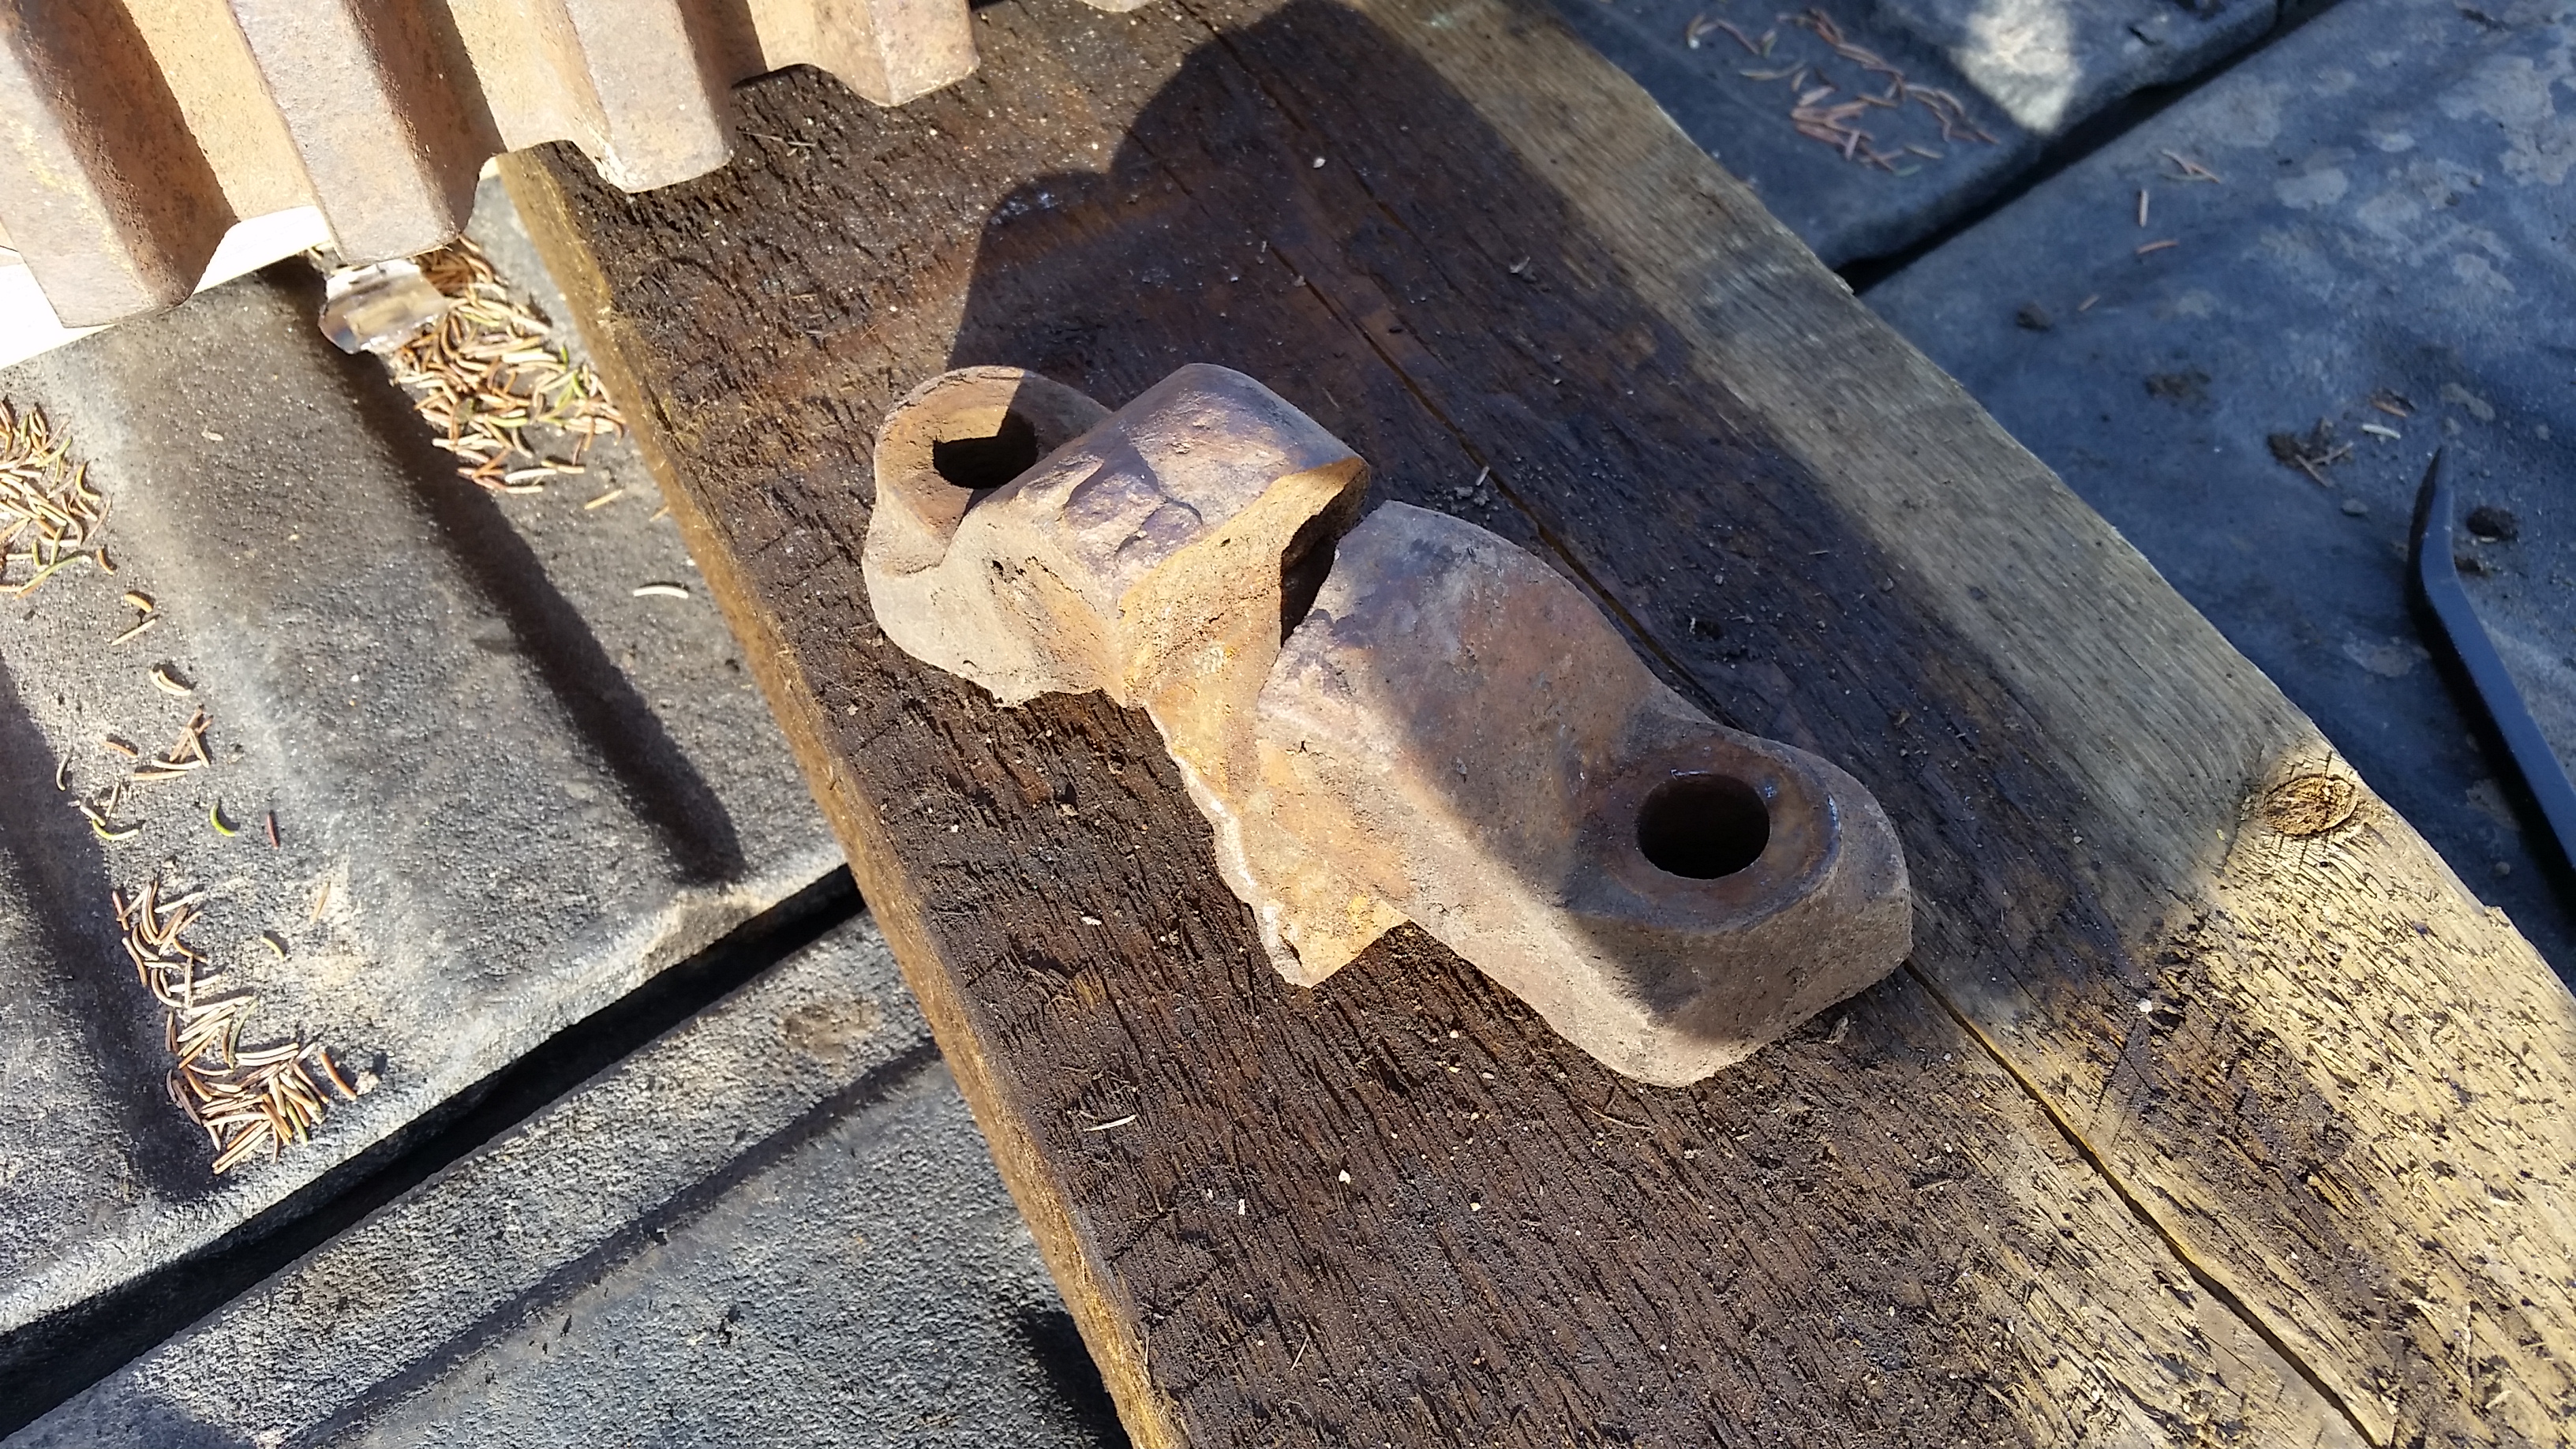
Here’s a picture of the completed subassembly. Rod, Stew, and Bruce had worked away. Bob had built a beat-up old frame out of old plow channel irons, so what you see here is the new hitch frame too. The guys wanted to wait for me to make sure that the axle was square and level with the boiler – the old one wasn’t.
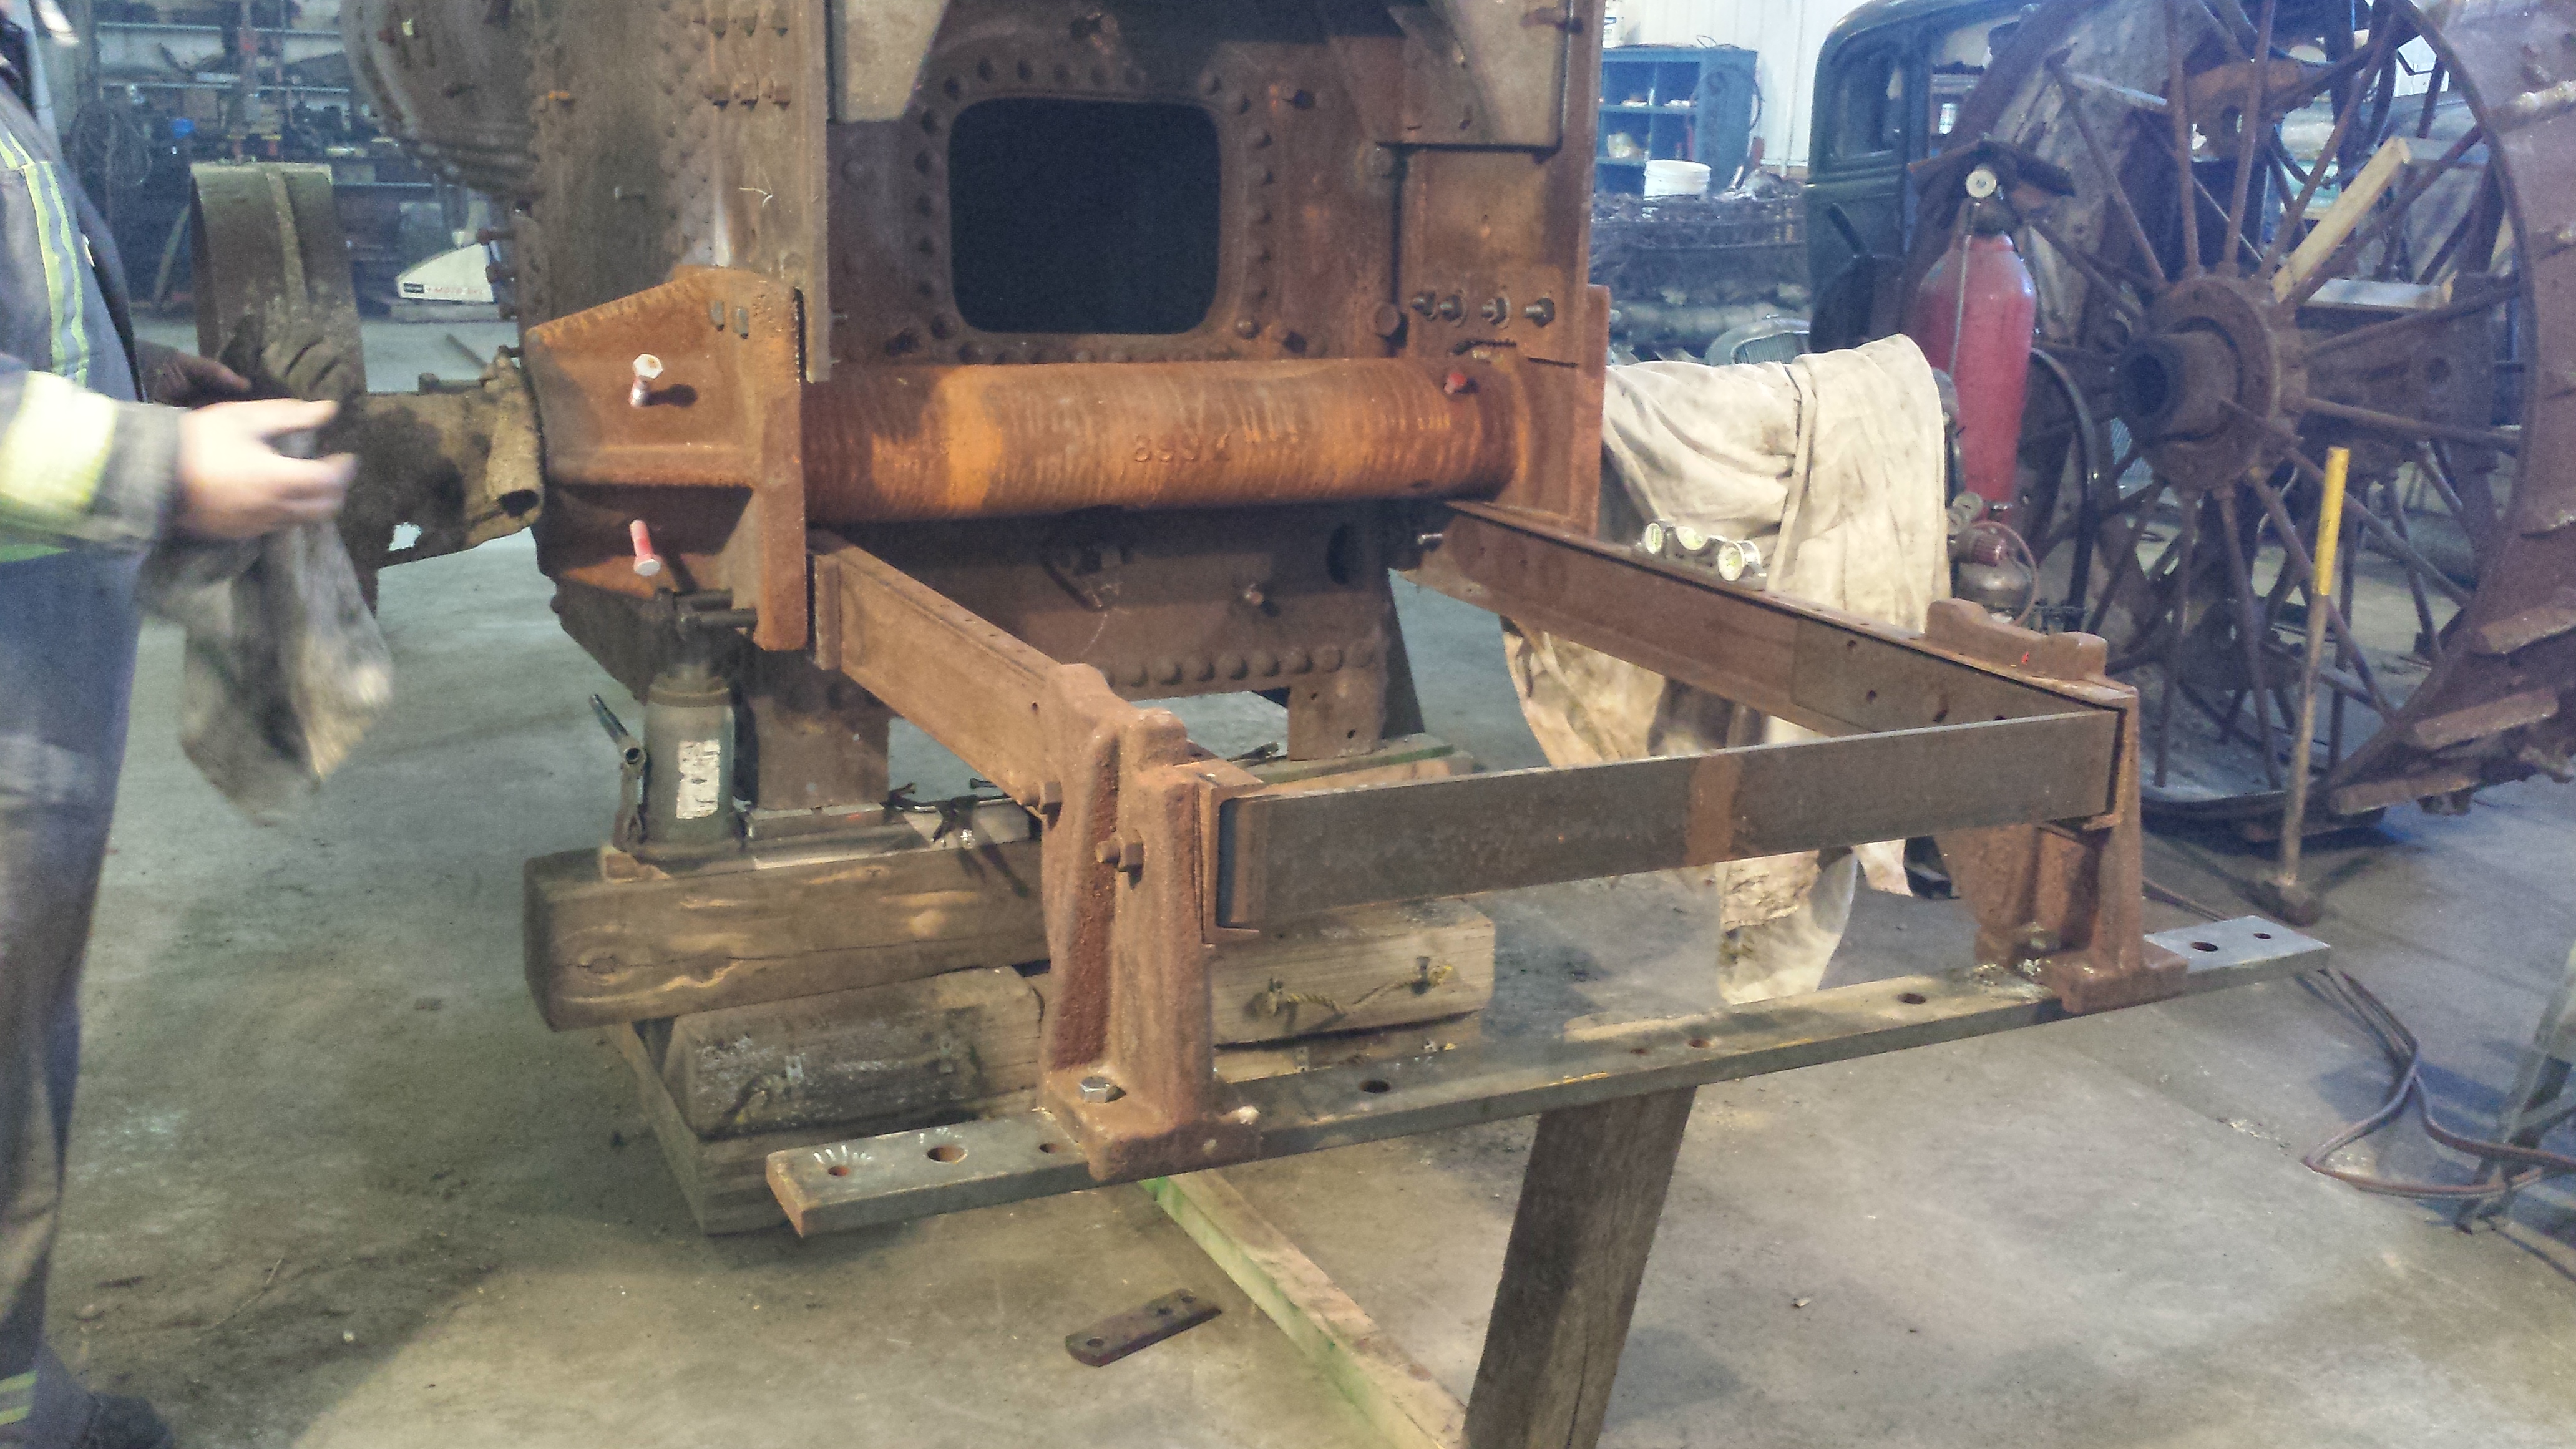
We proceeded to level it, and sure enough, Rod had to use a torch to quickly clearance a few holes to fit the parts together. The hitch fit well to the lower cannon housing, but some of the wing sheet holes needed clearanced.
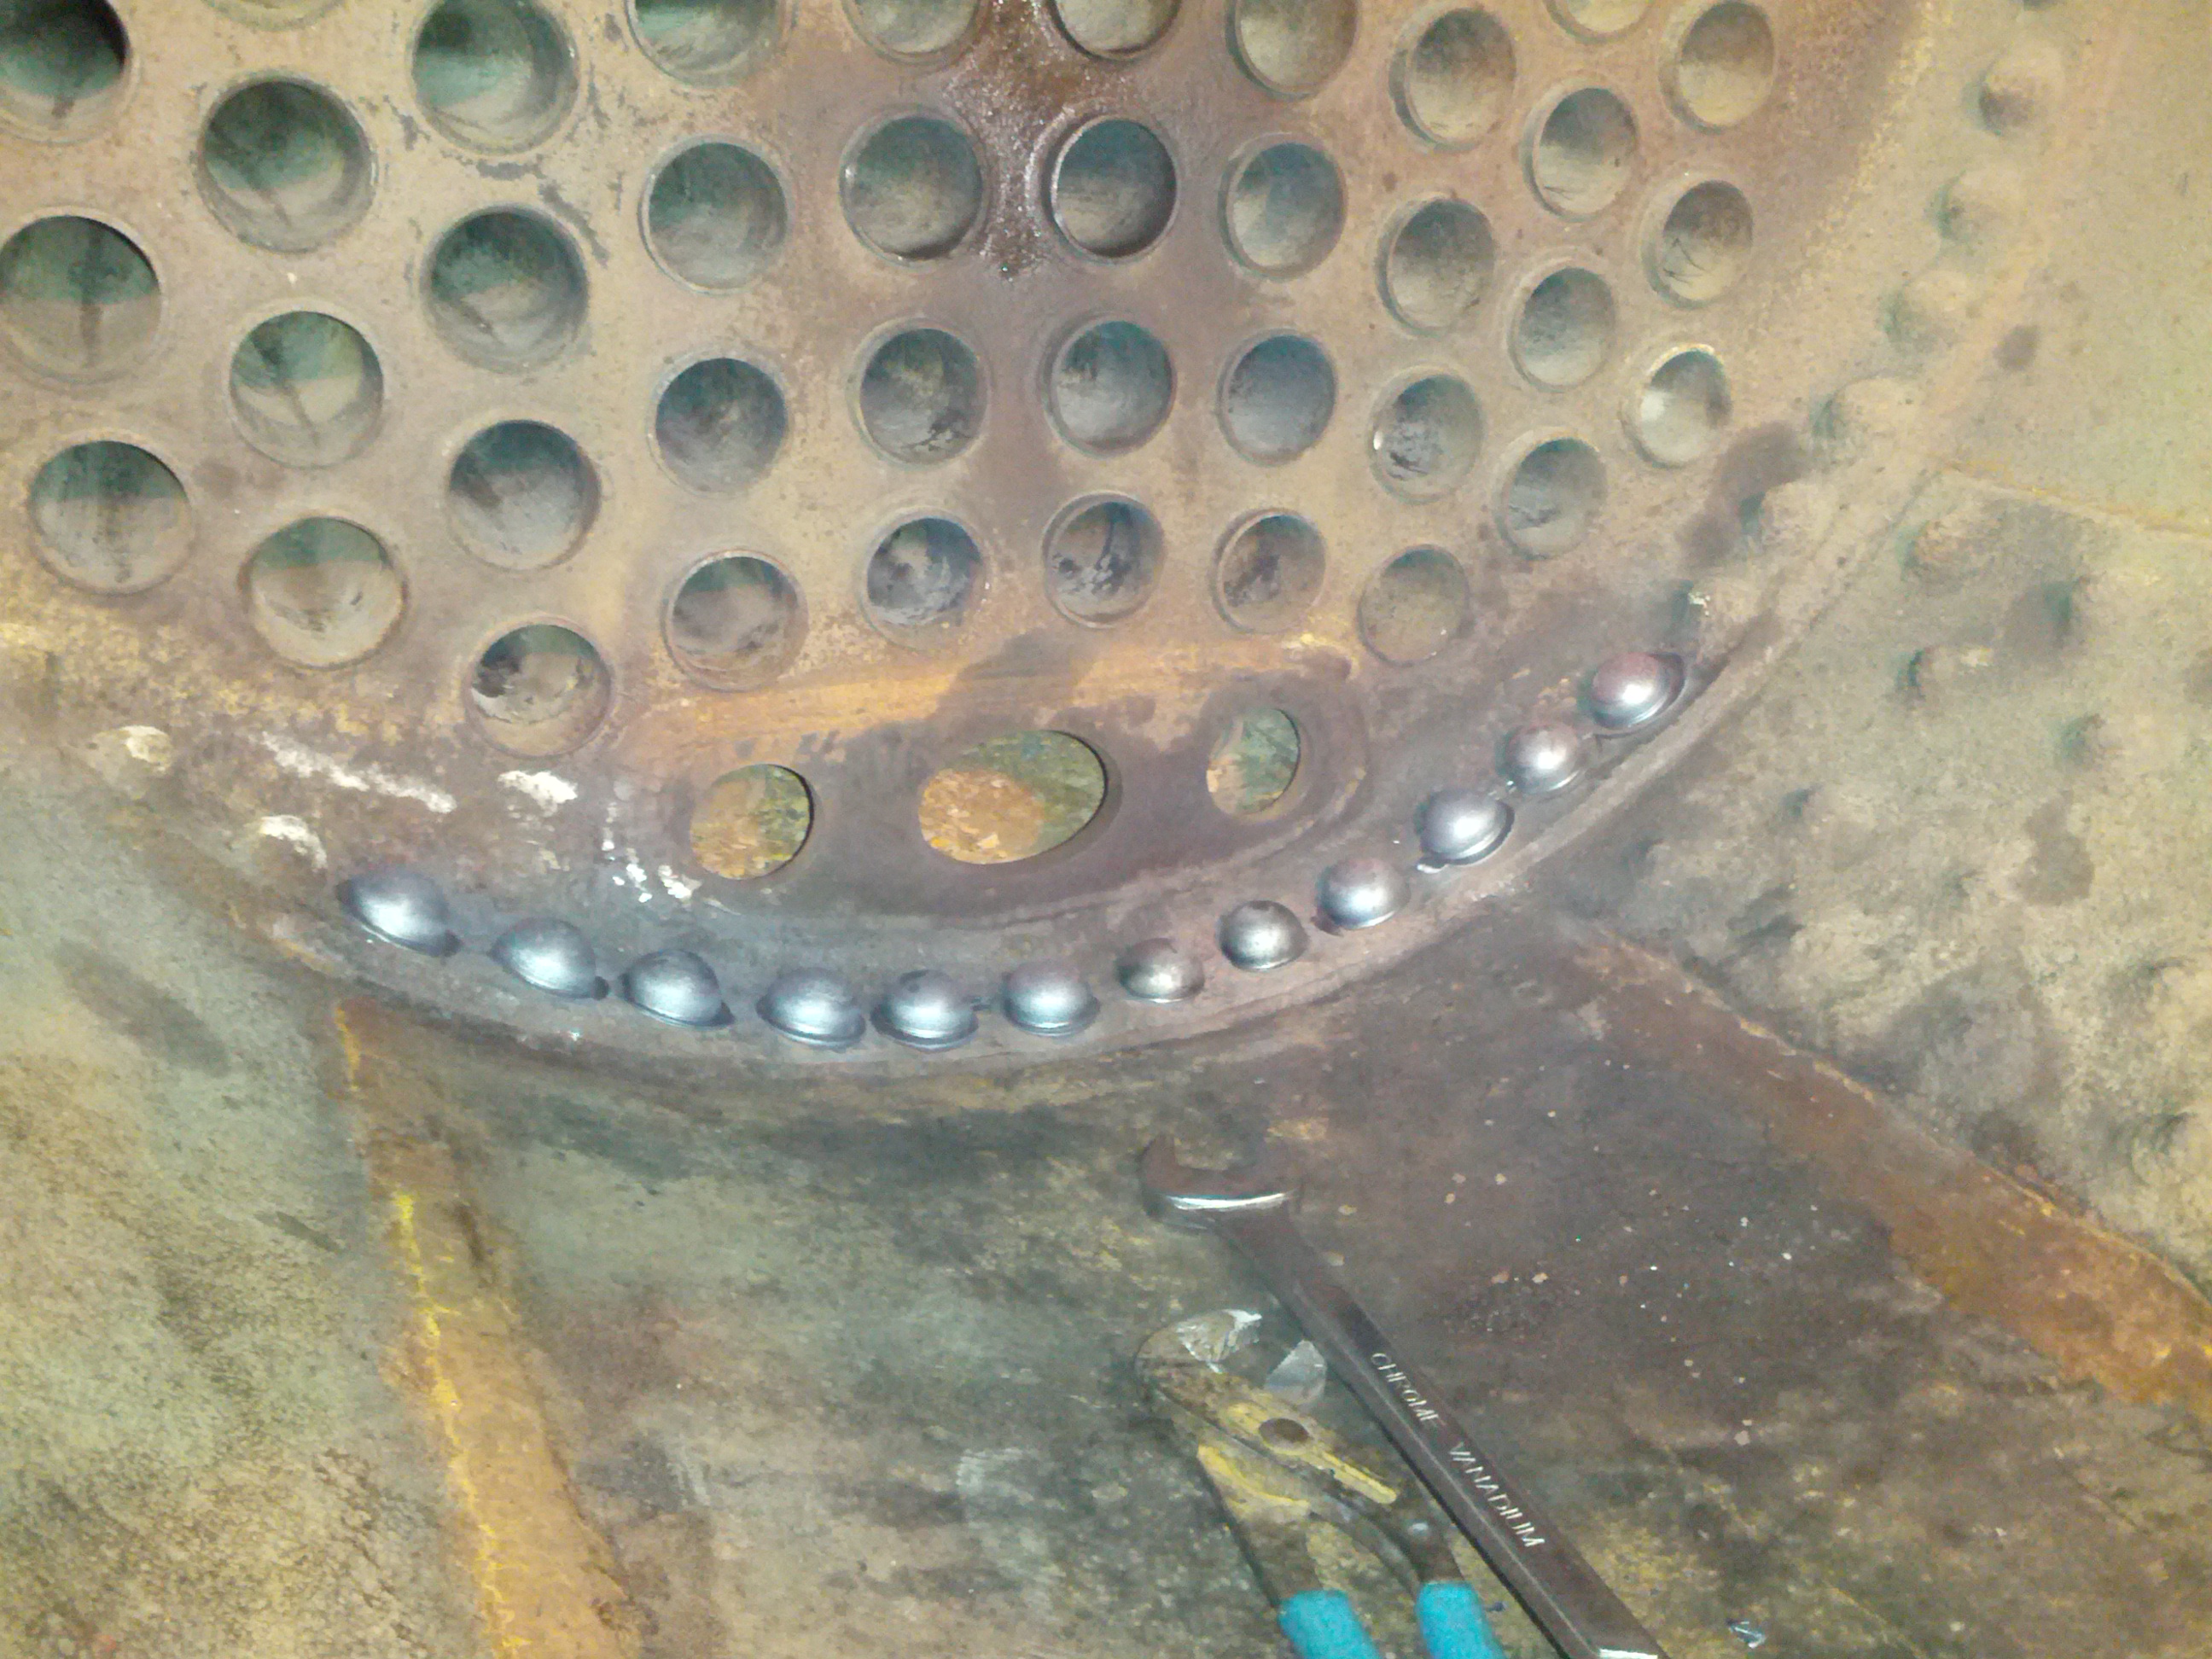
We went searching for why things just weren’t lining up right. Here’s the reason!
When Bob began assembling this engine, he had to weld the Gaar Scott wingsheets back onto the boiler. Well..things don’t always fit that well when you weld one wingsheet on, 1 inch taller than the other! Why he didn’t level them to each other, I’ll never know.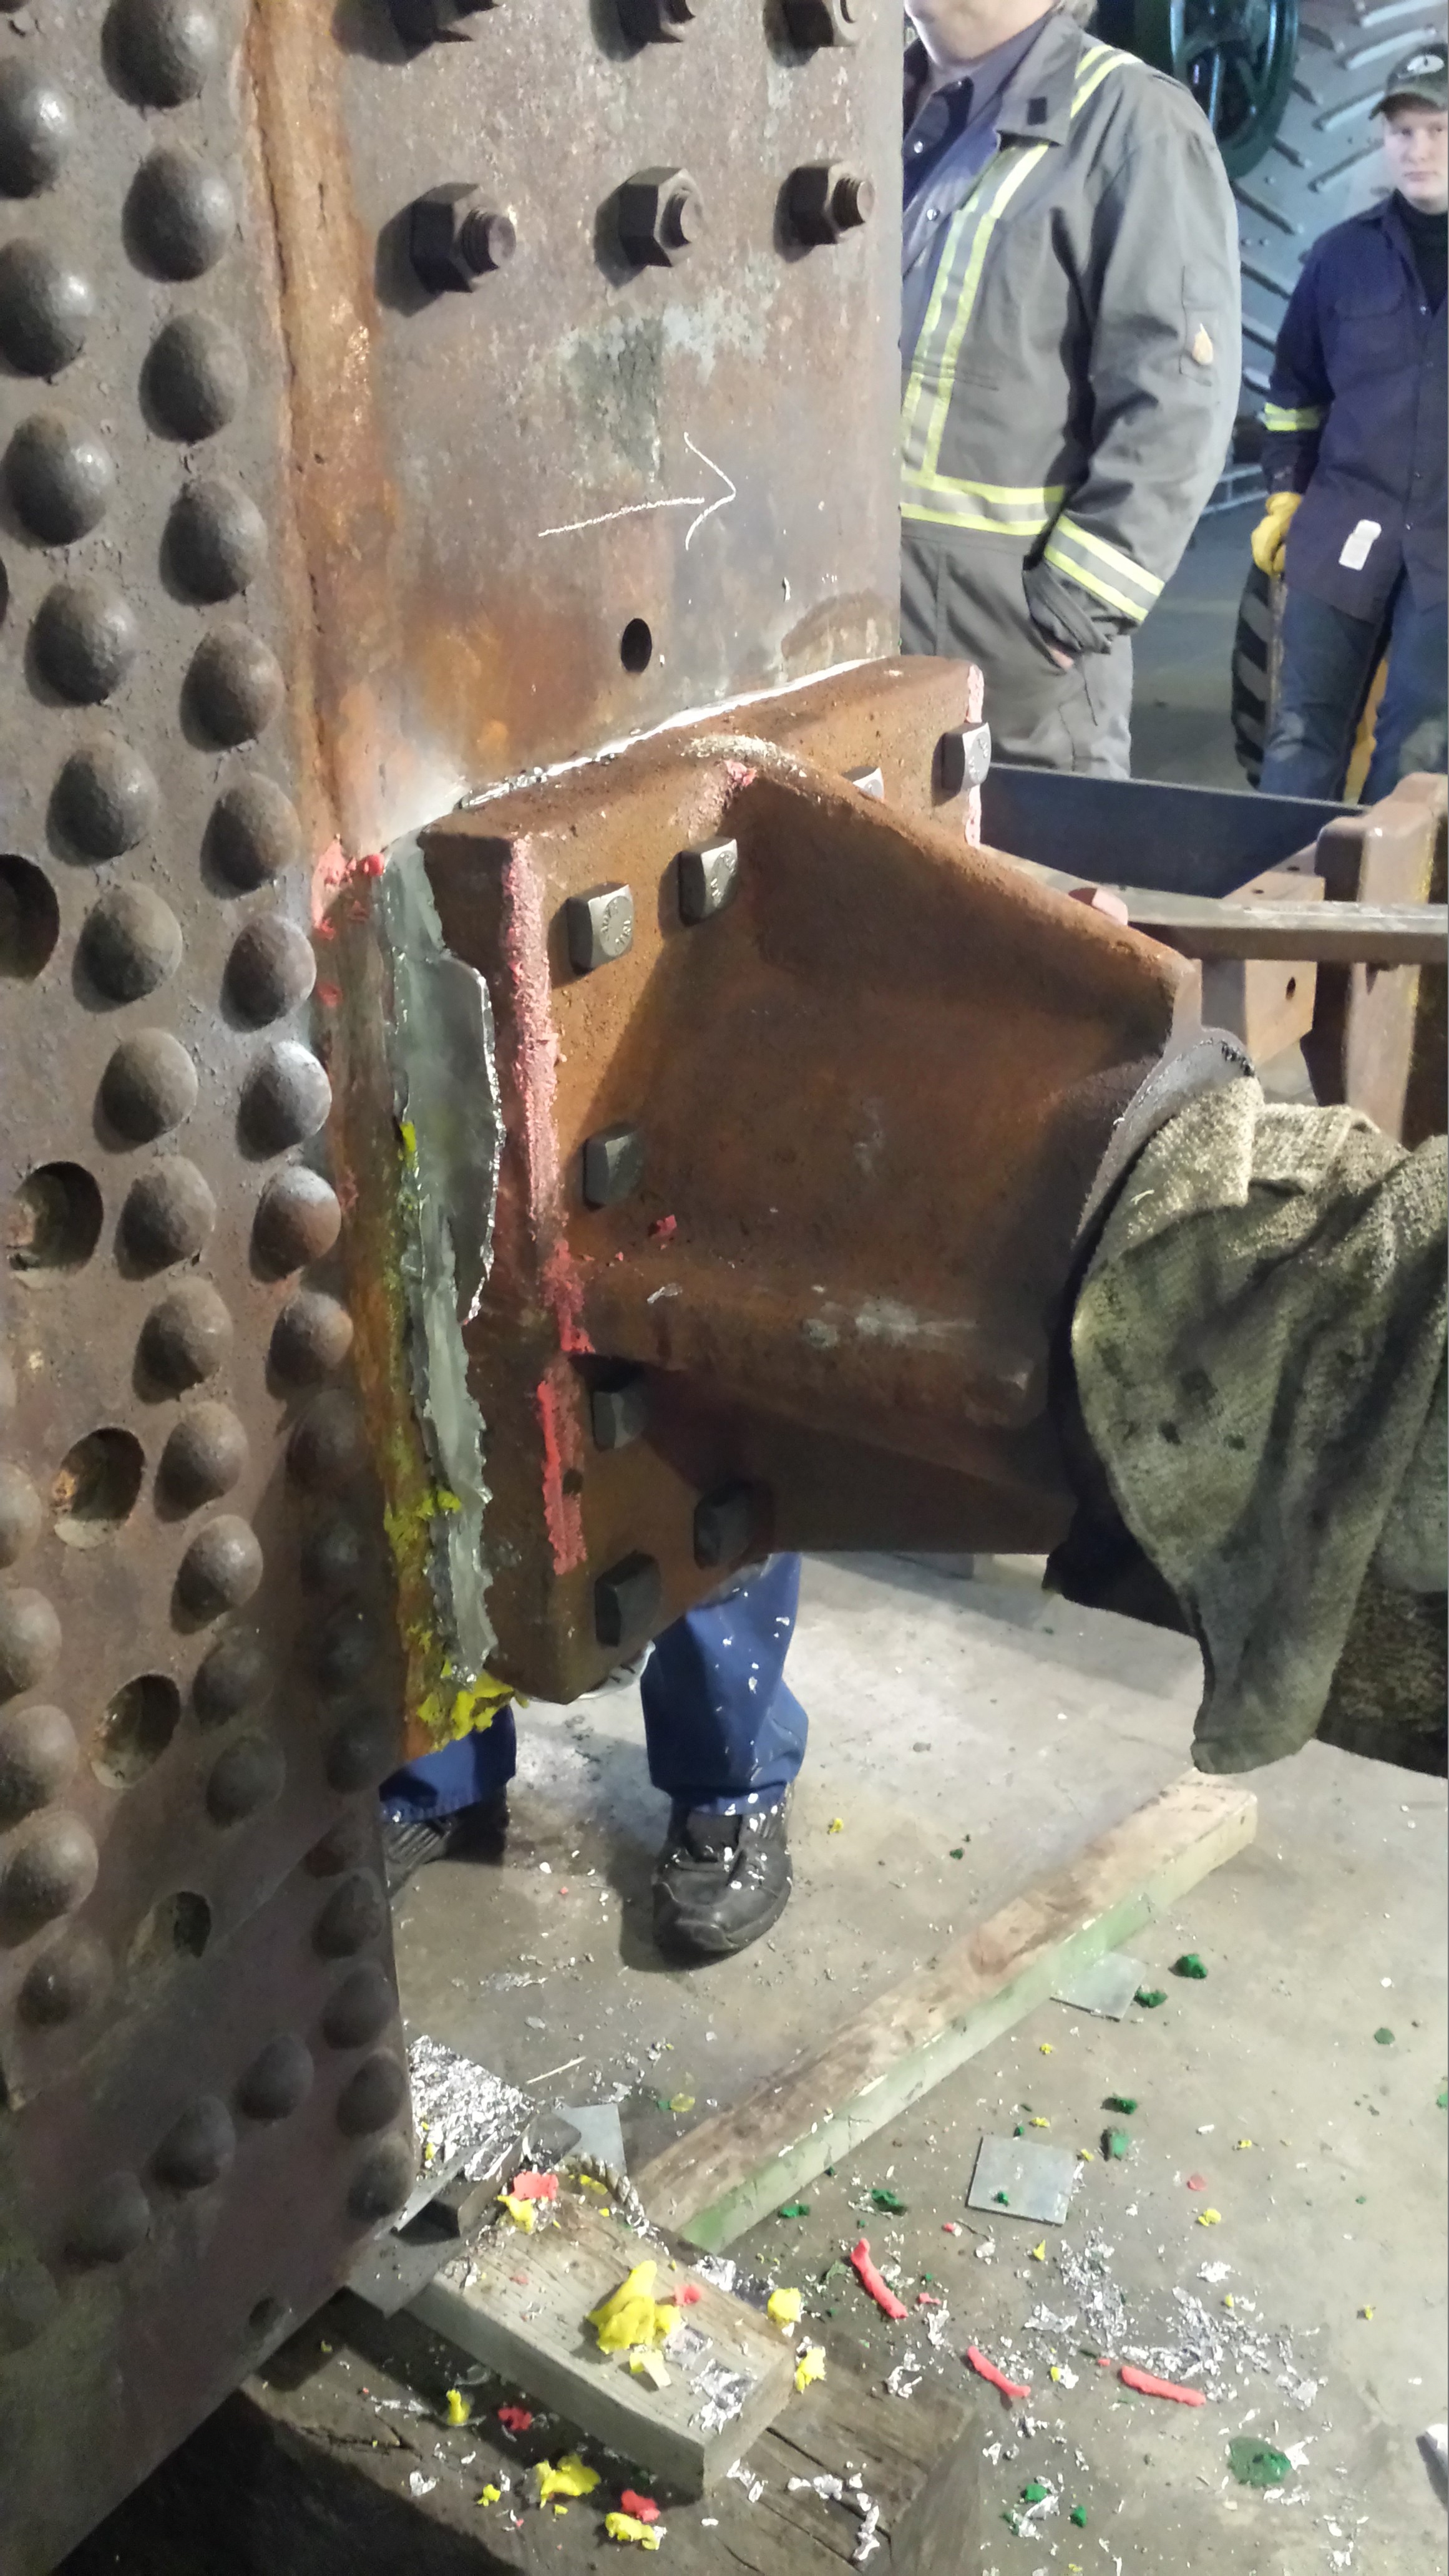
Anyway, here’a a few pictures of the completed work to lead the axle into place. As was done originally, the area was dammed up and warmed, then lead is poured in to take up any room in over-large holes. Trevor and his son came out to help for the day too.
The hitch is also supported with some braces from the upper cannon down to the back of the hitch. Bob had just heated and bent some 5/8 thick flat bar, so I had some new, thicker ones (proper thickness) cut. Here, you can see Rod and Stew installing one of the new “hockey sticks”. Having one wingsheet higher than the other forced these to be fitted differently.
It was sure a productive day, though. Nice steps ahead on the project.
January 12, 2014
Bernard’s been busy! The bunkers only keep looking better.

January 19, 2014
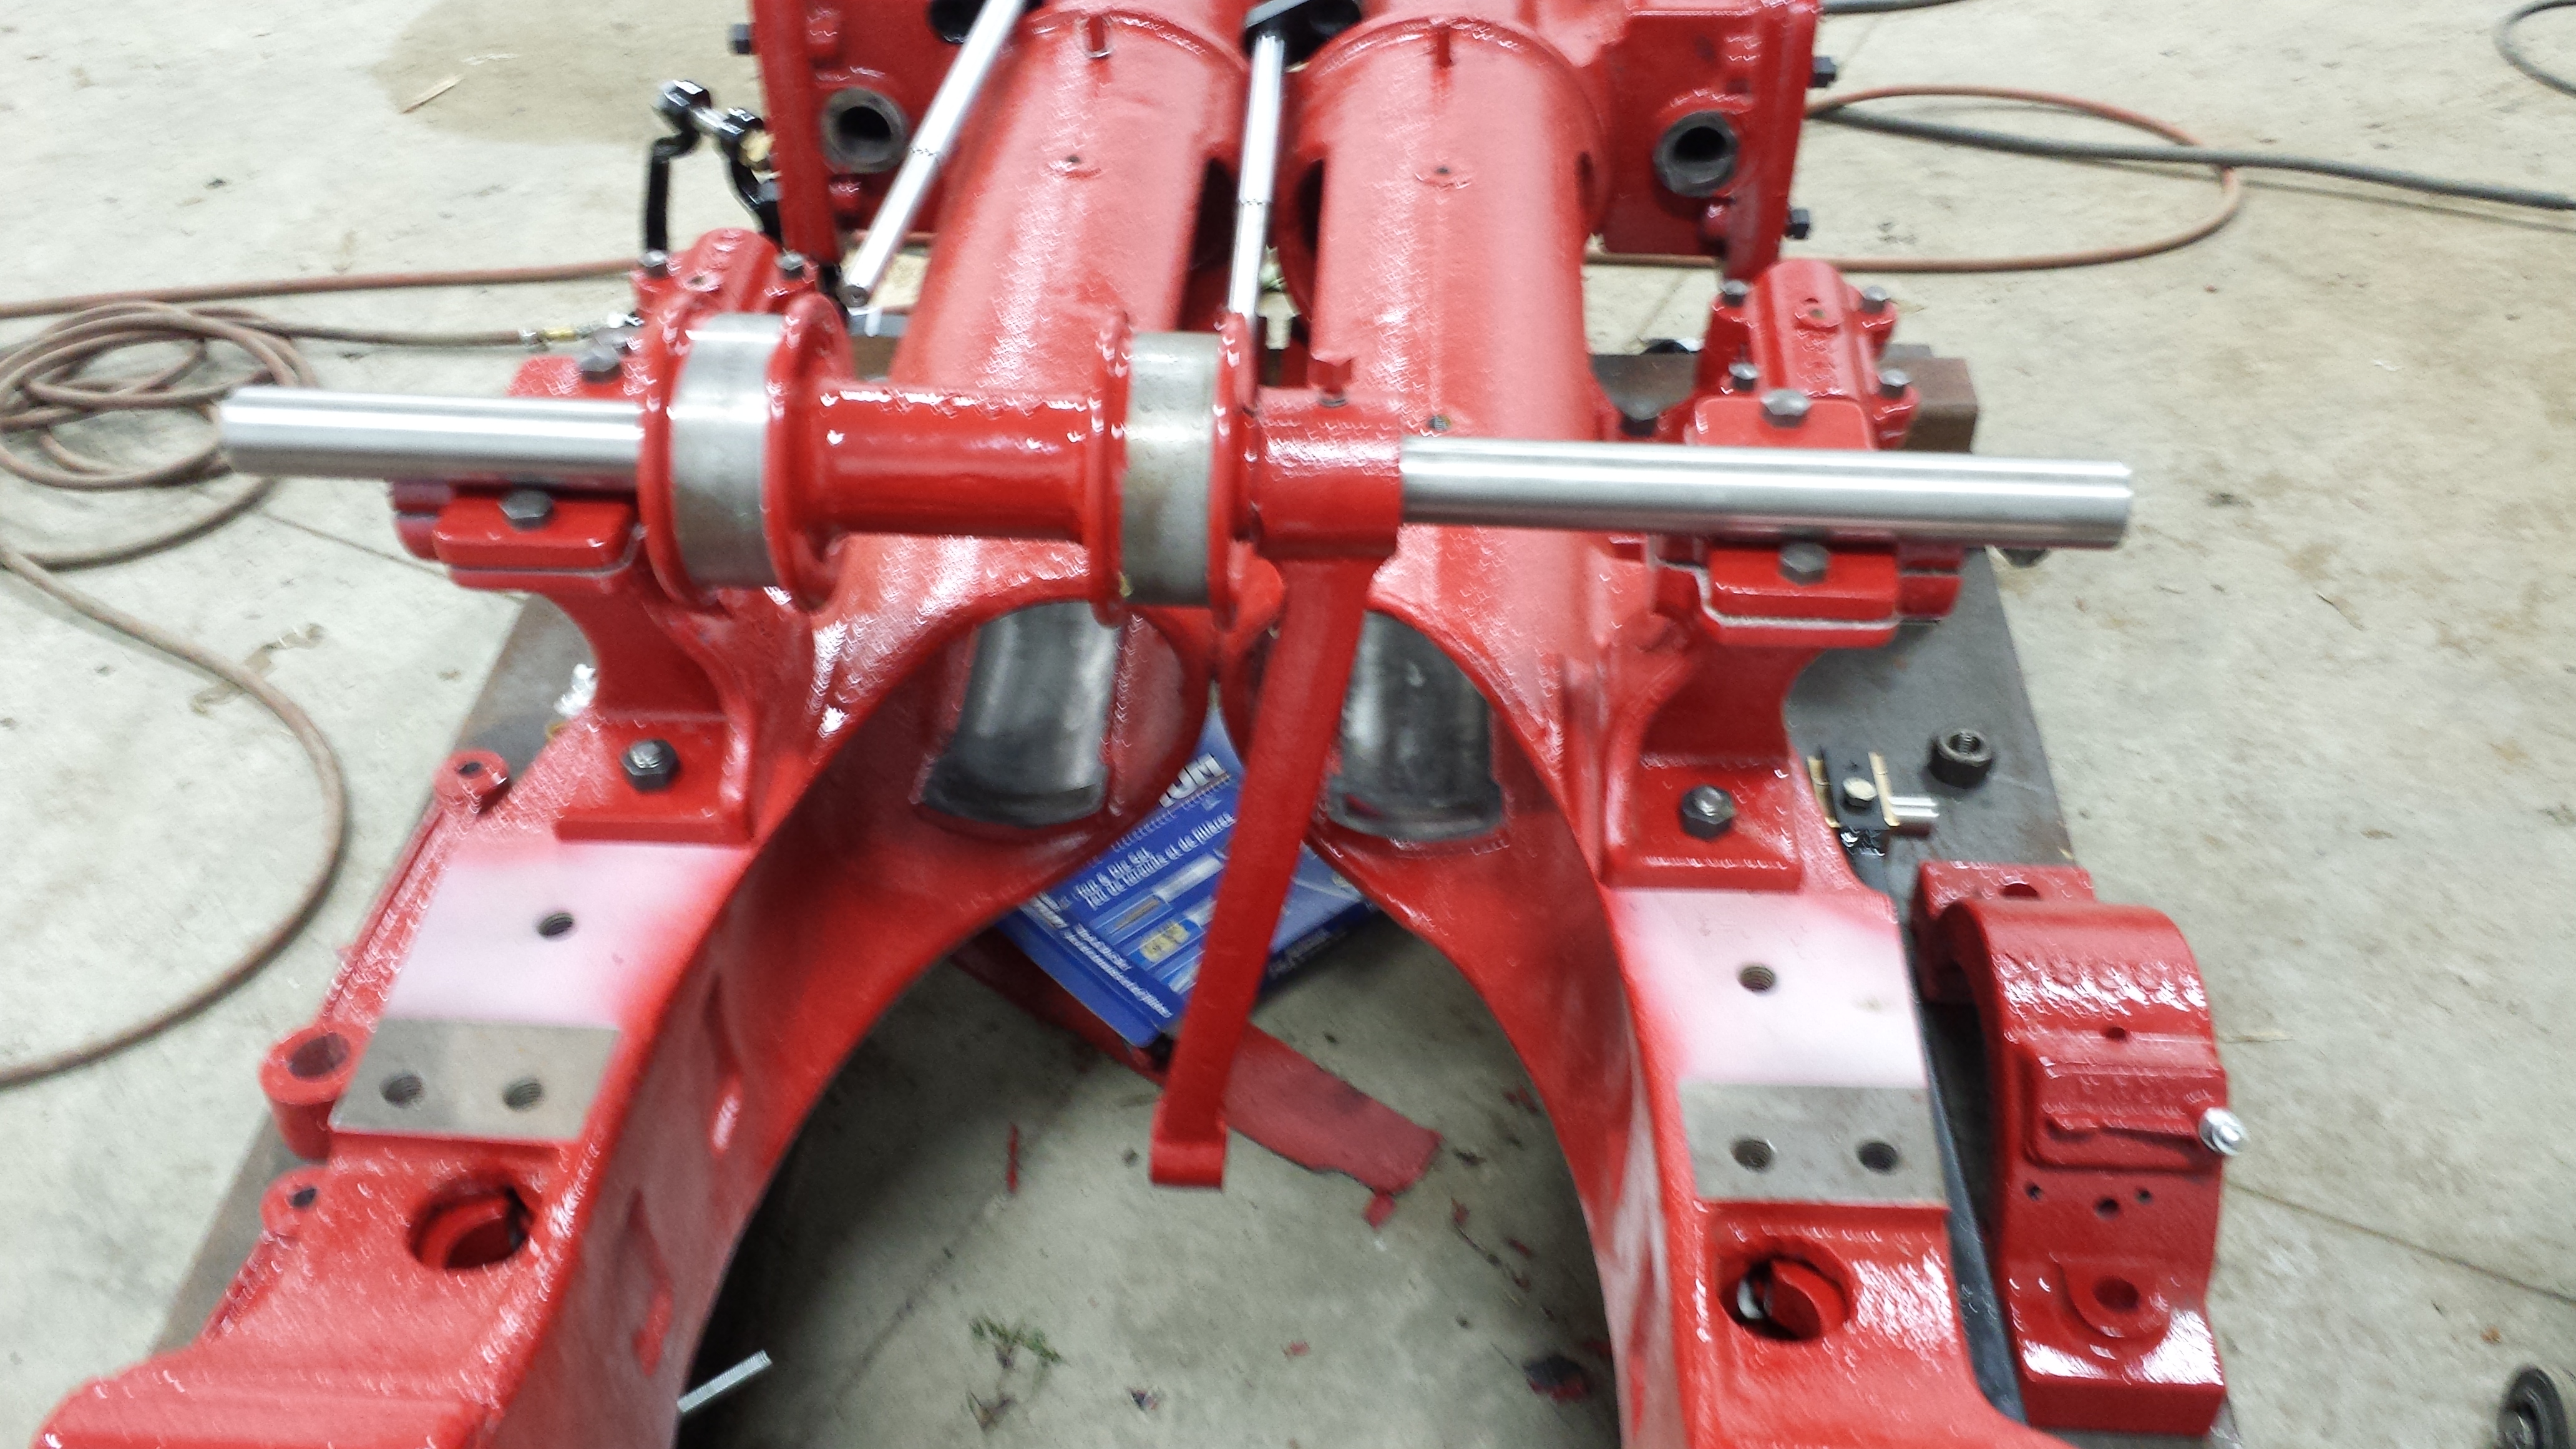
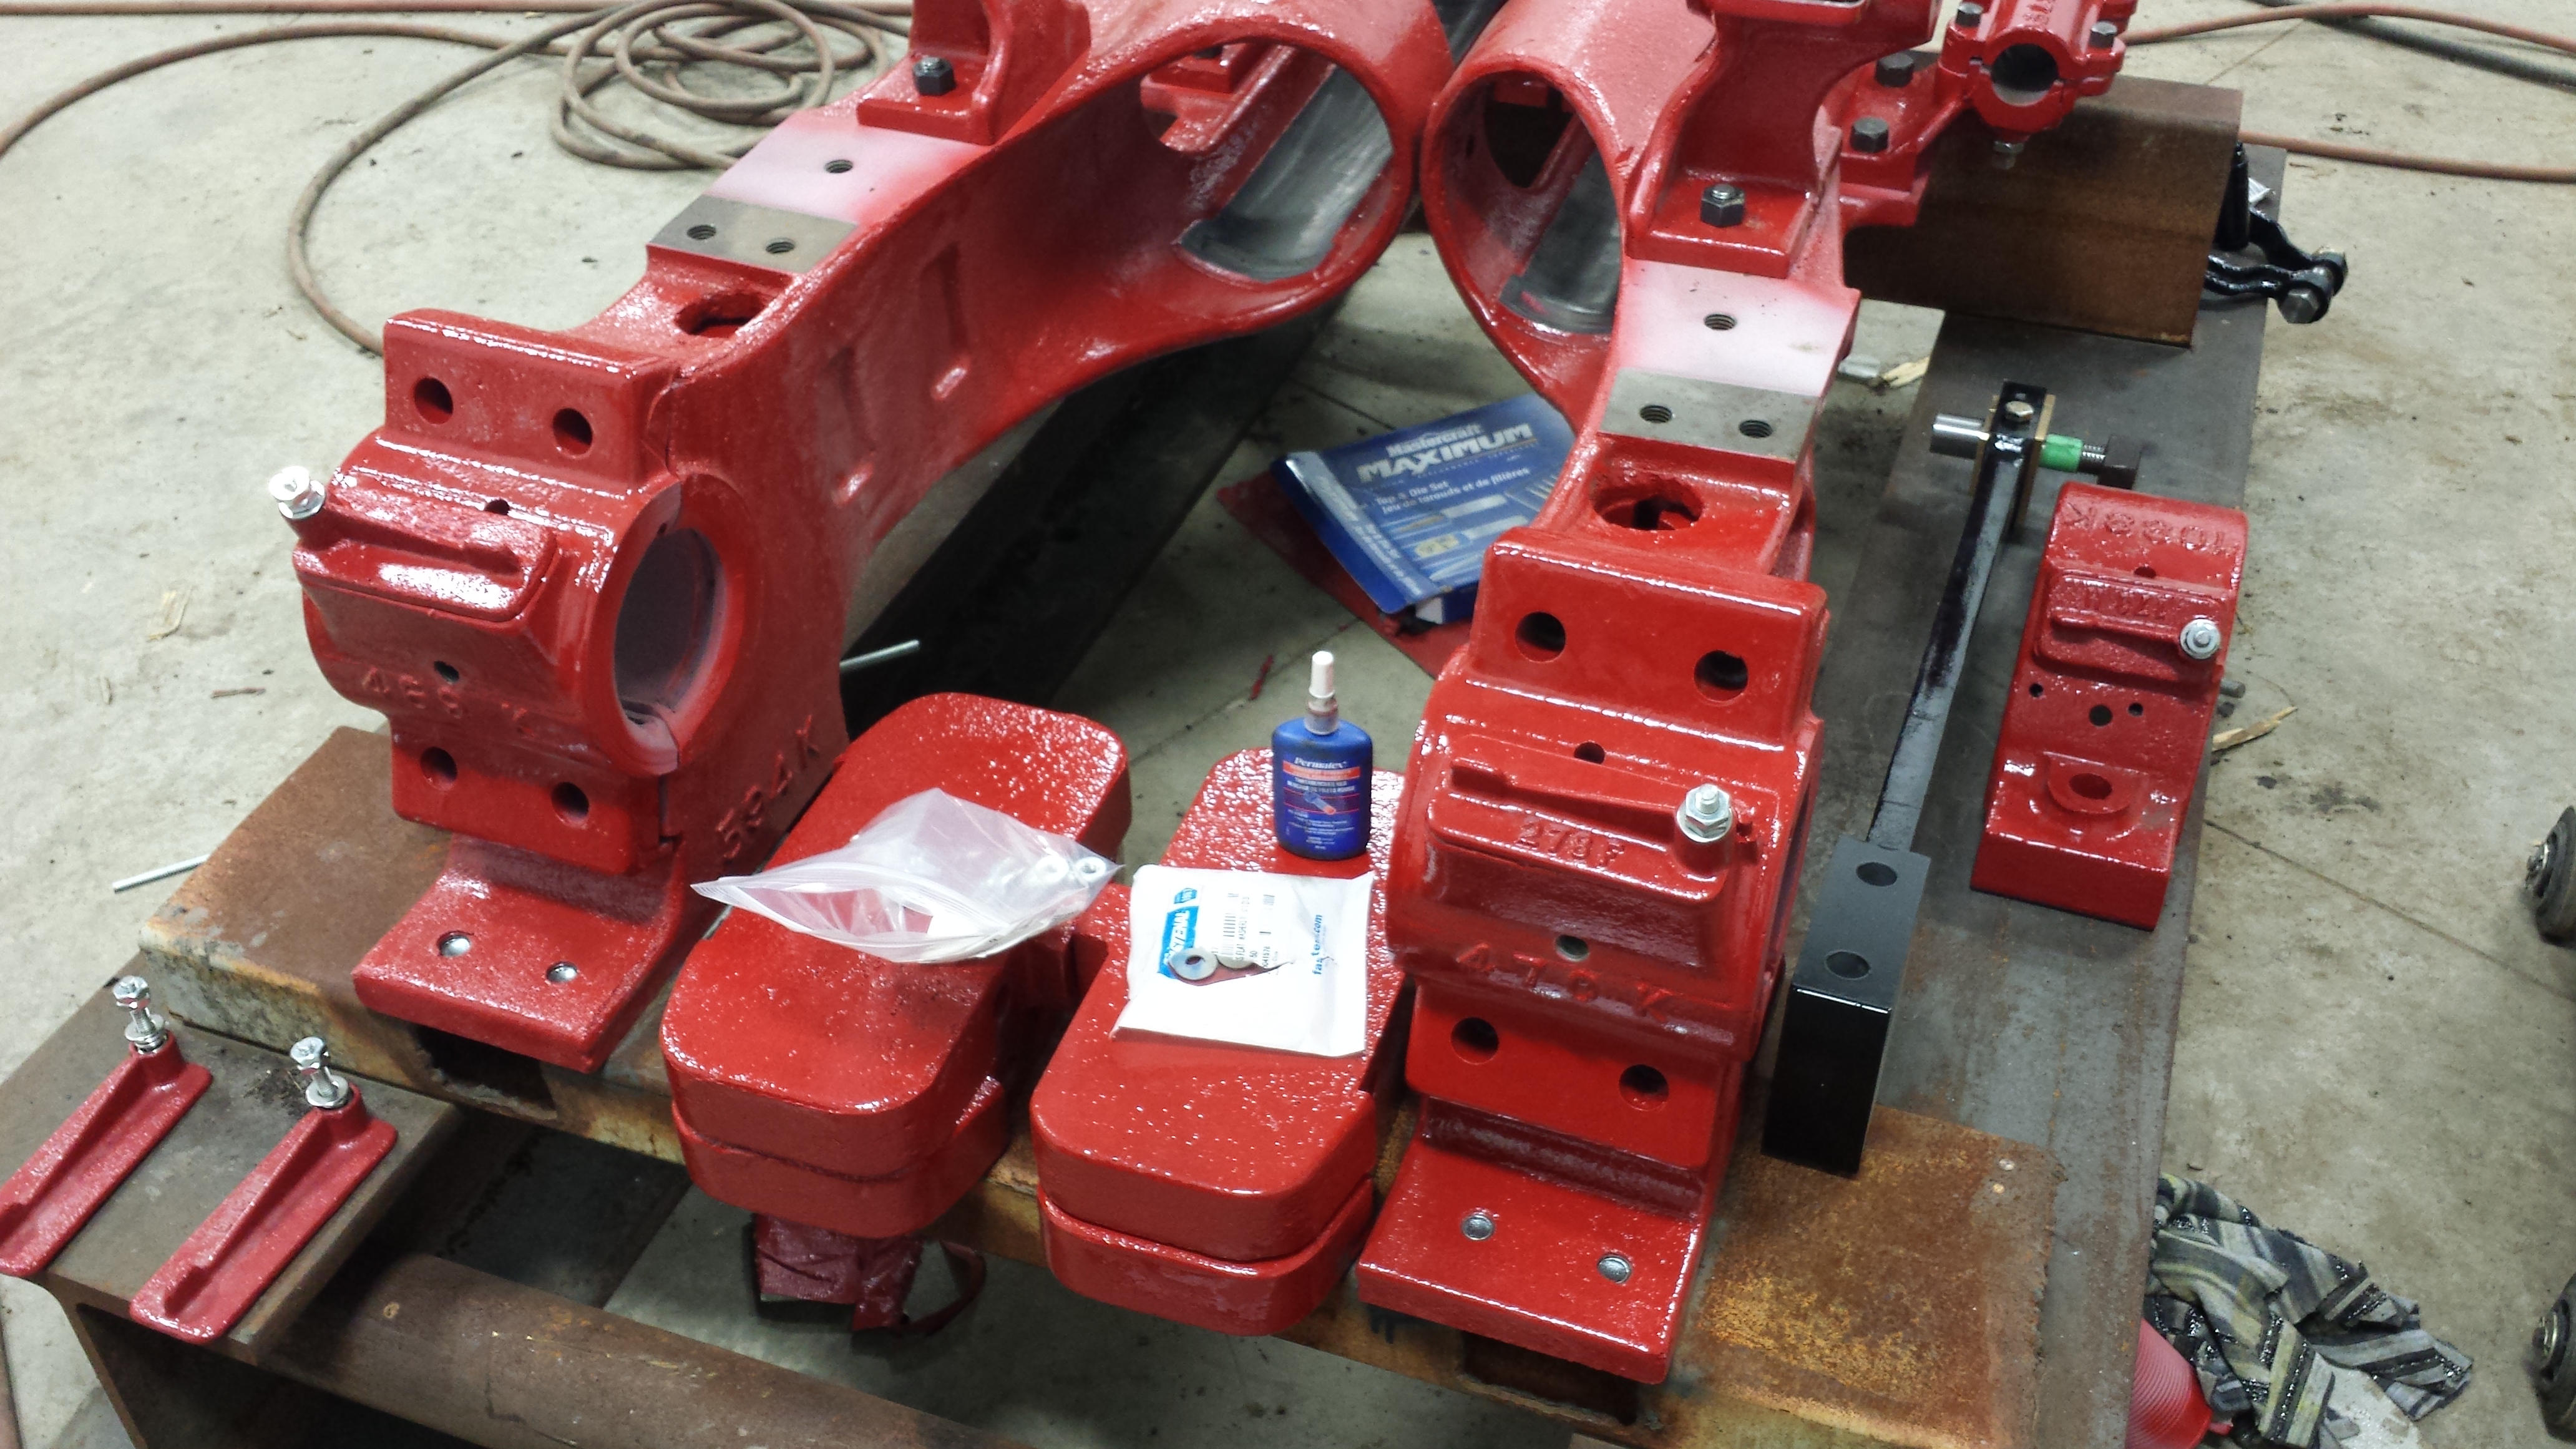
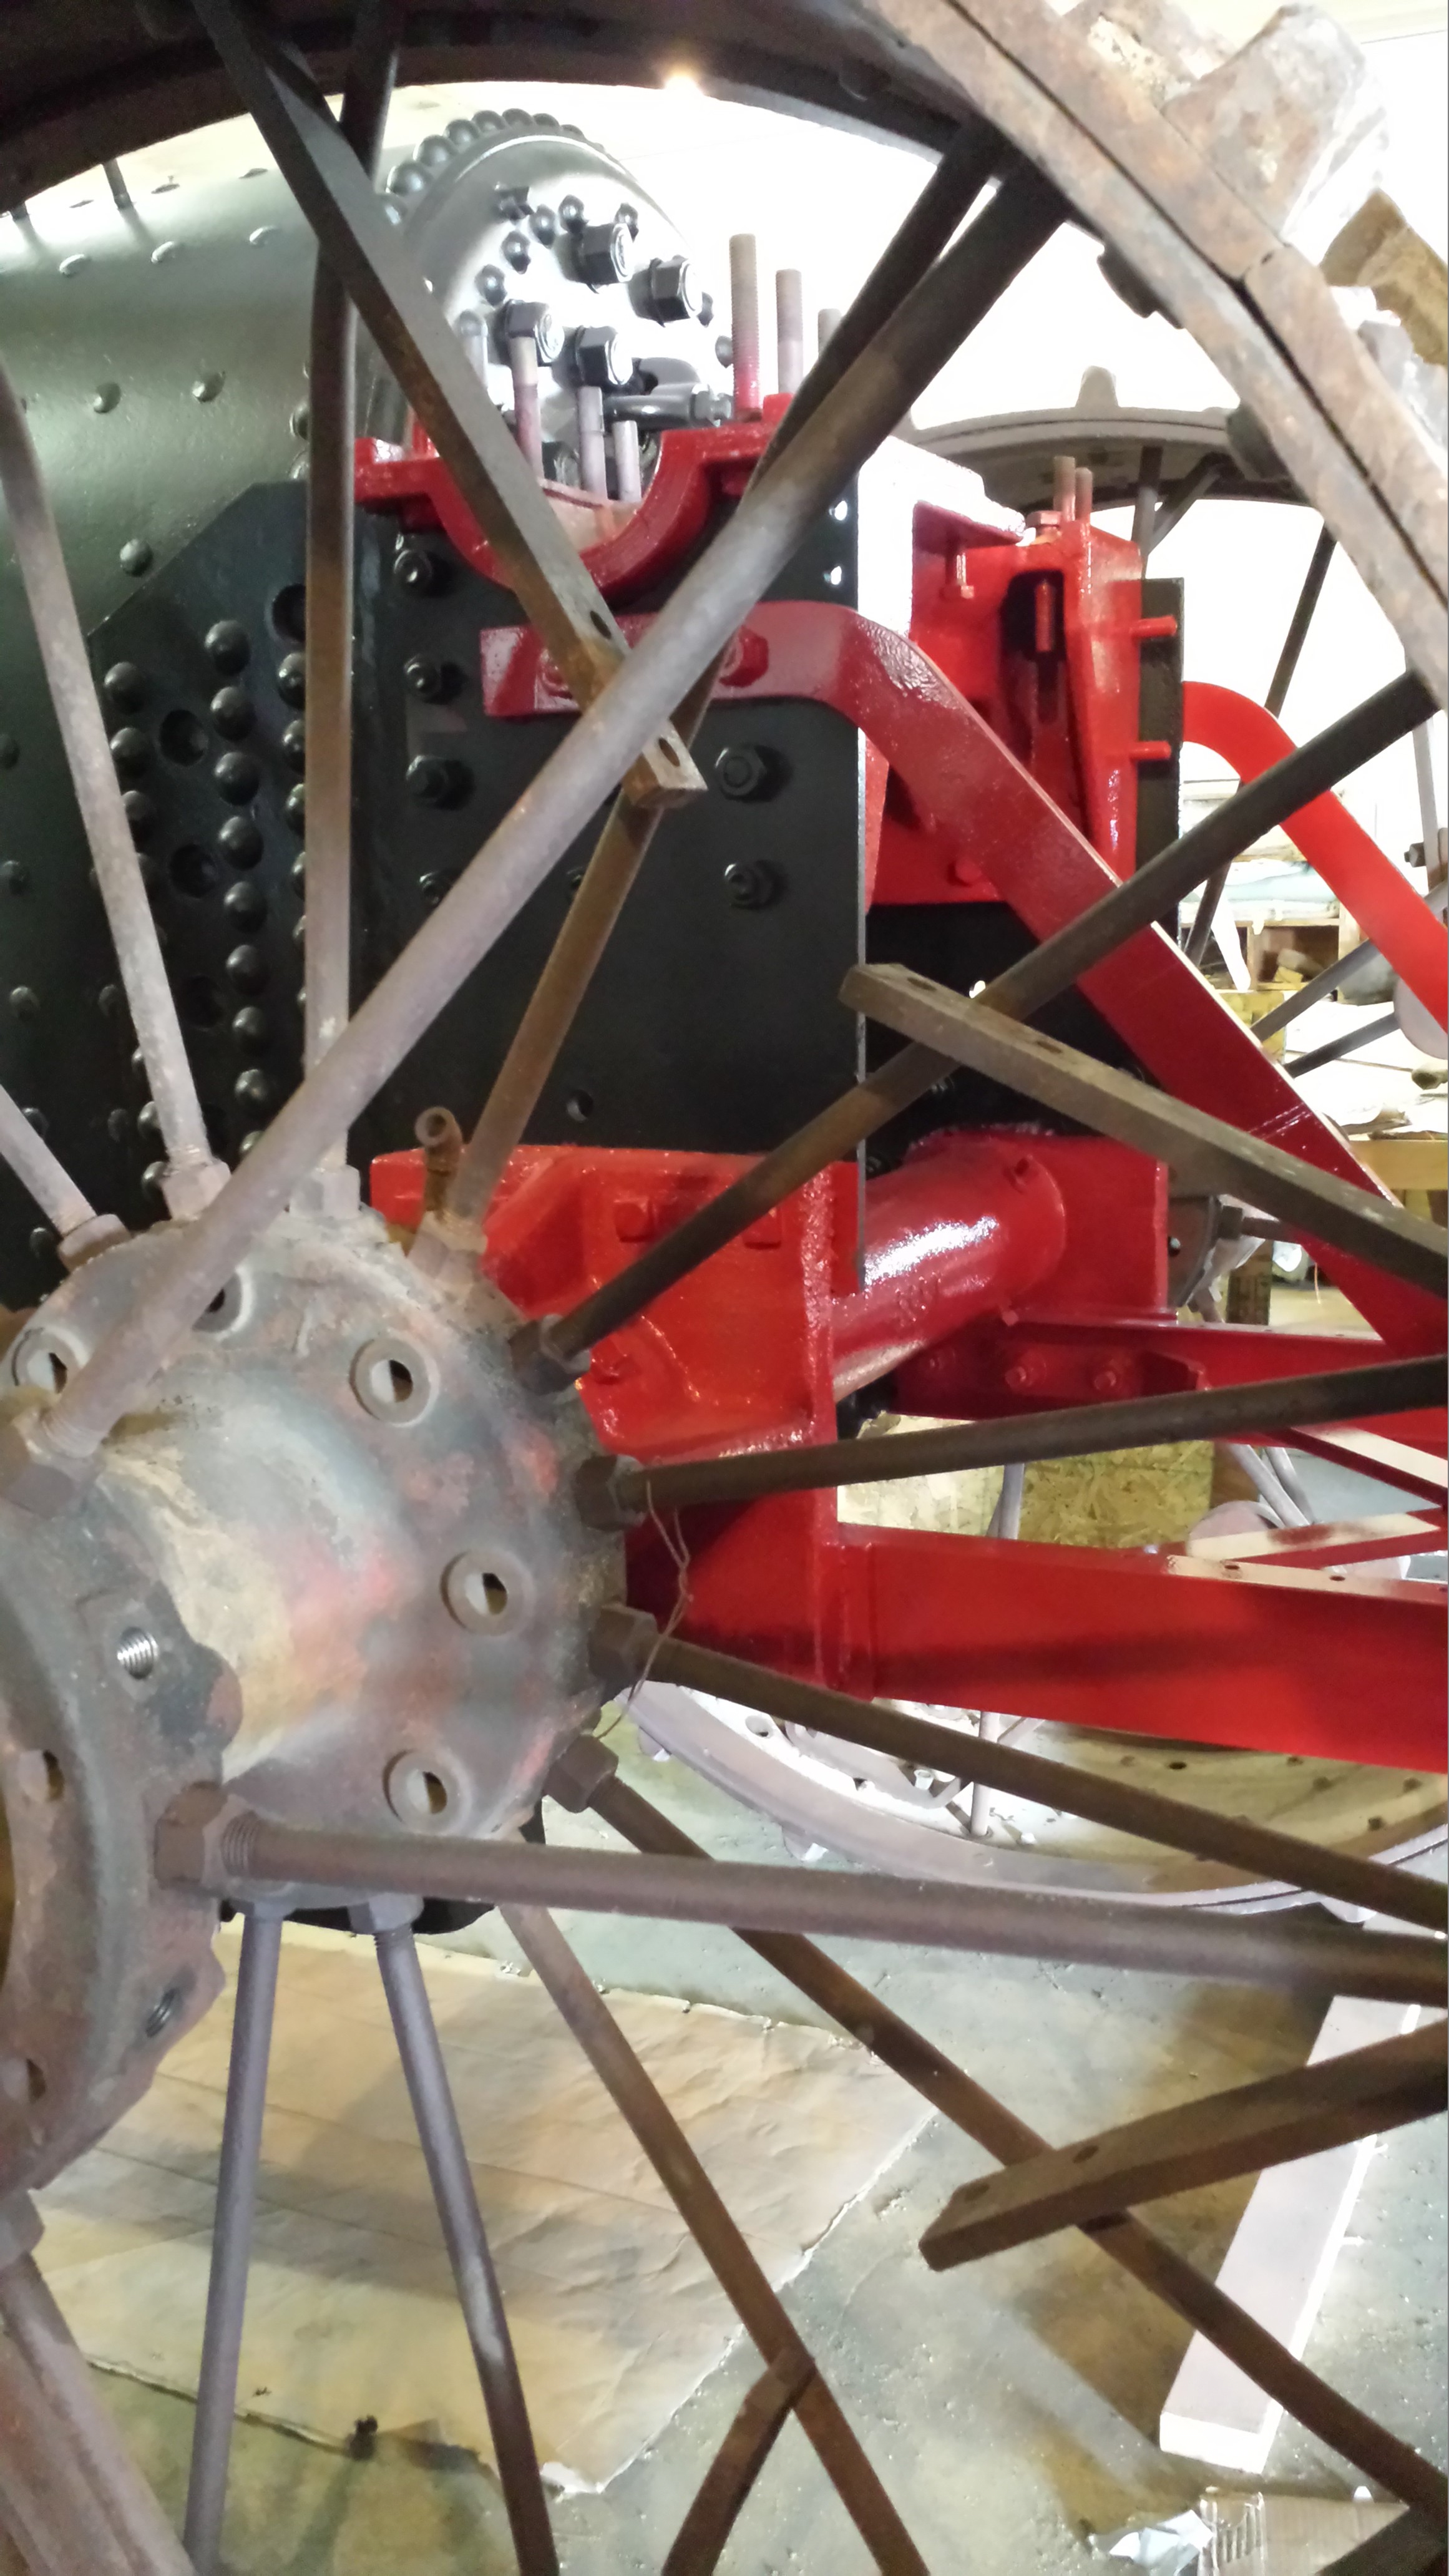
More work on the engine bed. I’ve fitted all the shims now.

I like thrust washers, and although we shouldn’t need it here (there’s really no room for the crankshaft to shift left or right), we did cast them into the bearings here, so that the eccentric hubs have no chance to contact any cast iron.
More Bob-bolts! Found on the clutch this time.

January 20, 2014
I had some issues with the lubricator on the Case, so I didn’t want the same woes on this engine. Bob said he had gone through the lubricator, but with so much time, effort, and money into this, I didn’t want to risk a problem over oil starvation. Bob did have the correct 3-feed lubricator for it (great!) so I sent it back east for Ben to go through.

The guy’s an artist! This is his completed work. And I’m glad I had it rebuilt. Ben had over a page of things itemized that he did to it, and looking it over, it all had to be done. It’s also been bench tested, so I have no worries.
January 26, 2014
Back to levers! One throttle is for the Museum, to allow me to borrow castings to duplicate for my engine. Another is for this engine, and a 3rd is a spare. I also had to install spring material on the other levers, the old stuff had cracked and broken off.
February 9, 2014
Gaar Scott’s other great idea (well, another of many) is in the connecting rods. The large (crankshaft) end takes babbit, rather than being brass on the crankshaft. It should be easily rebuildable. We had melted out the old babbit first, replaced one of the brasses that was cracked with a better one (purchased at Bob’s sale), and worked from there. Since it’s lined with babbit, I had no issue with re-using the original brasses. Like the main bearings, we used High Nickel babbit, so that I shouldn’t have to worry about much wear-in.

Also, like we did for the main bearings, we made up a jig with an undersized tube so that the babbit could be machined to a precise fit. I’m pretty happy with the pour! Everything went well.
March 4, 2014
I really can’t thank Bernard enough for his work on his bunkers. He’s not a young man, and has had a few bad accidents, but does amazing work. After seeing the work on the bunkers, I had to ask him for help on my canopy. Well, as it turns out, I helped him on my canopy. 🙂
My sister had some old oak flooring from an old shed, which worked for most of it. The rest of the wood is brand new. Bob had already cast up the brackets for the canopy posts, and we had taken some dimensions off Bob’s pattern off an original canopy as well. Without seeing an original canopy, I think this is about as close, and as good, as we’ll find.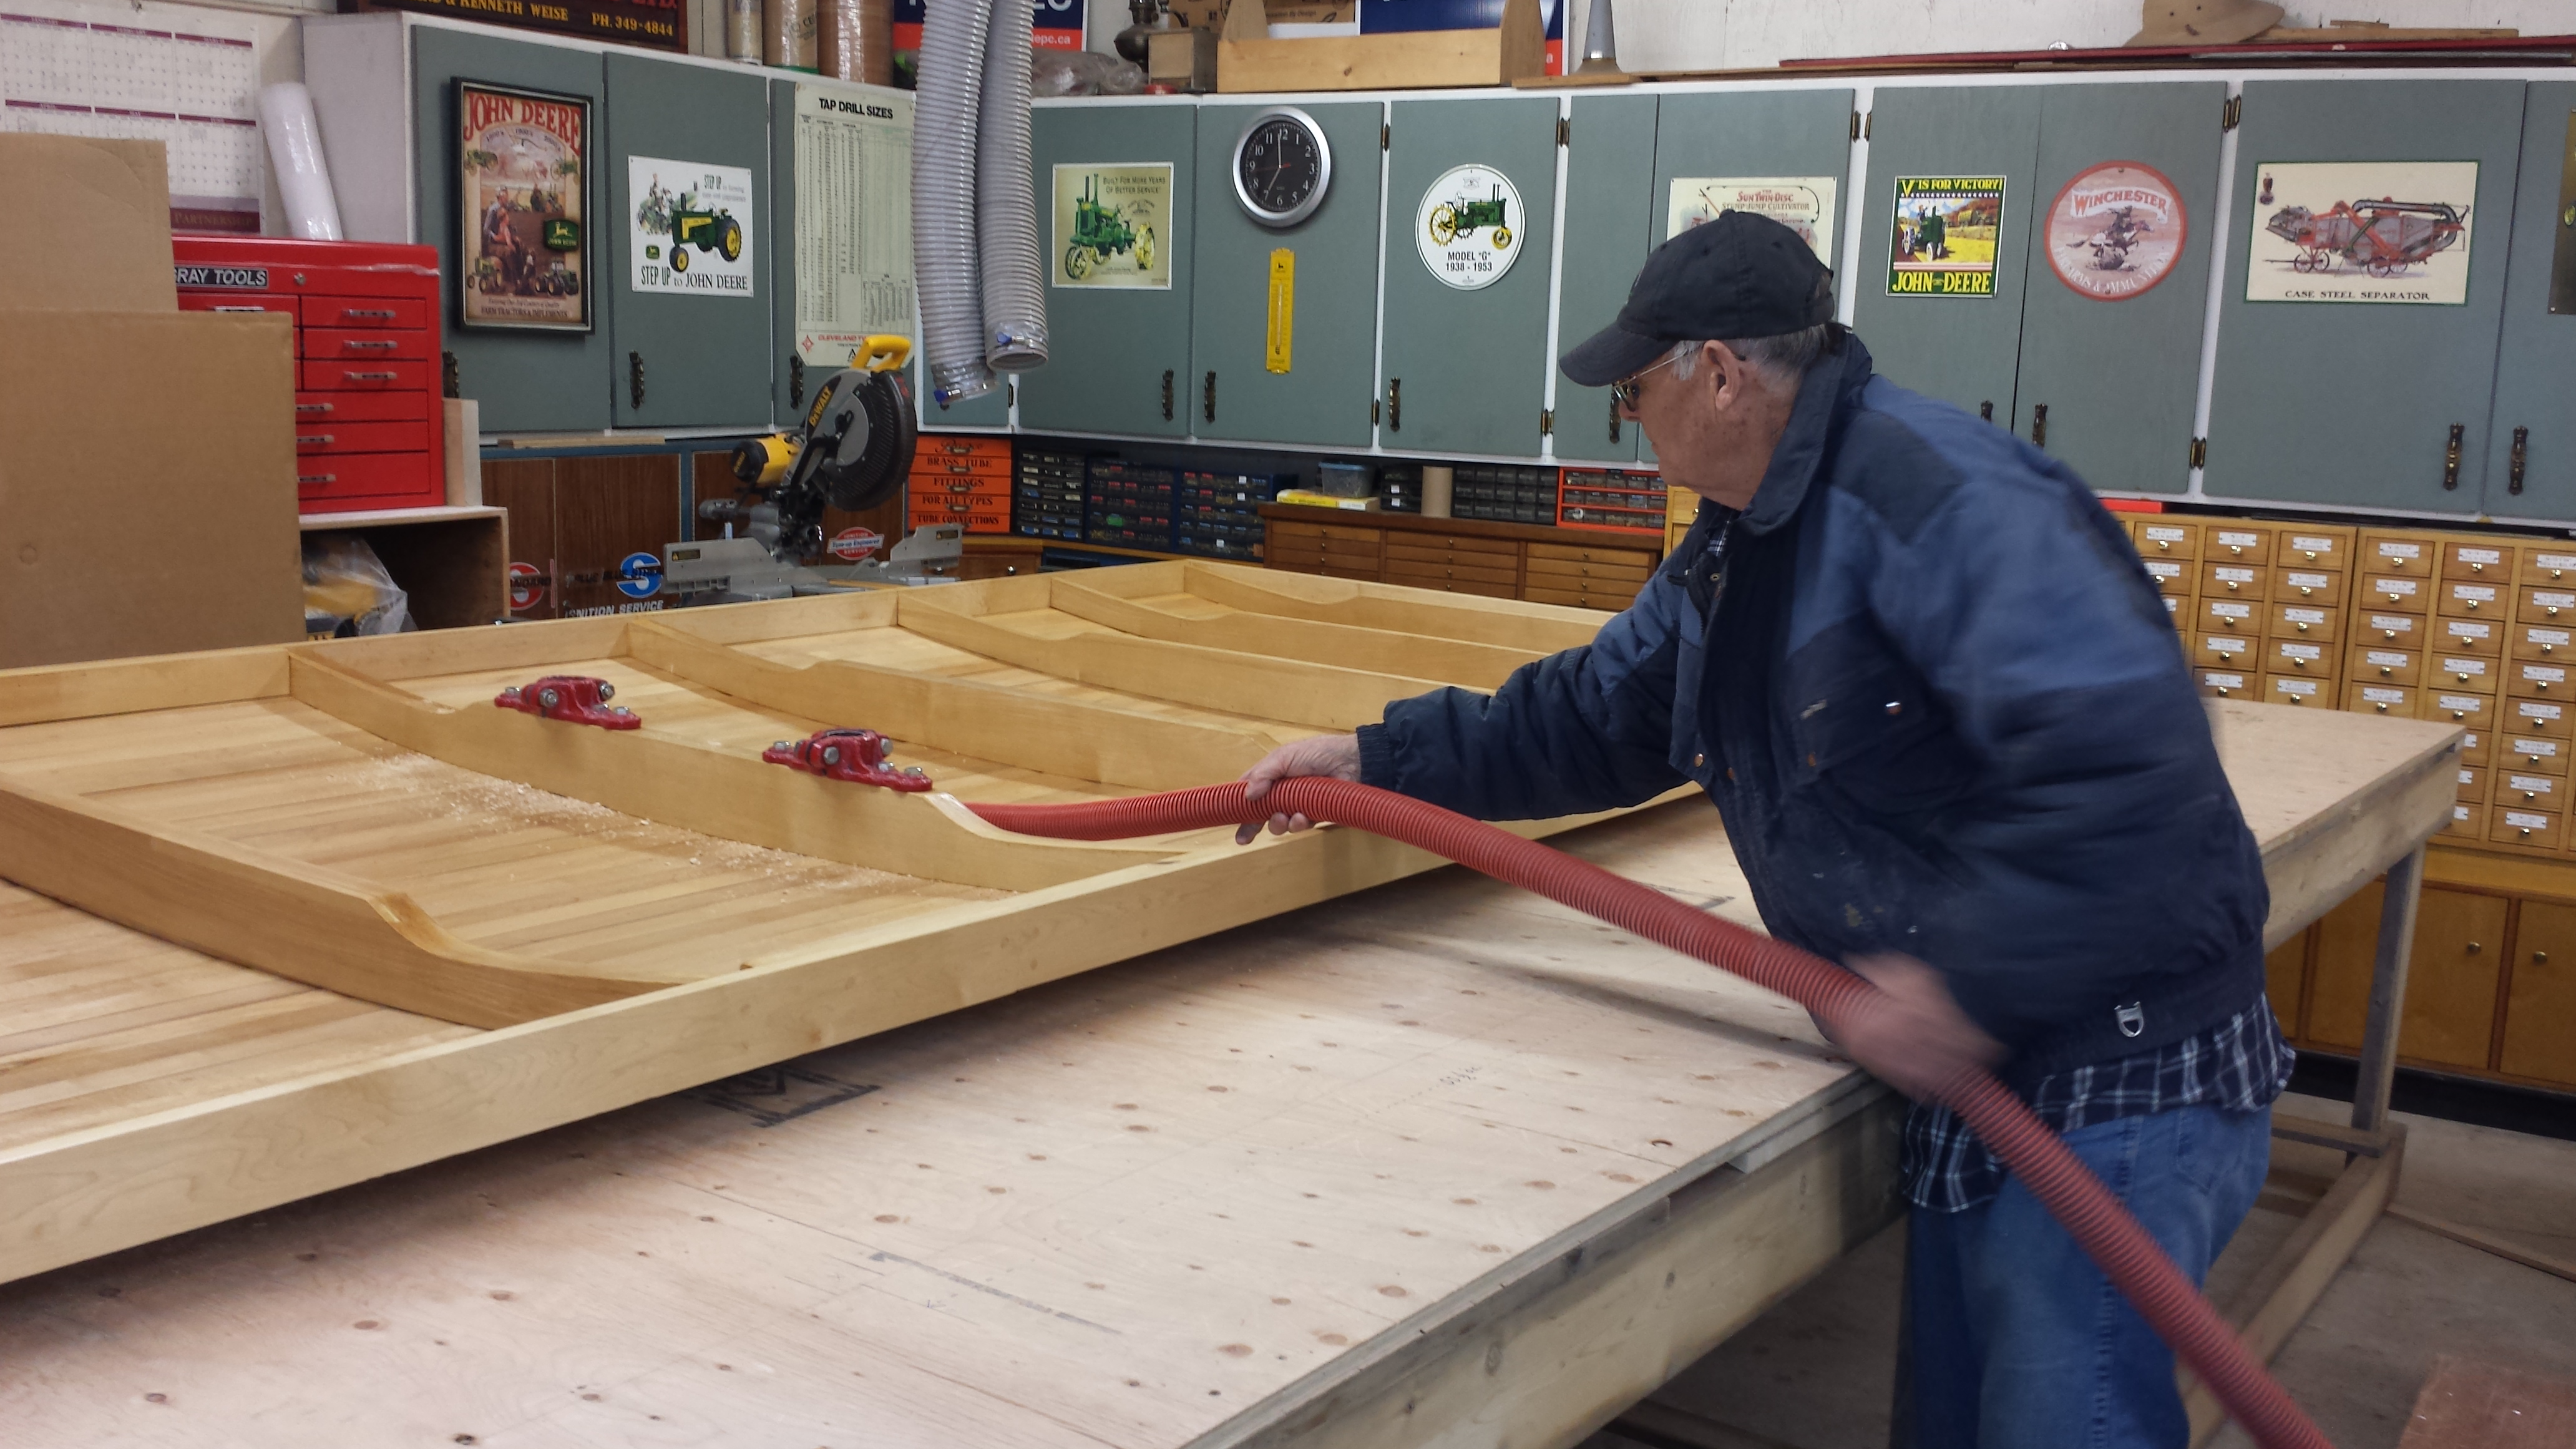

March 22, 2014
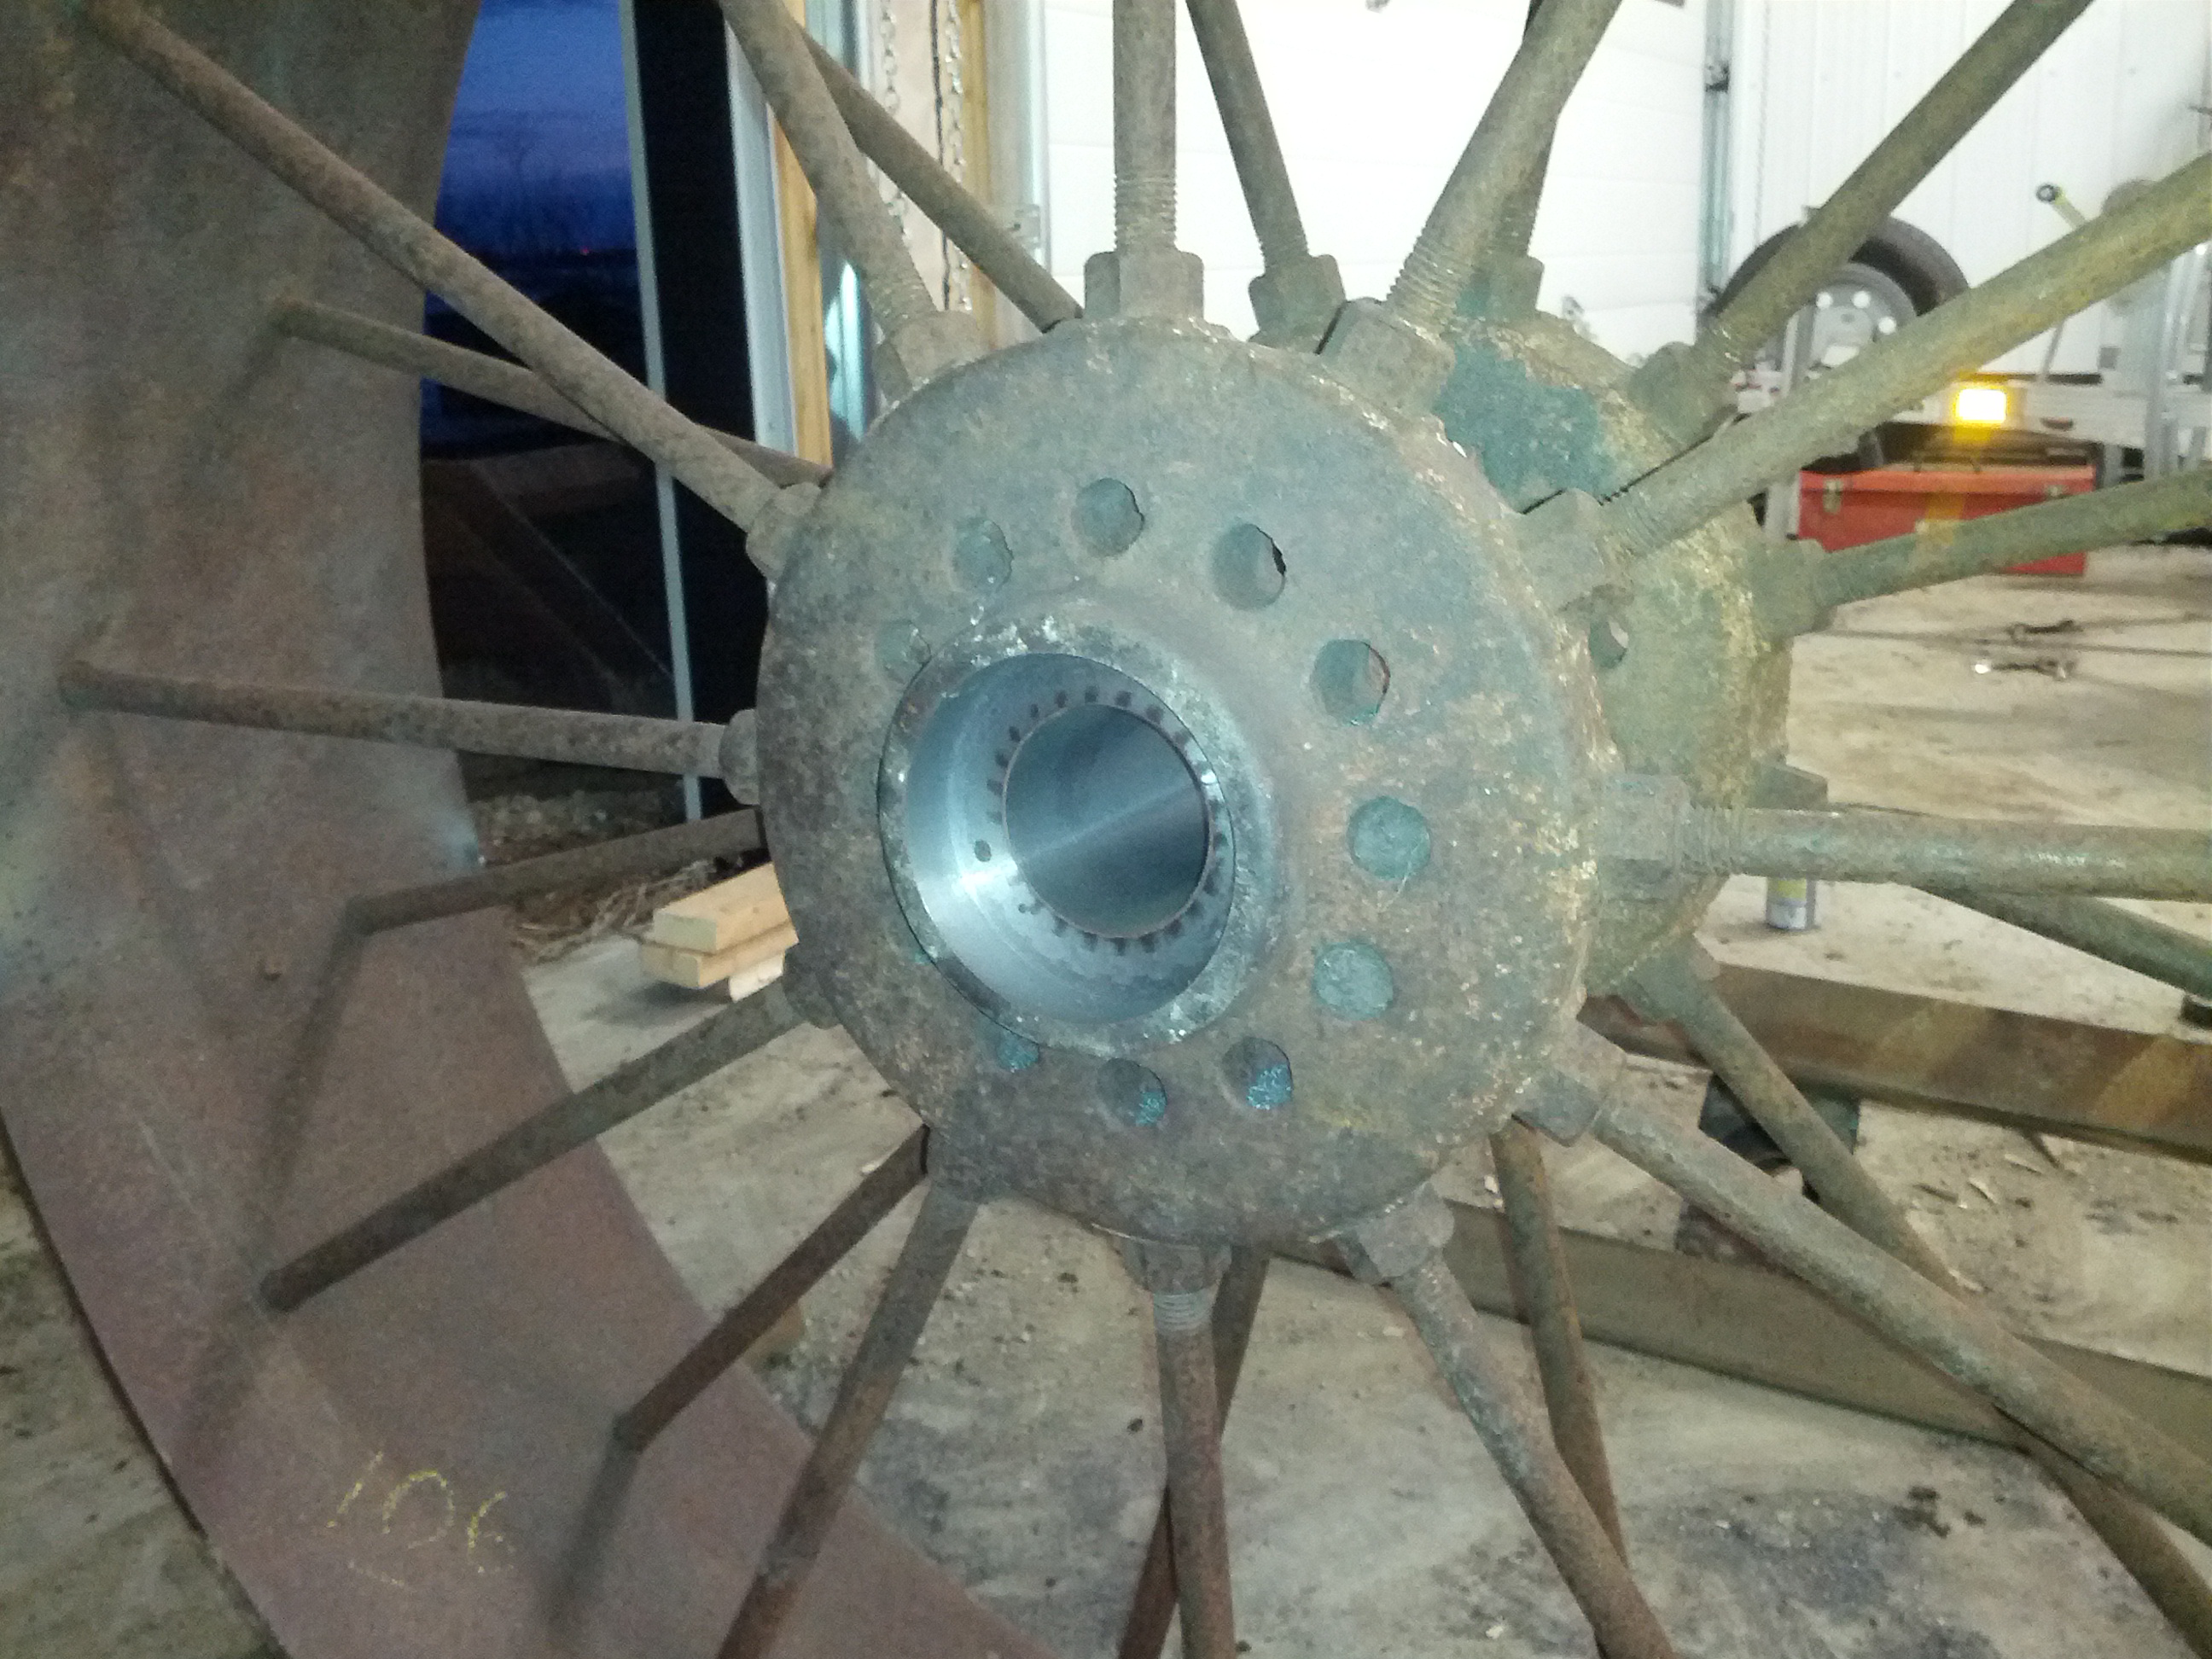
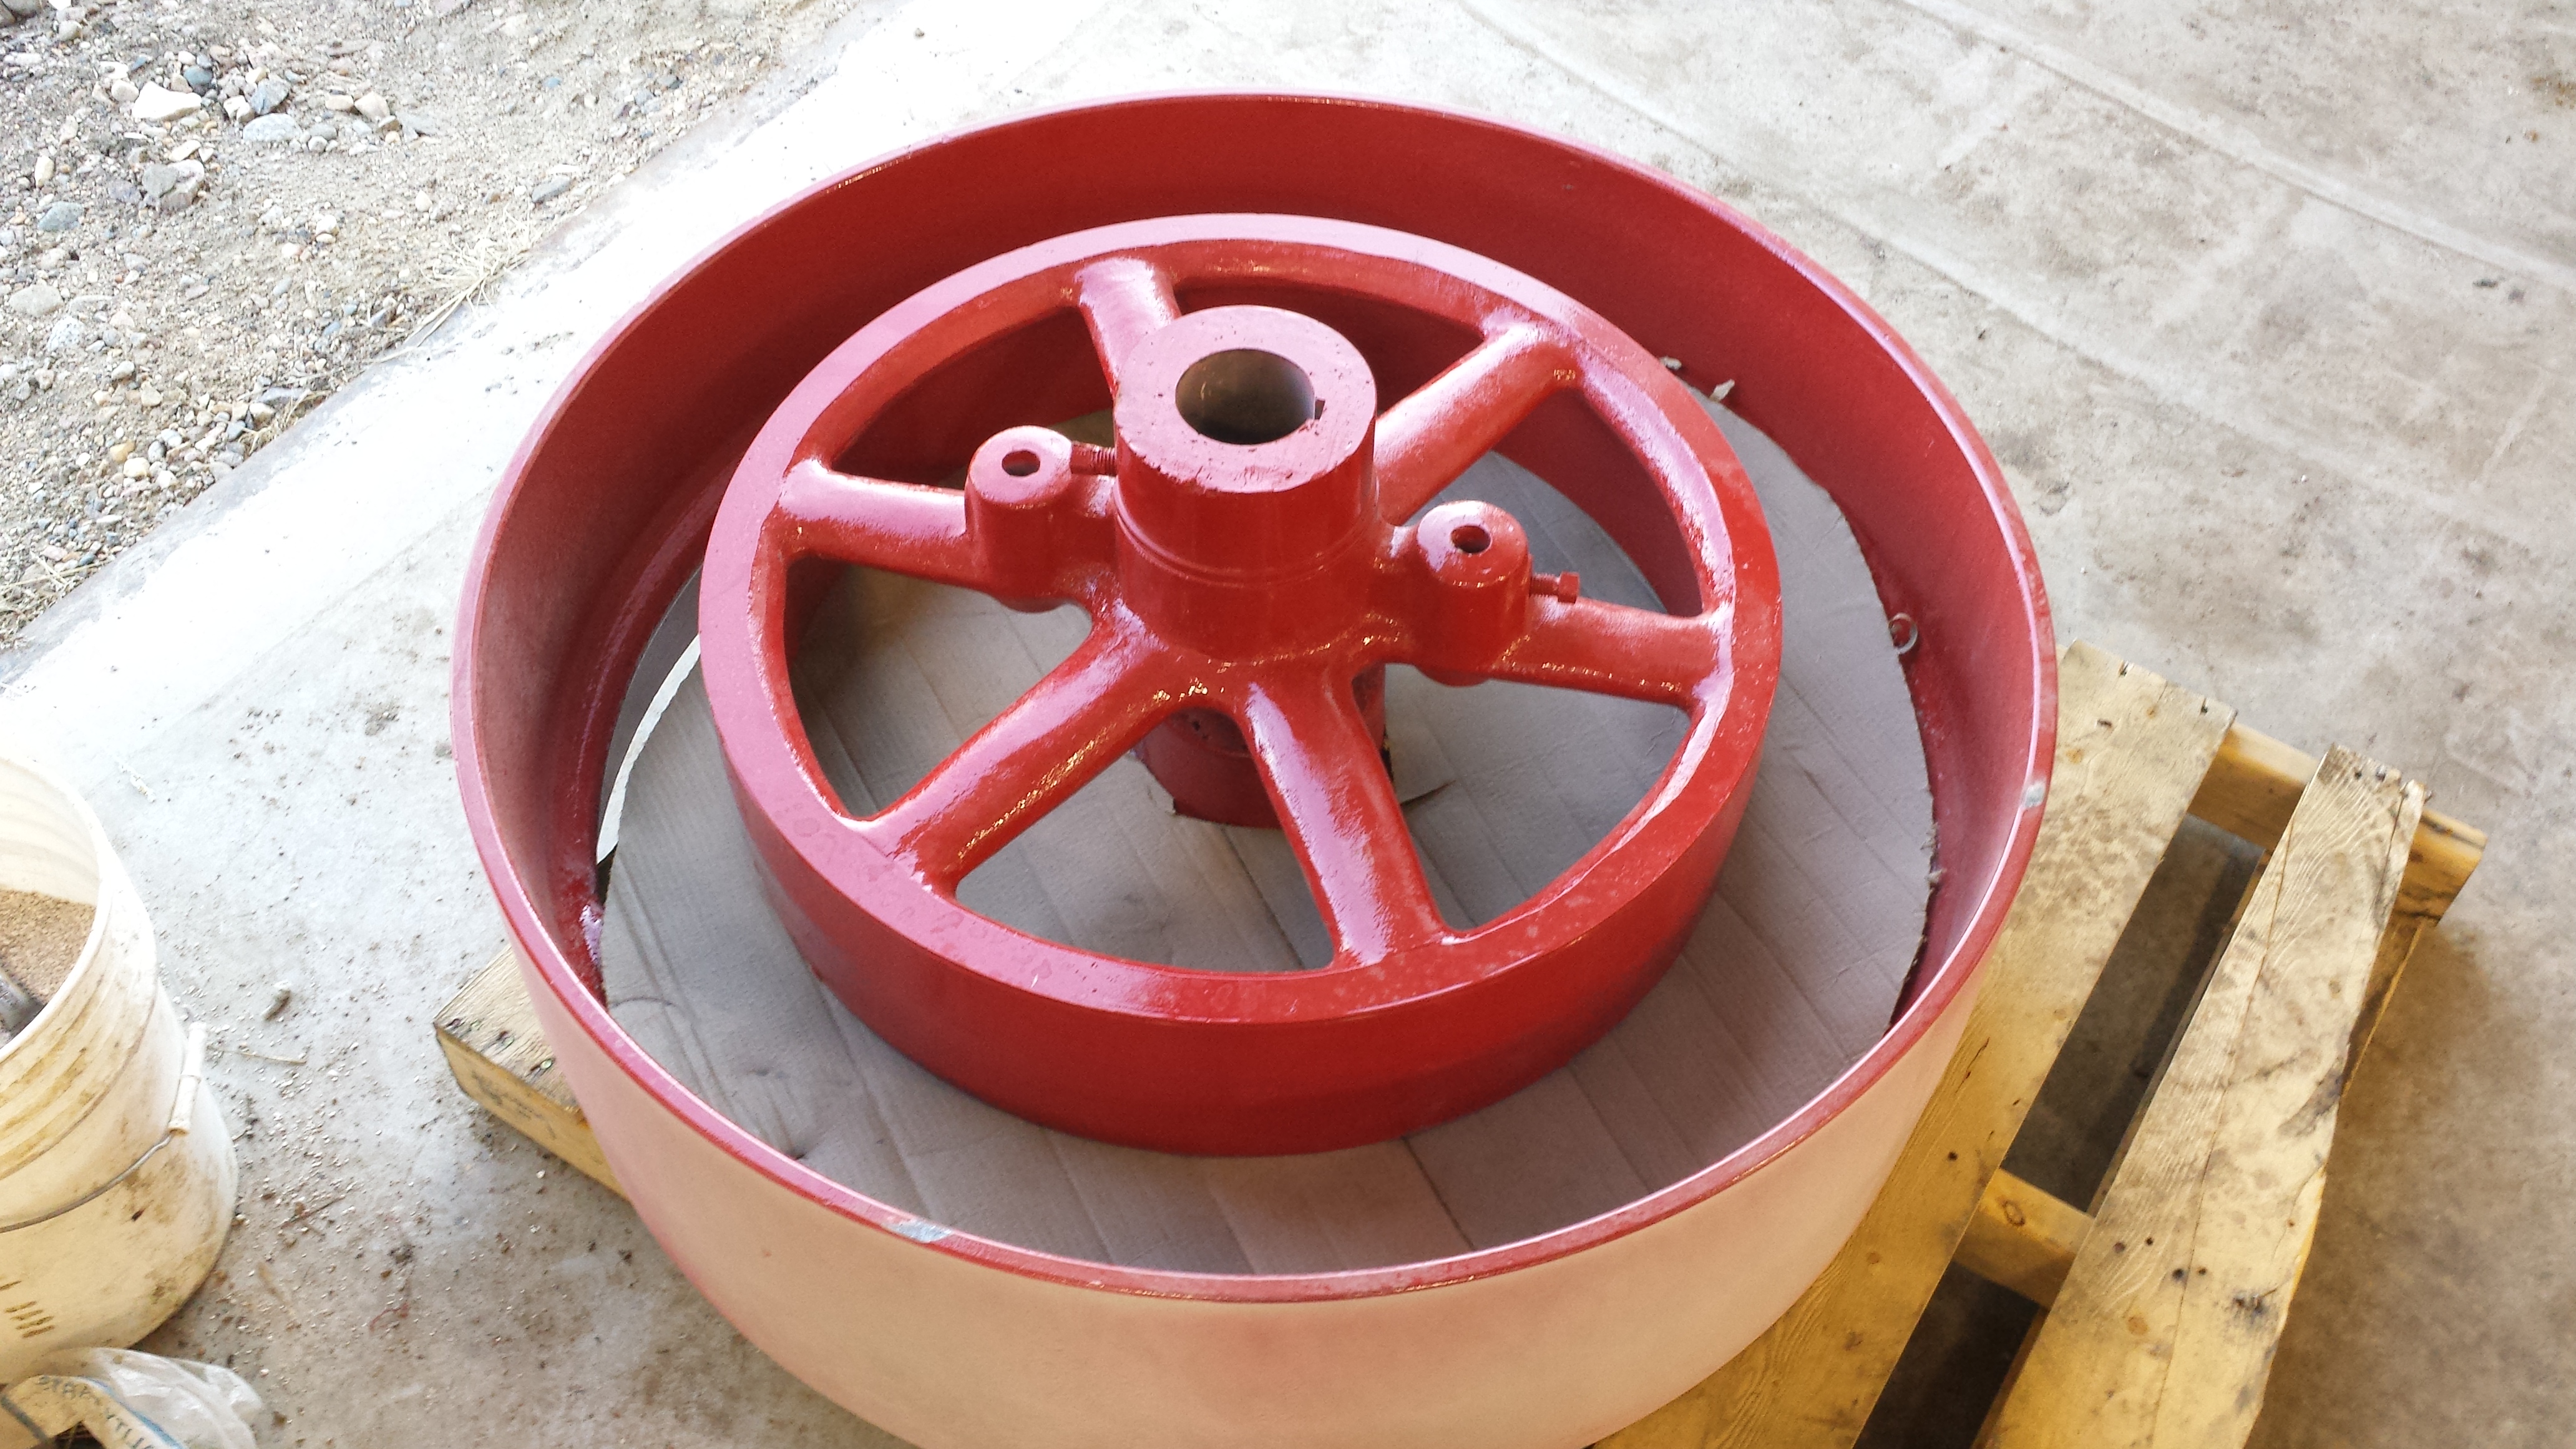
Clyde remembers when Bob went and got these extensions, for the engine. They were leaning up against an old shed. The original sale tag was still on them (though, Bob had since lost that), and Clyde confirmed it. So these are brand new extensions! But, from sitting under the eve of the shed’s roof, the spokes were pretty corroded. I replaced most spokes on the pair of extensions.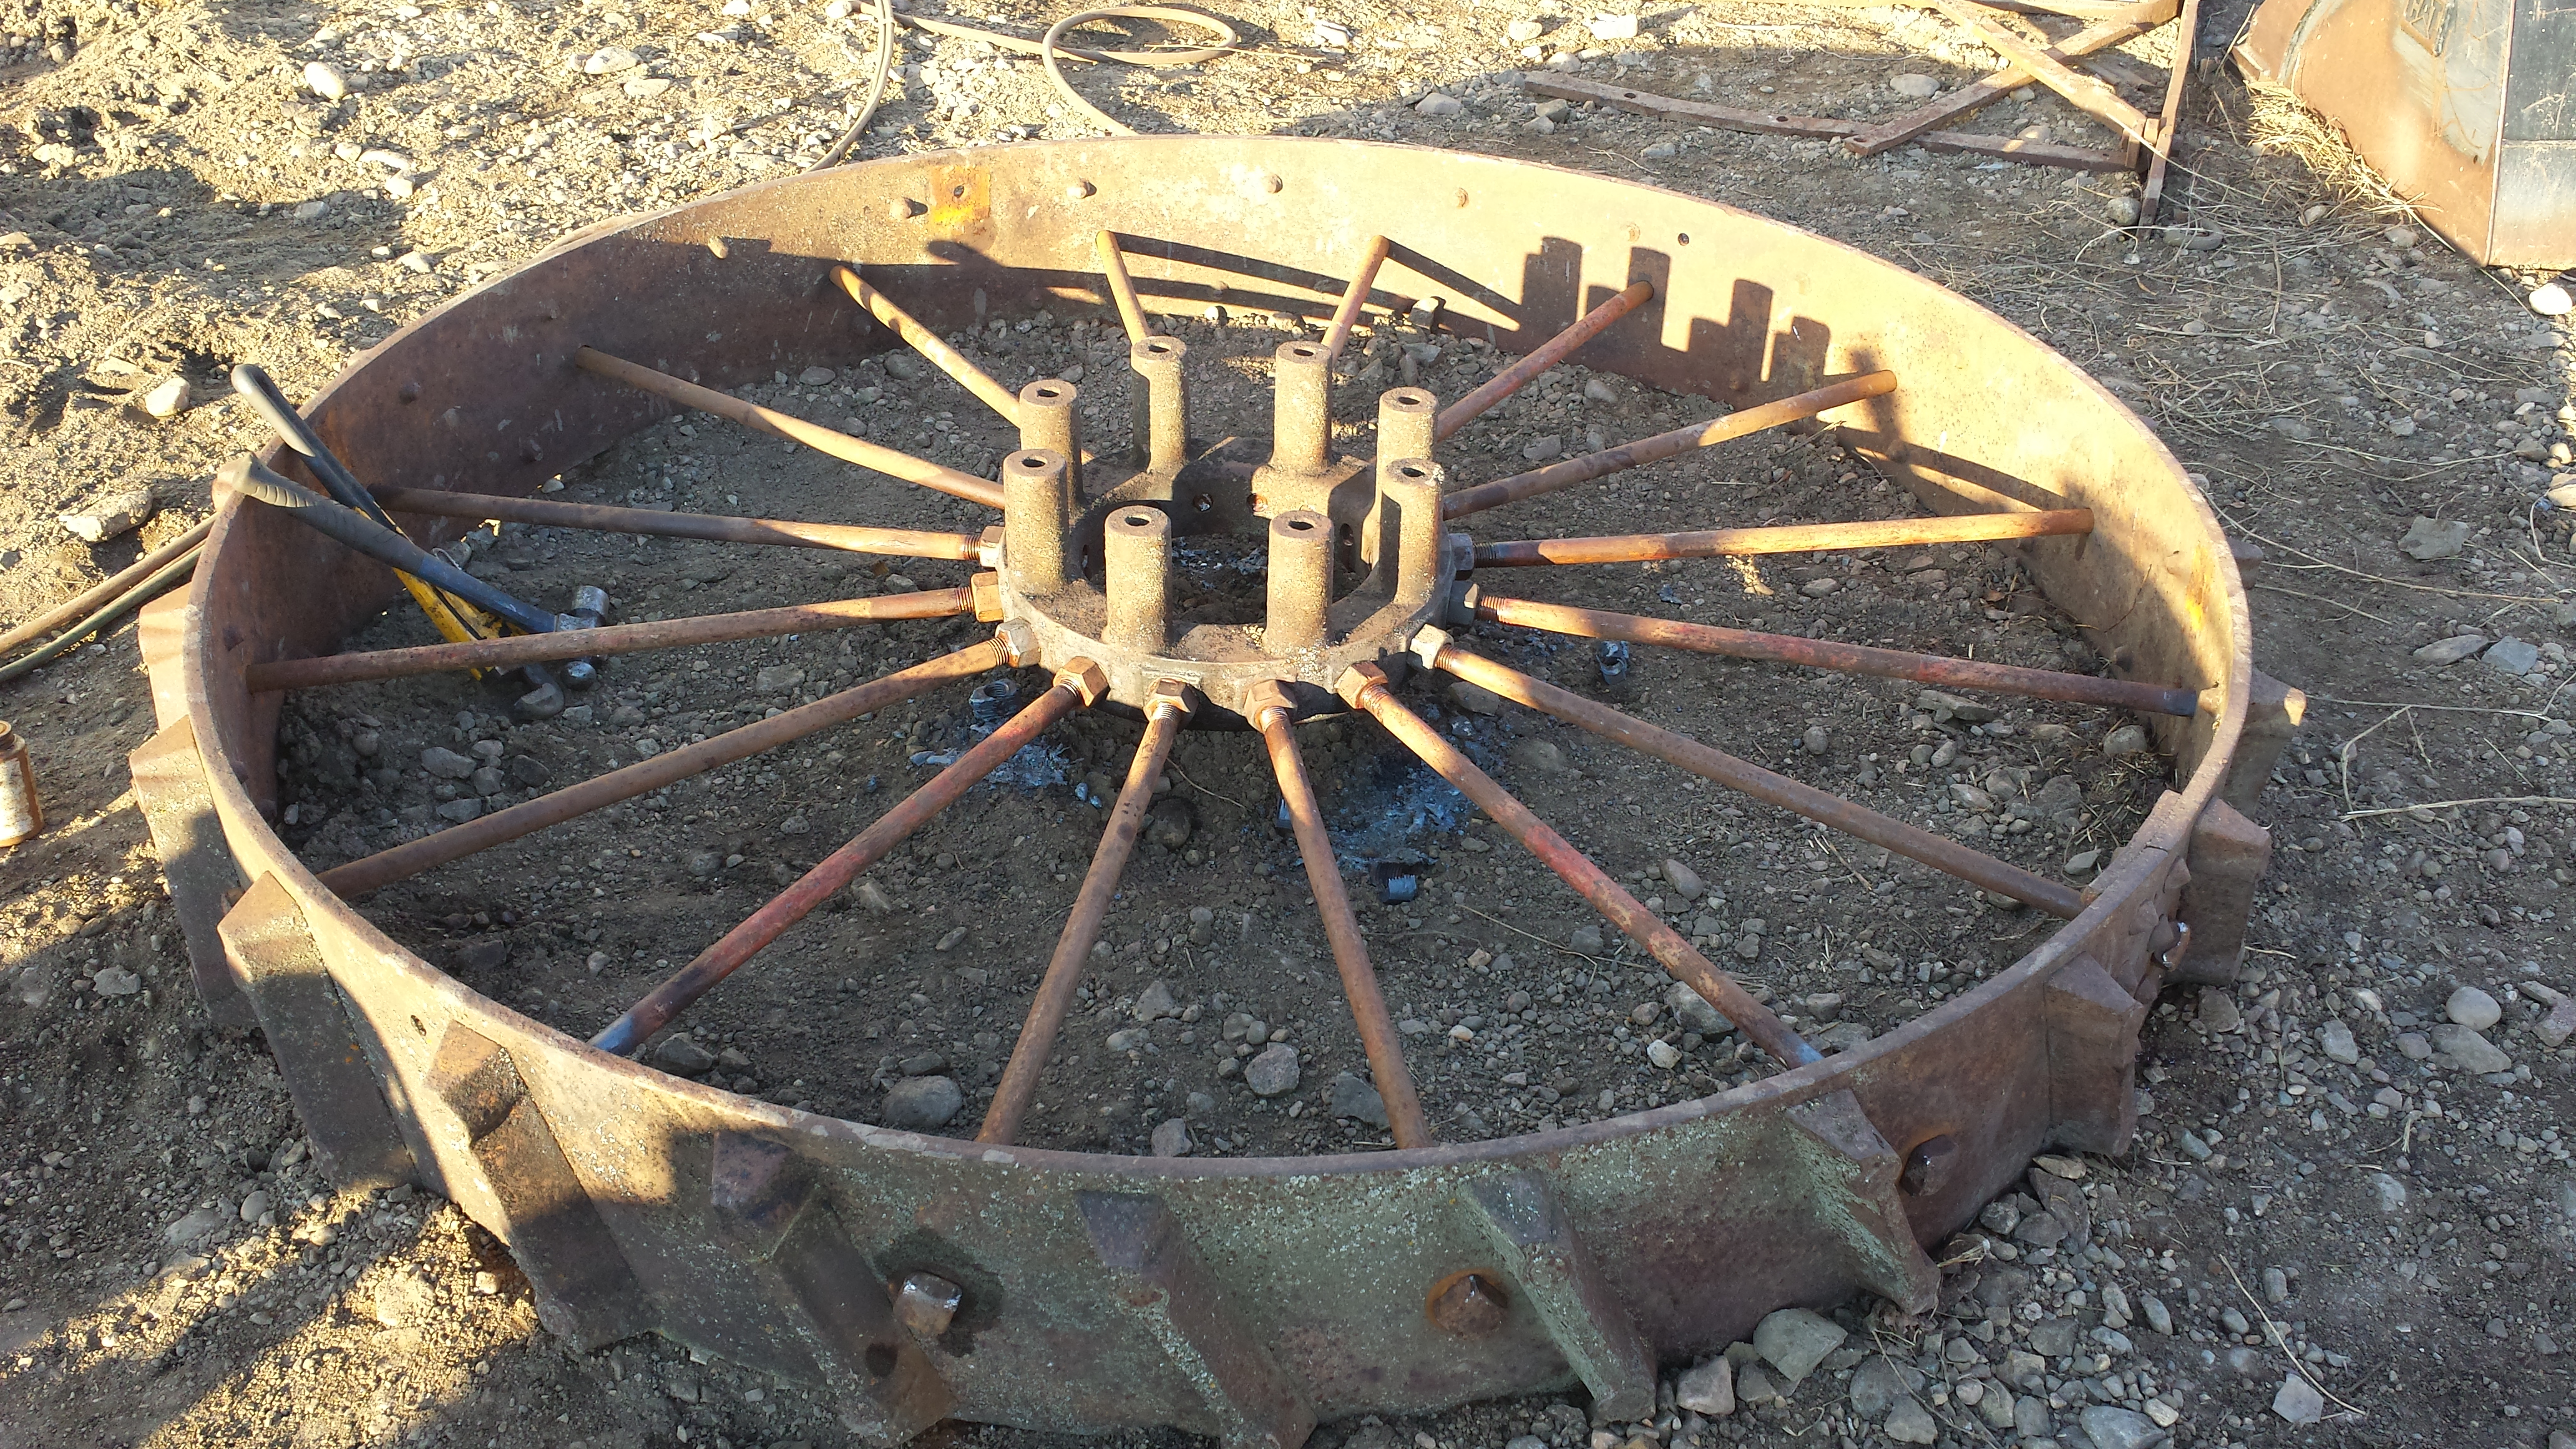
April 14, 2014
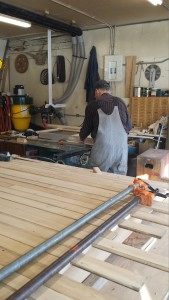
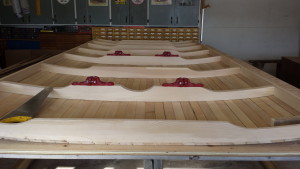
Bob had made a few new saddle tanks, but the quality wasn’t up to the tenders and tanks we had built for other projects, so I decided to redo them. Here, you can seea work in progress.
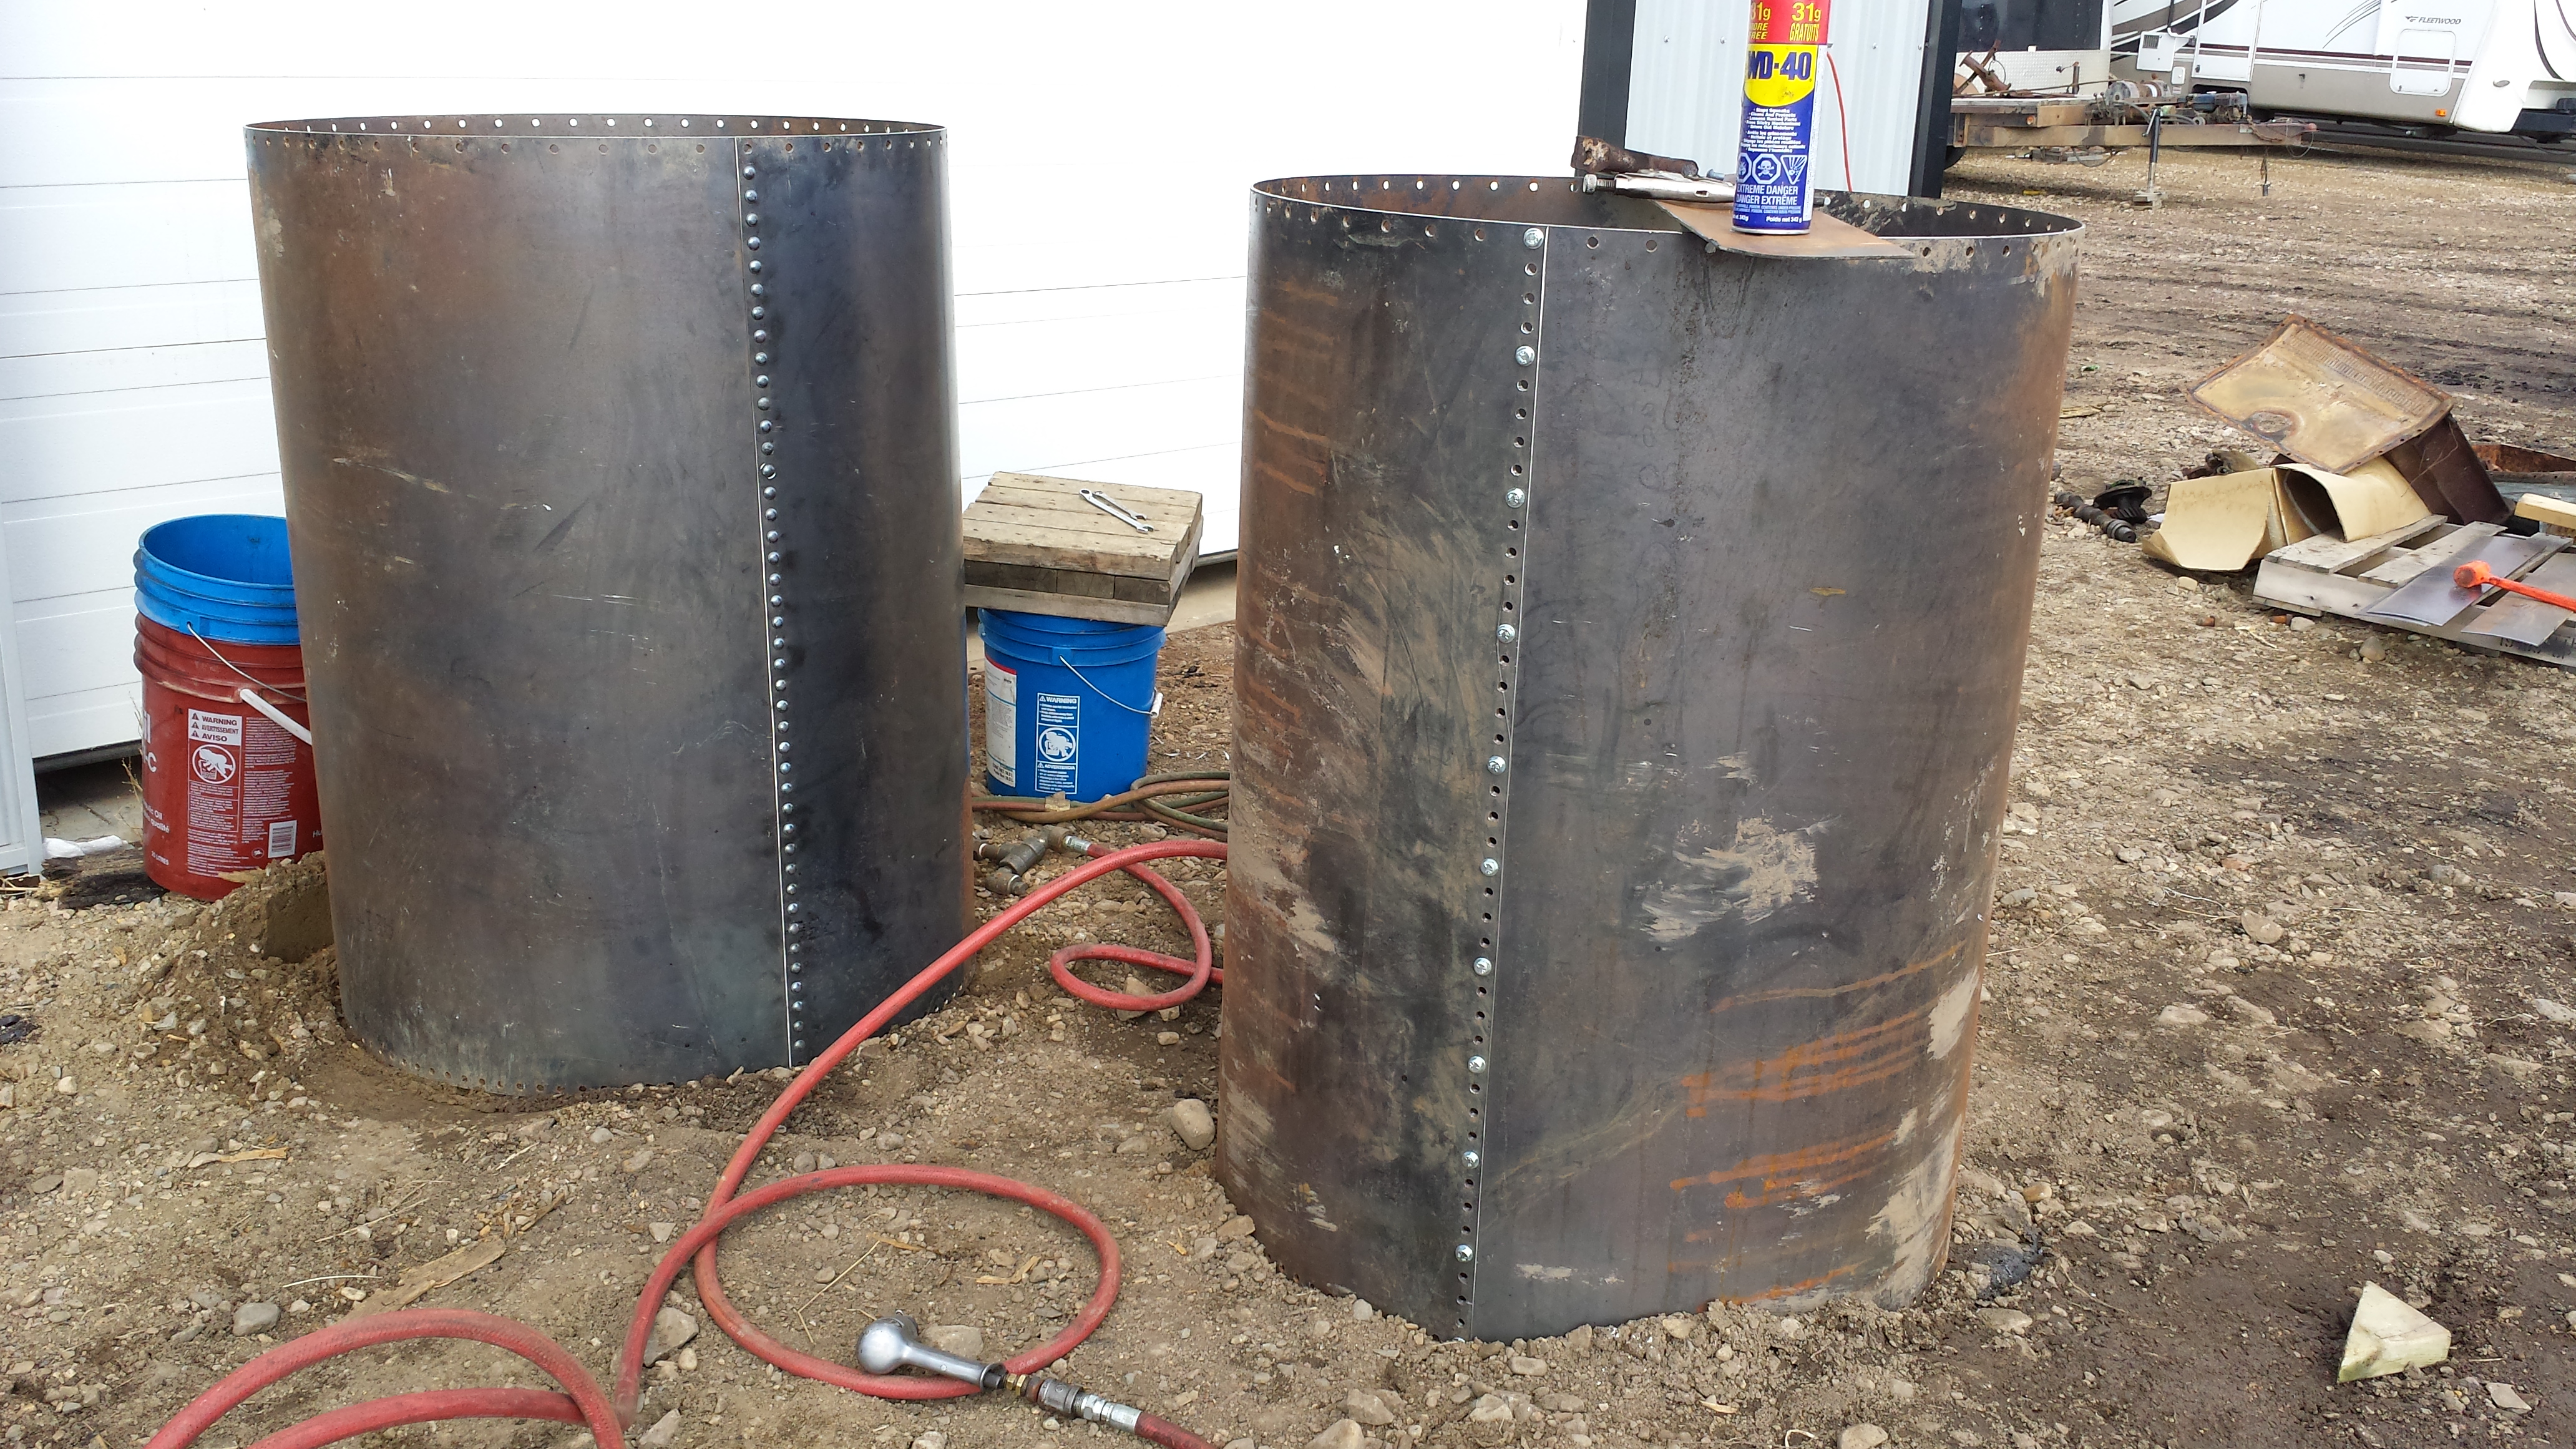
I also respoked the other rear extension, and started fixing spokes on the rear wheels.
April 21, 2014
After having luke-warm experiences with the paint that I used on the Case (it’ll clean up well, but it’s certainly showing its age), we did more research for paint for this project. For the red, I’m using Endura. For the black, I’m using a different brand of high-heat semi-gloss paint. Here’s the boiler painted up!

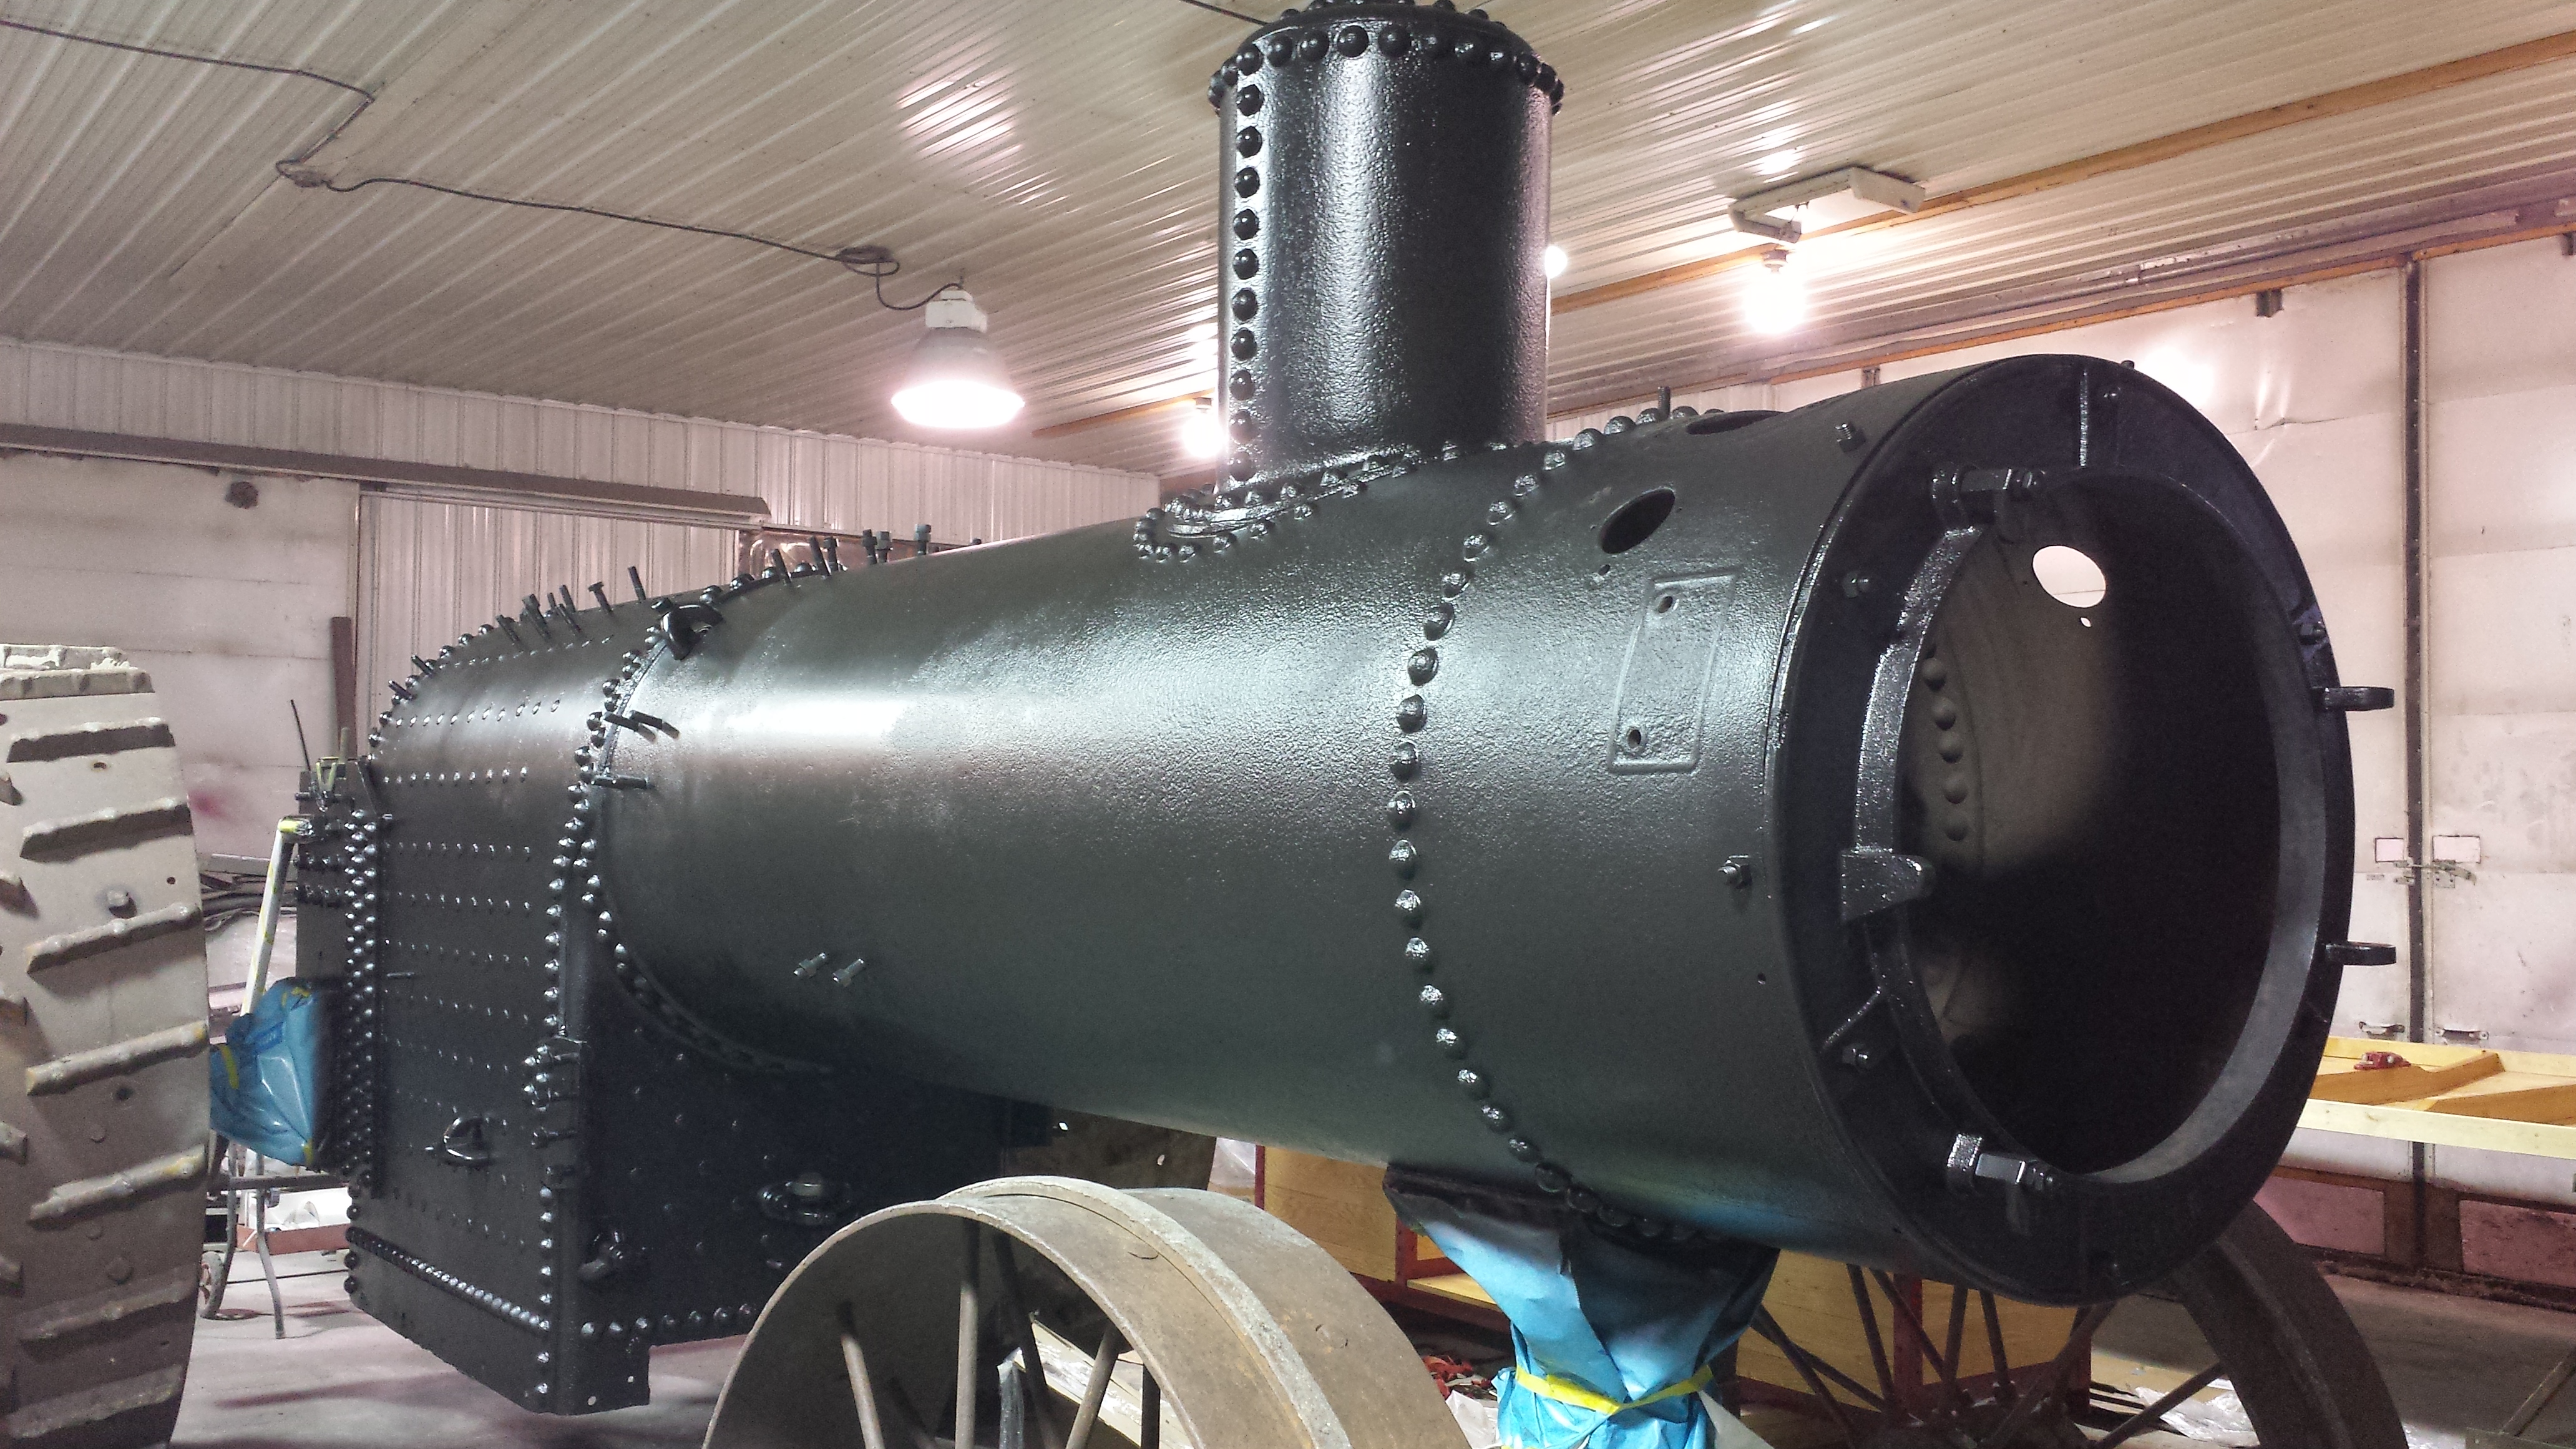
I’m hoping it’ll be good choice, only time will tell. Bruce was very happy with how it went on.
May 10, 2014
First trial for these extensions onto the wheels! I had some original Gaar Scott tabs to secure the extension rim to the wheel tire, and Beau supplied a few others. Overall, things look good. One wheel is really good, and I had to recenter the extension hub to fit the wheel hub on the other.

I was going to flip the extensions and run a zig-zag pattern, but these just seem to fit better this way. The catalogs show them installed either way, but I’ll leave them this way.
July 19, 2014
Some good progress on the tractor!

Rod, Stew, and Bruce mounted up the bunkers and the rest of the hitch irons. The hitch is certainly very secure now! And Bruce painted up the new front axle and wheels, and front pedestal. Starting to look good!
September 11, 2014
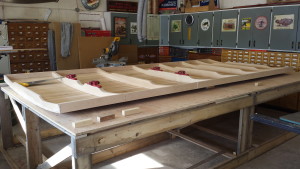
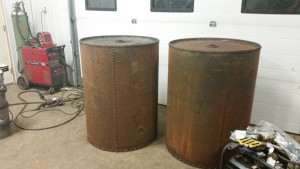
Well, I finally got to finish the saddle tanks. They’re a bit rusted up from the prior pictures from sitting outside, but that won’t matter. The tops and bottoms are welded in, but all the rivets are real and functional. I’m pretty happy with these. I used 1″ NPT pipe fittings for the piping that goes between the tanks, and in retrospect I maybe should have gone larger, time will tell. Some people tell me that the water will be slow to drain from one tank to the other, but it’s big enough to feed the injectors.
November 4, 2014
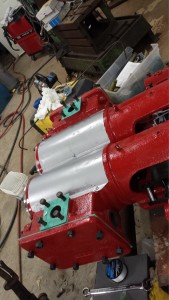
This was a good day! I finally had time (and reason) to install the new pistons, piston rods, and rings! The rings are a bit tight, so Garth helped install them to the pistons, and into the bores.

November 13, 2014
Trial fitting the crossheads! They fit like they belong. 🙂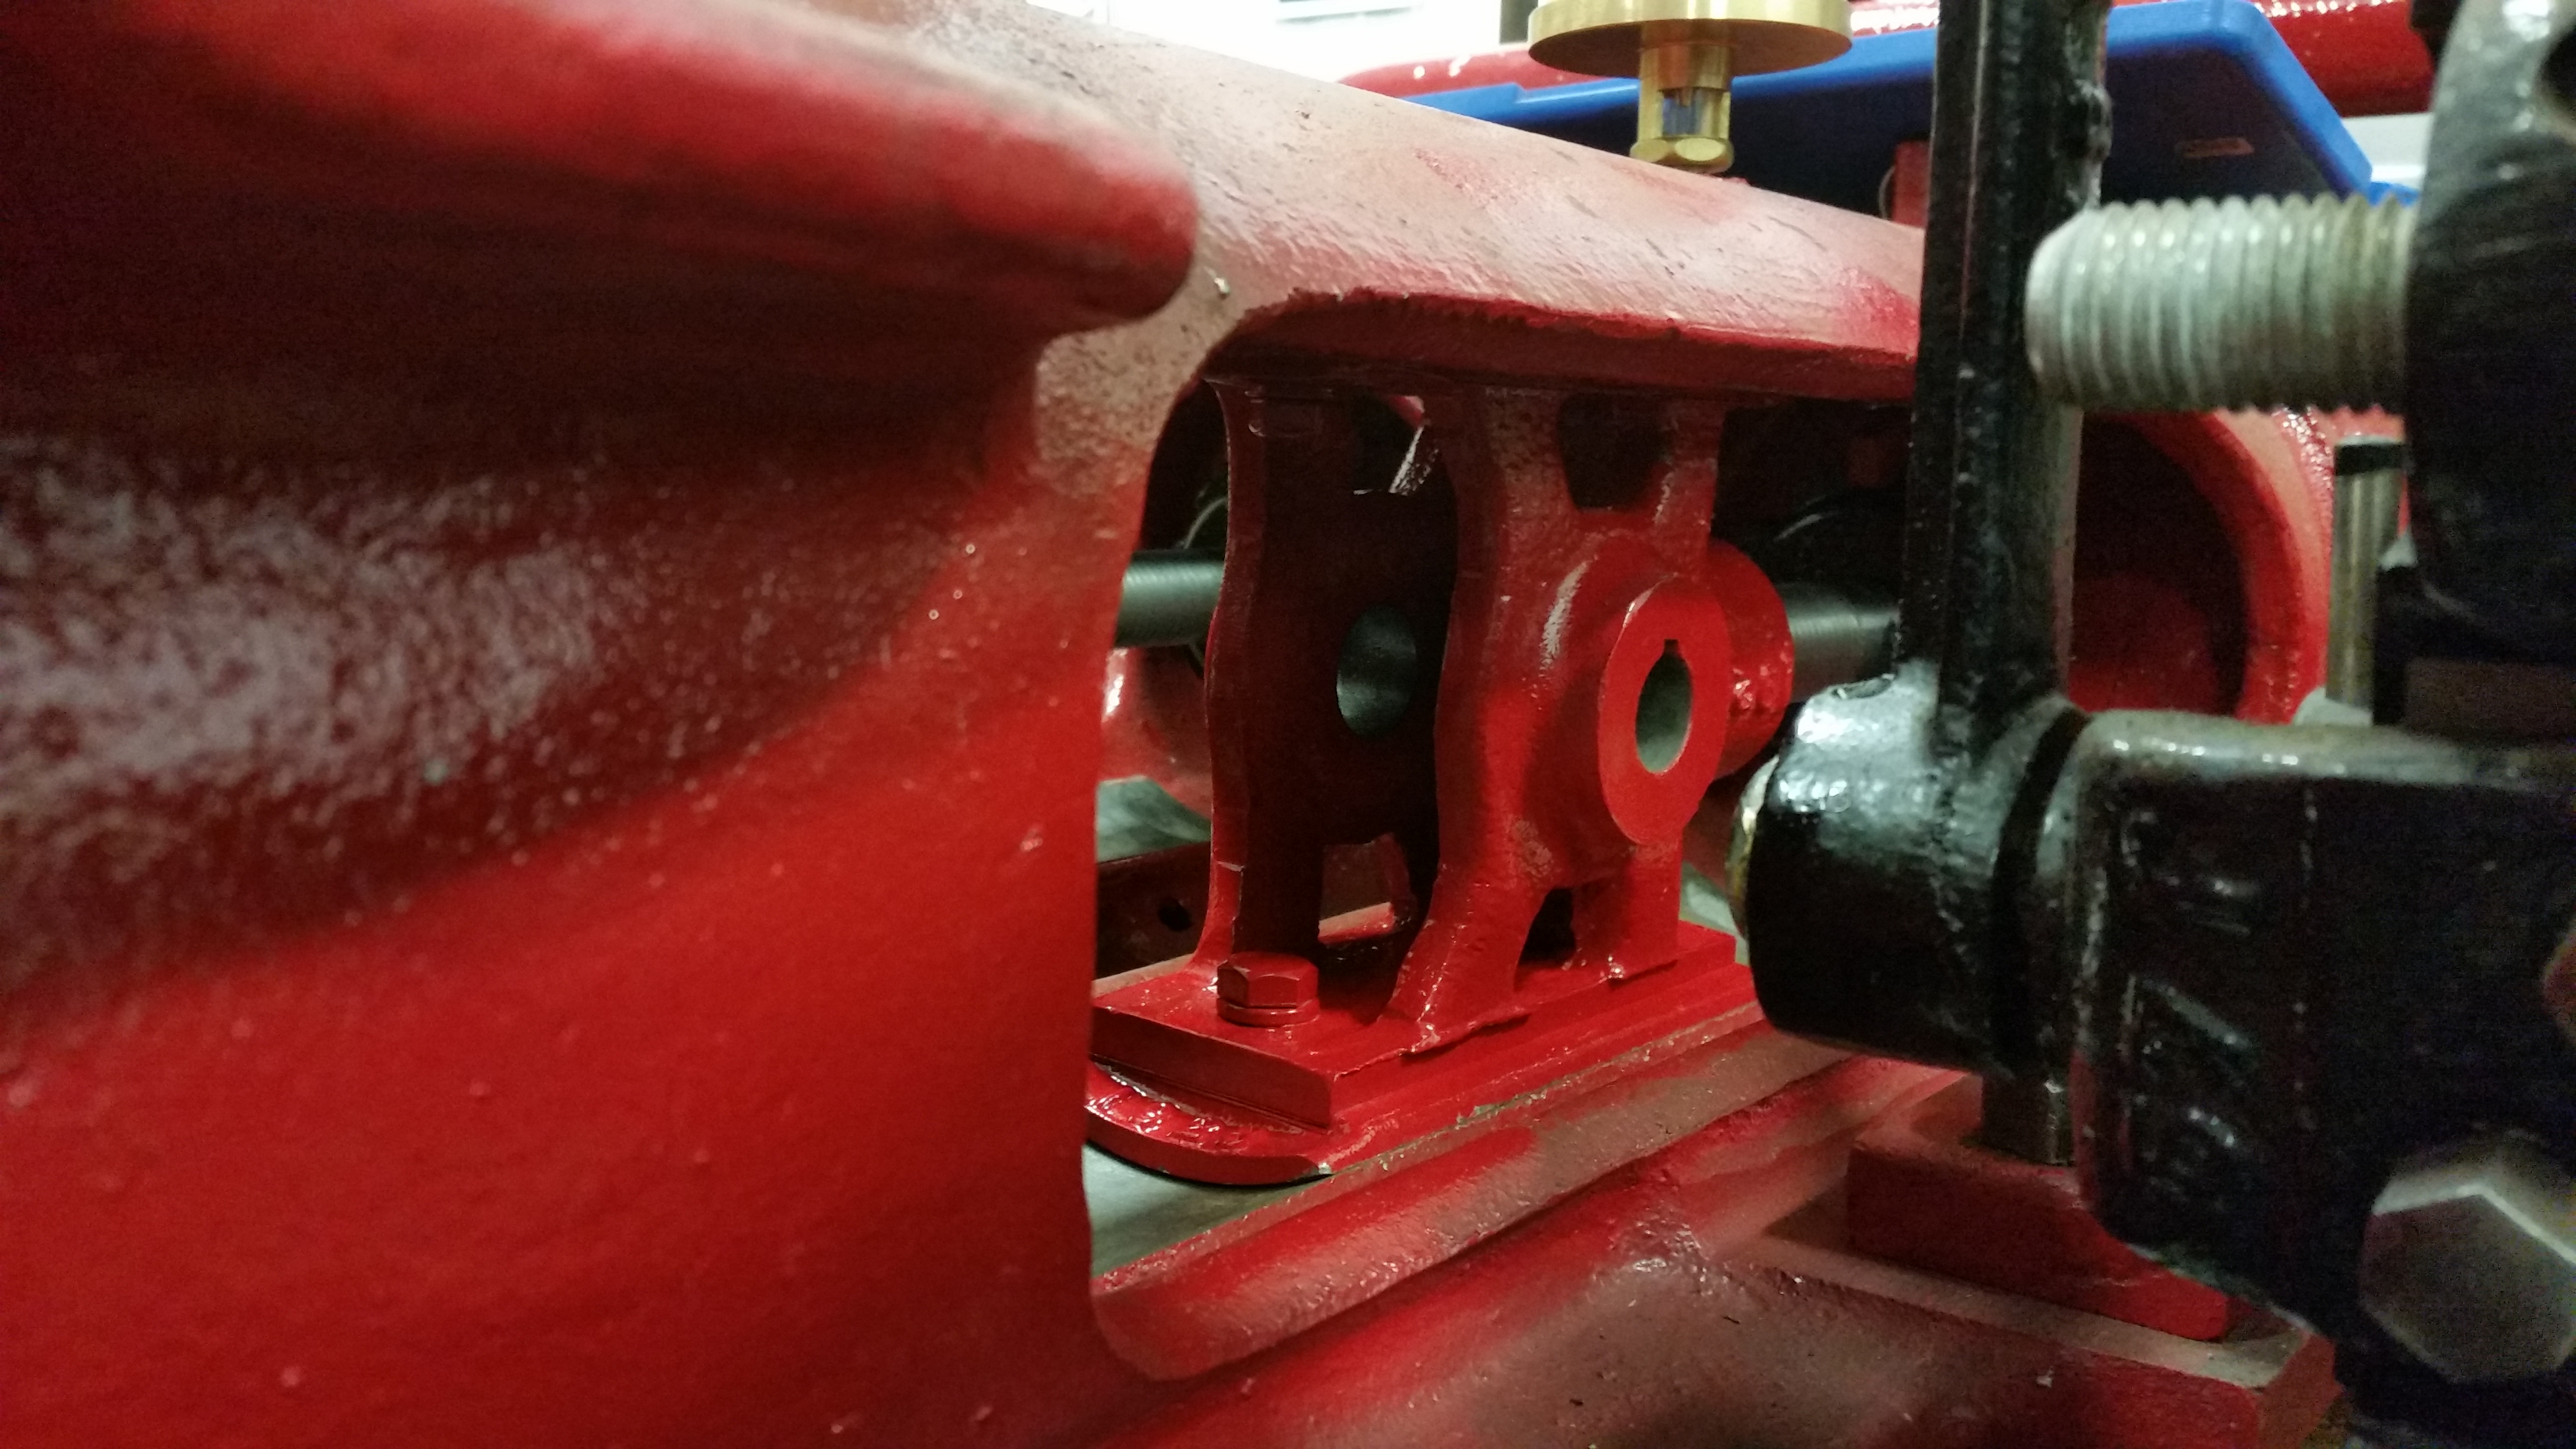
November 19, 2014
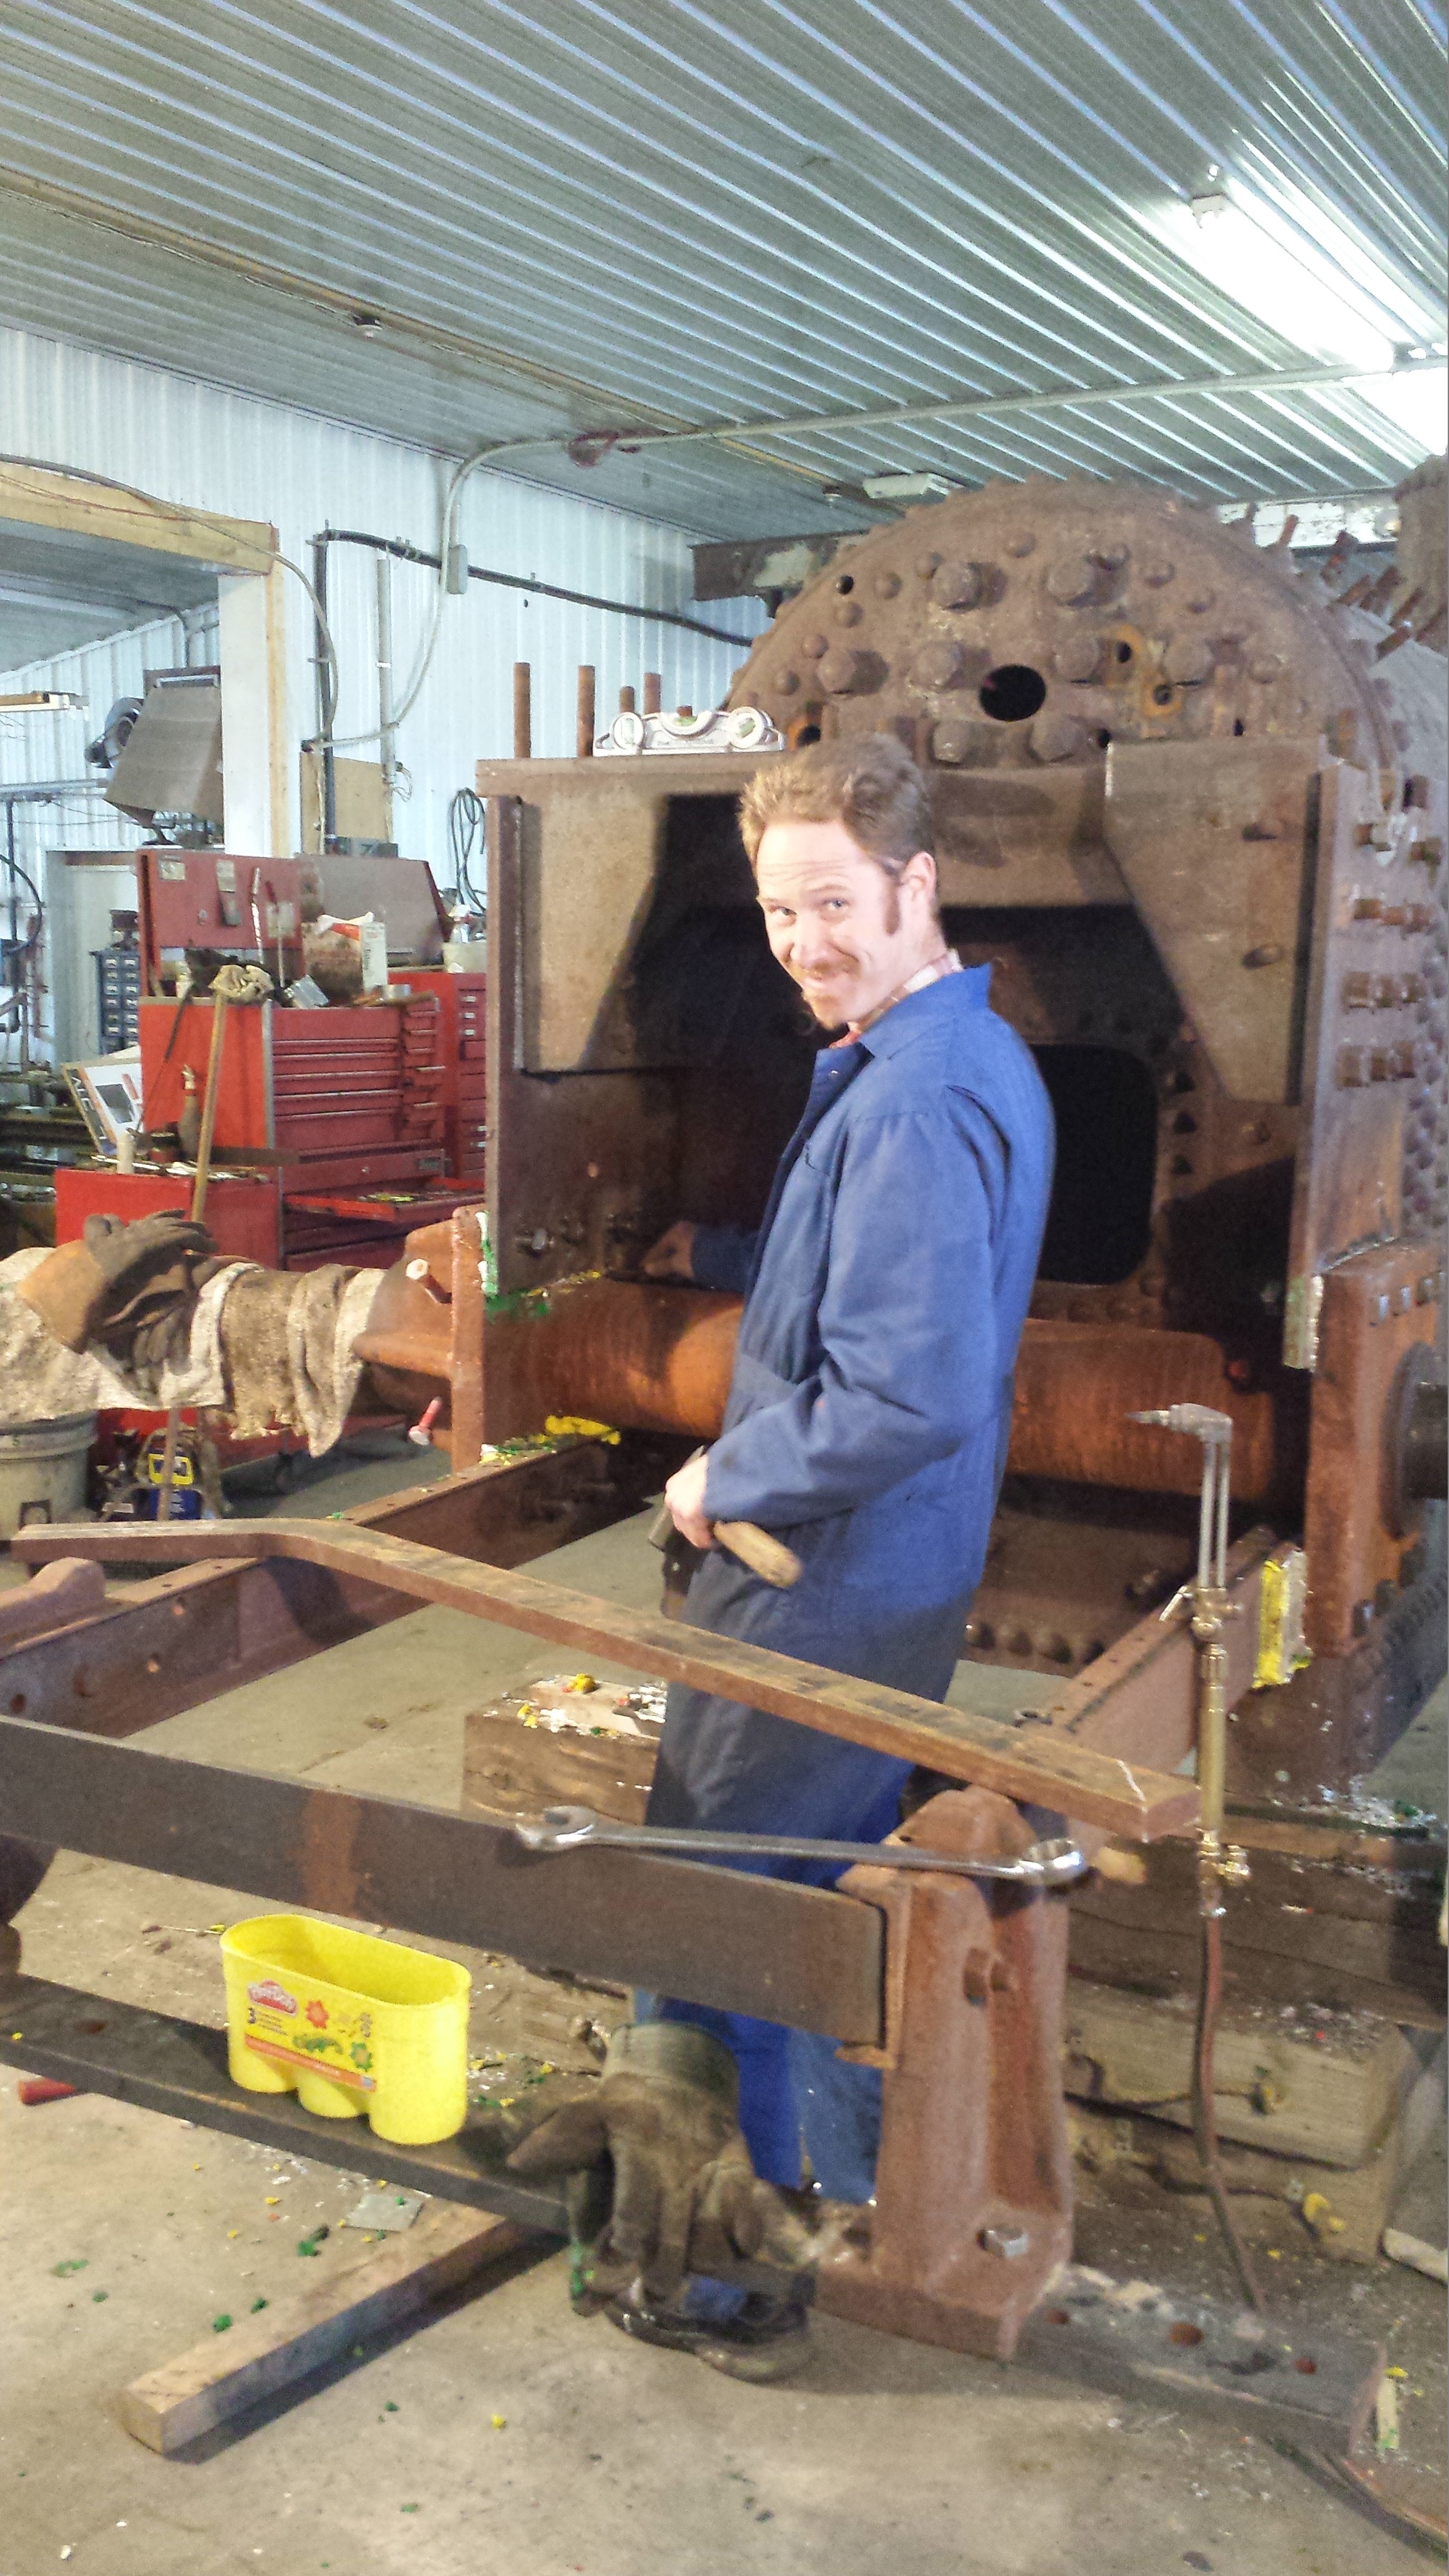
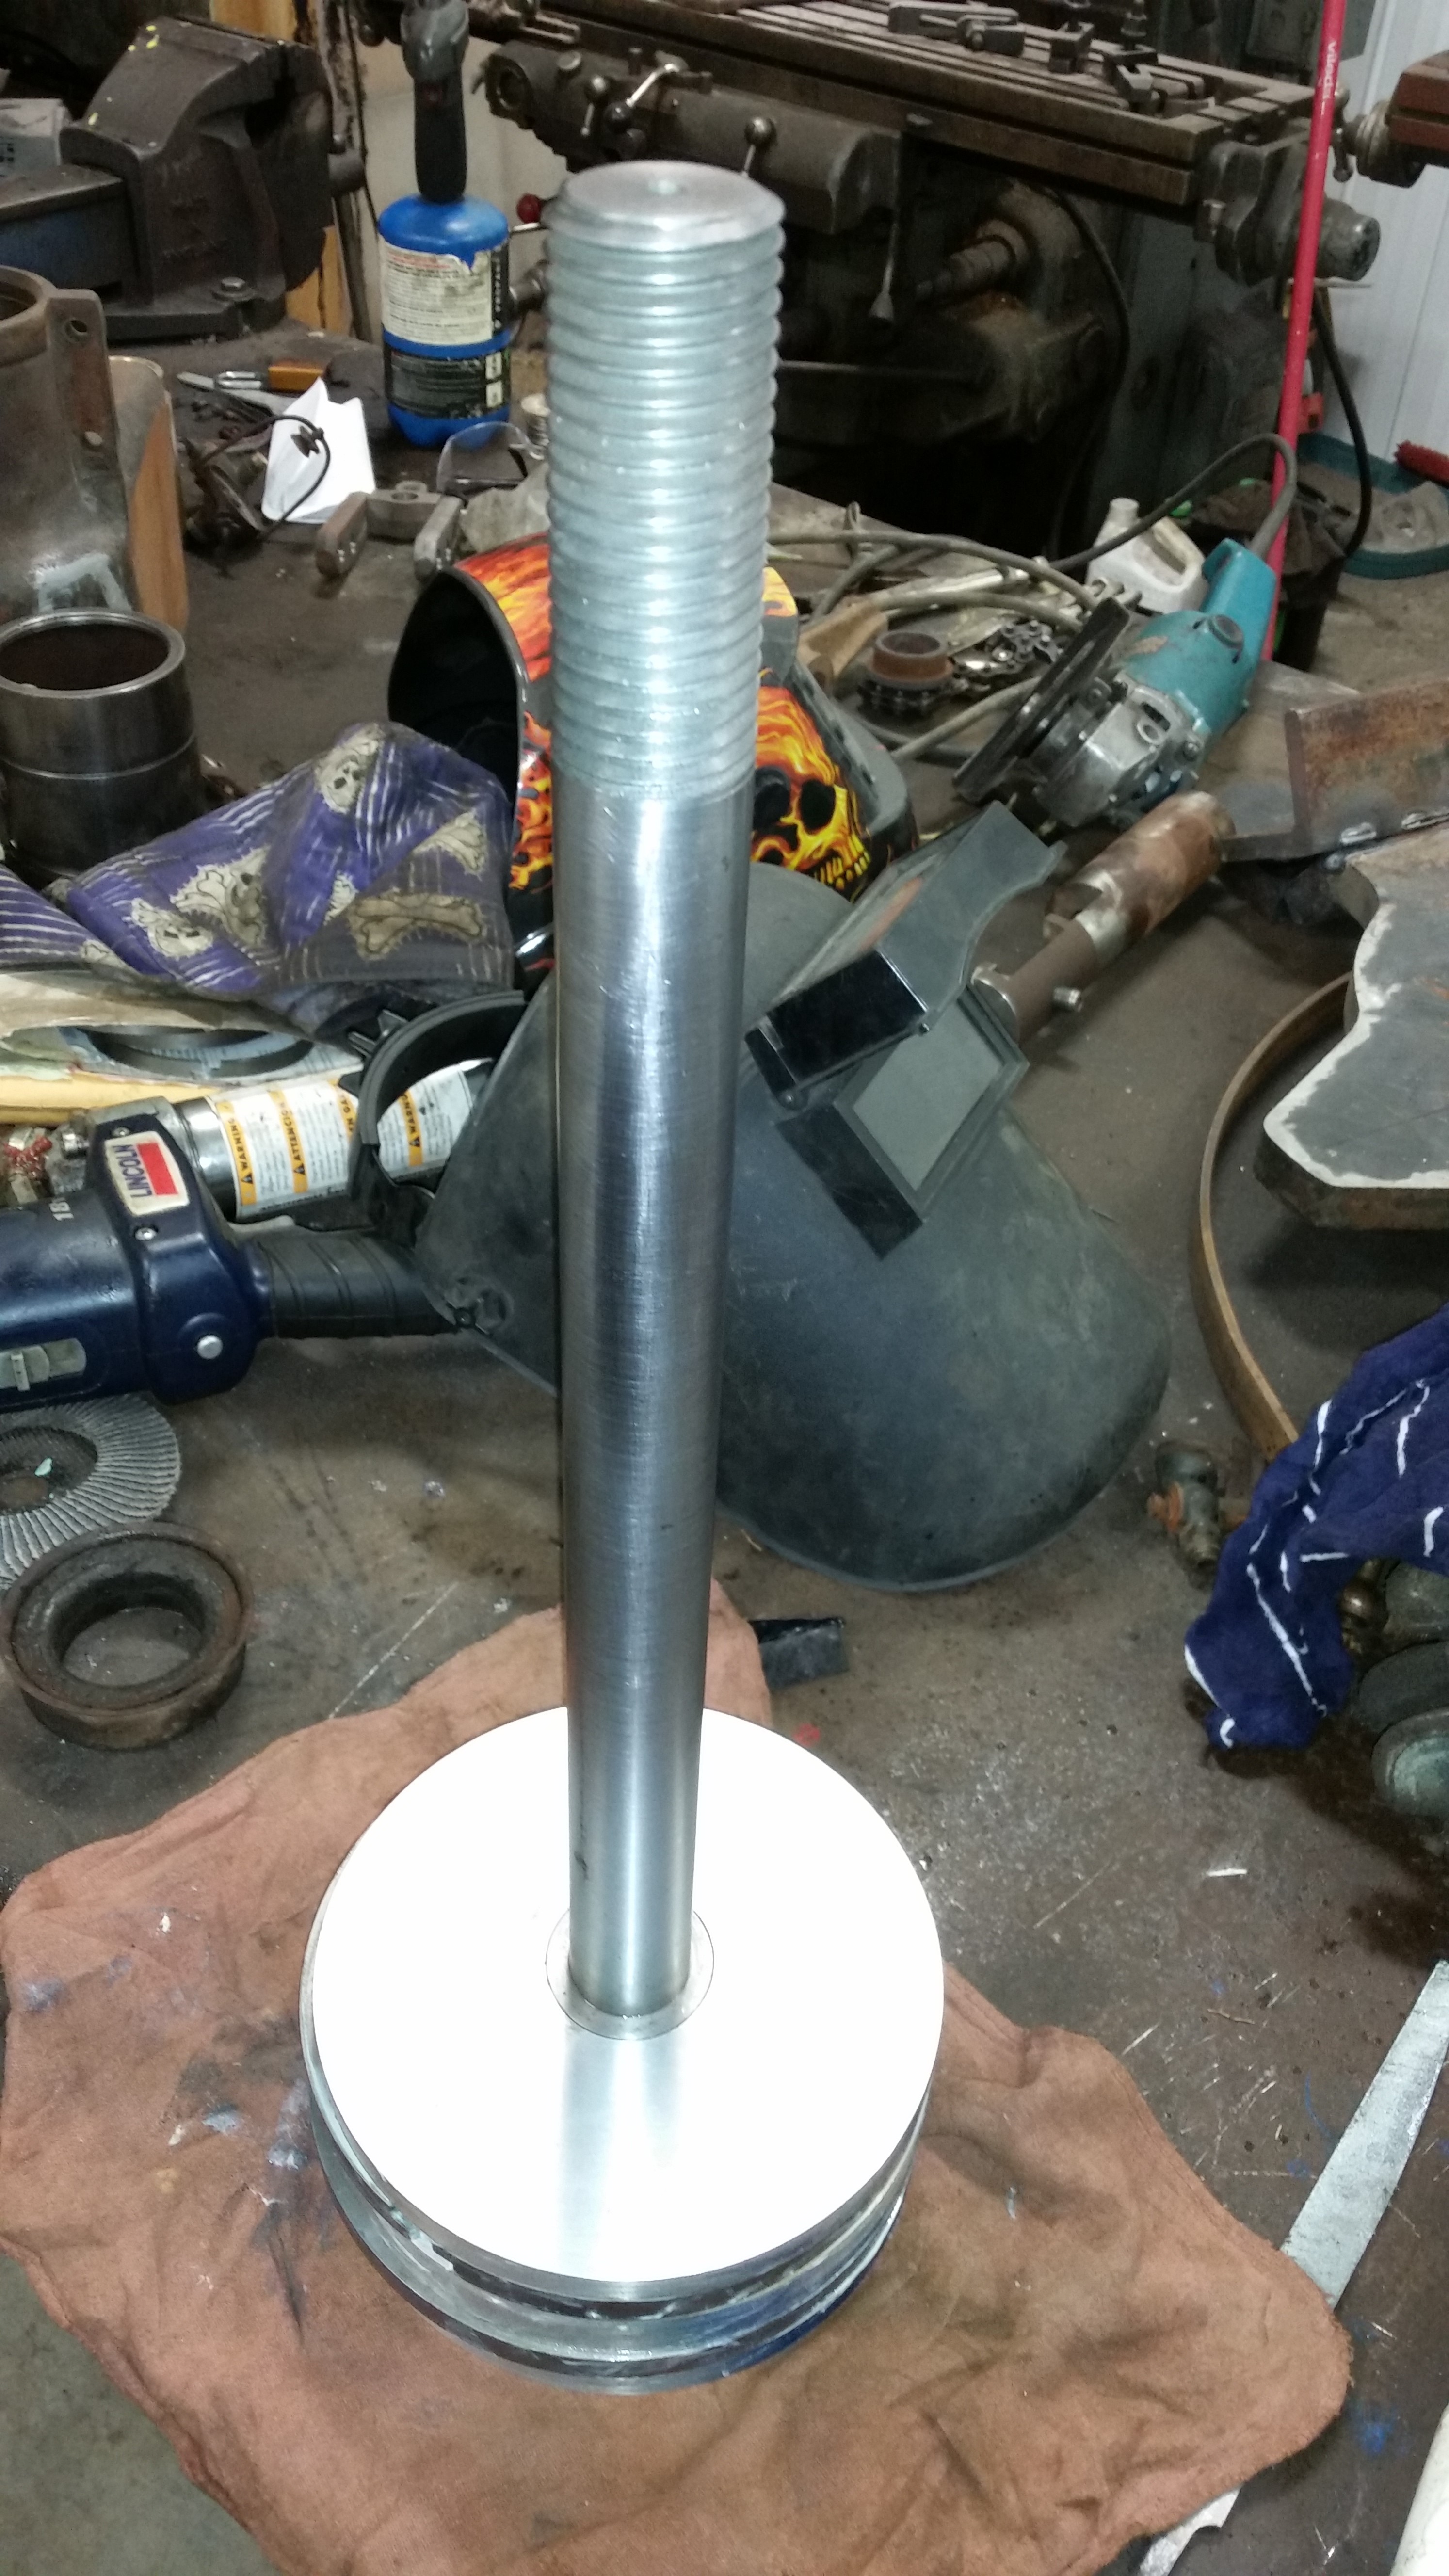
Bob also supplied a pump for this engine, and I can’t do much more on the motor without Garth’s help and he’s working on his own projects, so I decided to dive into it. It’s a fun little self-contained project.

November 20, 2014
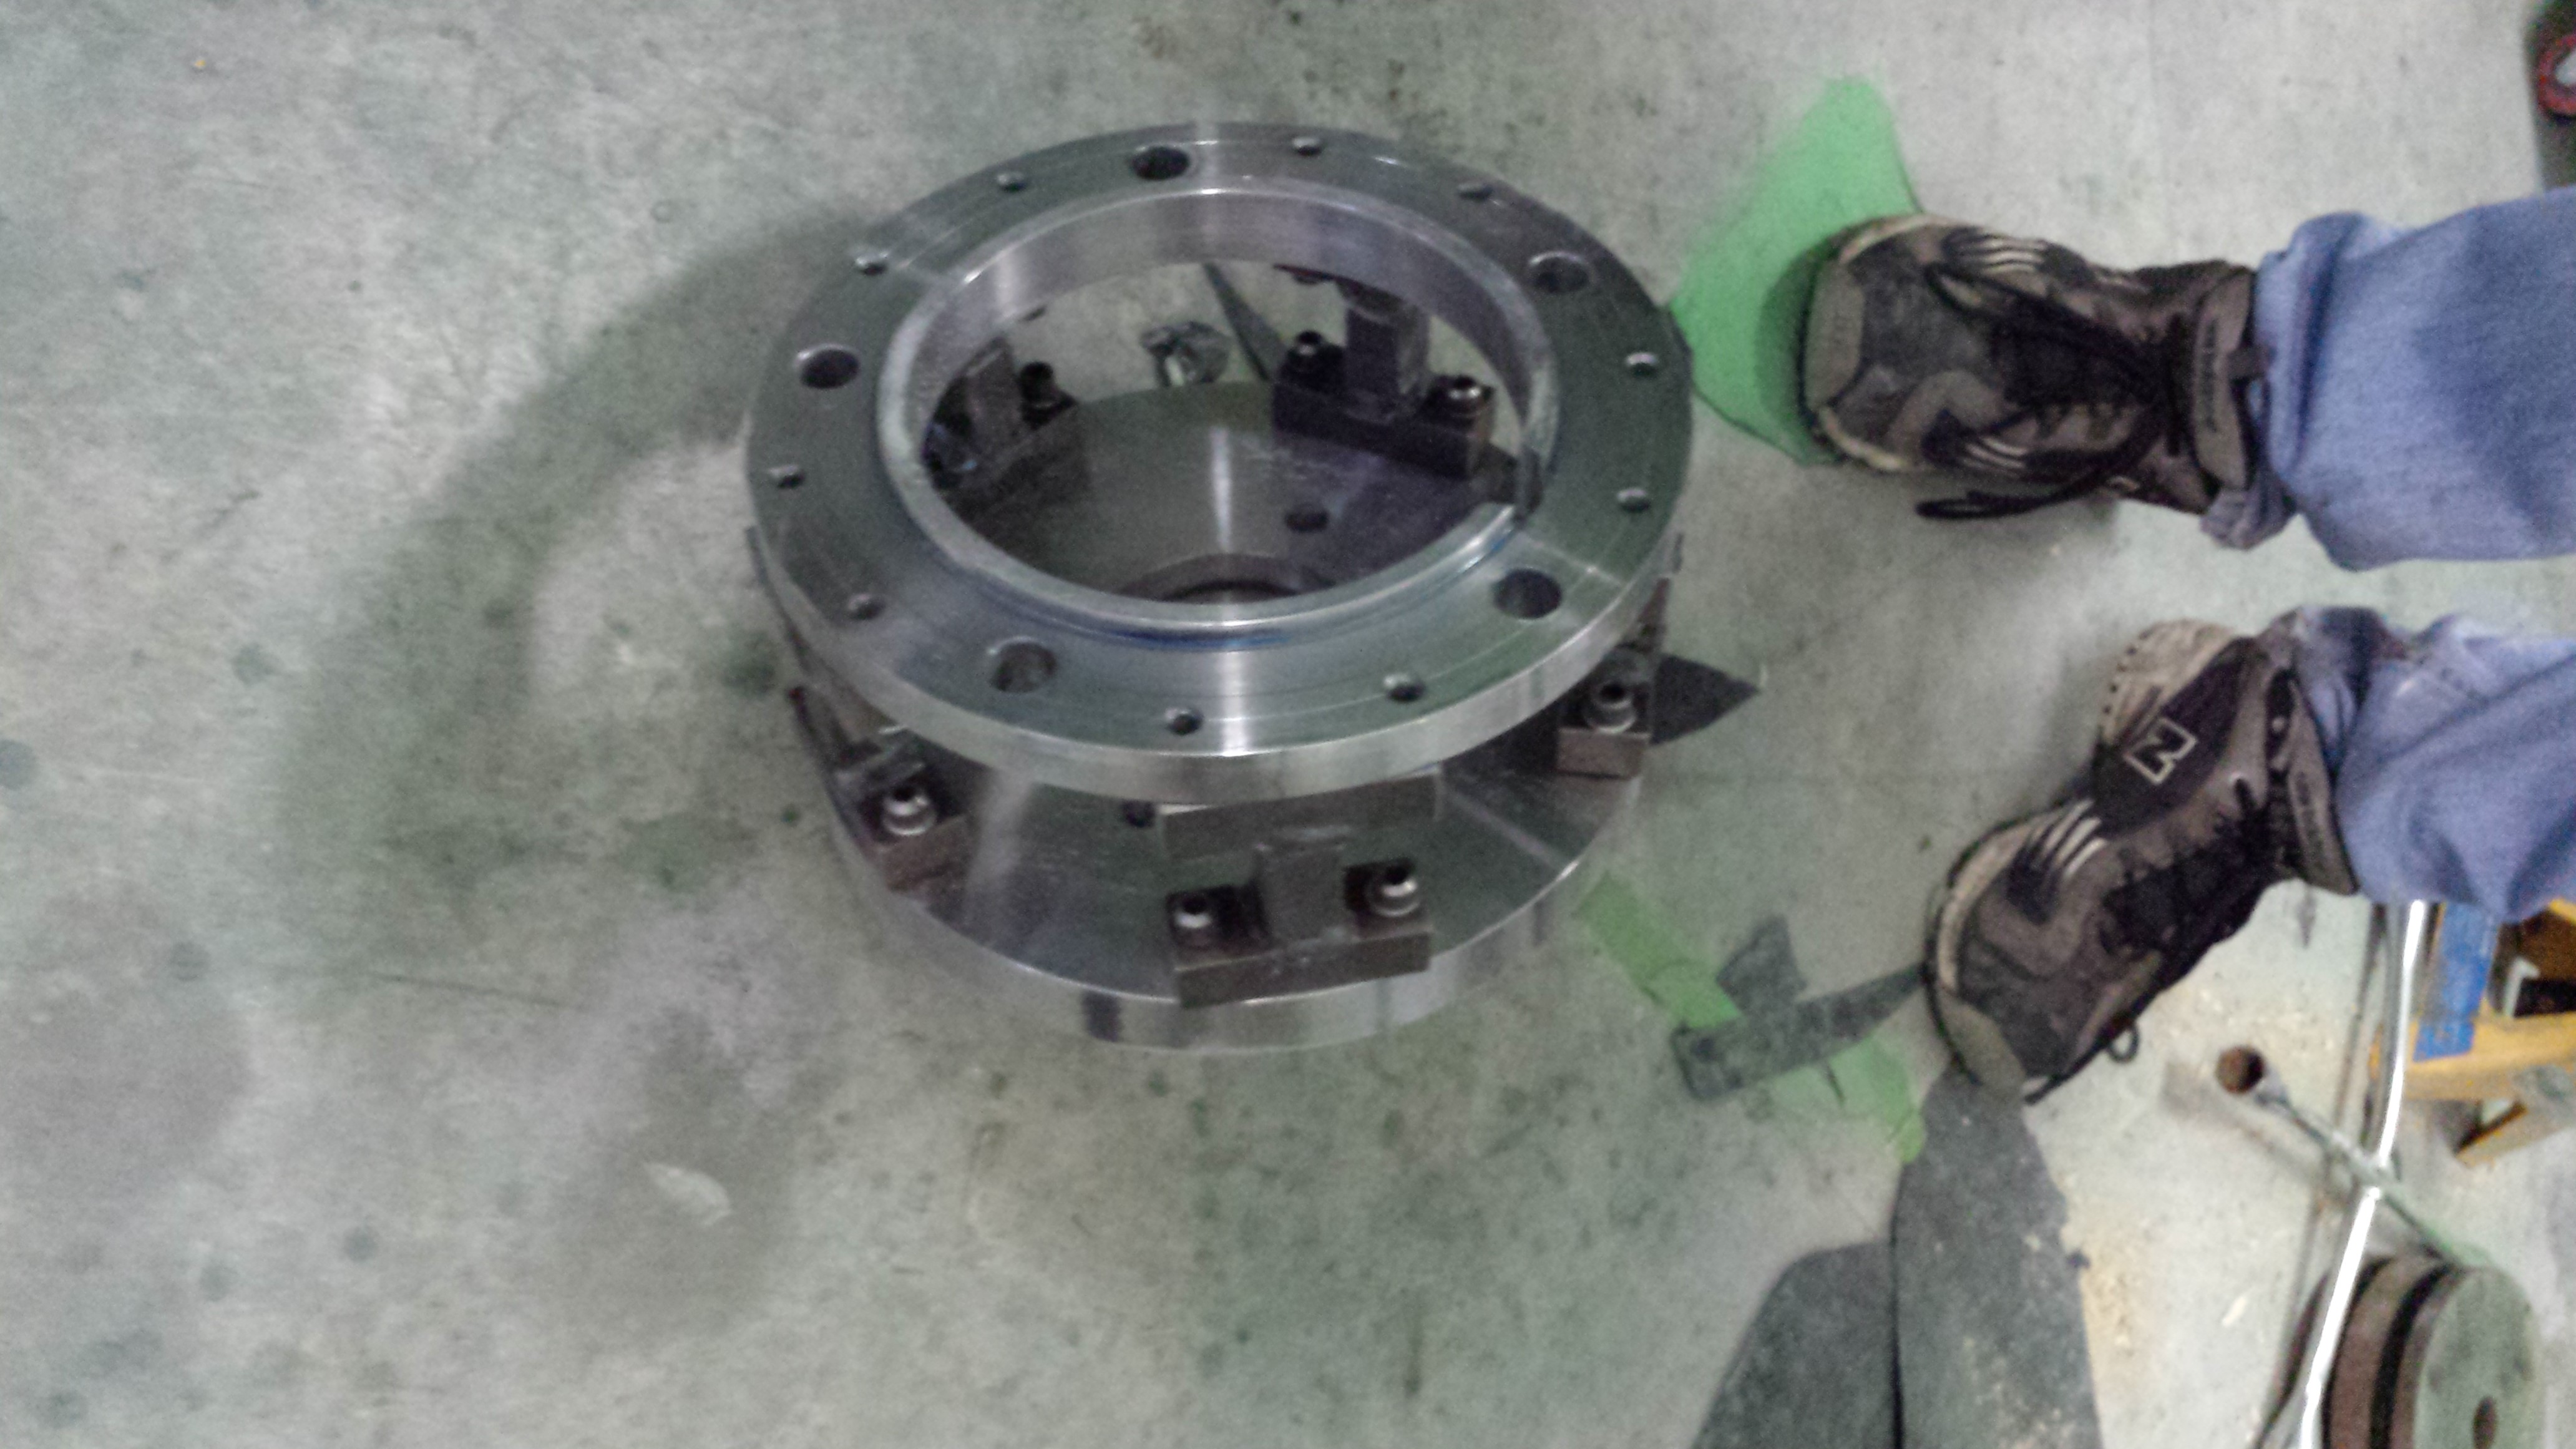
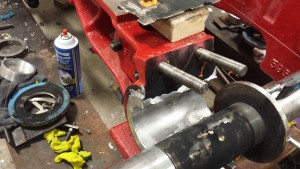
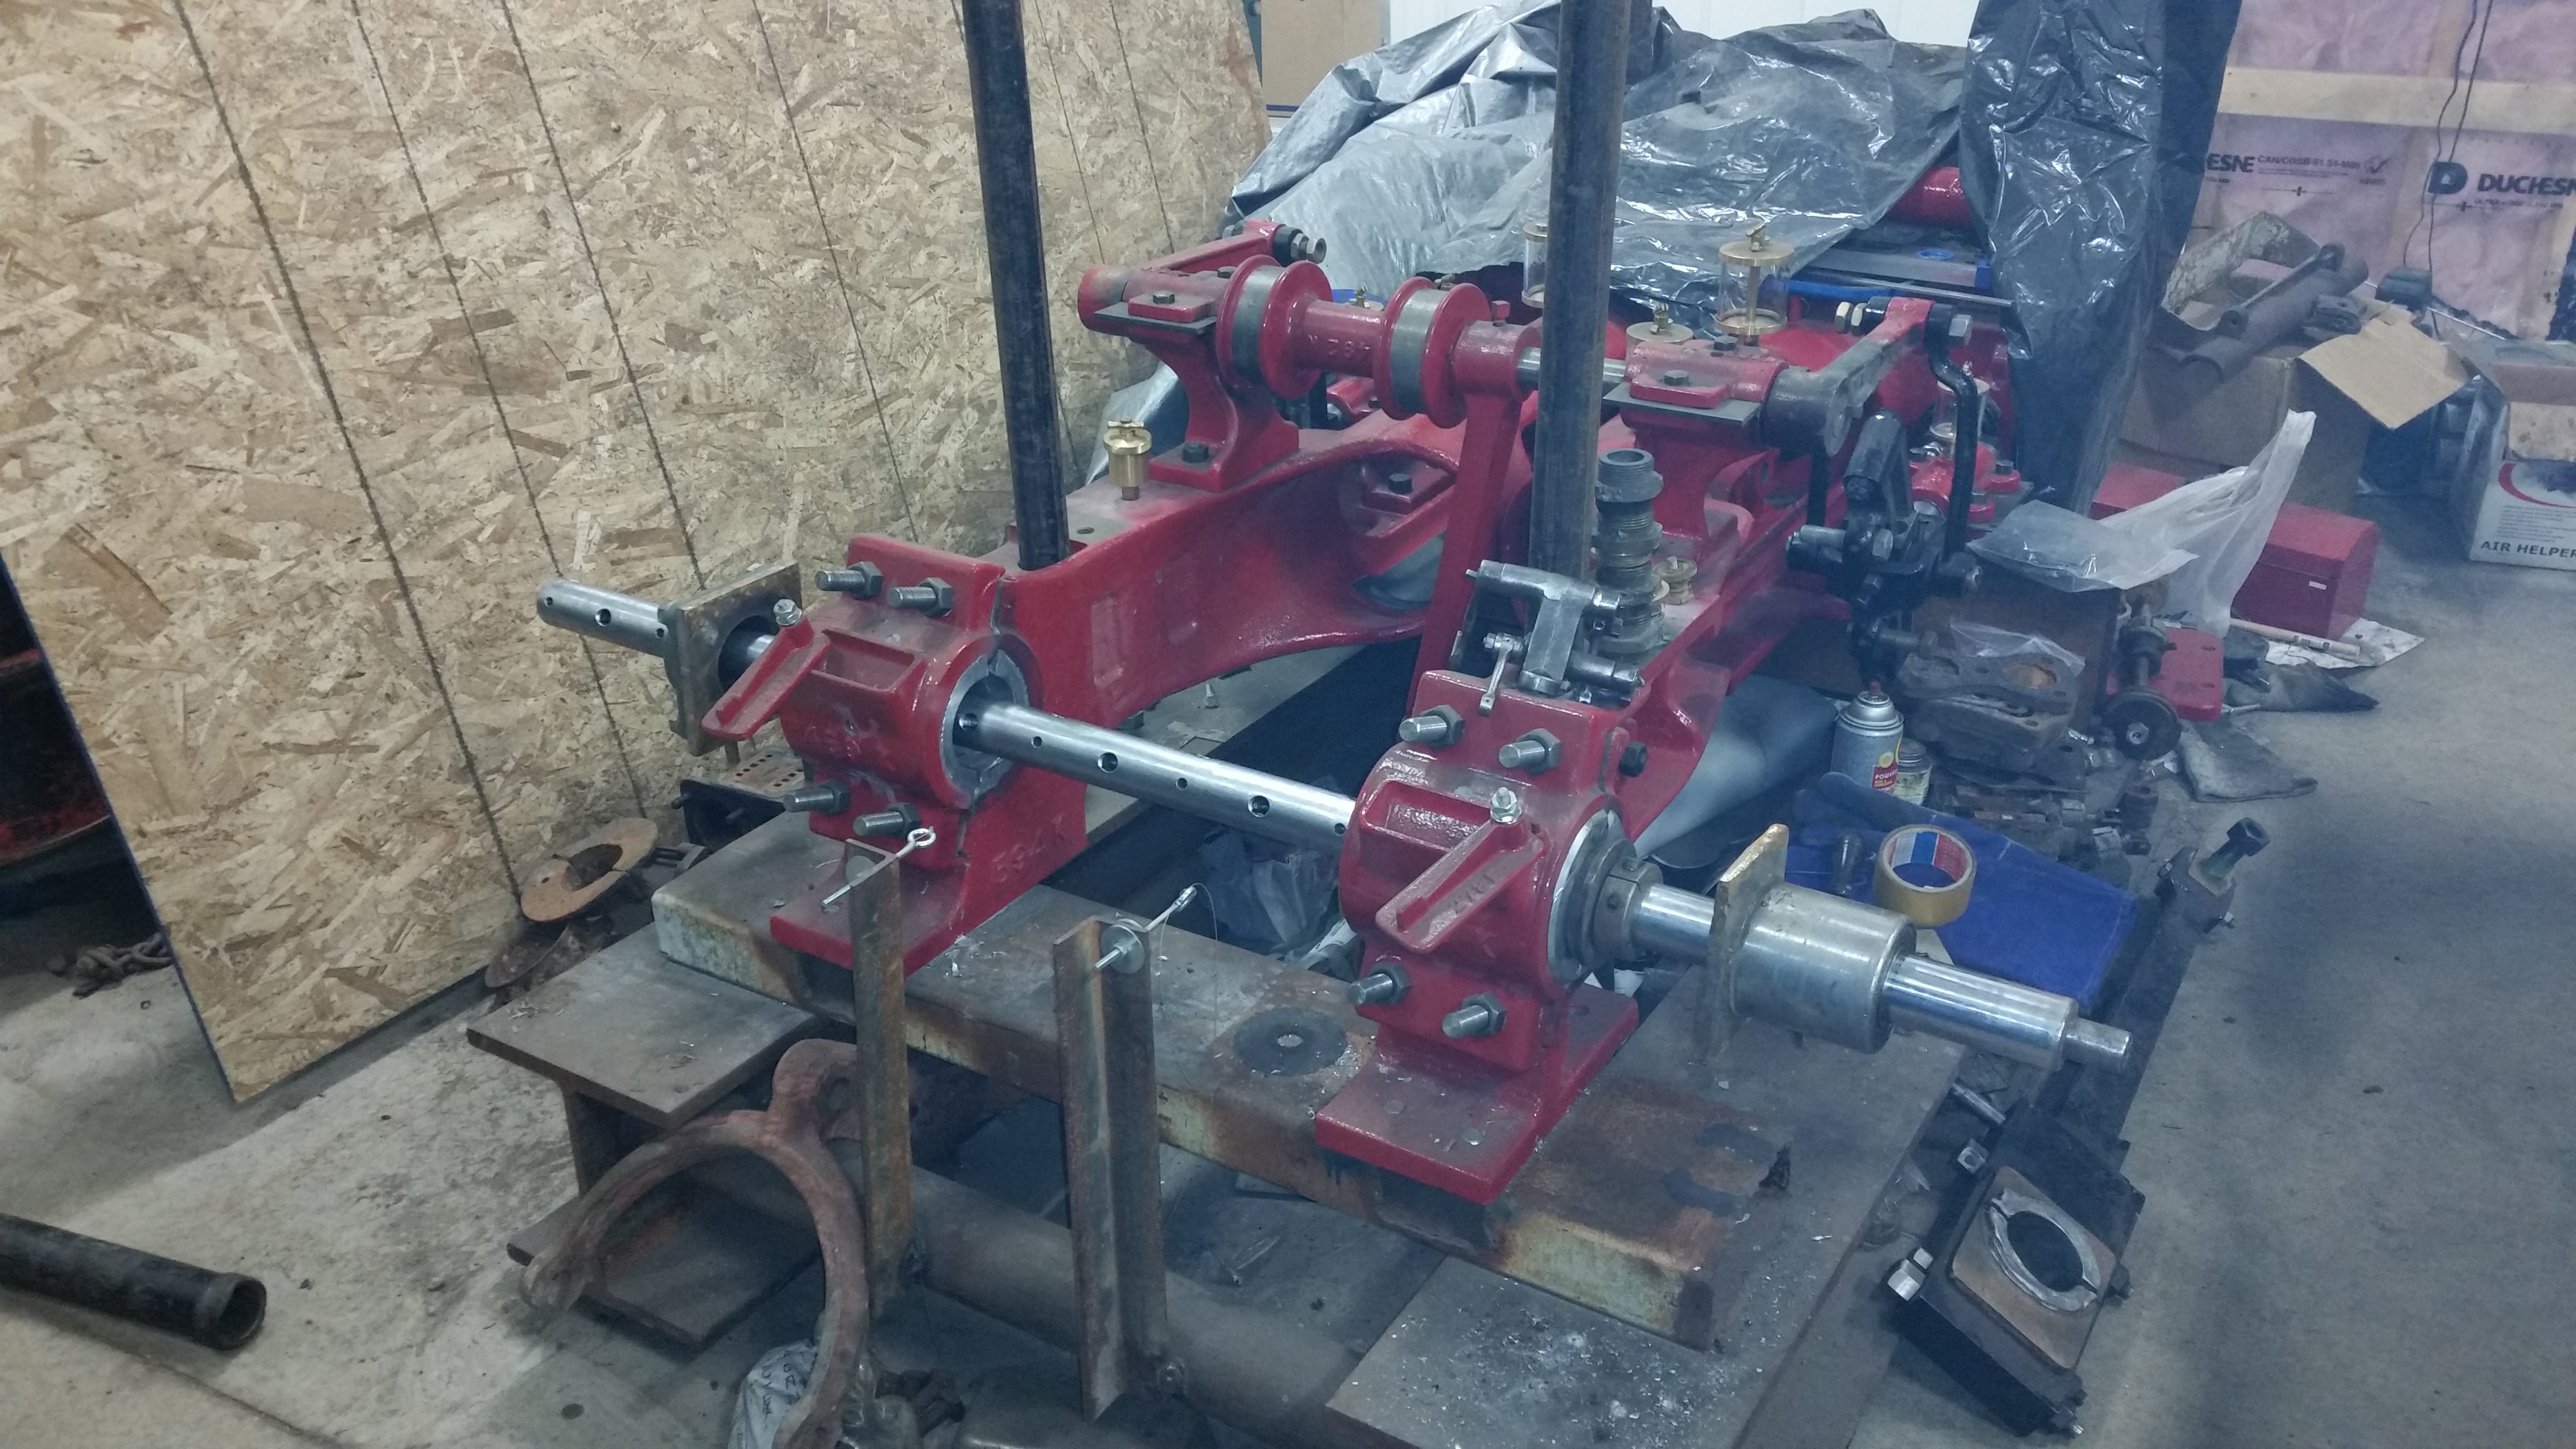
Busy week! Garth figures it’s time to linebore the main bearings, so you can see it being set up here.
November 23, 2014
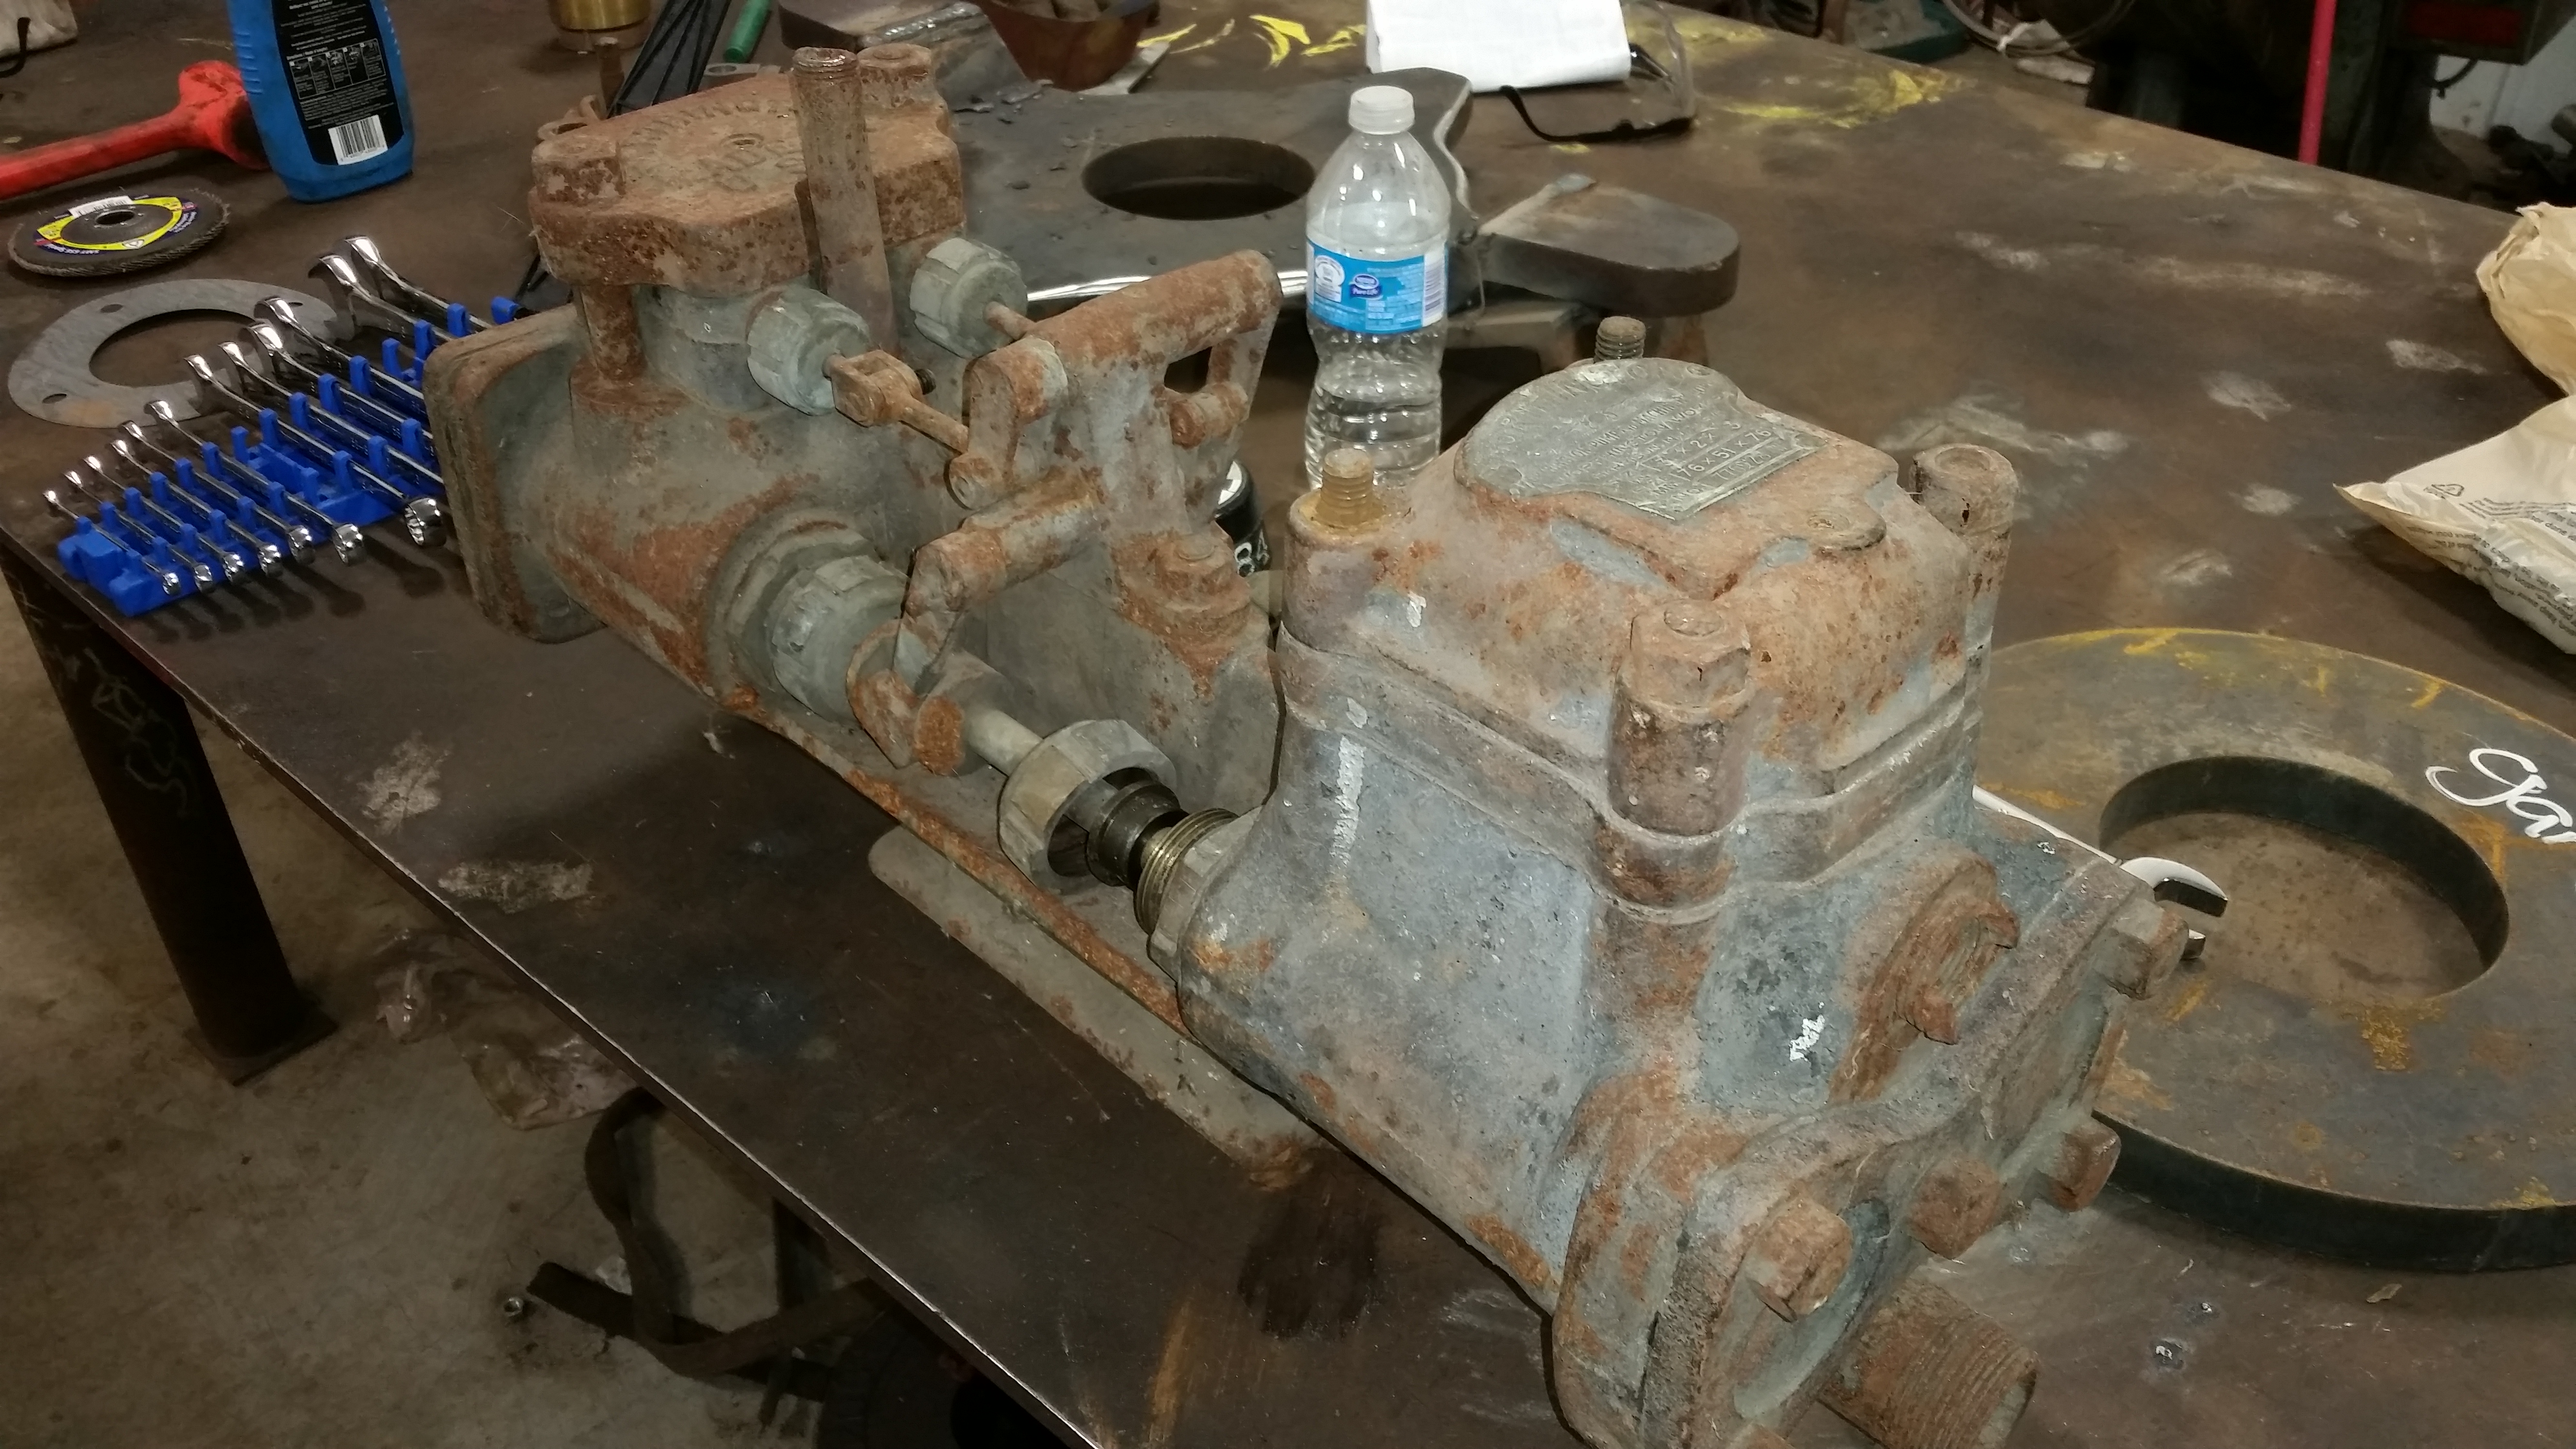
Back to the pump. Well, I thought I could do most of this on my own, but we found out why the pump looked like it hadn’t seen much use after a refresh. The bottom of one cylinder had been frozen and repaired, and the repair didn’t seal up.

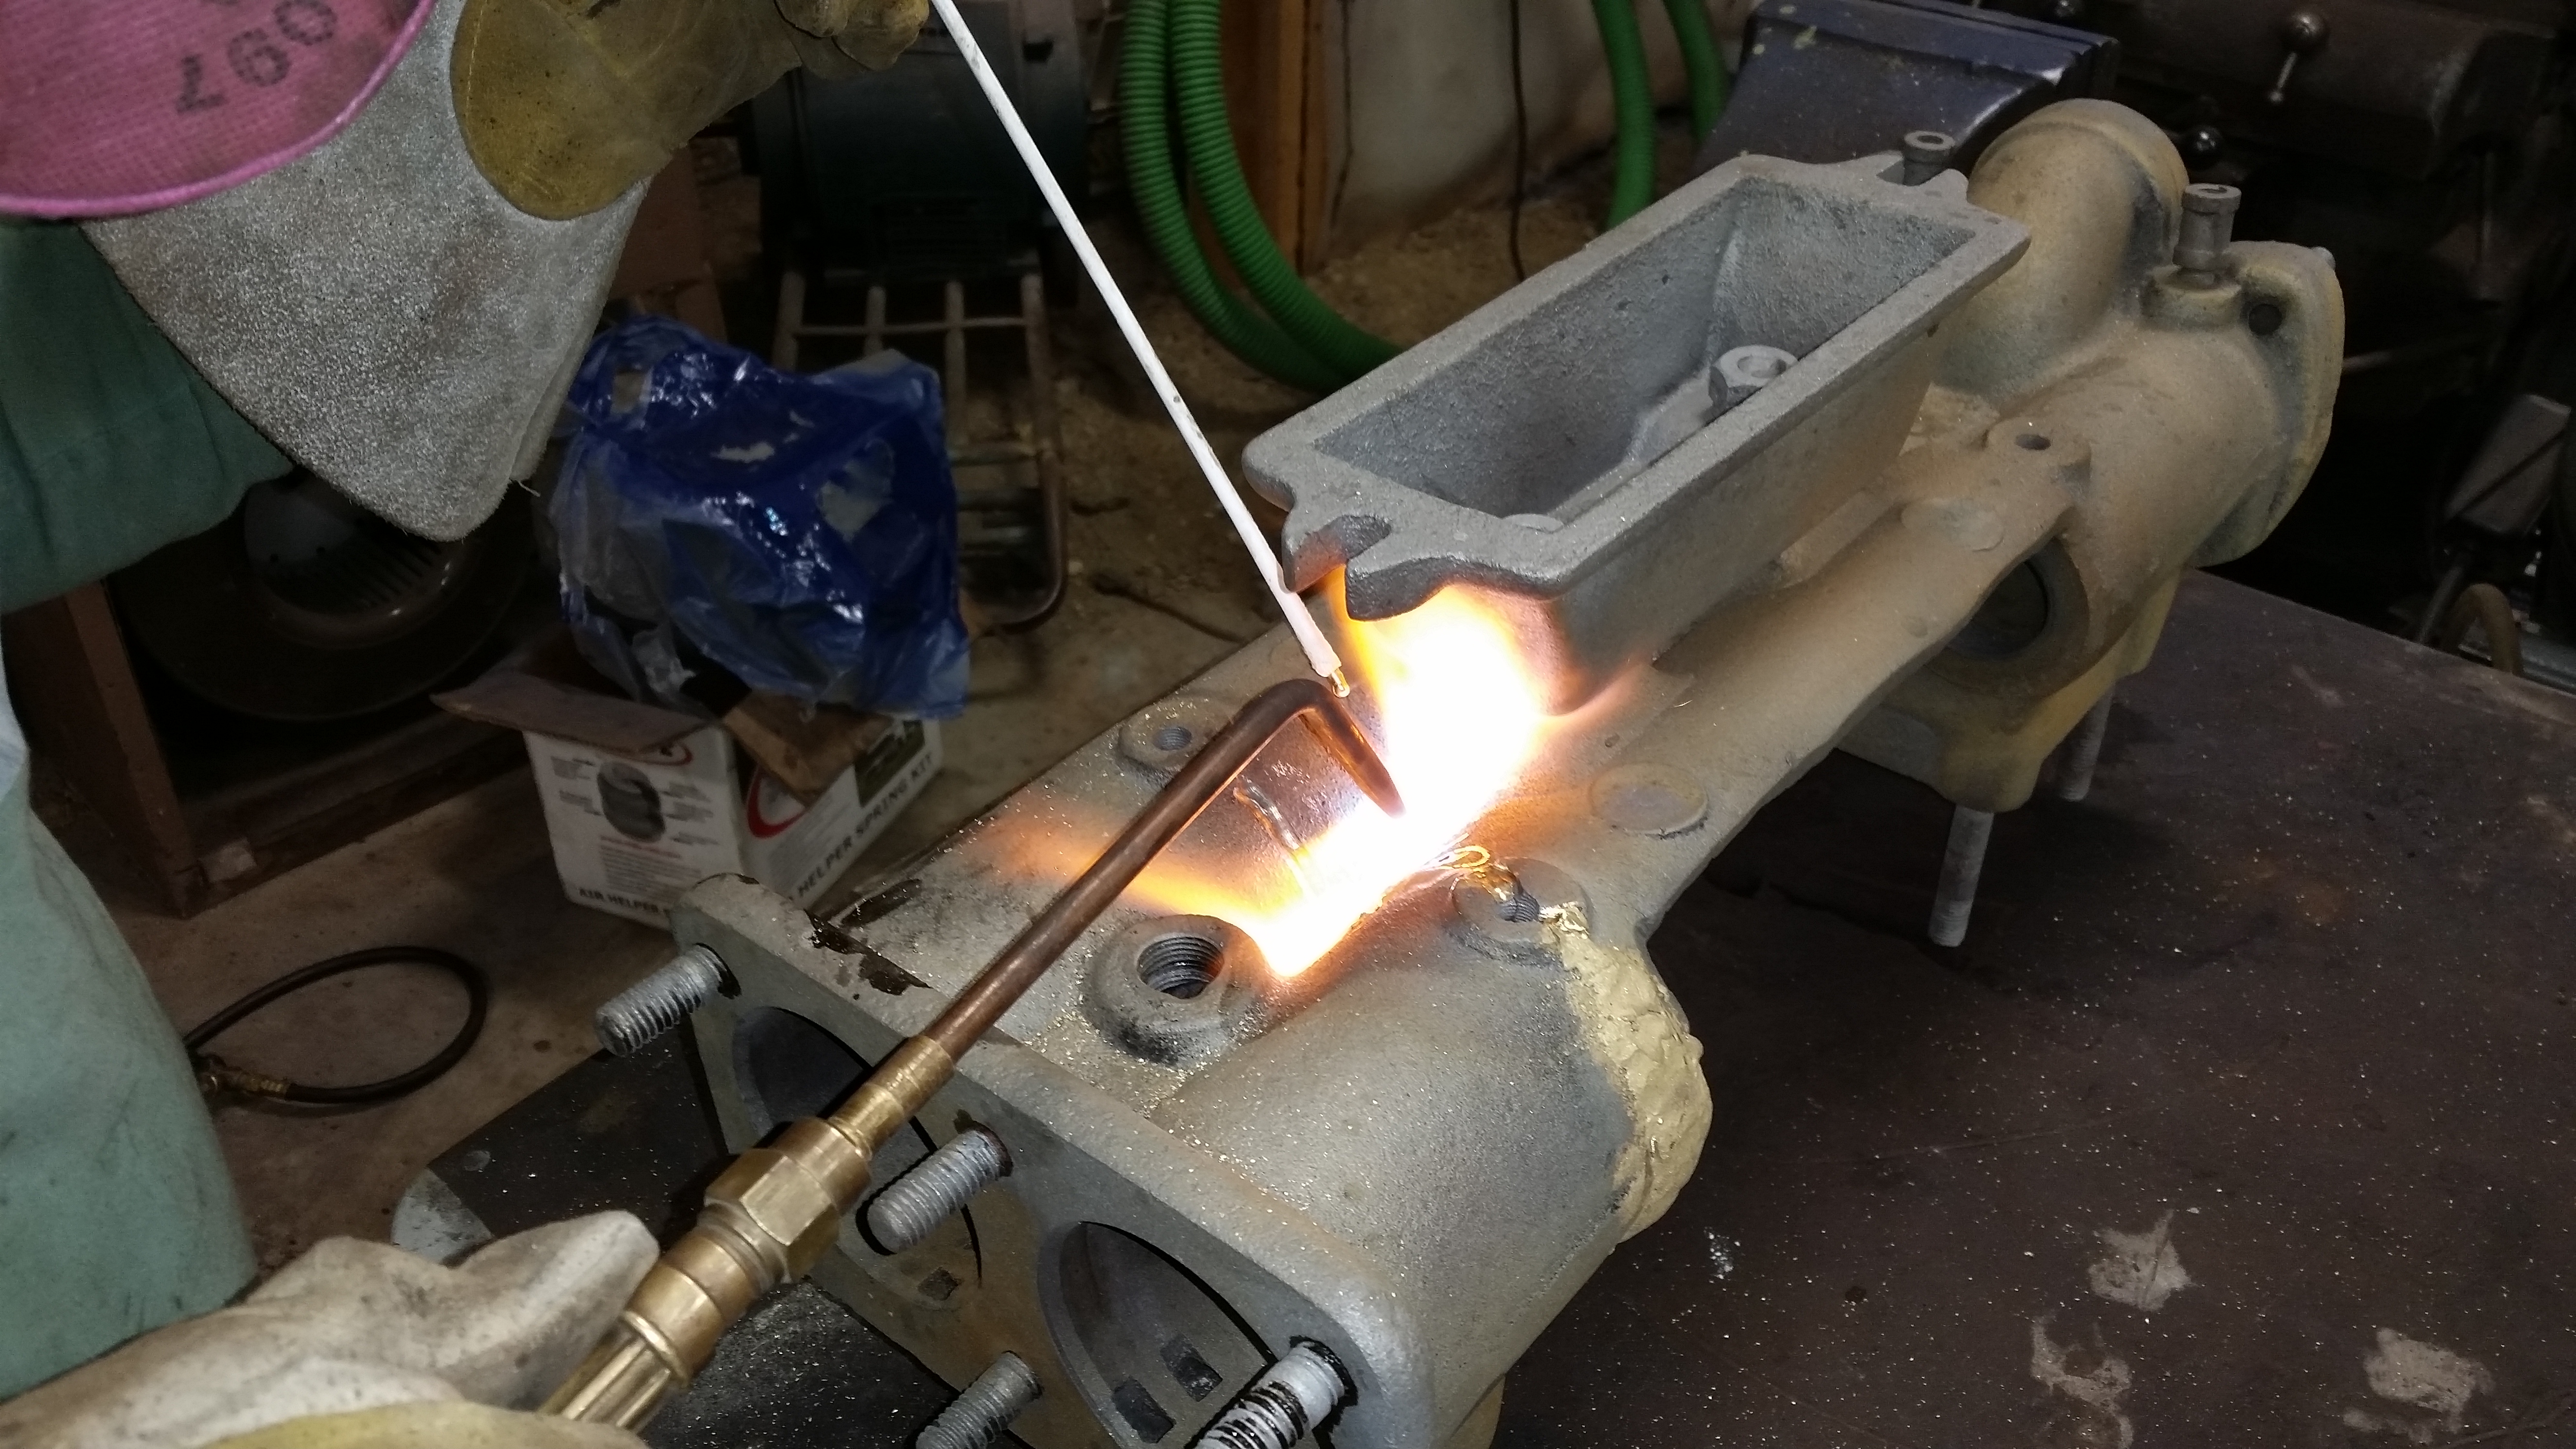
Nice work, I think it’s good now. I’m glad Garth took care of this, as I’m sure that I wouldn’t have been able to repair it properly.
December 1, 2014
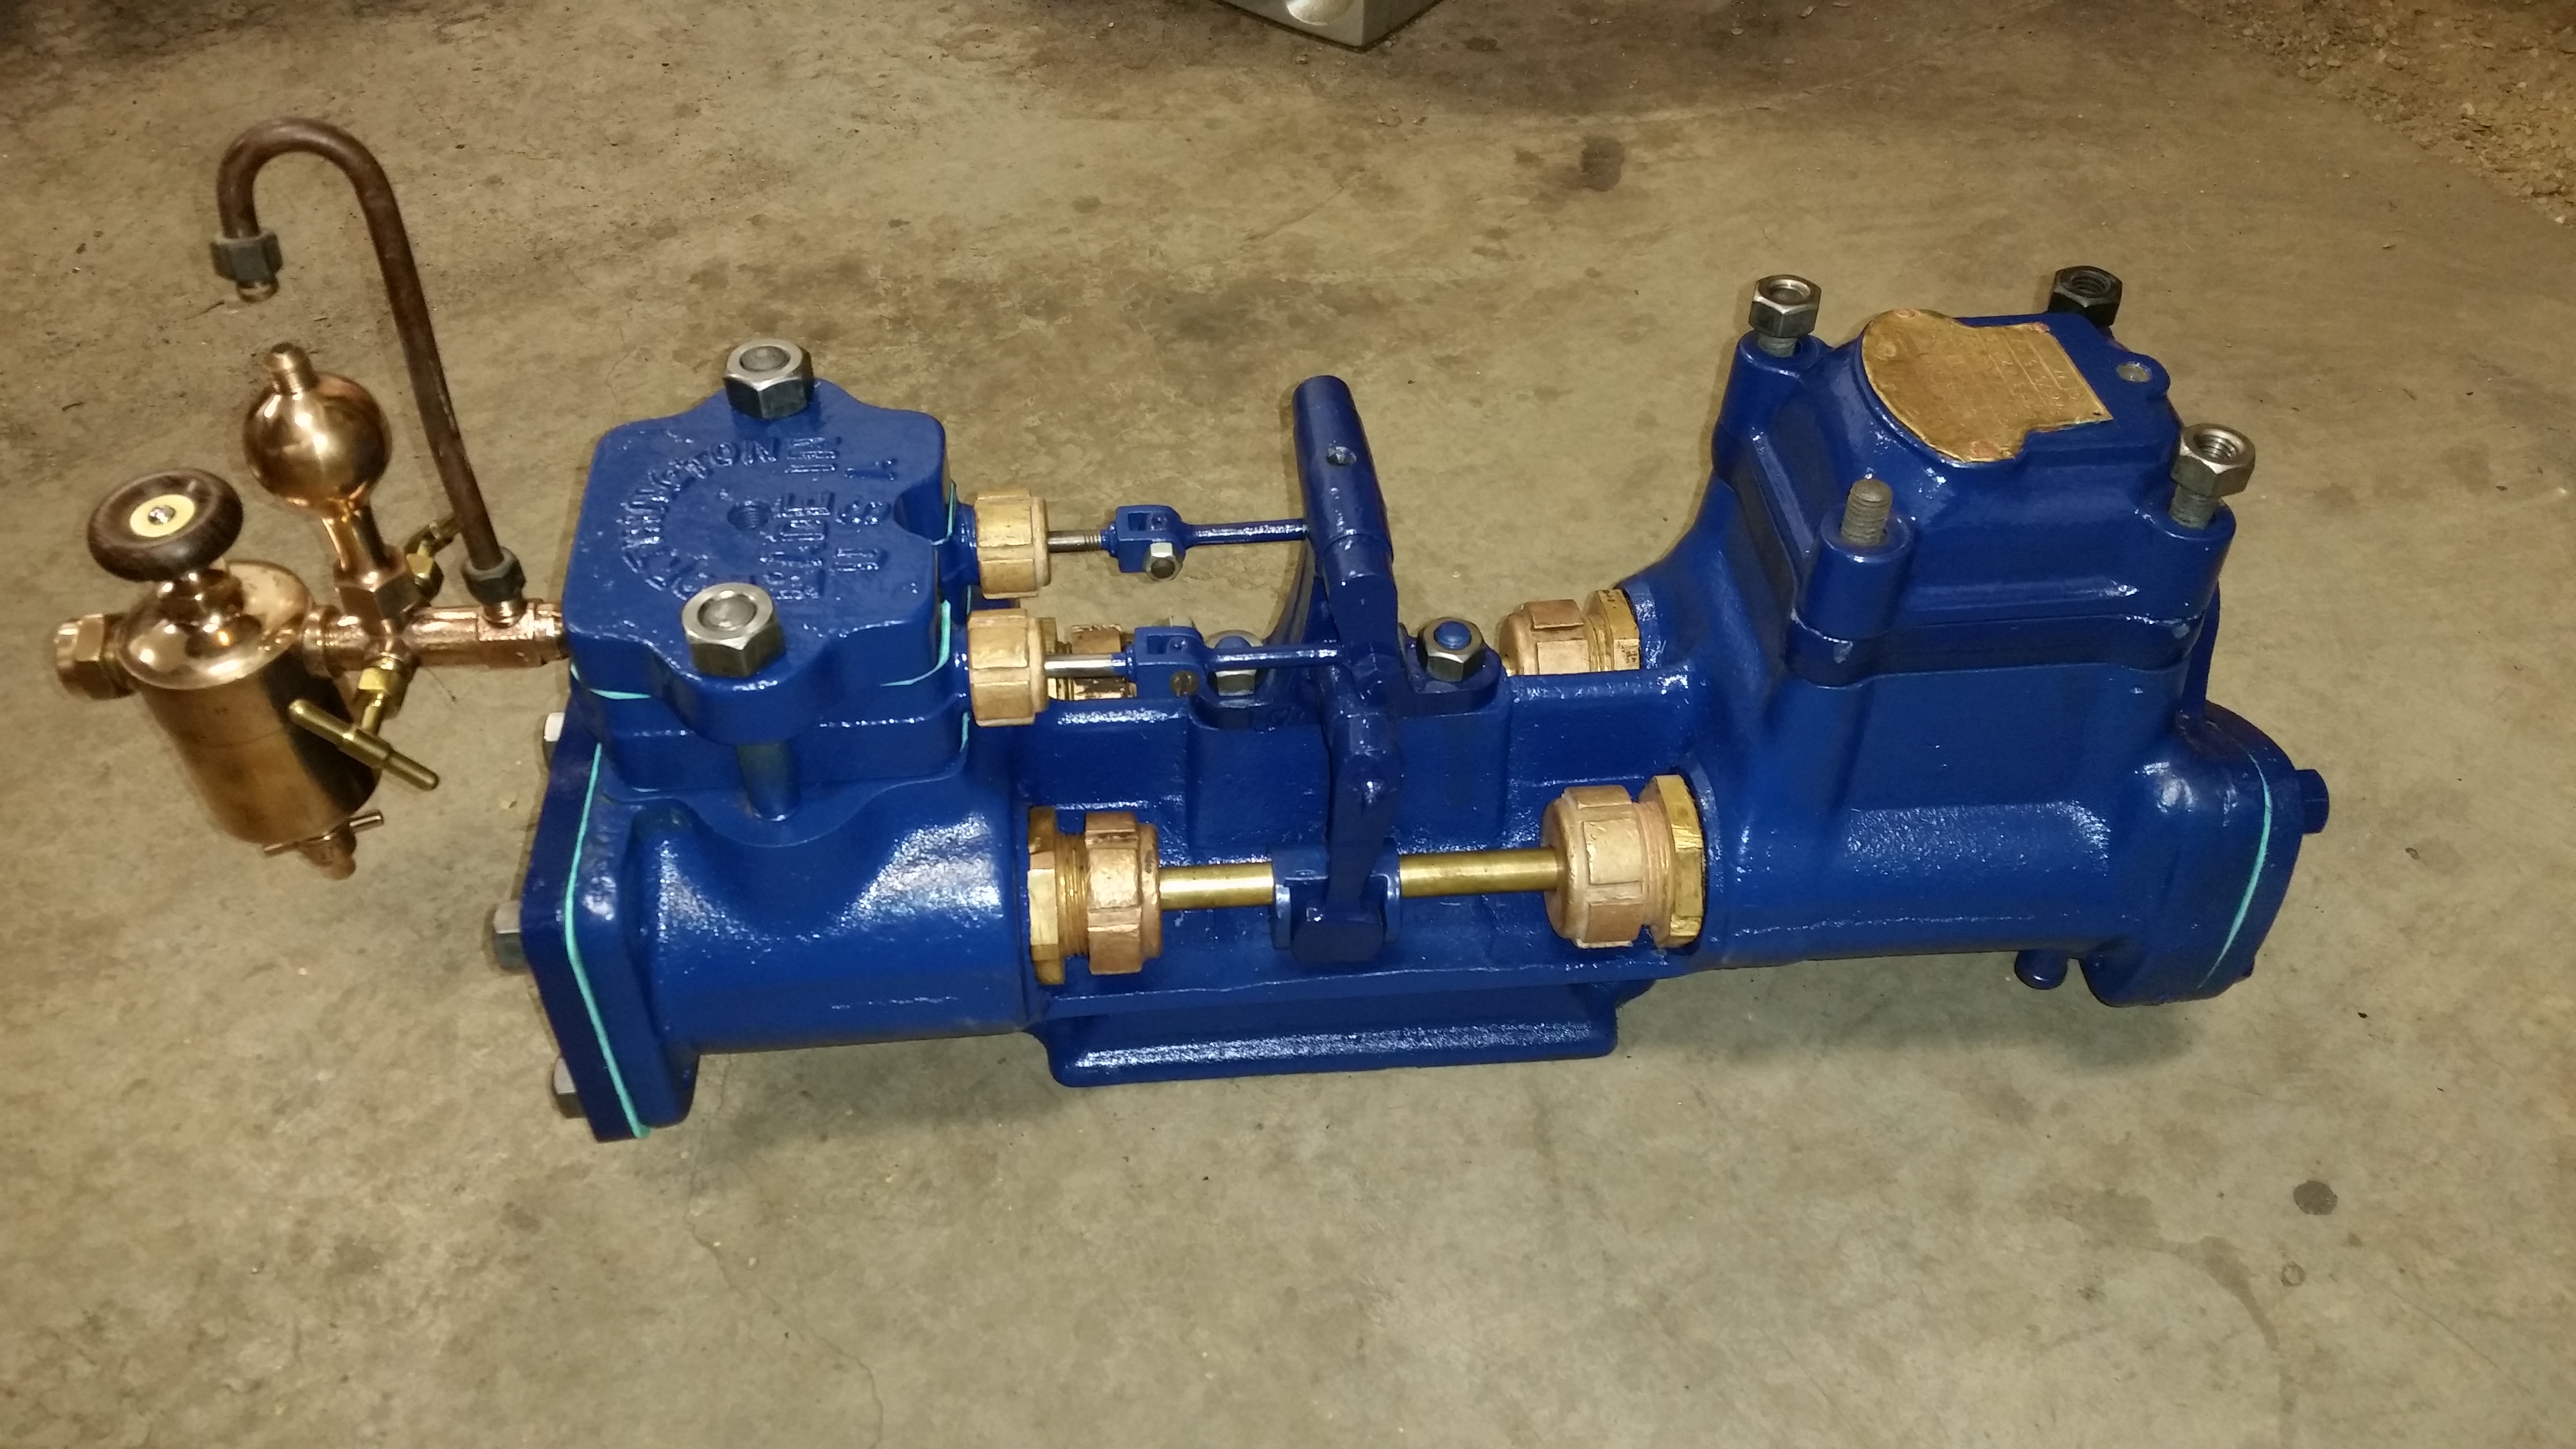
The pump is starting to go back together. I picked blue because my lubricator is blue. It should look nice offsetting the red, even if it isn’t correct.

December 4, 2014
More work on the pump.

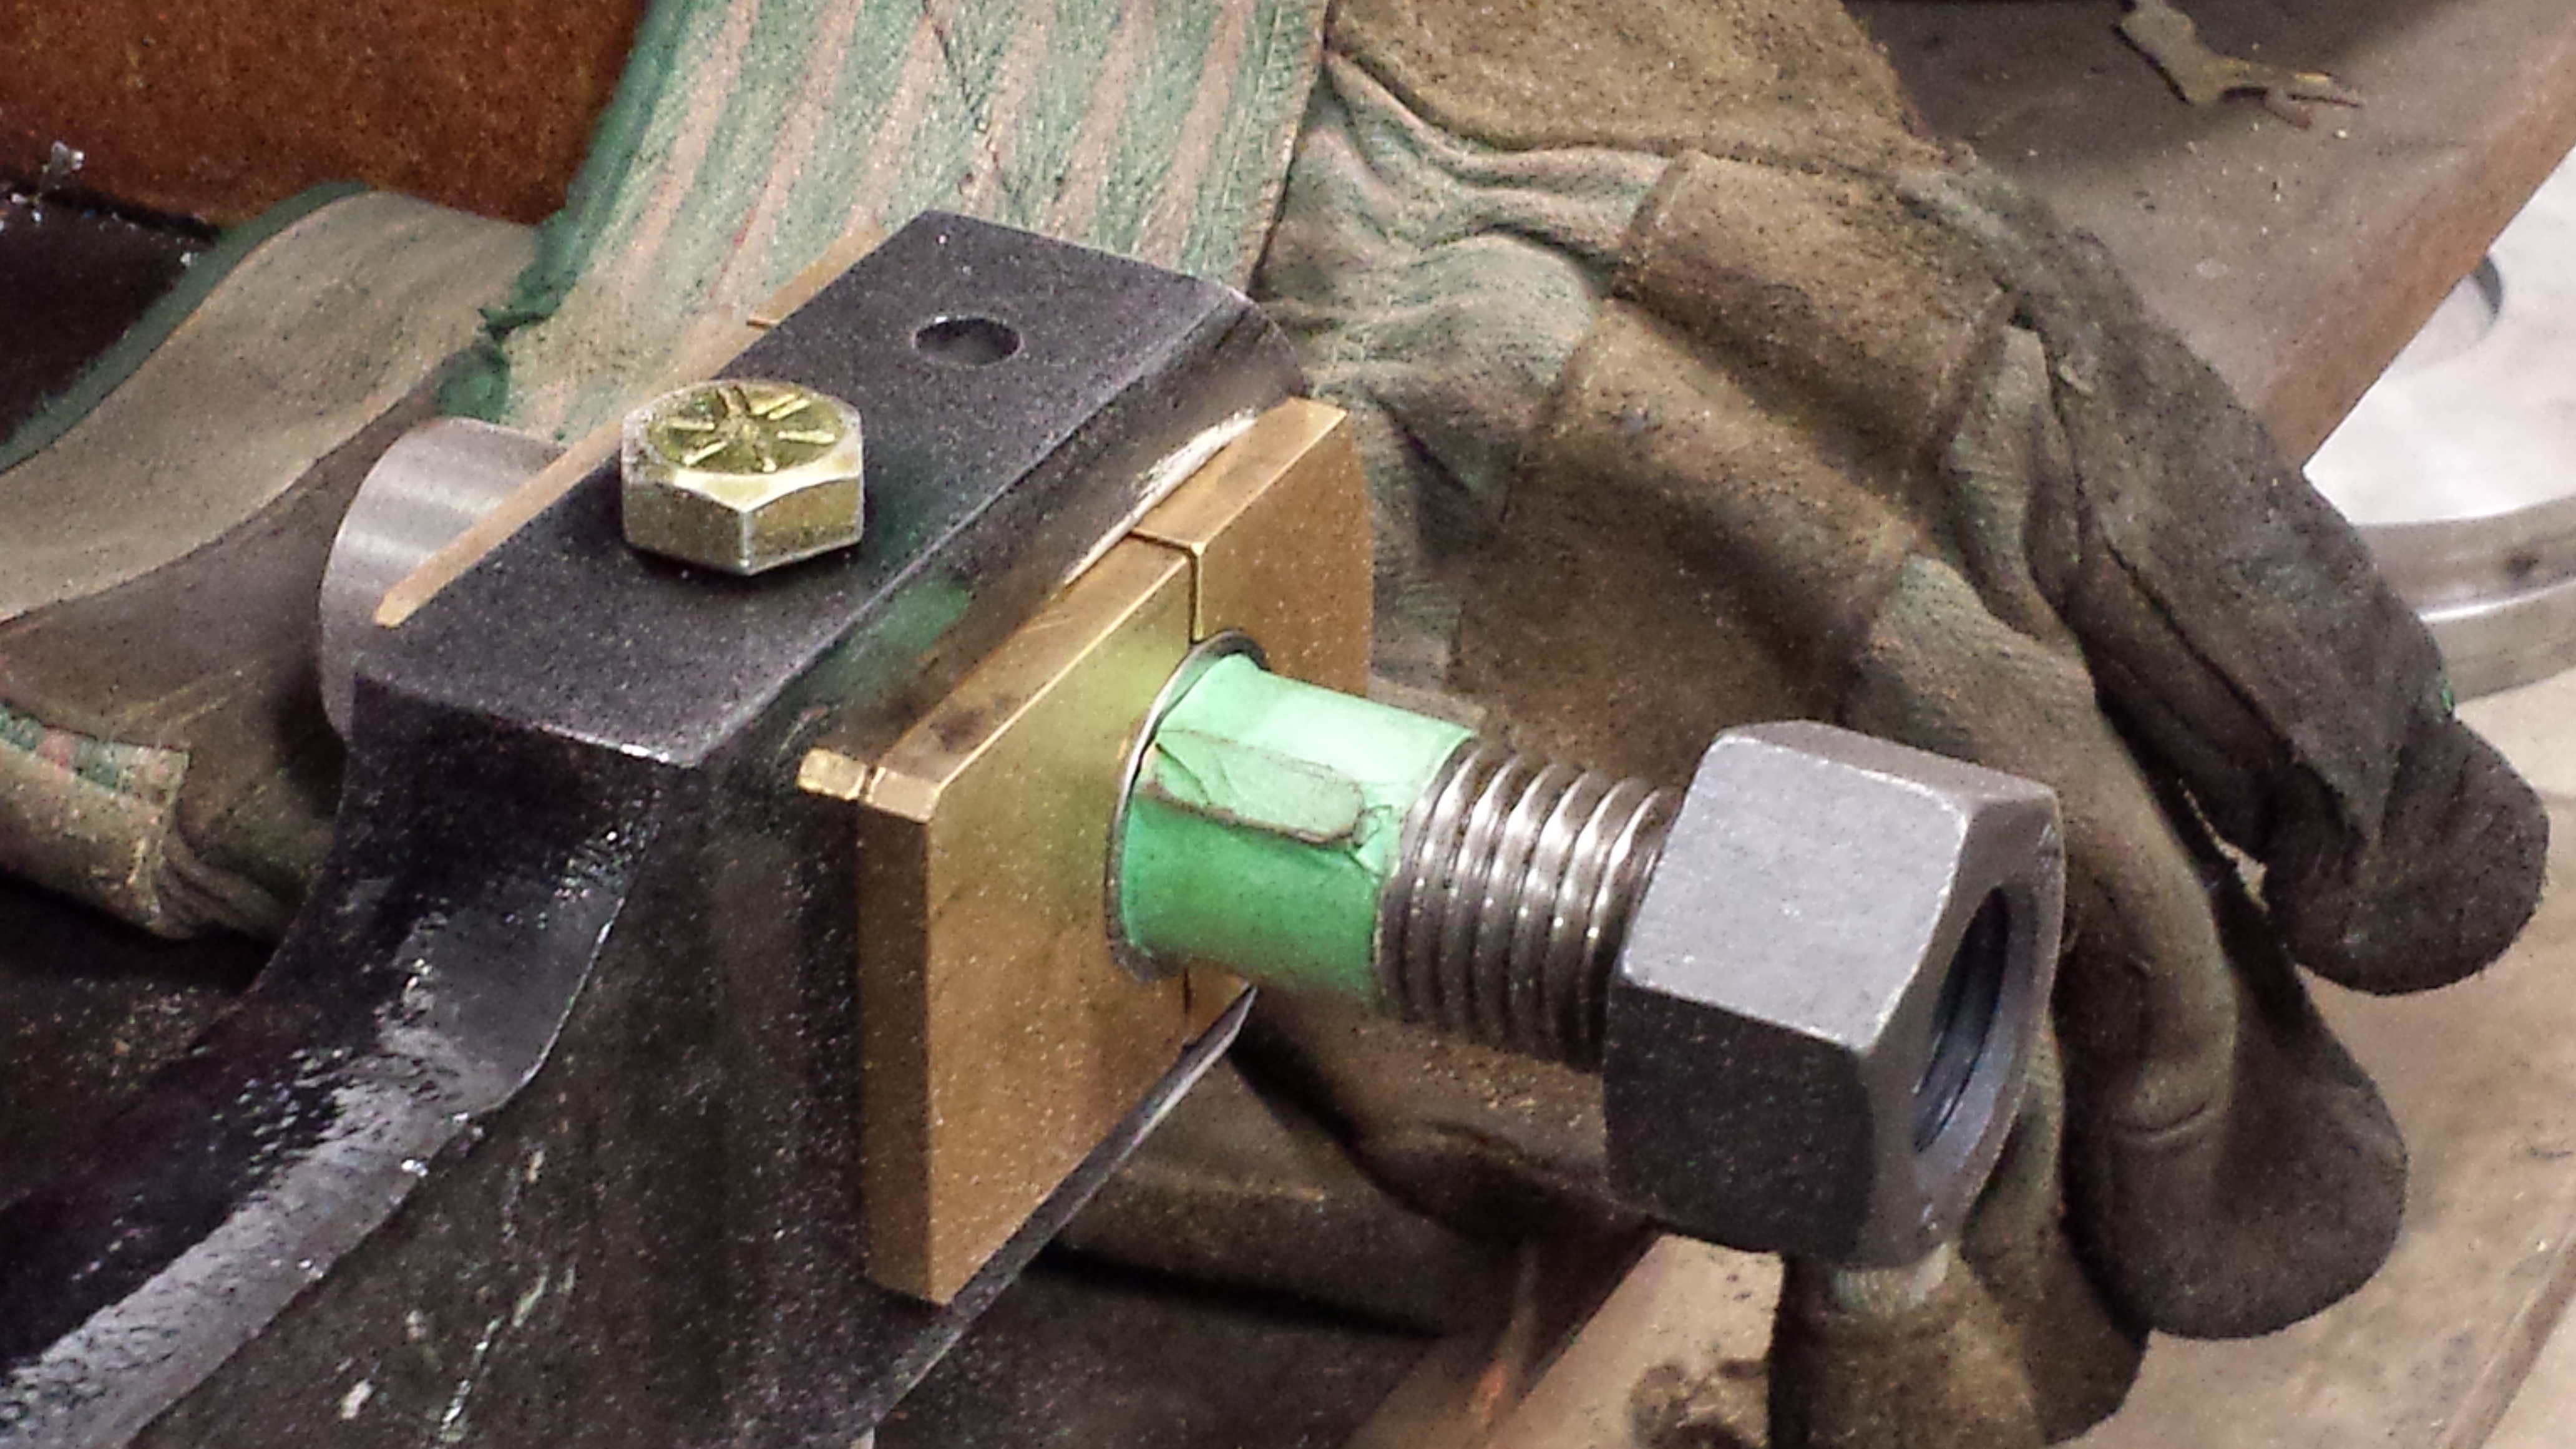
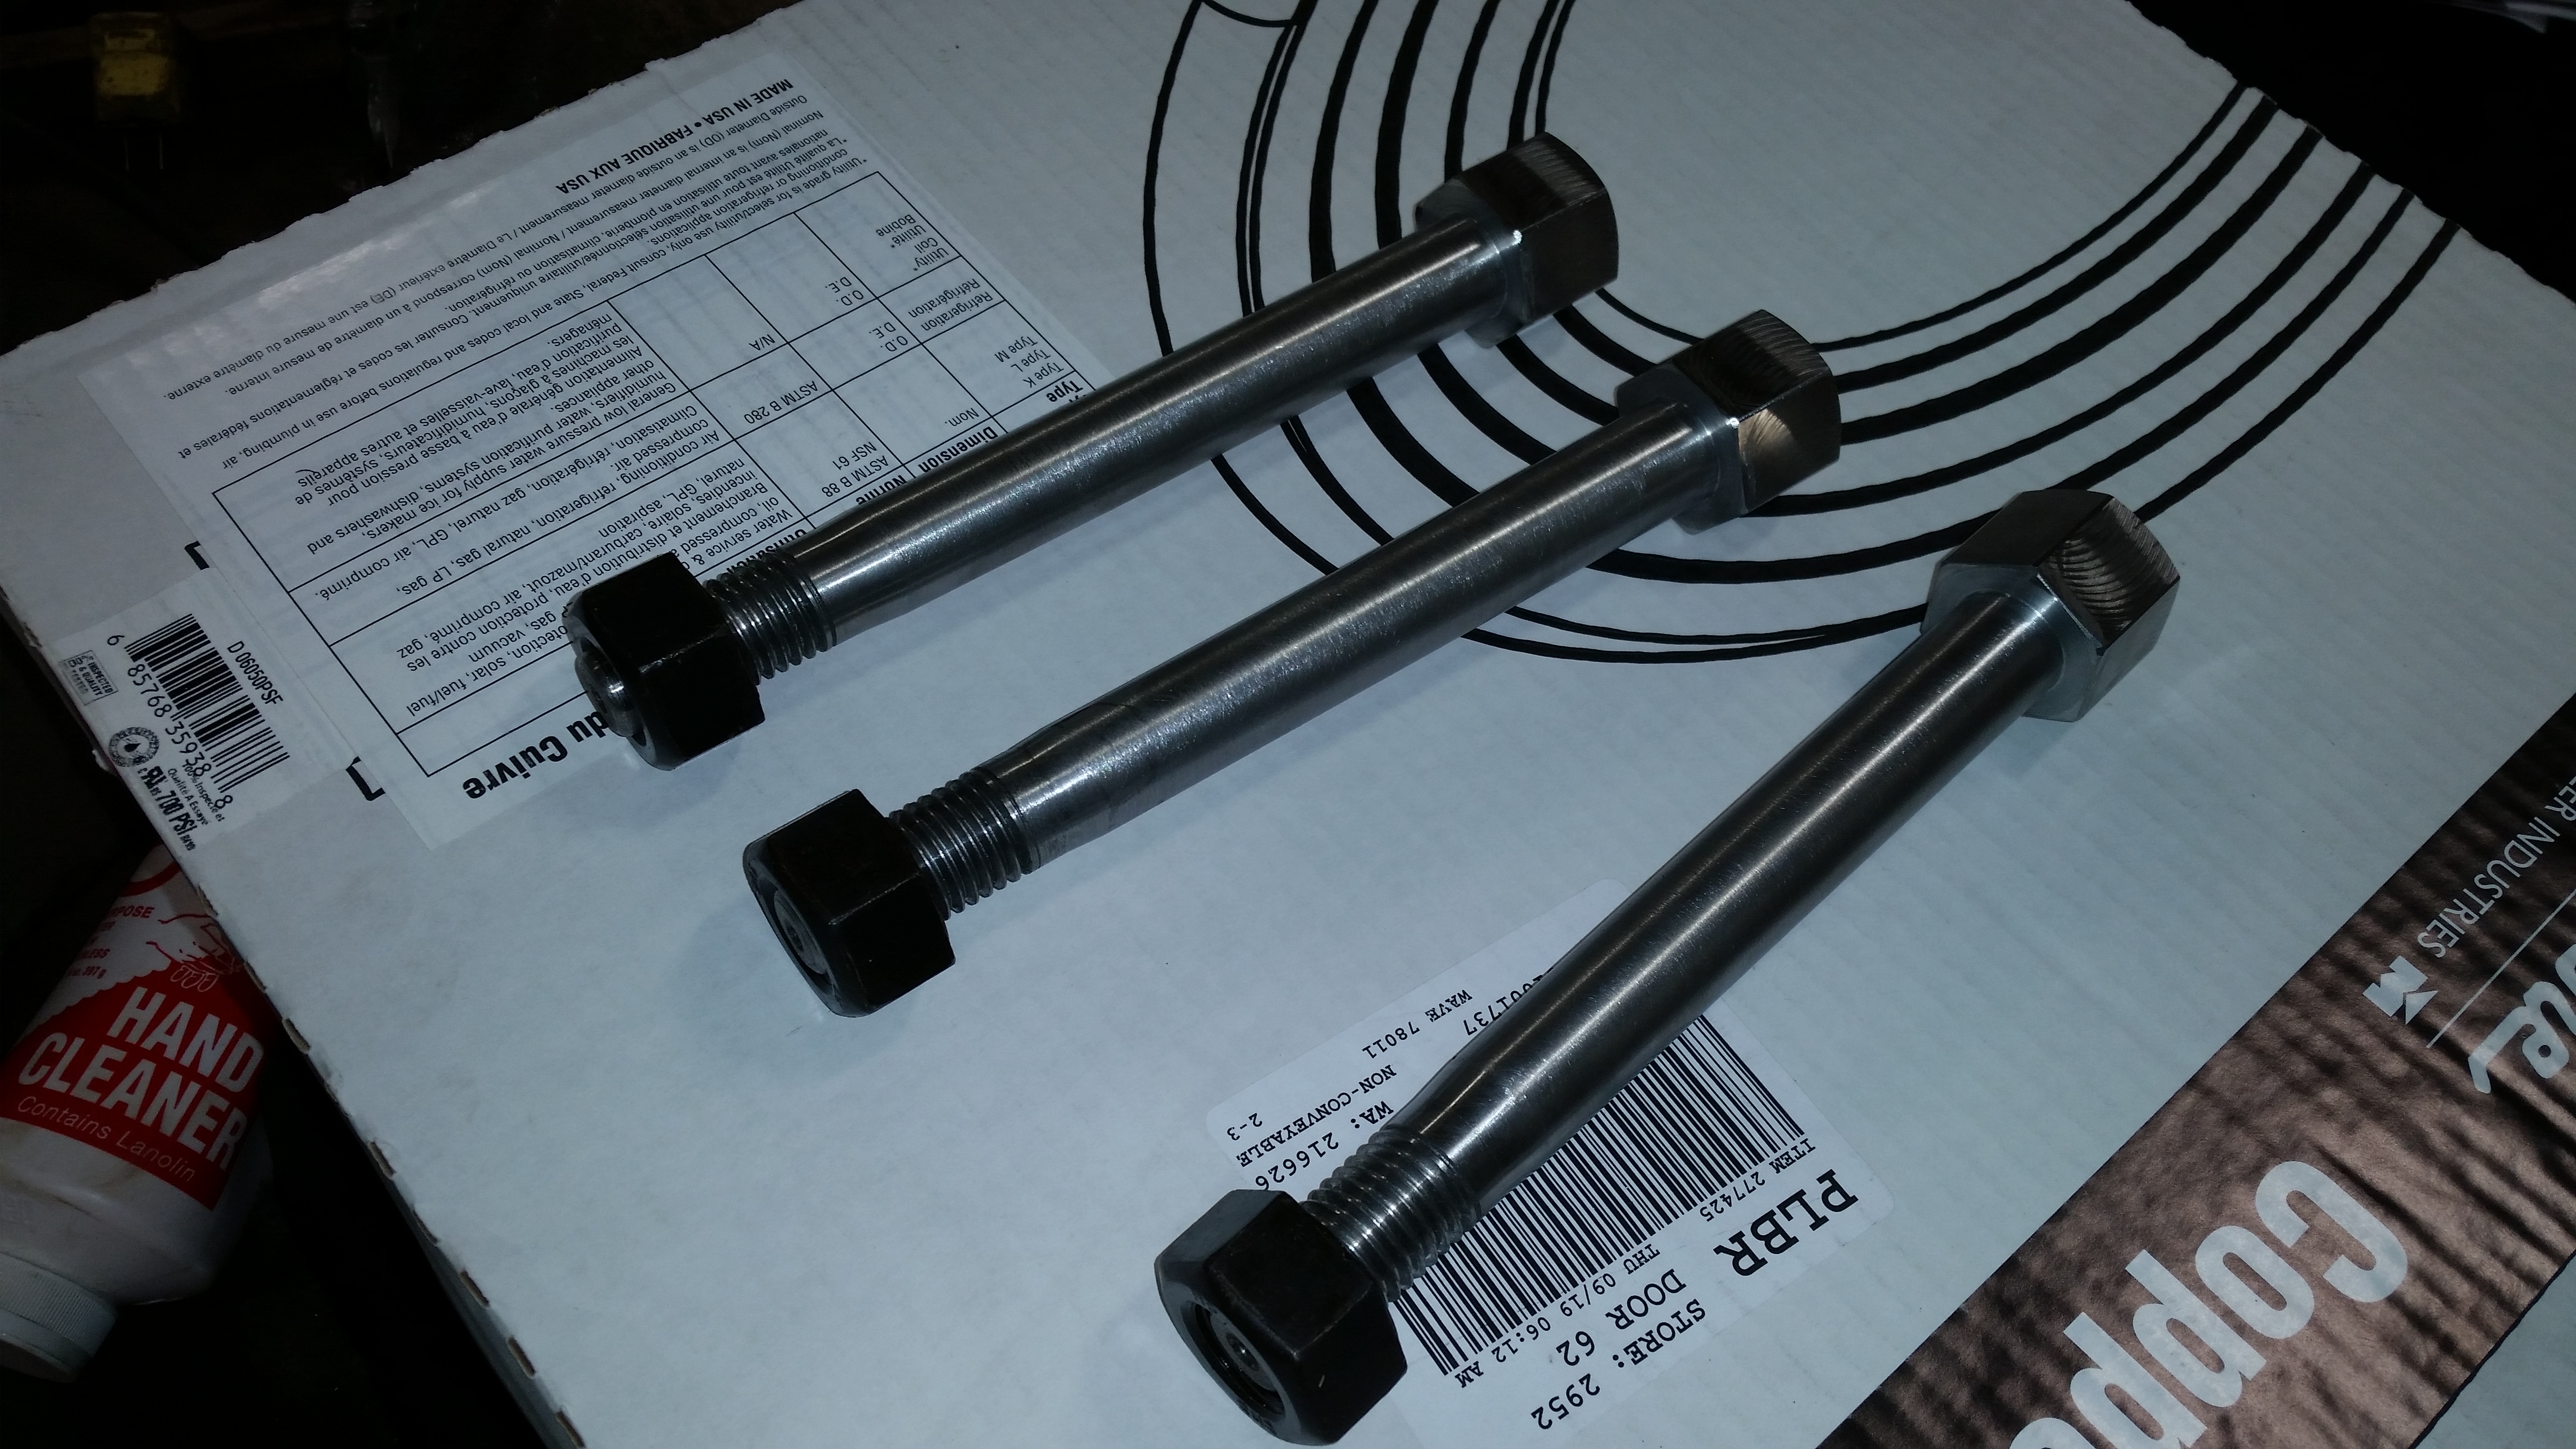
On the advice of Garth, I also had Norm make up some new bolts for the connecting rods. Everything else is done, so I think he’s right that it wouldn’t hurt to have new bolts here too. These bolts, however, have a taper to them. I had to send them to Norm, then he made one to trial fit (it fit perfectly), then he made the rest.
December 5, 2014
Pump completed! The hydrostatic lubricator is from Bernard. It runs pretty nice on air too.
Garth had to straighten one of the piston rods, it was slightly tweaked. We noticed this on a few first trials because it wouldn’t run evenly (or even push evenly by hand) through the stroke. He spun it on the lathe to see where it was out and worked from there. It’s good to go now!
December 7, 2014
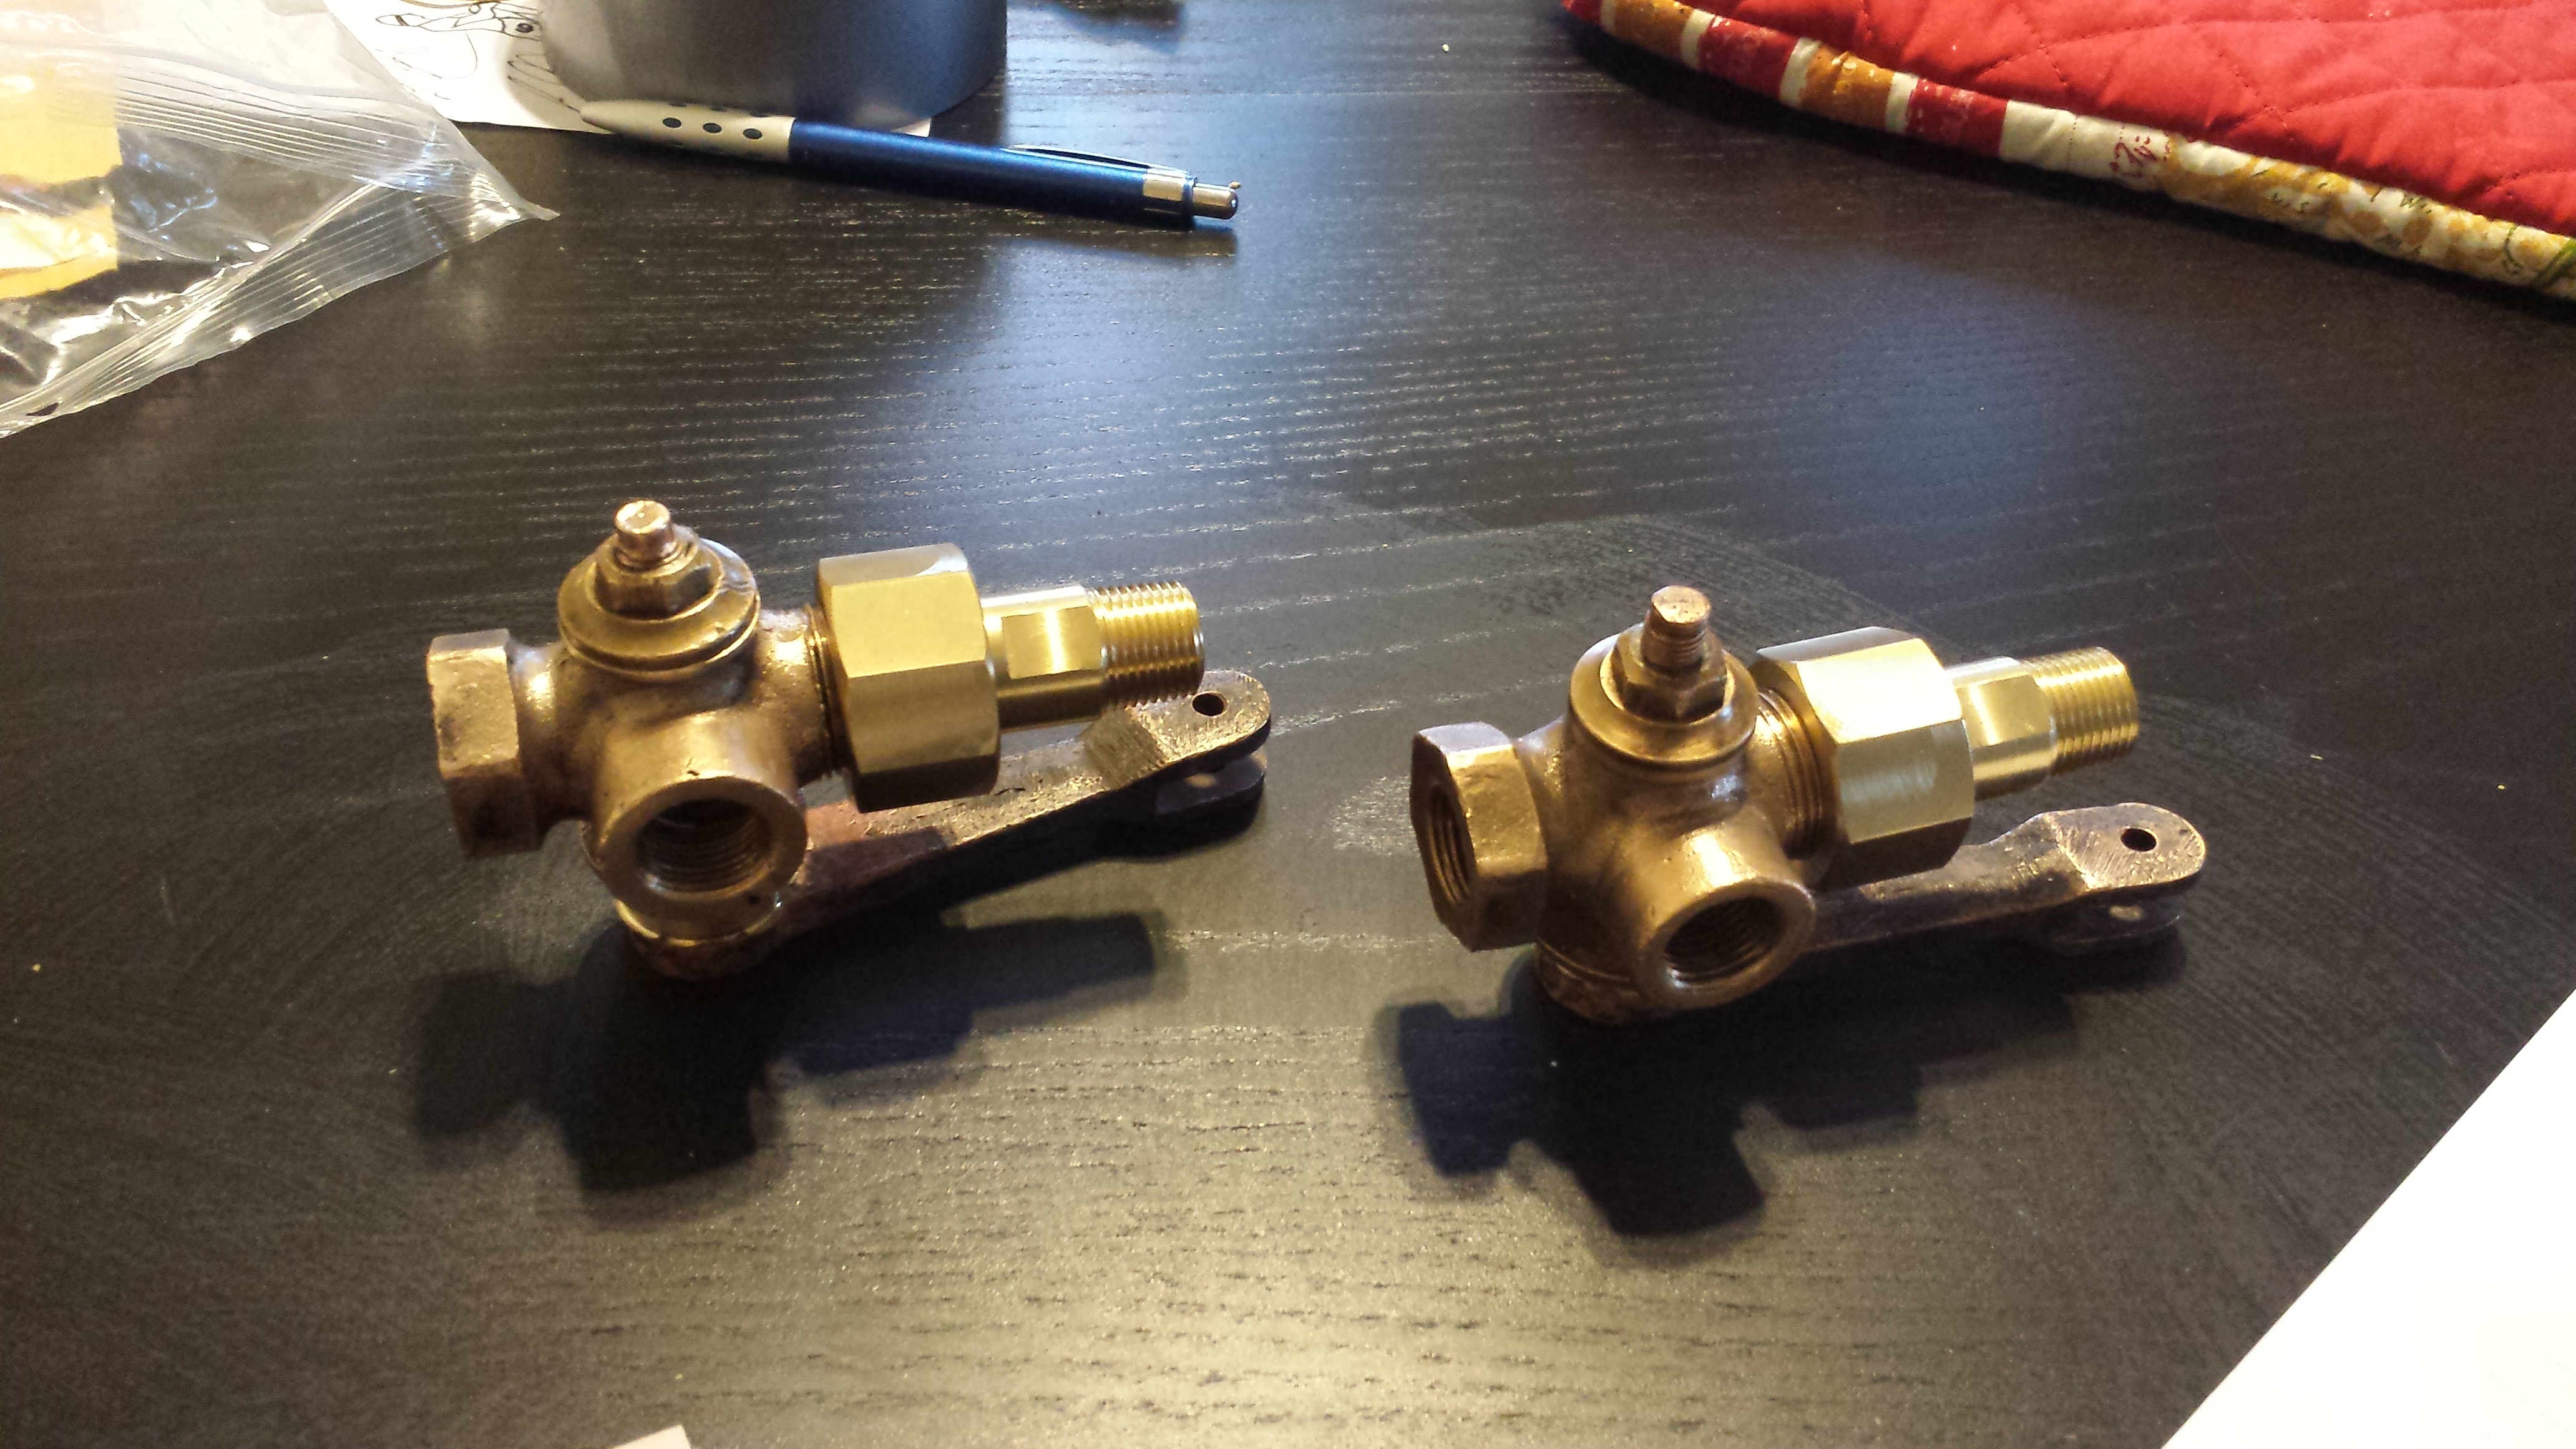
I’m not sure what’s correct for lubricator plumbing on the motor, but Bob supplied the 3 feed lubricator and there’s only so many places that I can supply lubrication to it. So you can see what’s been done here. The extra check valves are just to make sure steam won’t return to the lubricator. Between these, and the check’s built into the pump, I think we’re fine.

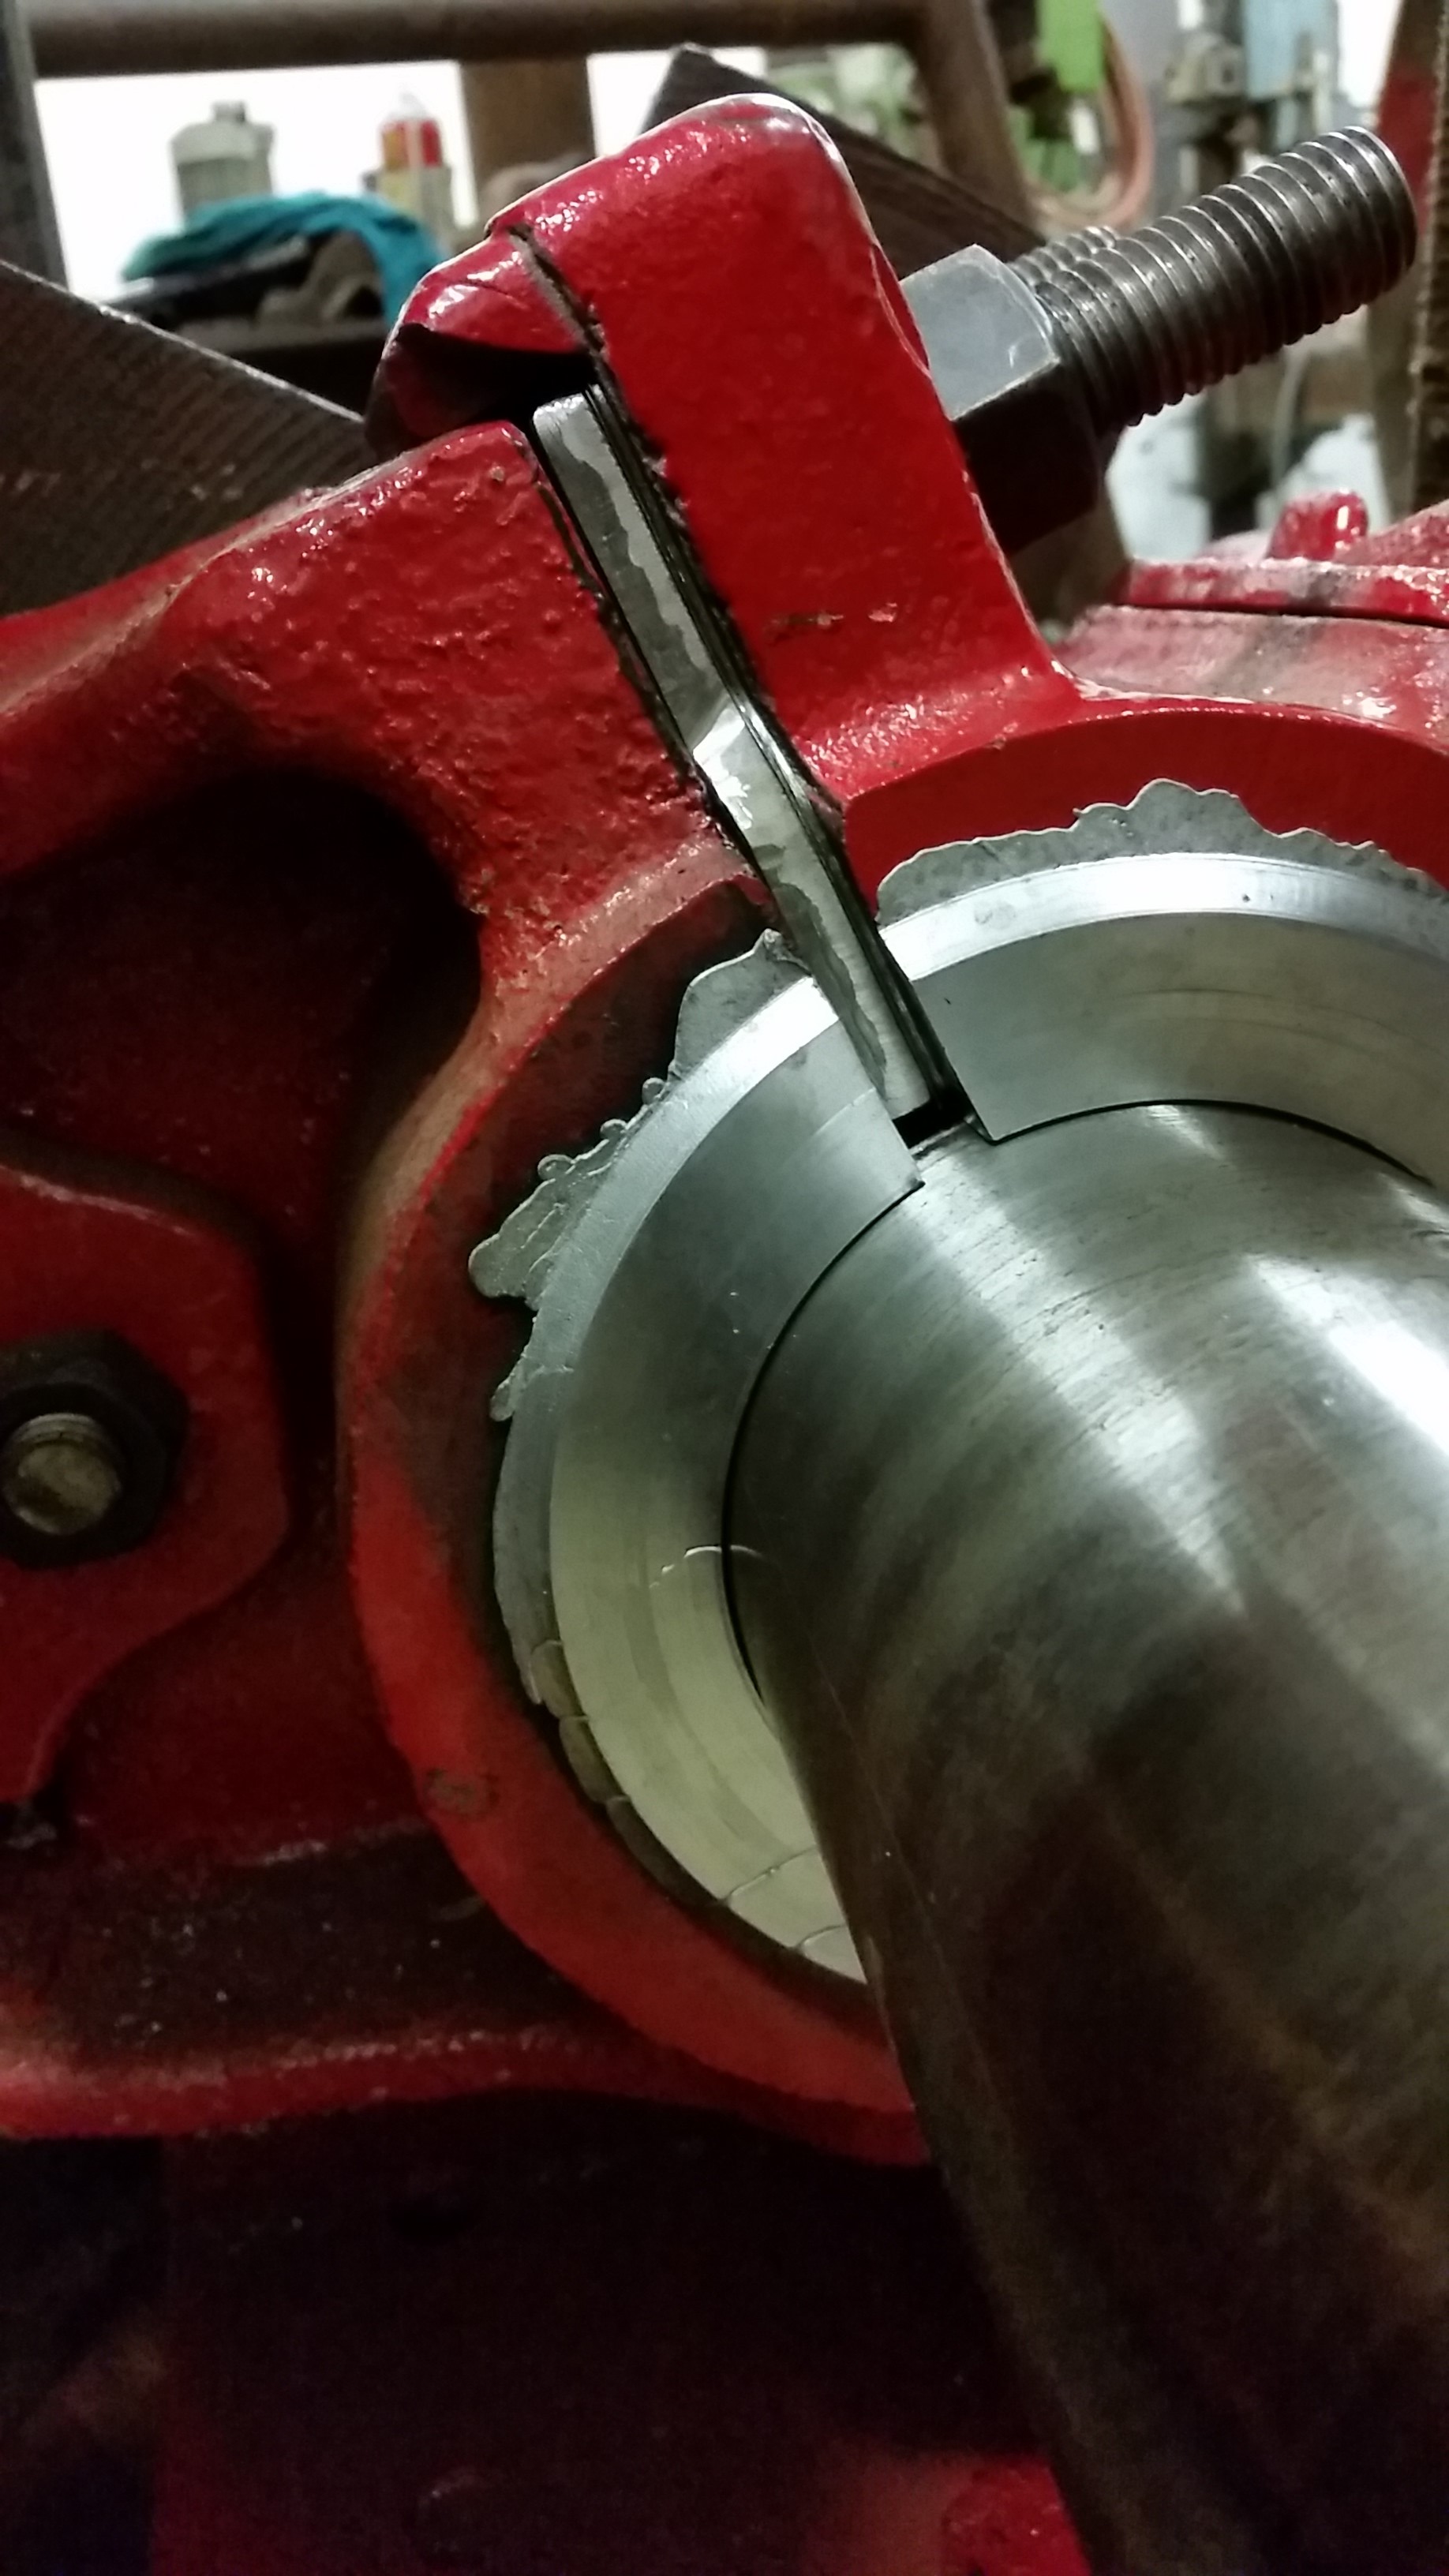
It’s also the day before my birthday and without Garth realizing that, he decided it was time to linebore the main bearings. 🙂
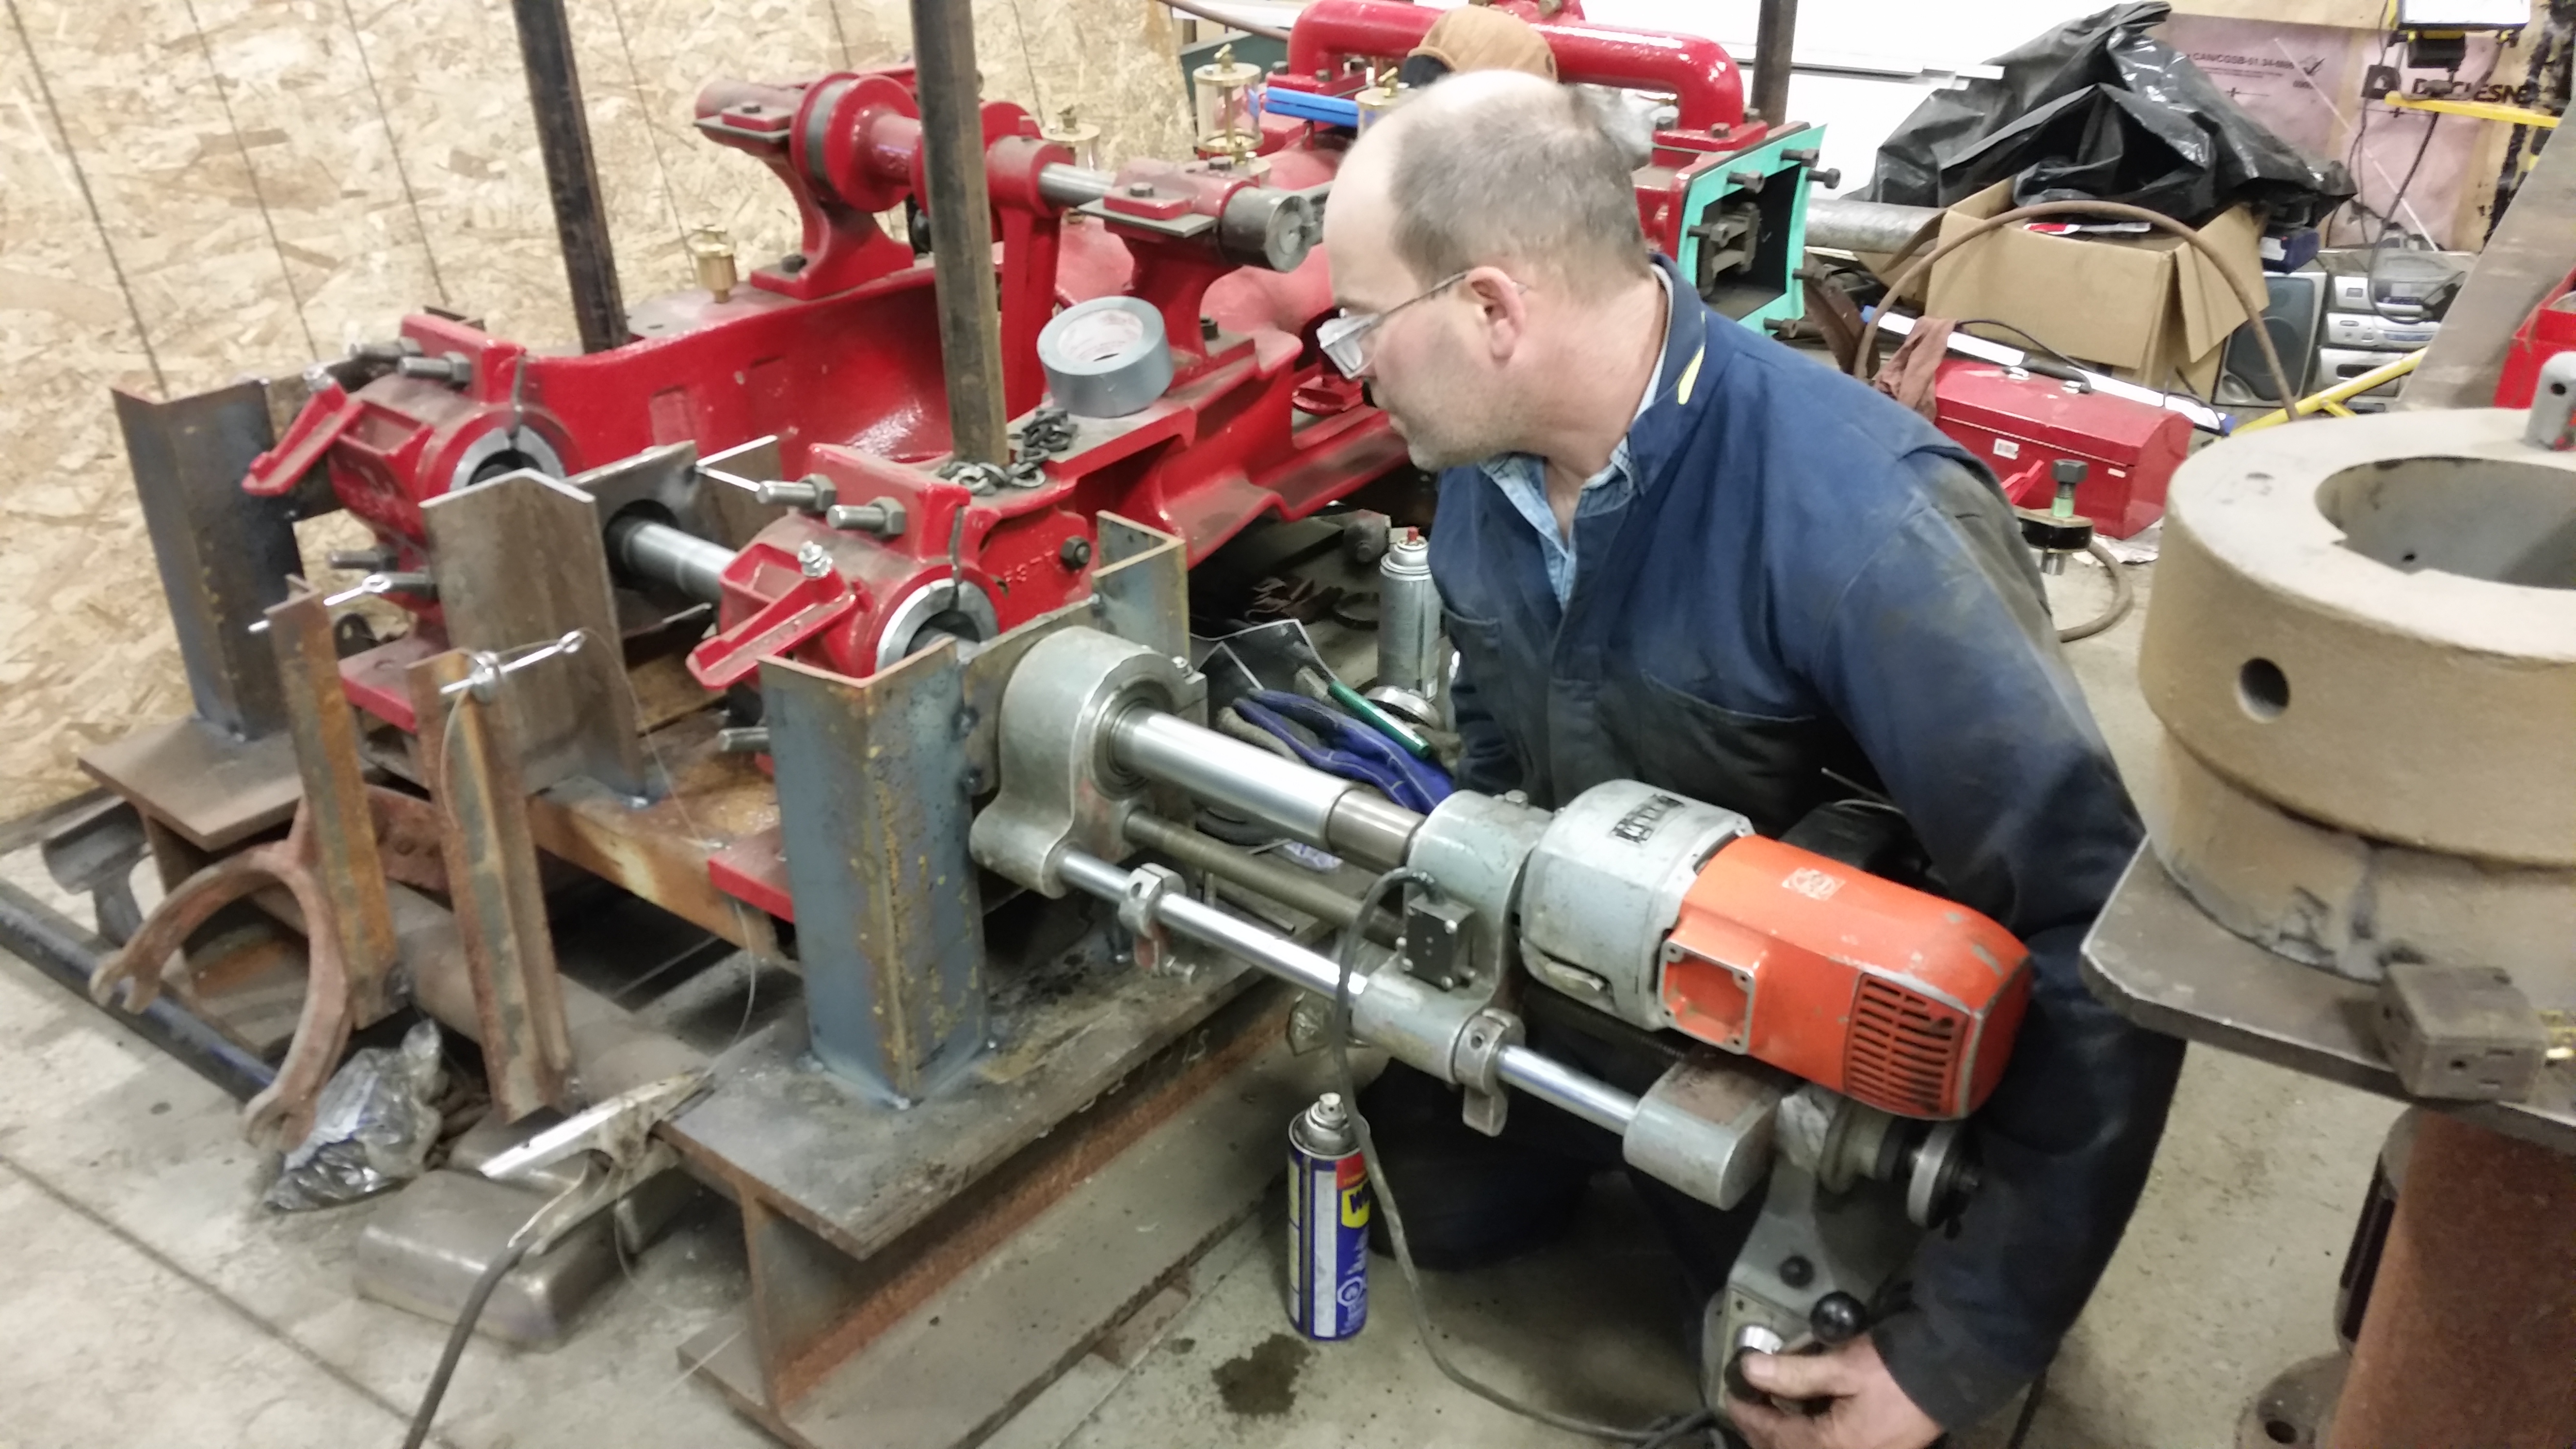
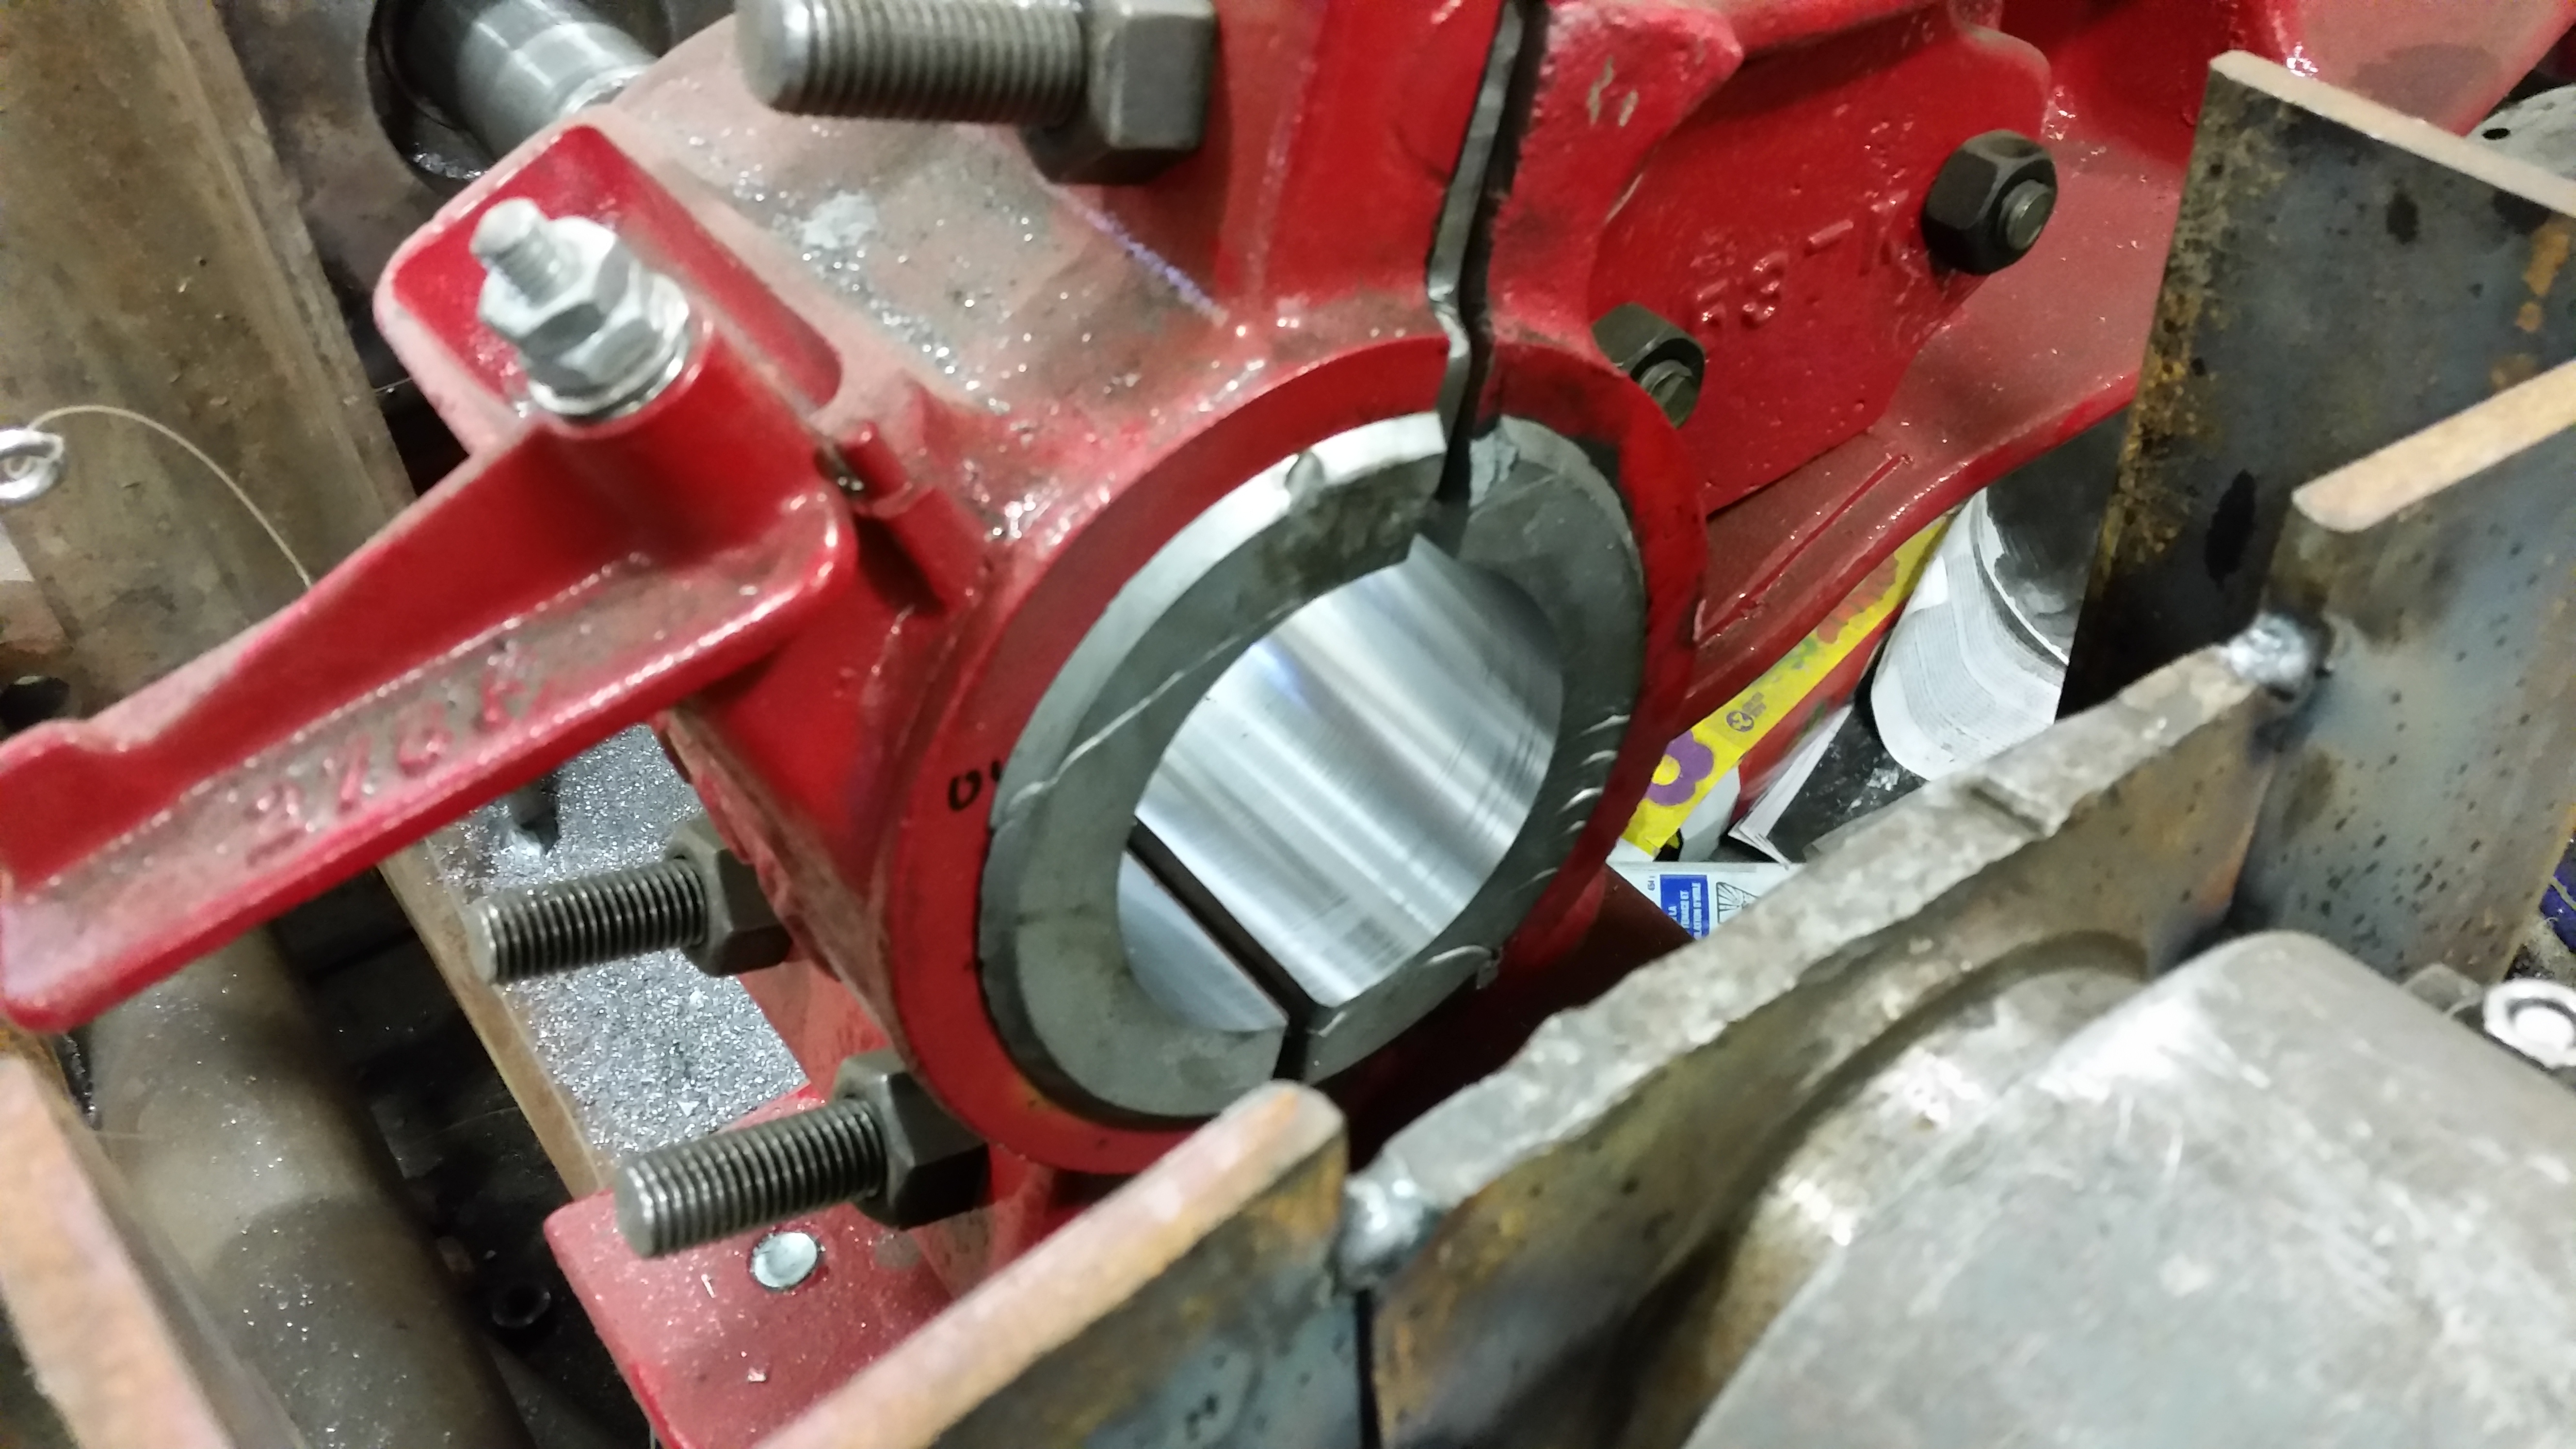
It’s sure nice to see a perfect bearing here, rather than pouring and scraping it in. We have a good clean and even surface, with exactly clearances now.
February 1, 2015
Ryan has finally finished off the eccentrics for this motor!
March 12, 2015
Zach and Frank are busy working on the governor, and slowly making headway. Not only was it completely seized up, with broken springs, but the speed ranger was also completely worn out to the point where Frank wasn’t comfortable repairing. Thanks to Murray for supplying the replacement parts.
March 15, 2015
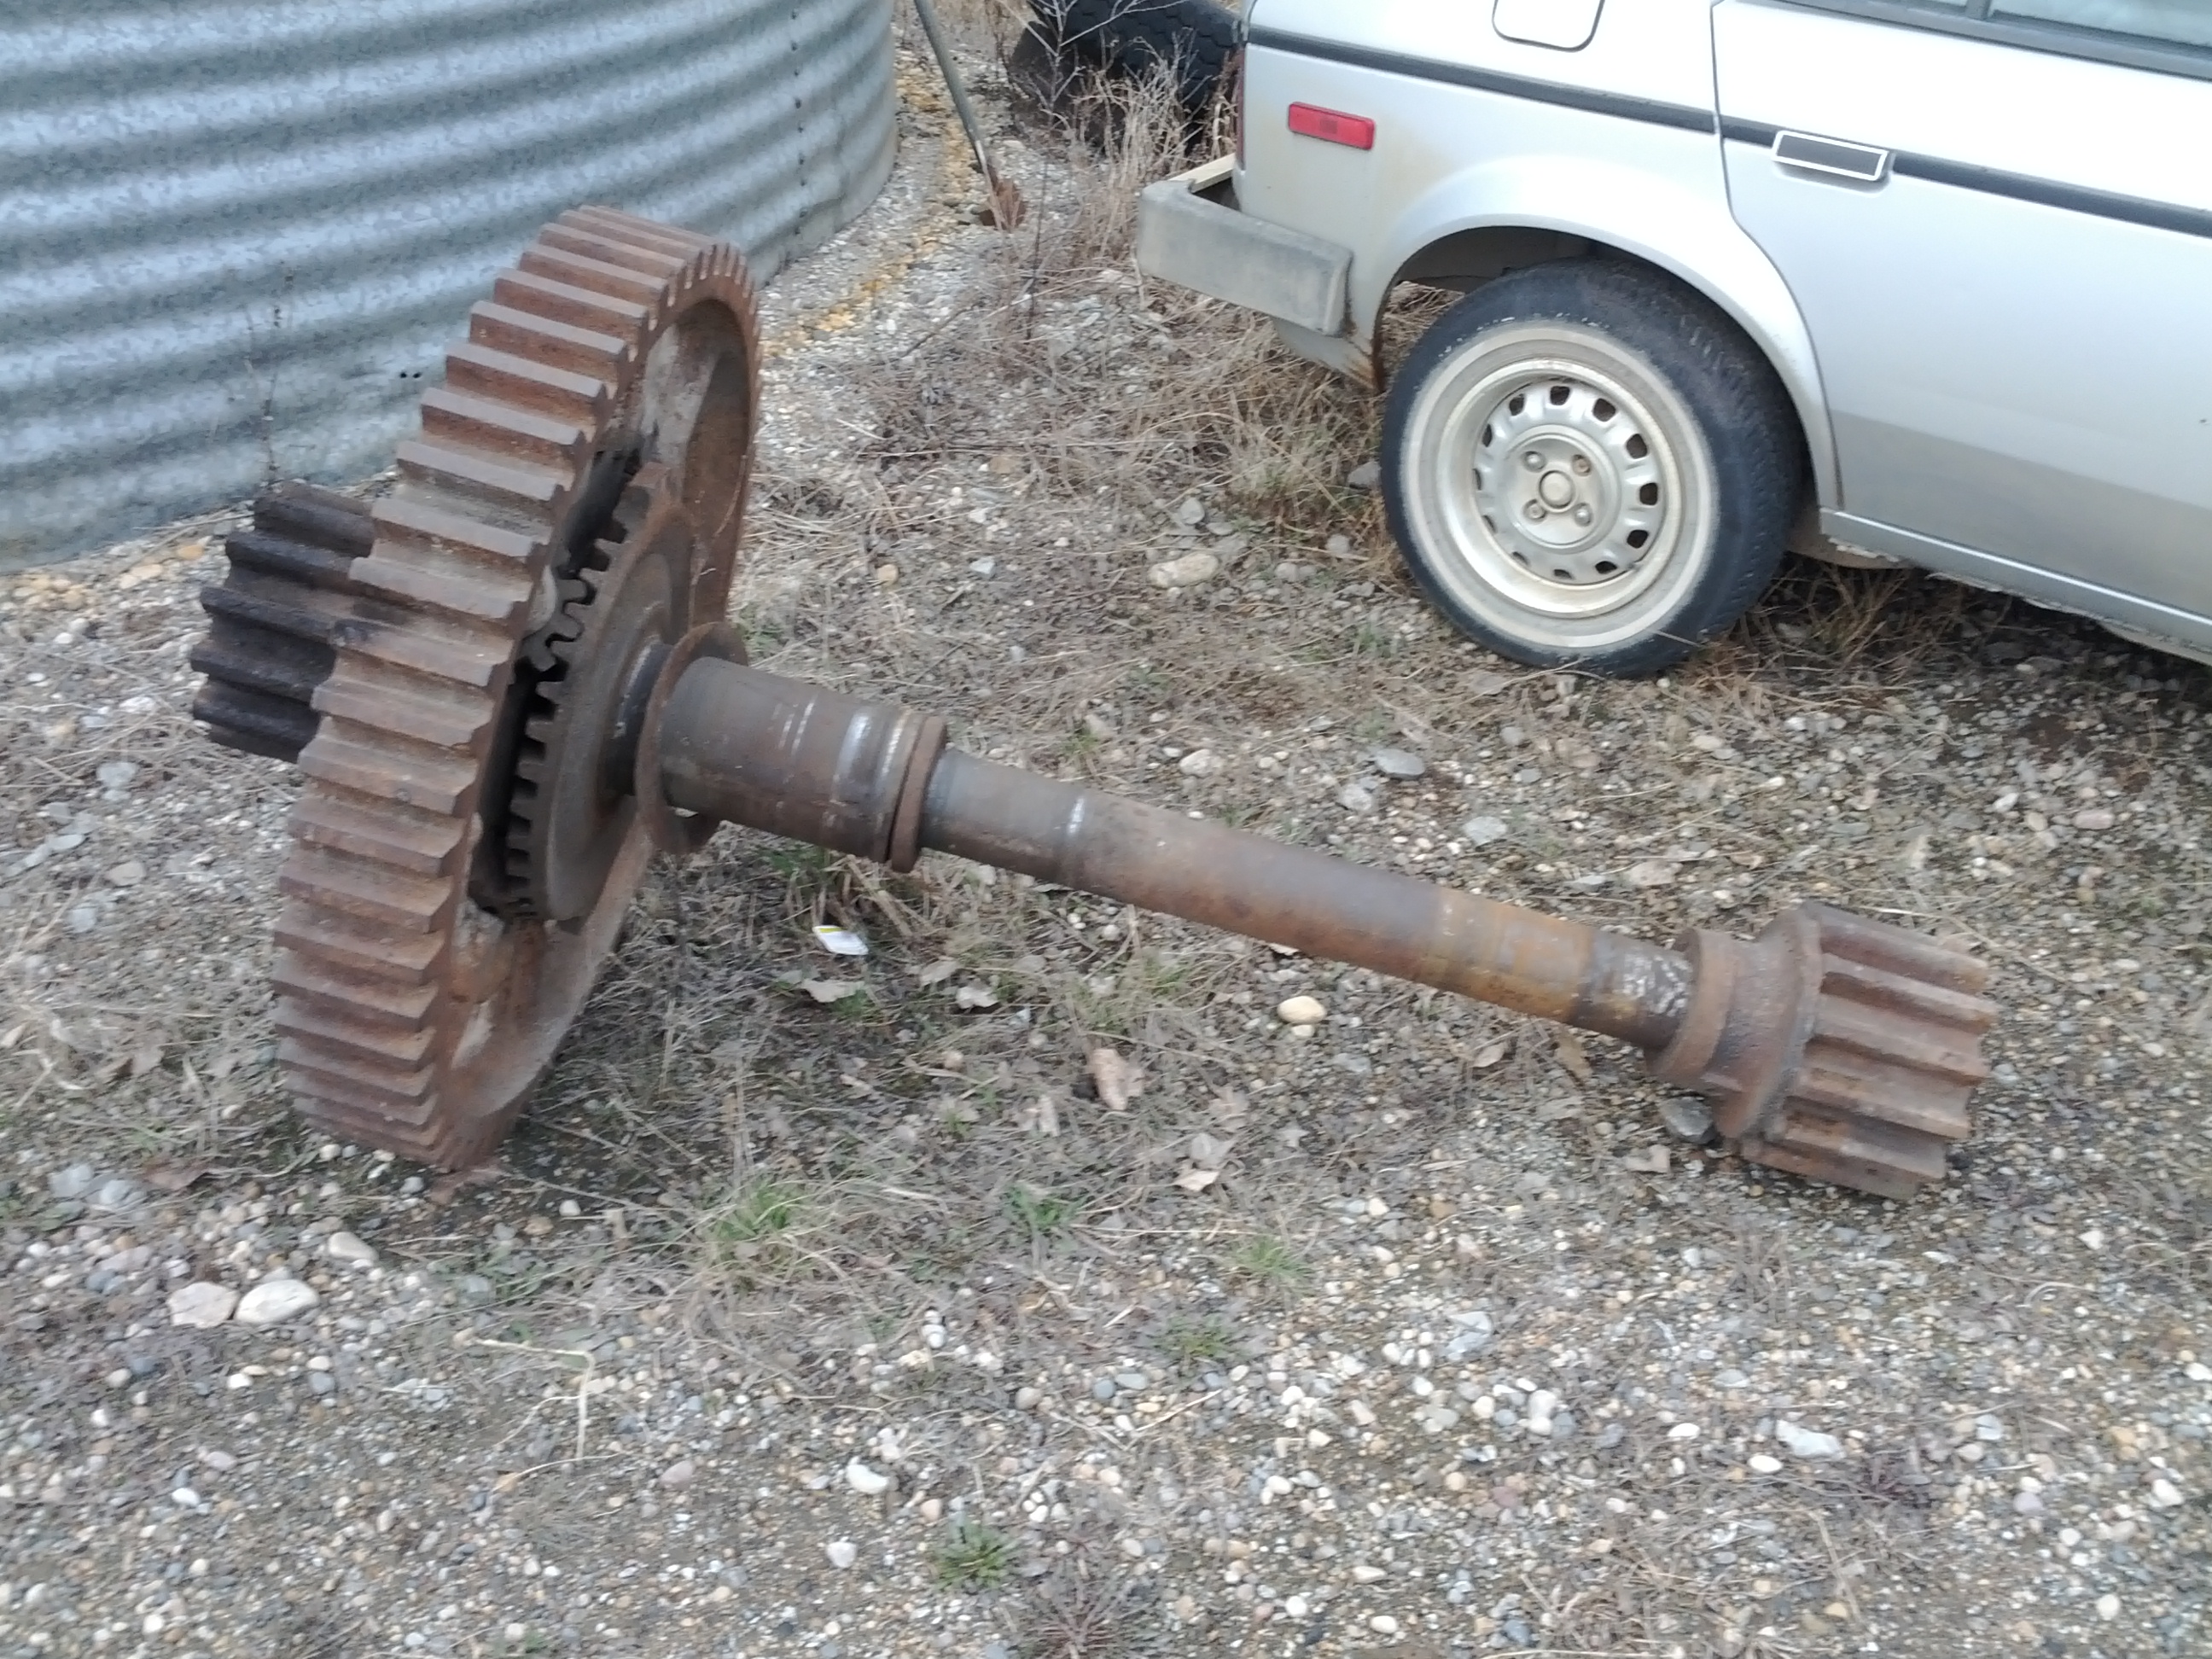
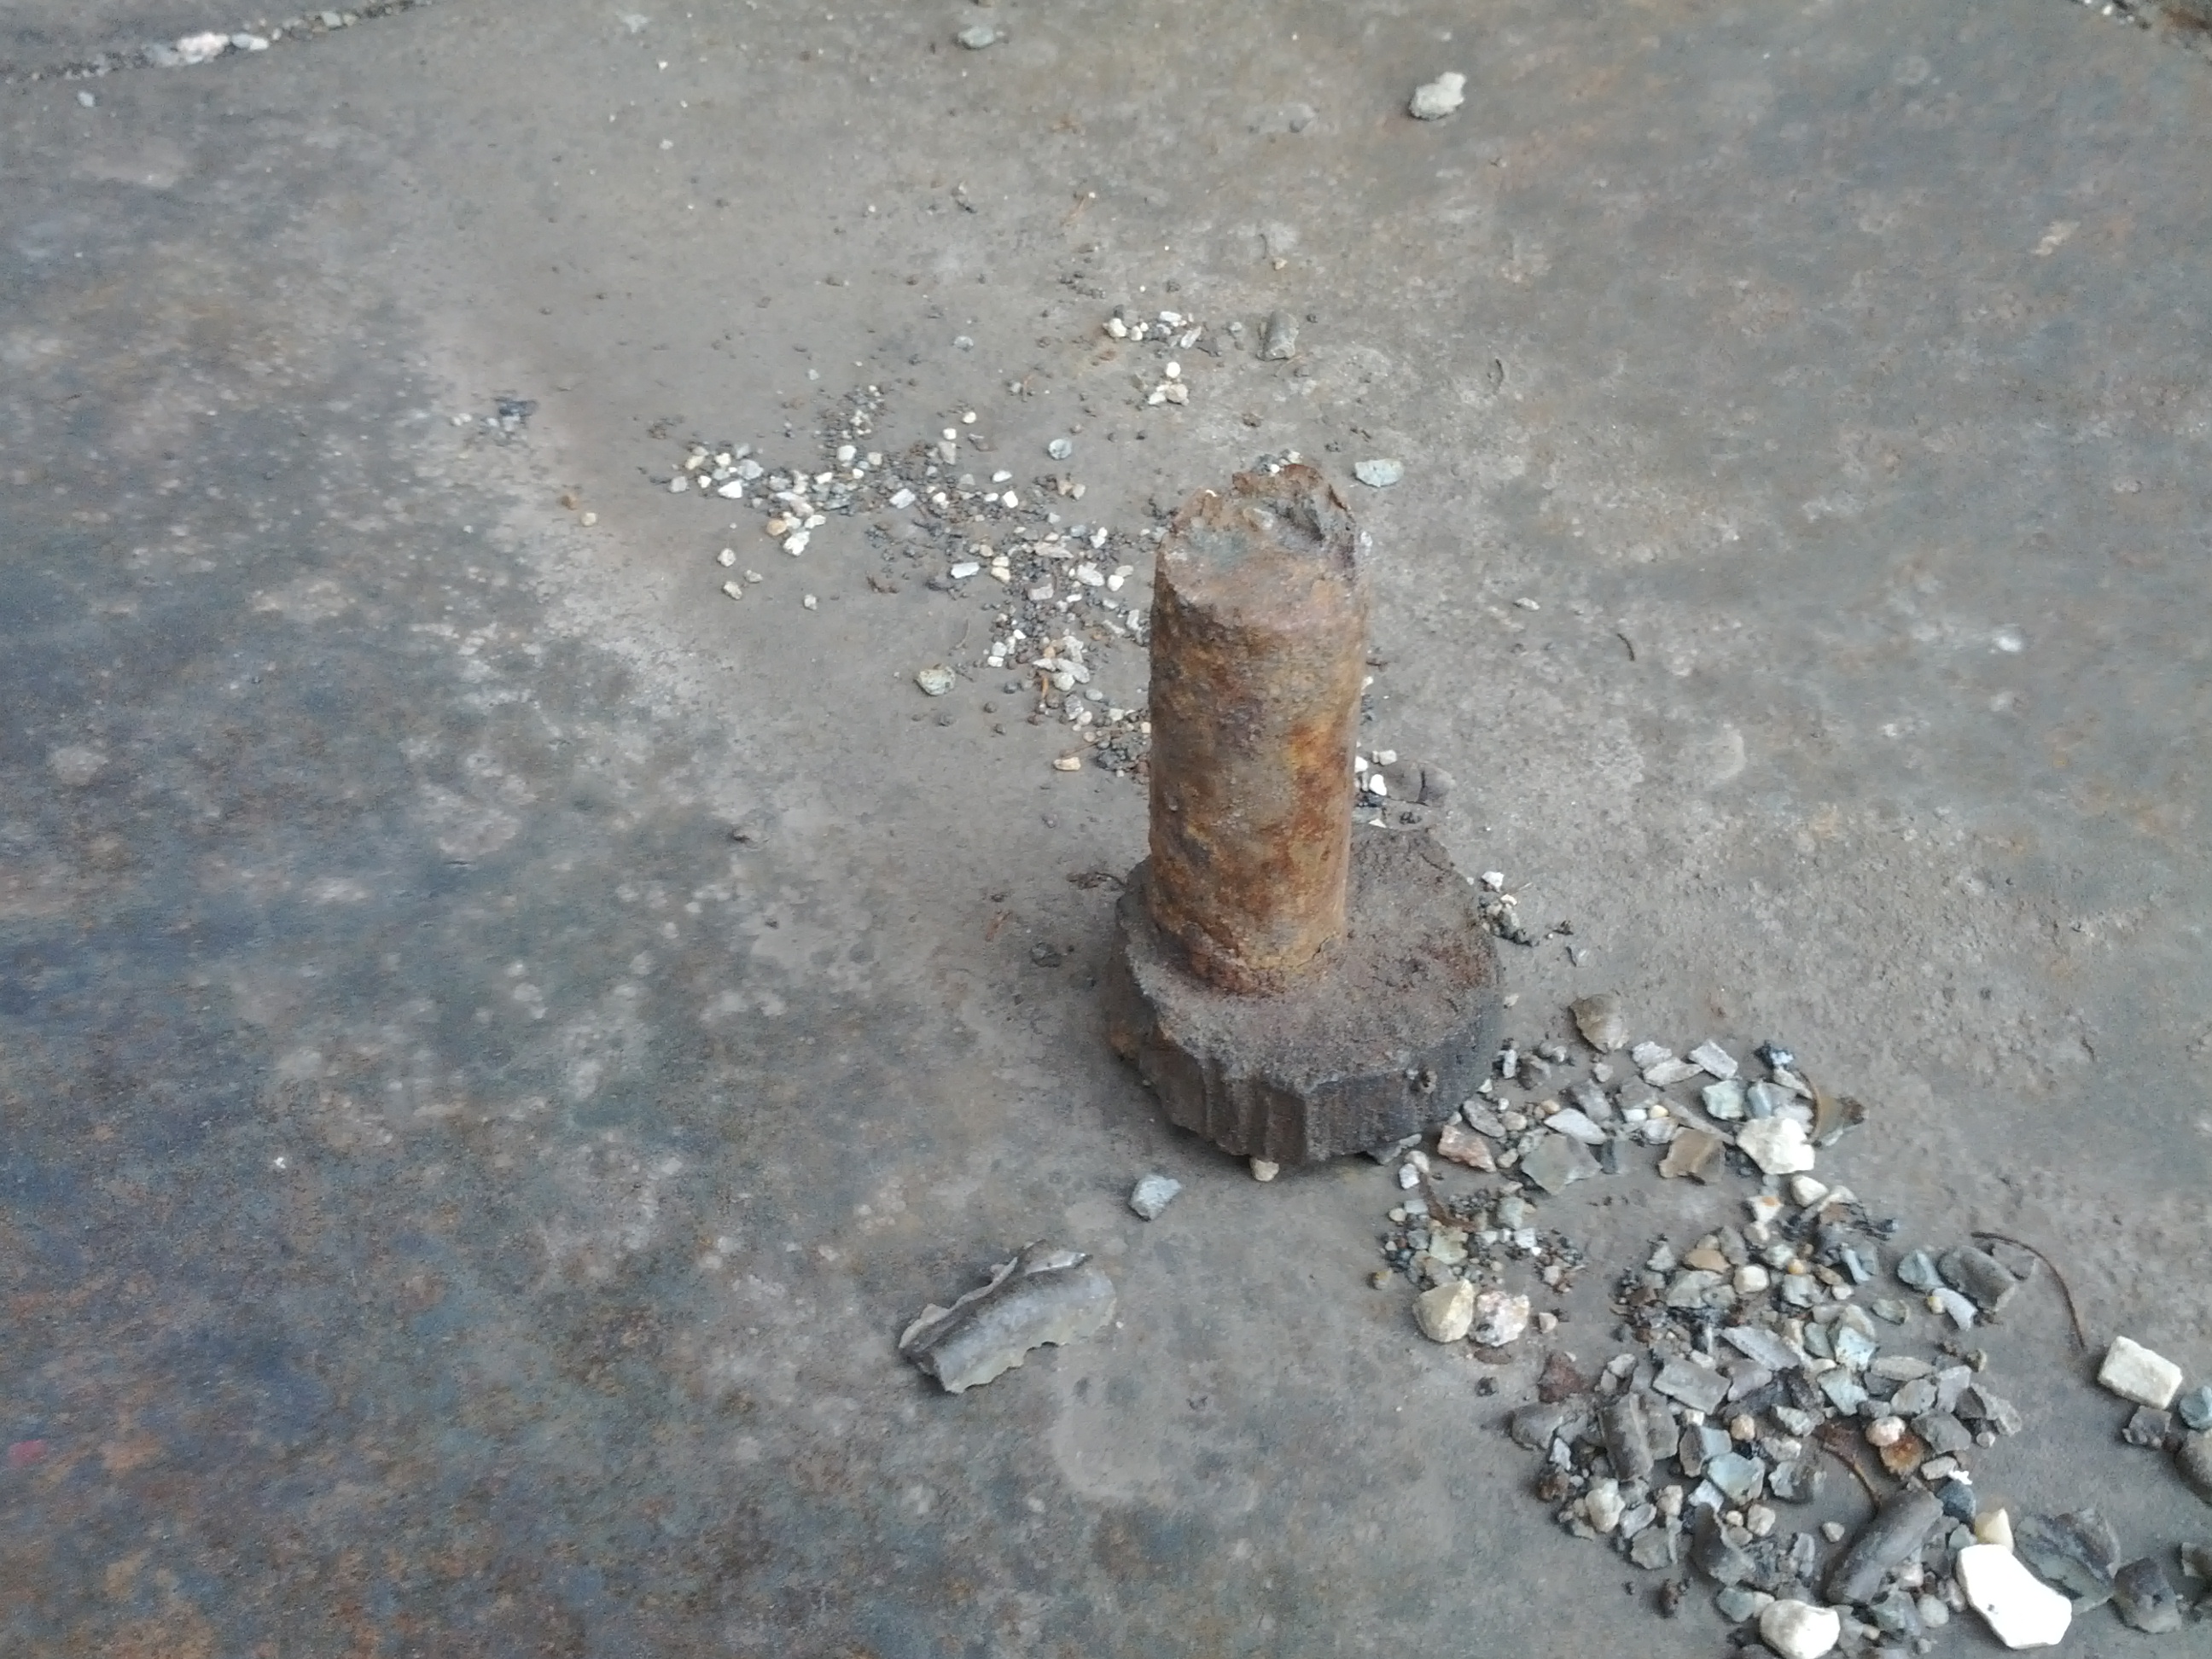
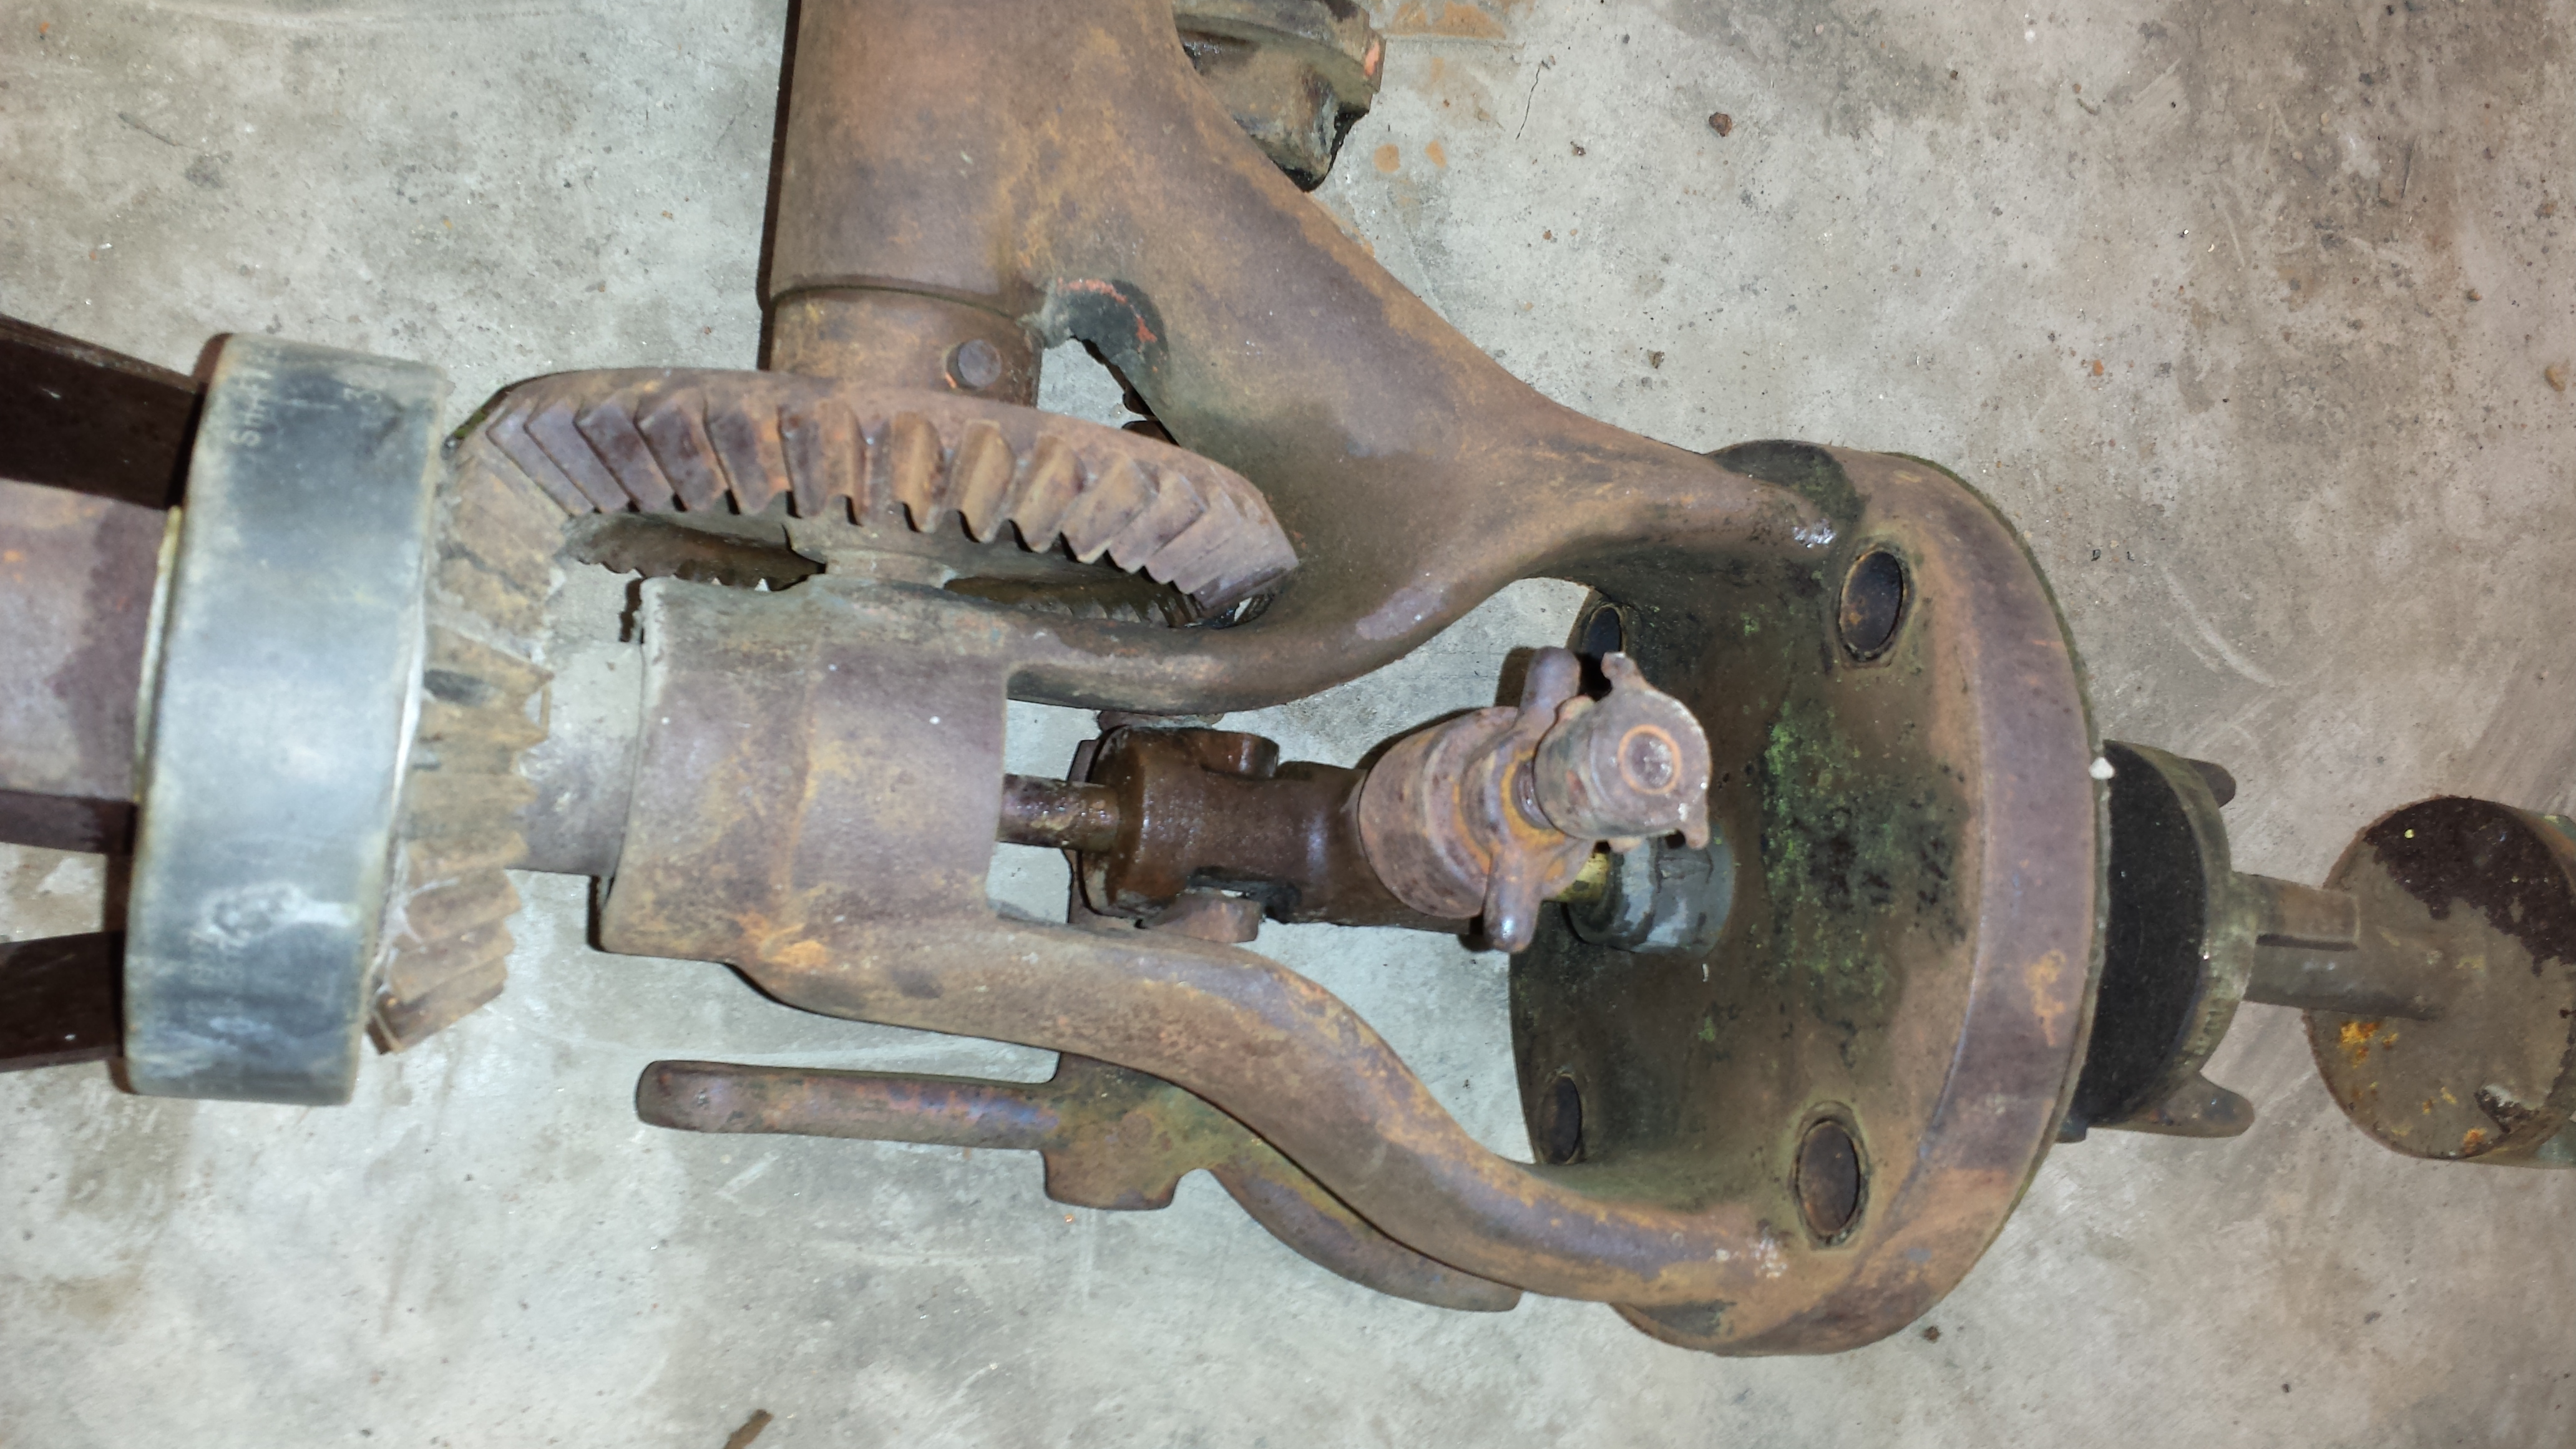
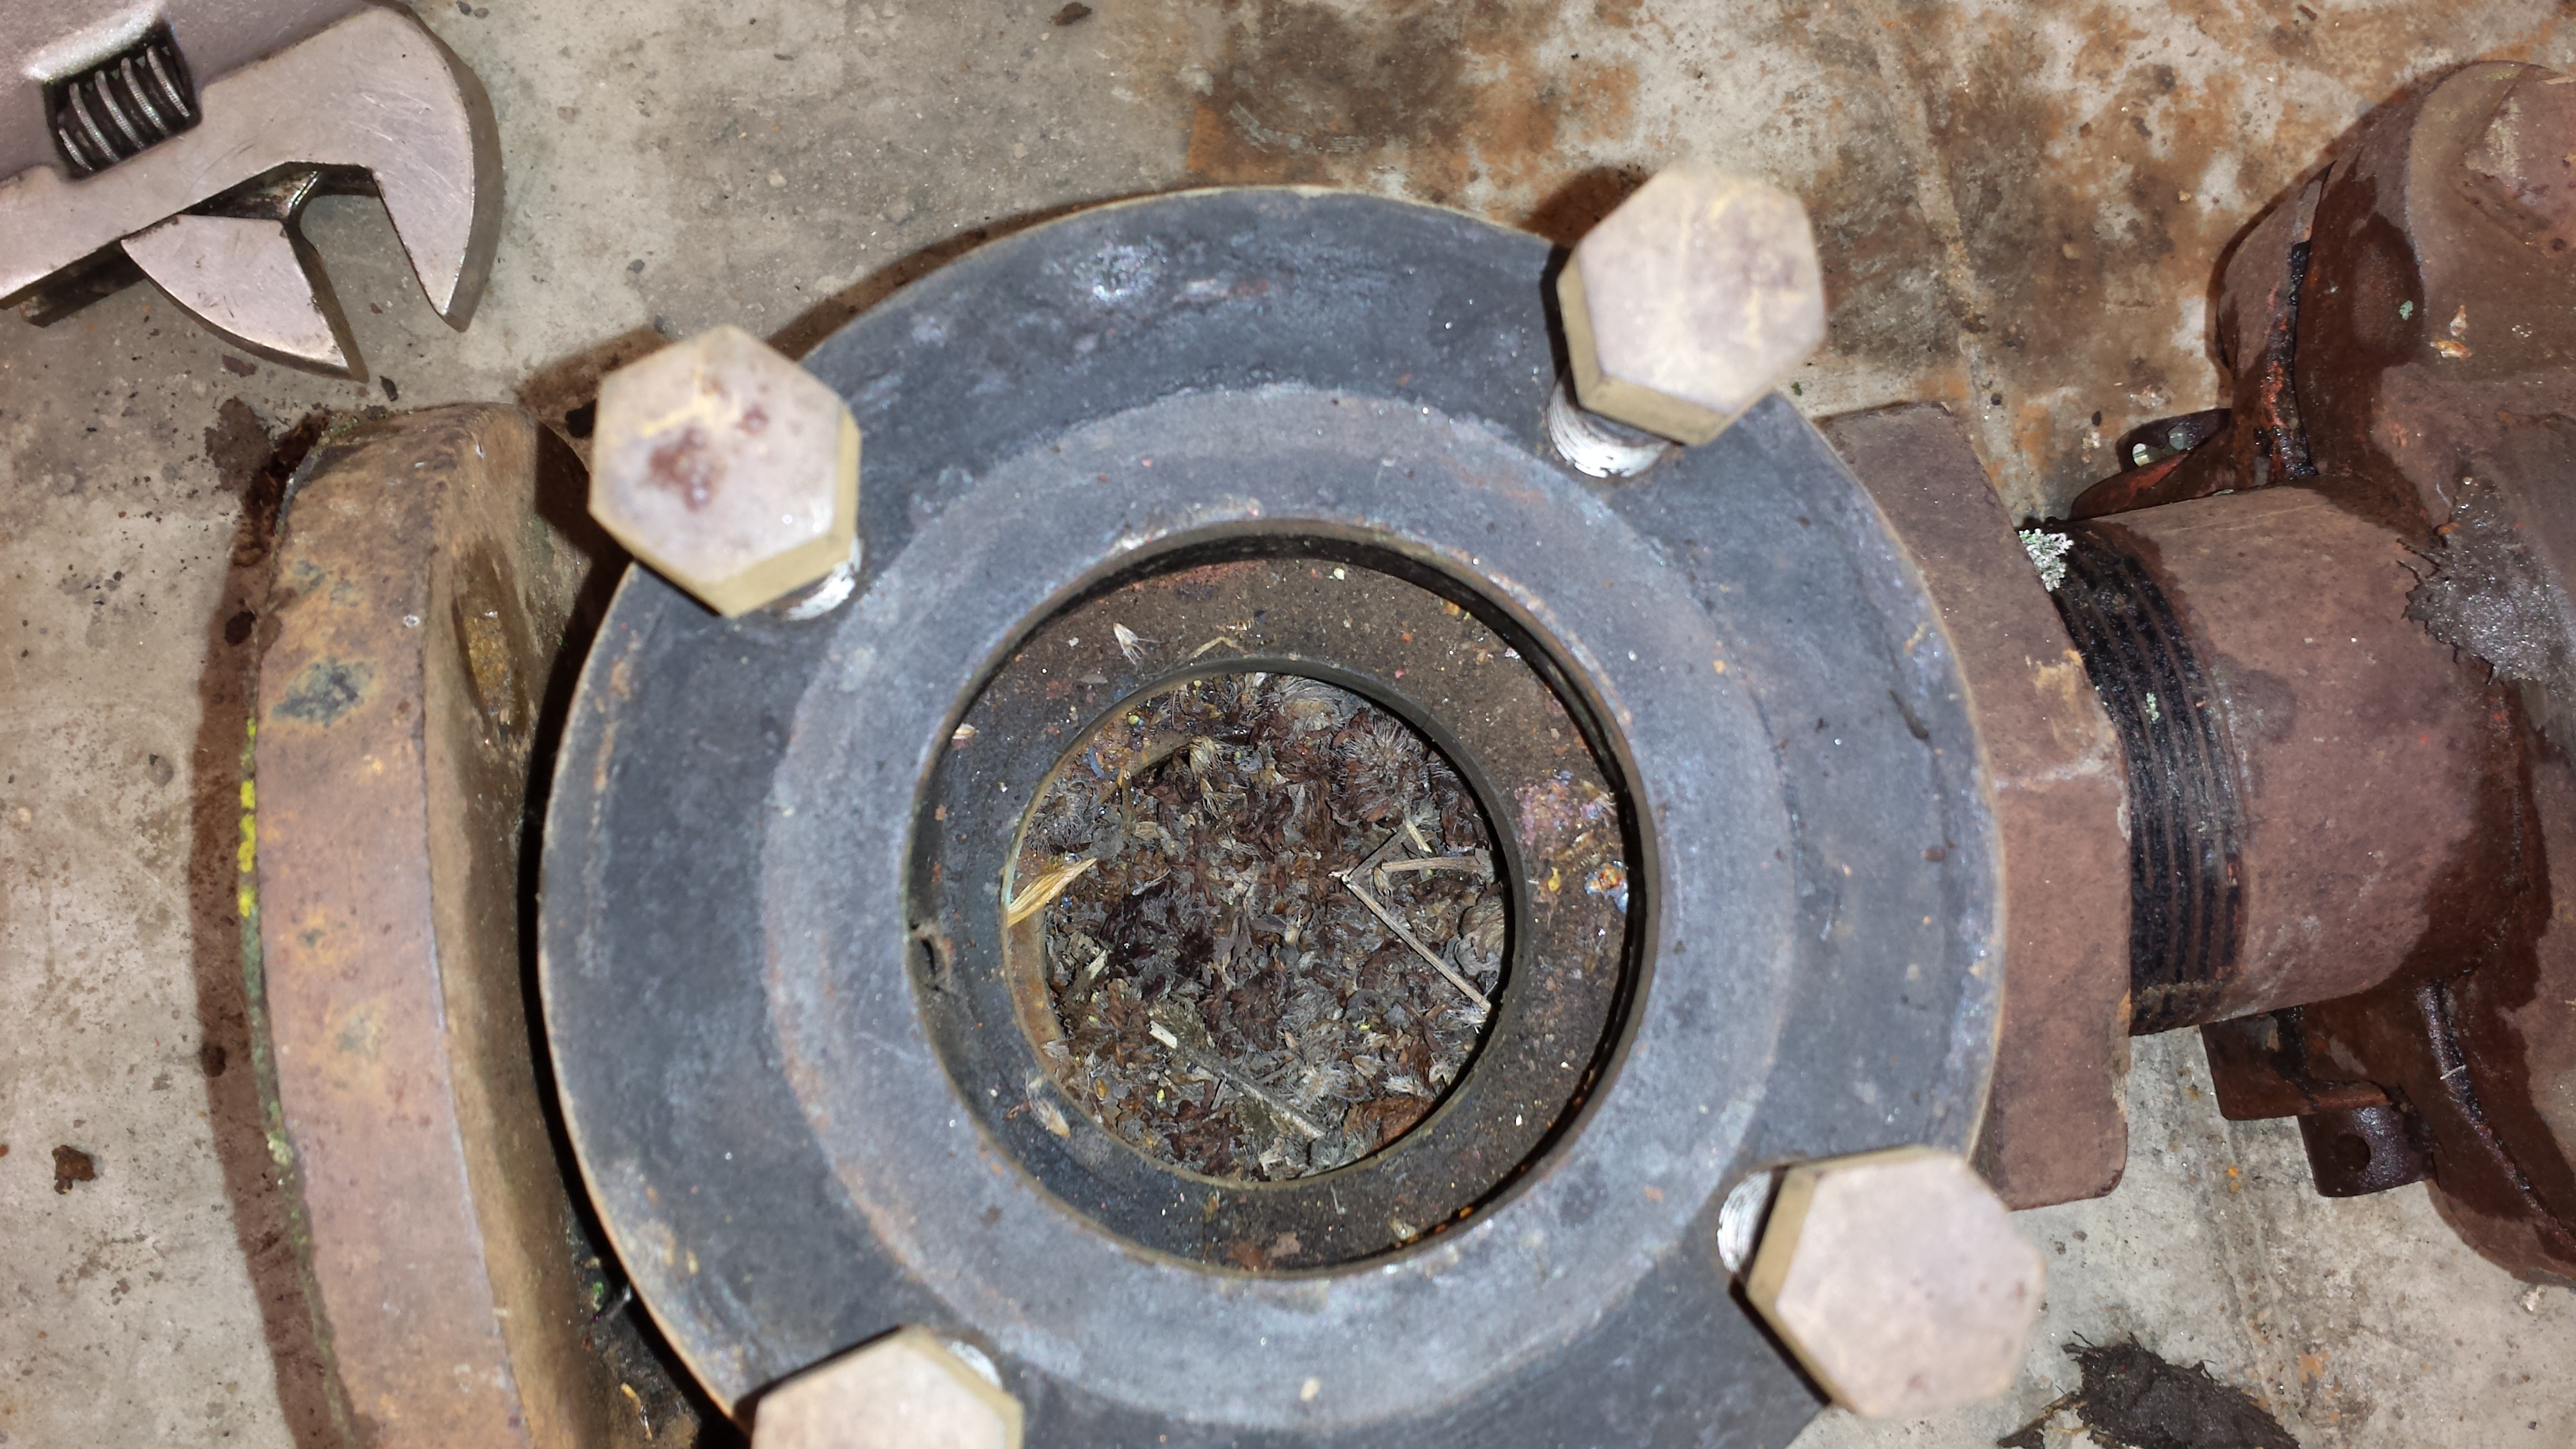
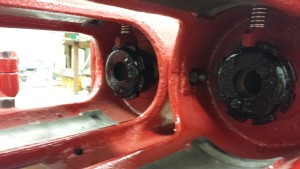
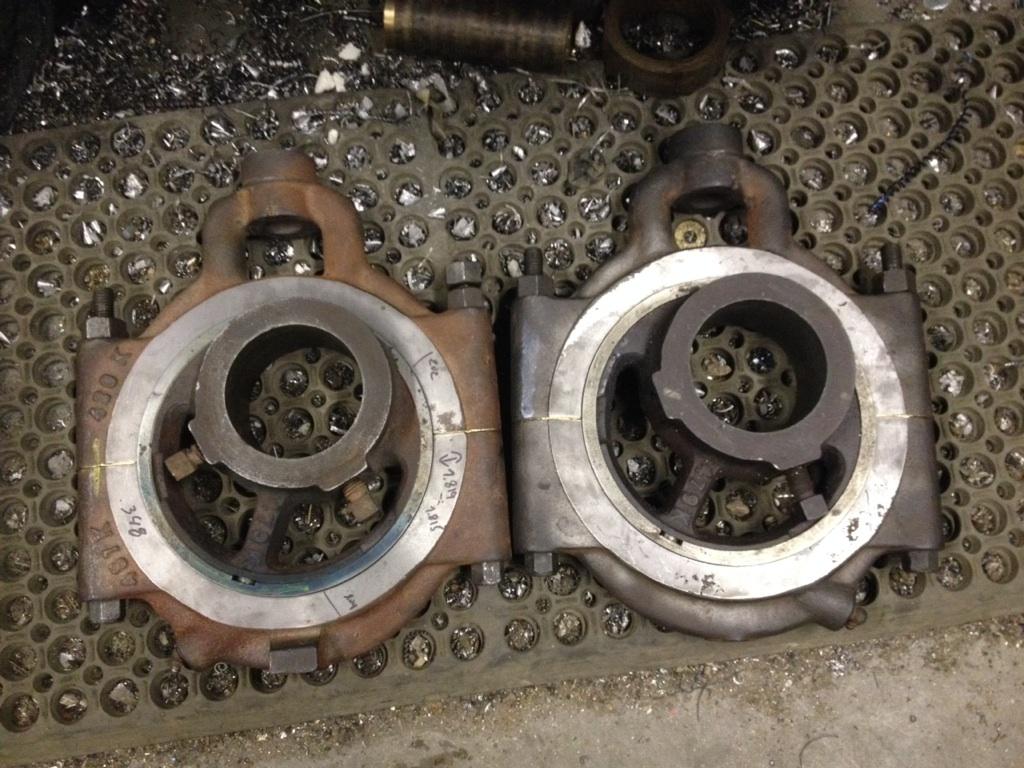
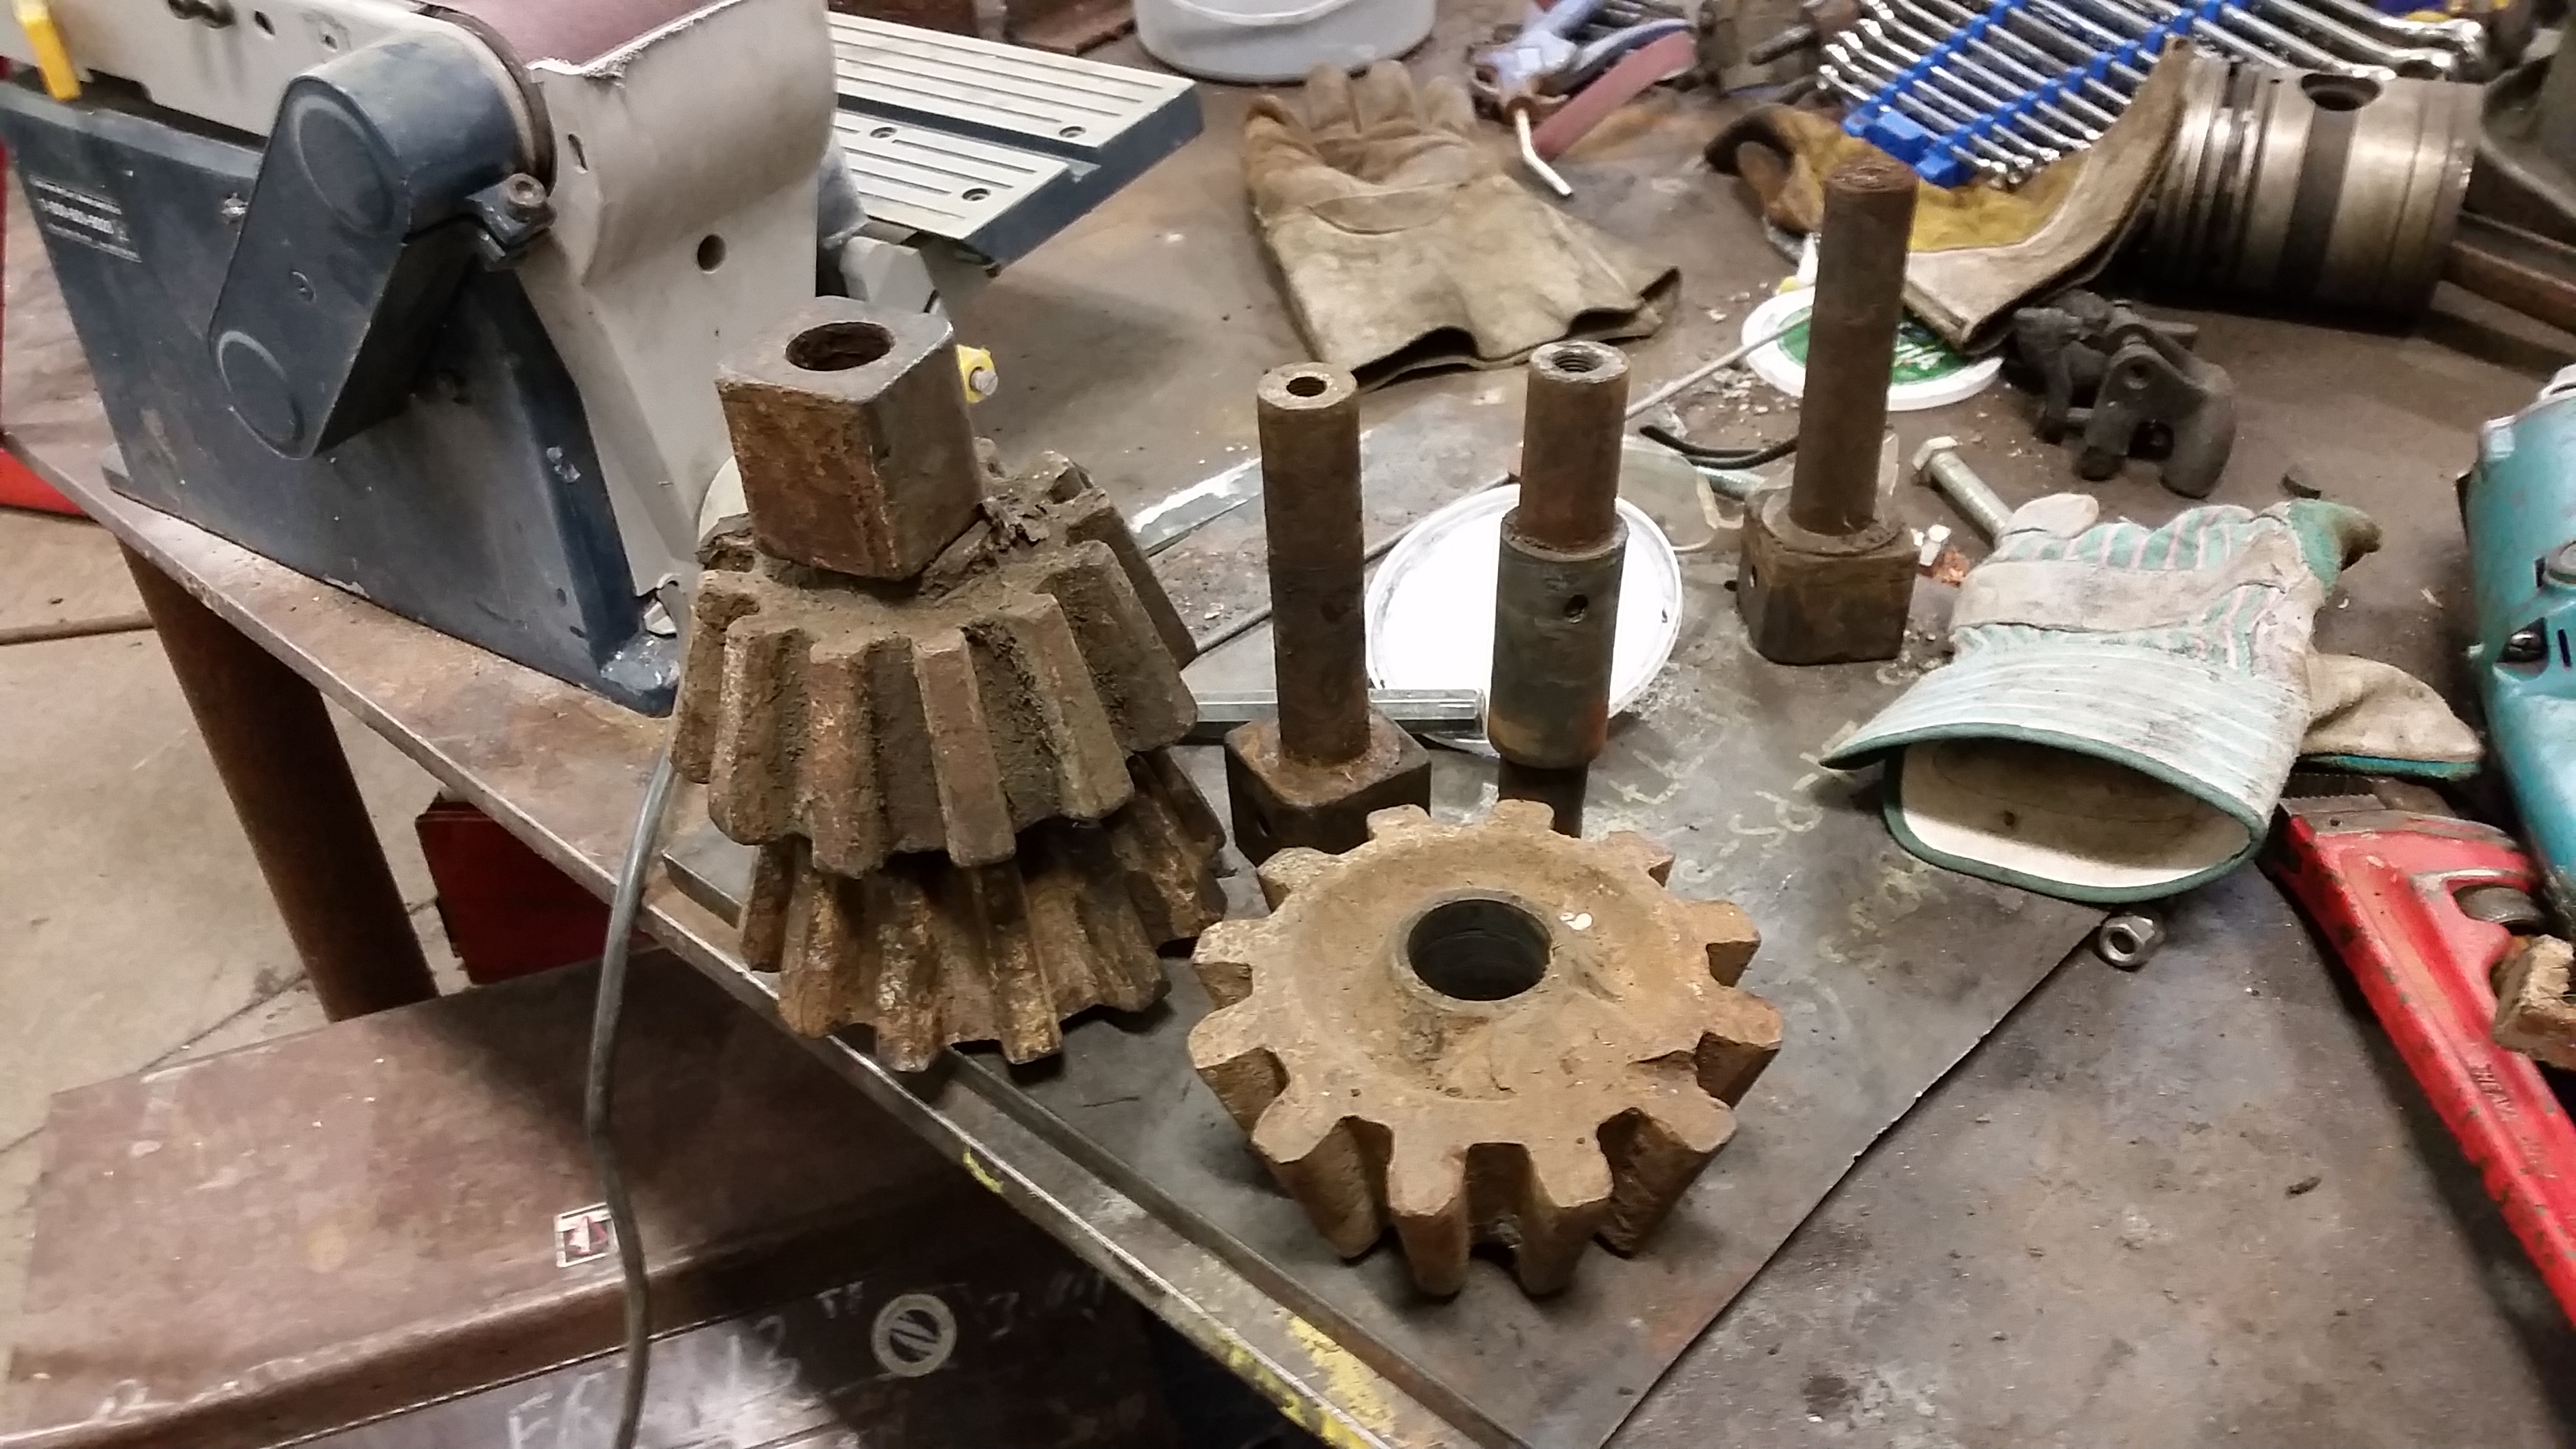
We’re diving into the differential now. And no surprise, we’ve got a few surprises. This was supposed to basically new, but the pins need replaced on the spider gears, and there’s a lot of hammer marks on the bearing surfaces. And…here’s a few broken caps for the spiders too. Well, I’m glad that I decided to go into it now, rather than when it’s all together.
Well, it’s now clear to me that I didn’t buy an engine that was anywhere close to running. Bob was a long way off from getting the engine to run “this fall” like I mentioned at the start of this blog. But at least I didn’t have to drive around everywhere to gather parts. The stuff that we needed, we were able to recast or find.
I also had to go into my spare differential. I should have bought more parts from Bob at his sale, I guess. I was lucky to have acquired this elsewhere or I’d be in trouble now! This old diff has some good parts in it, and between the two we can build a good one.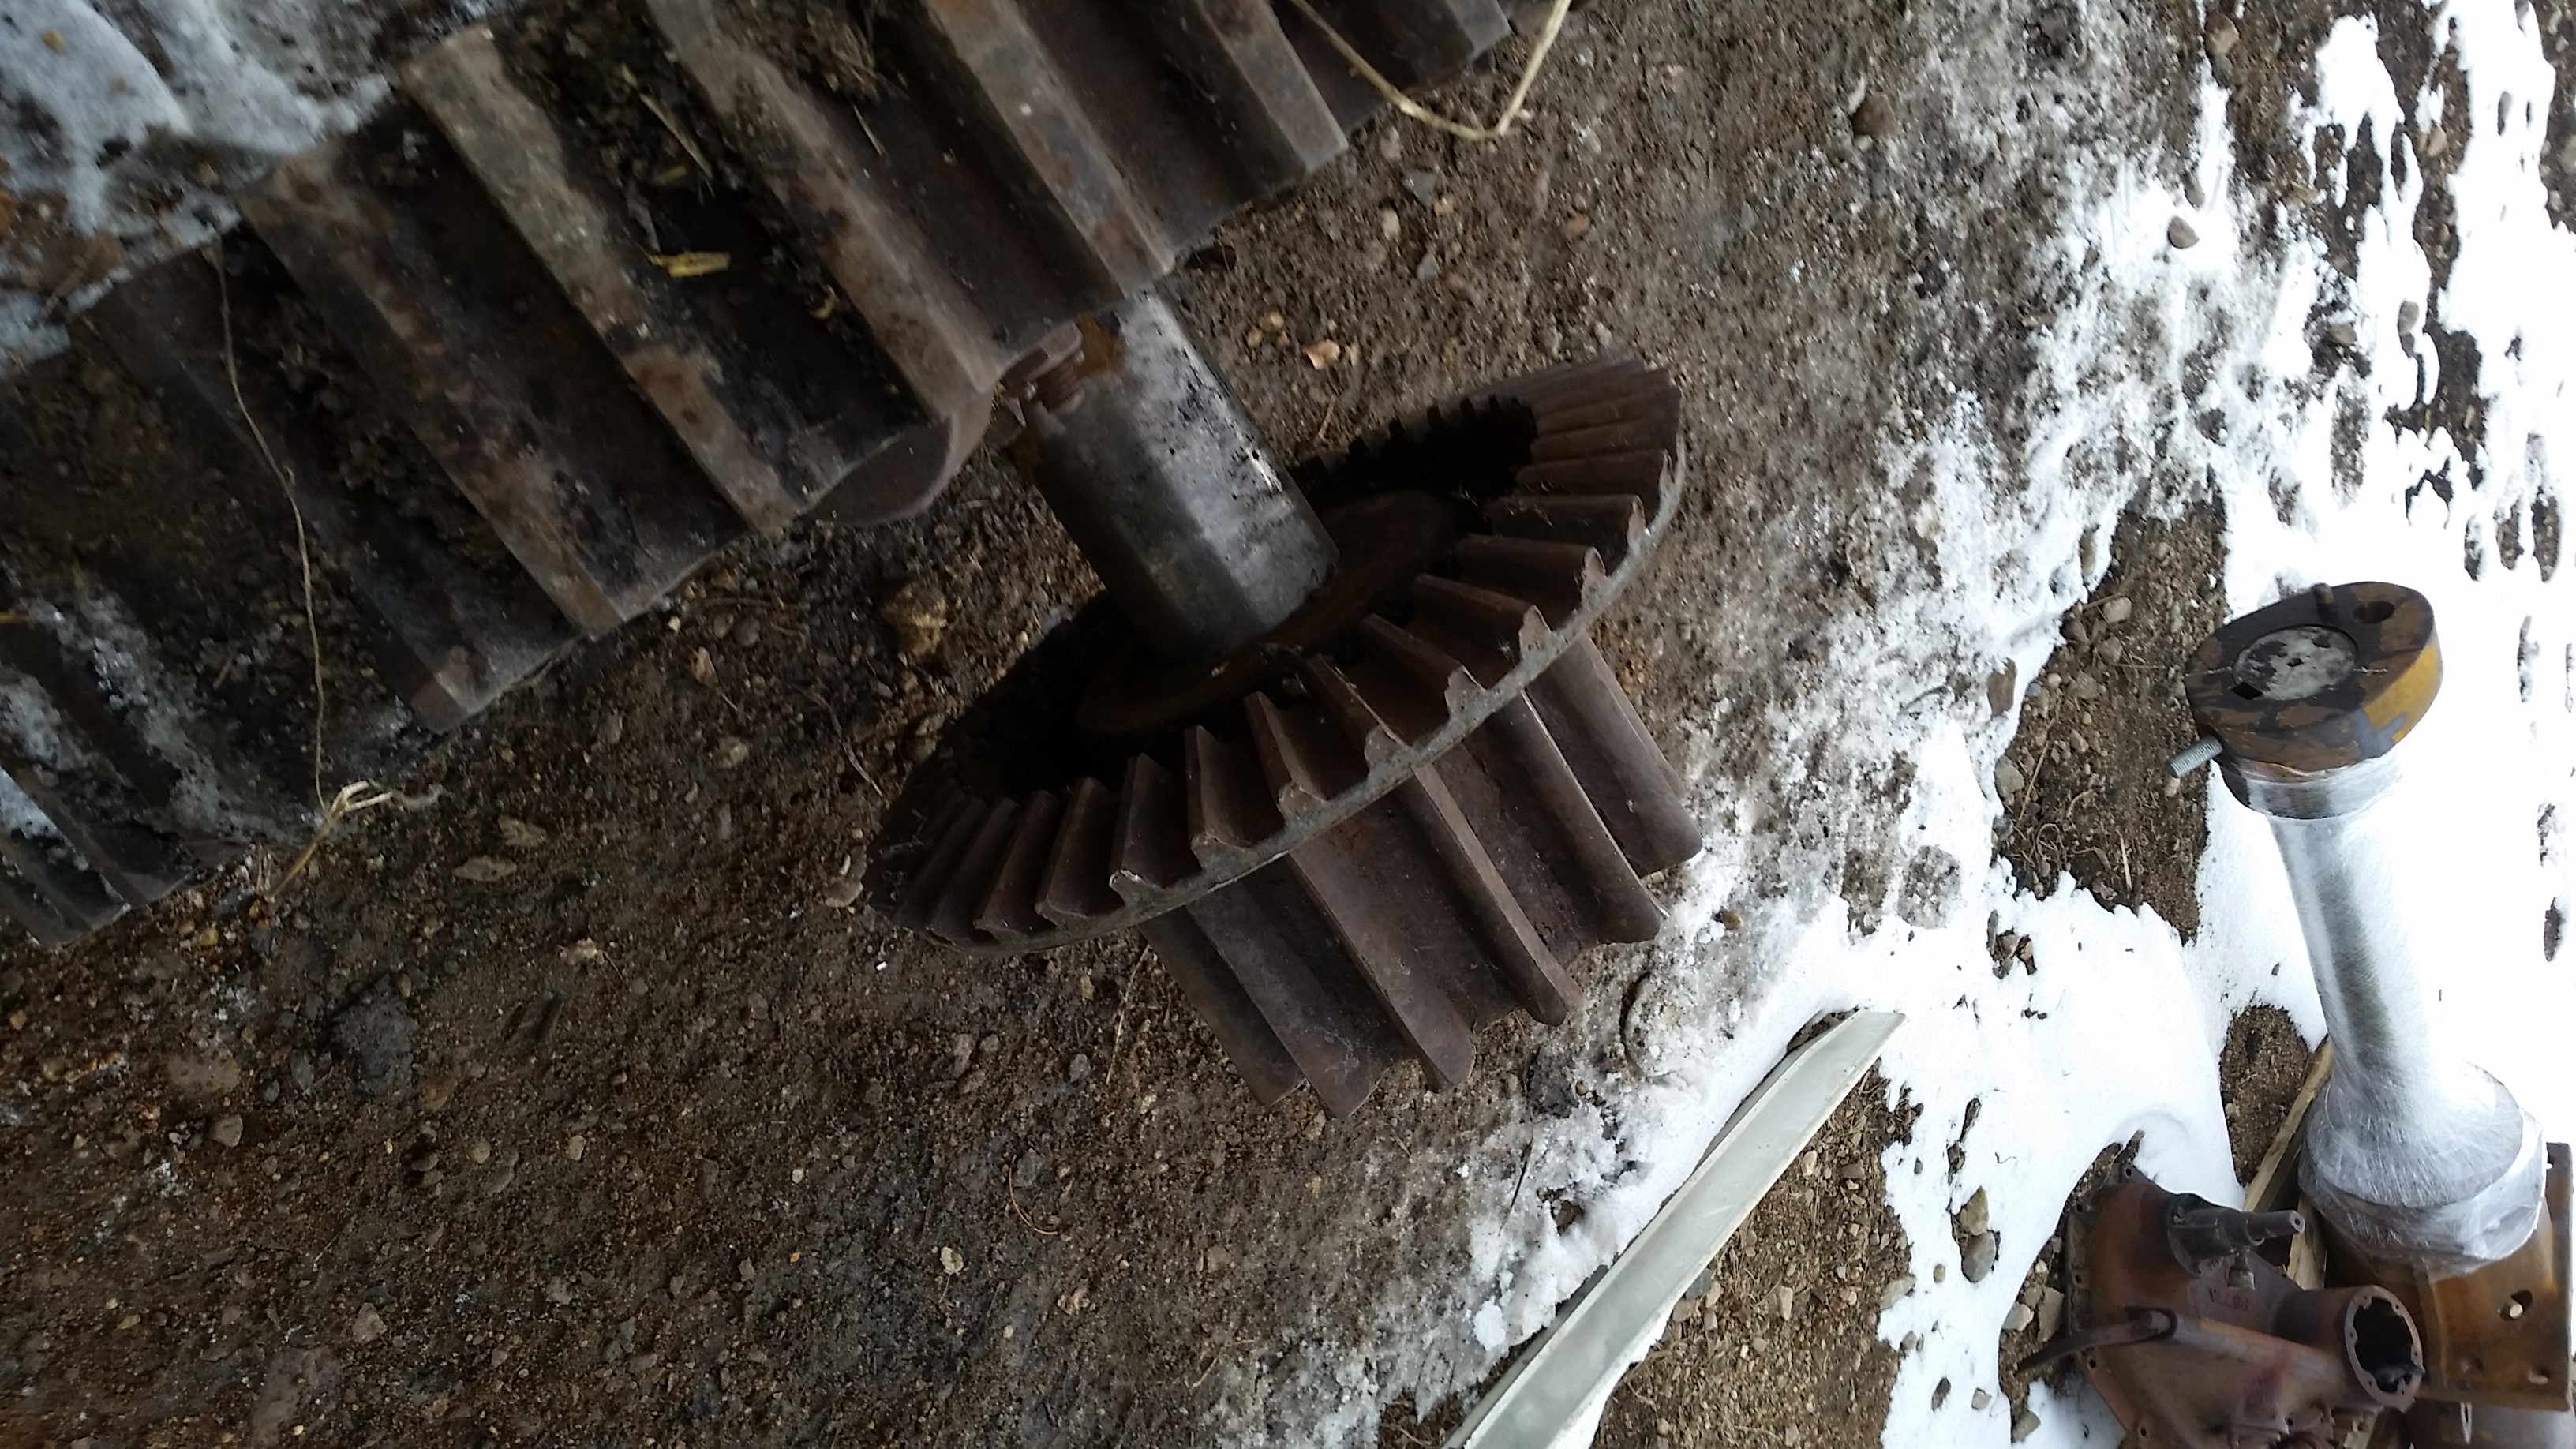
You (the reader) may find it odd how I’m jumping between sub-projects, but there really is a reason behind it. Lots of the parts are big, and I depend on my machinist friends to work their magic. It all needs done, so I do what I can to keep stuff ready for my machinists for when they have time.
April 22, 2015
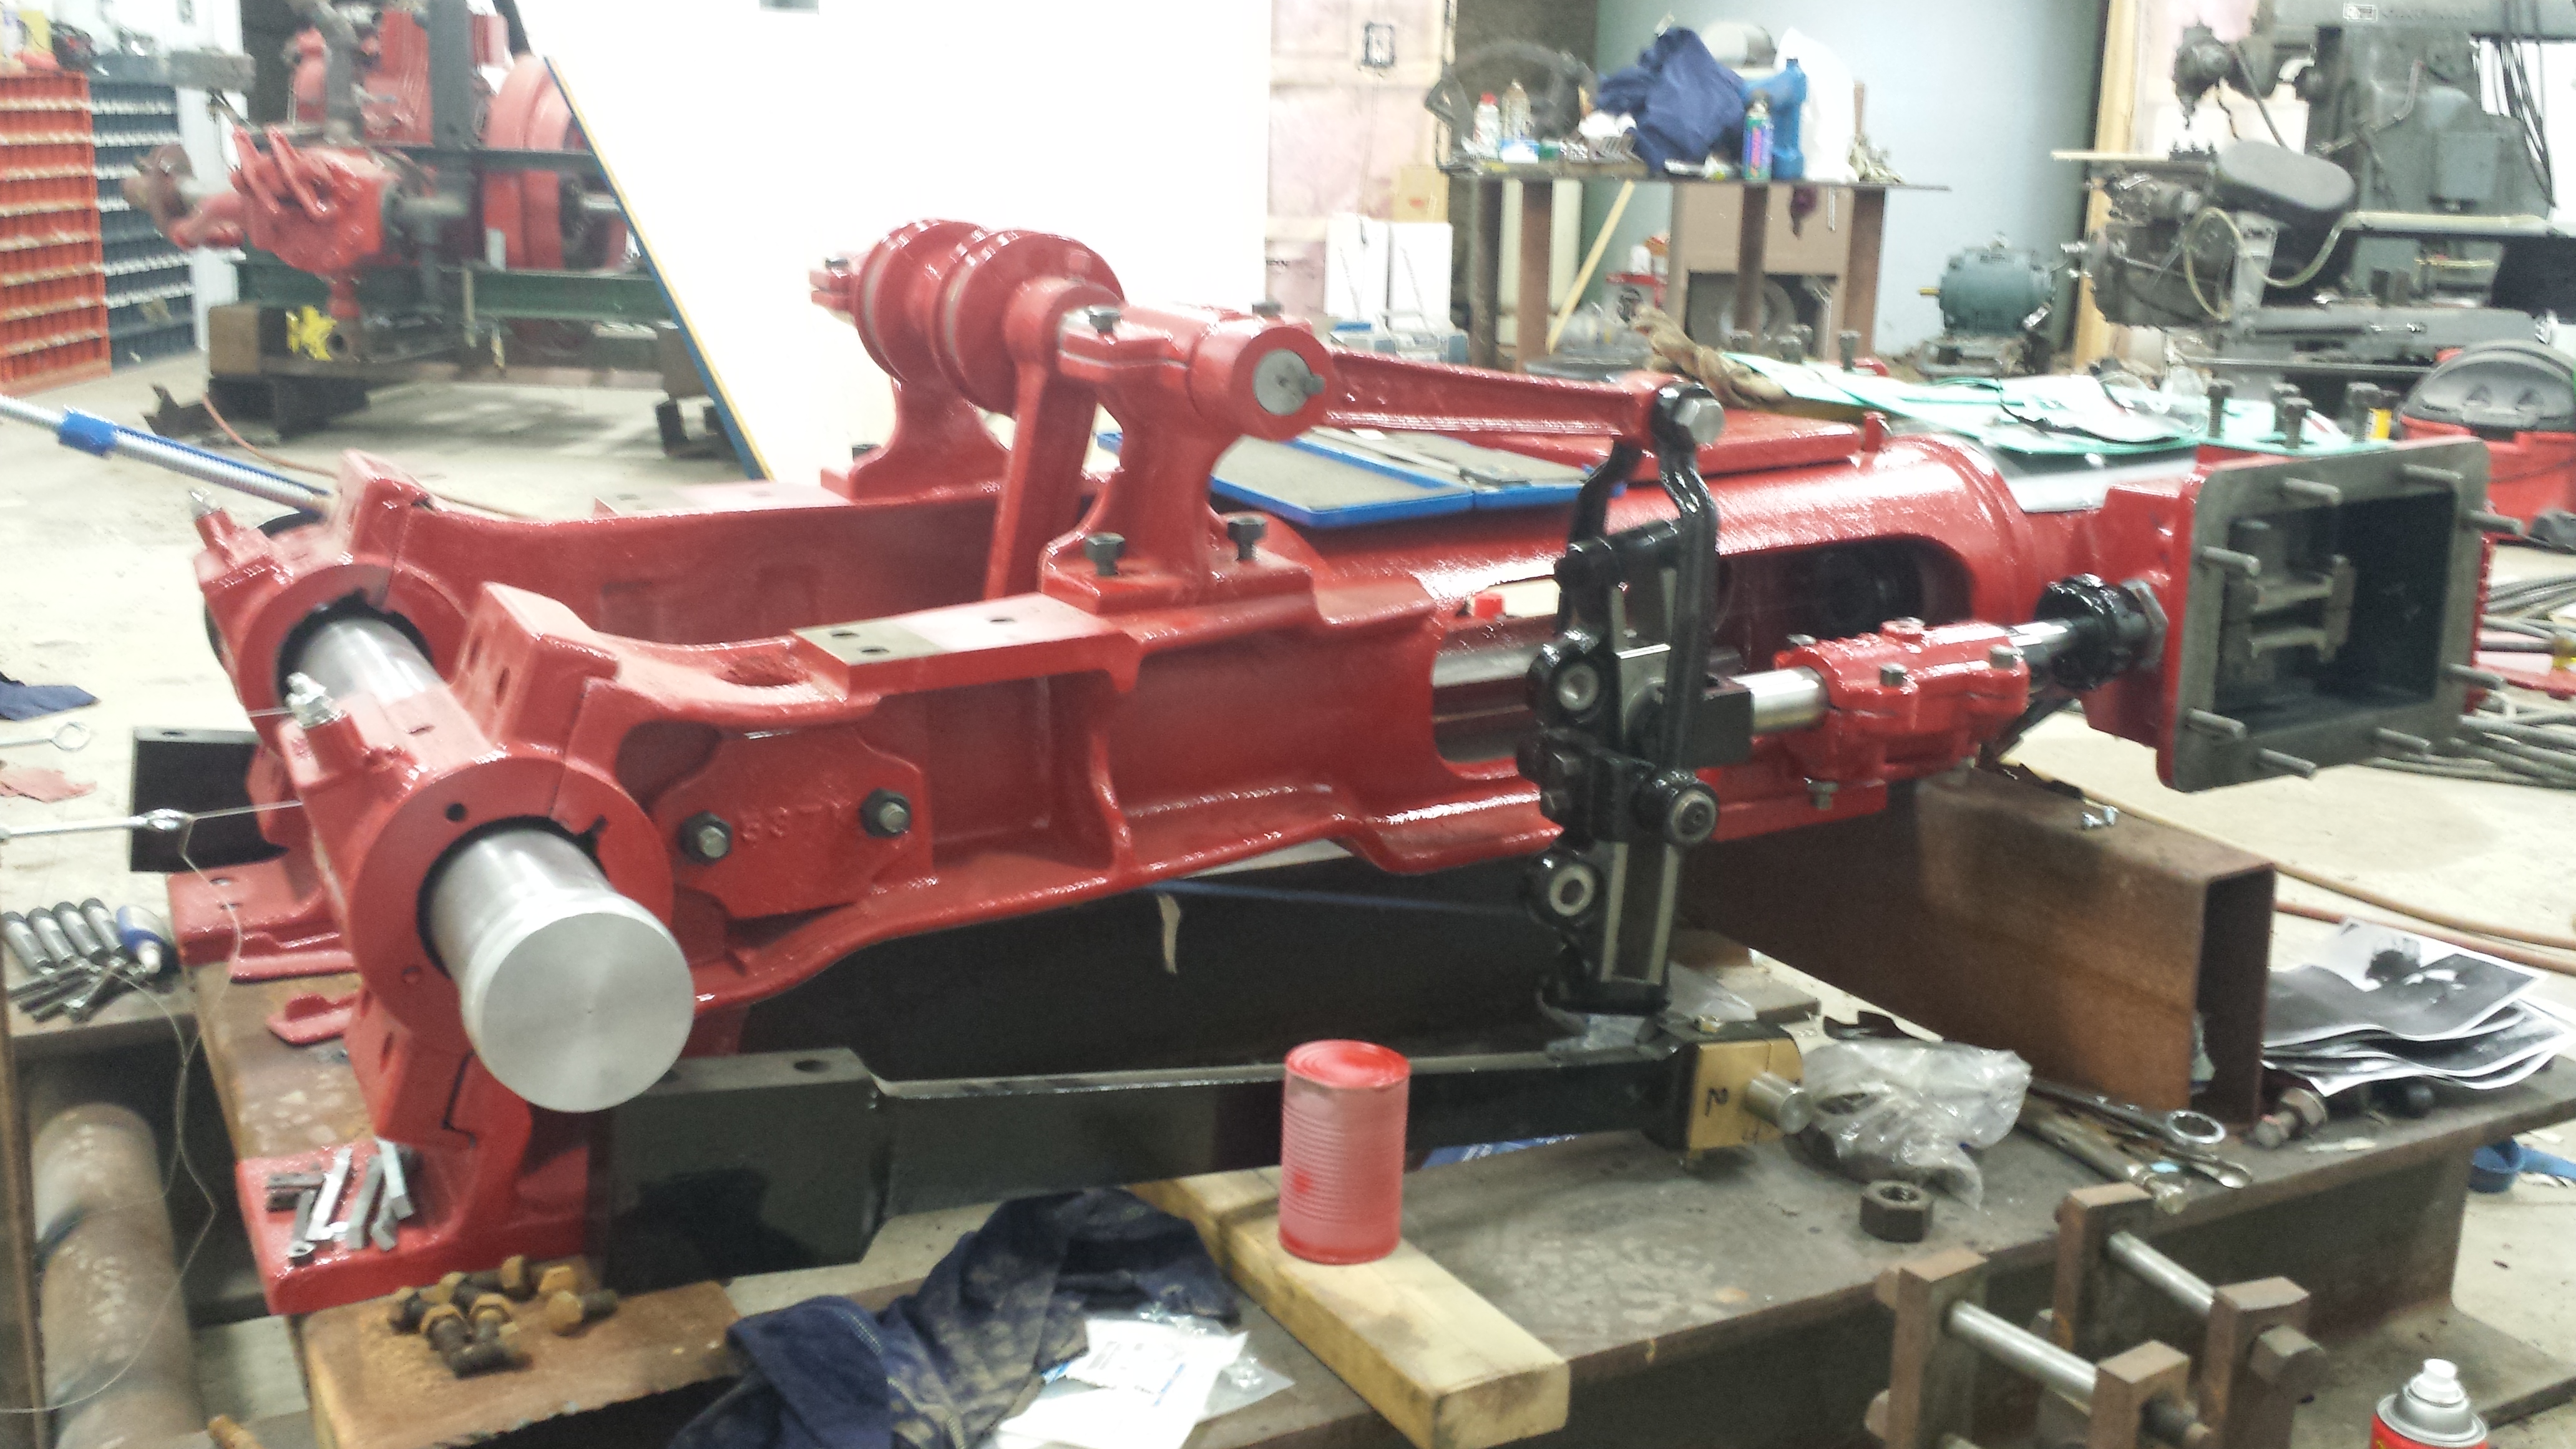
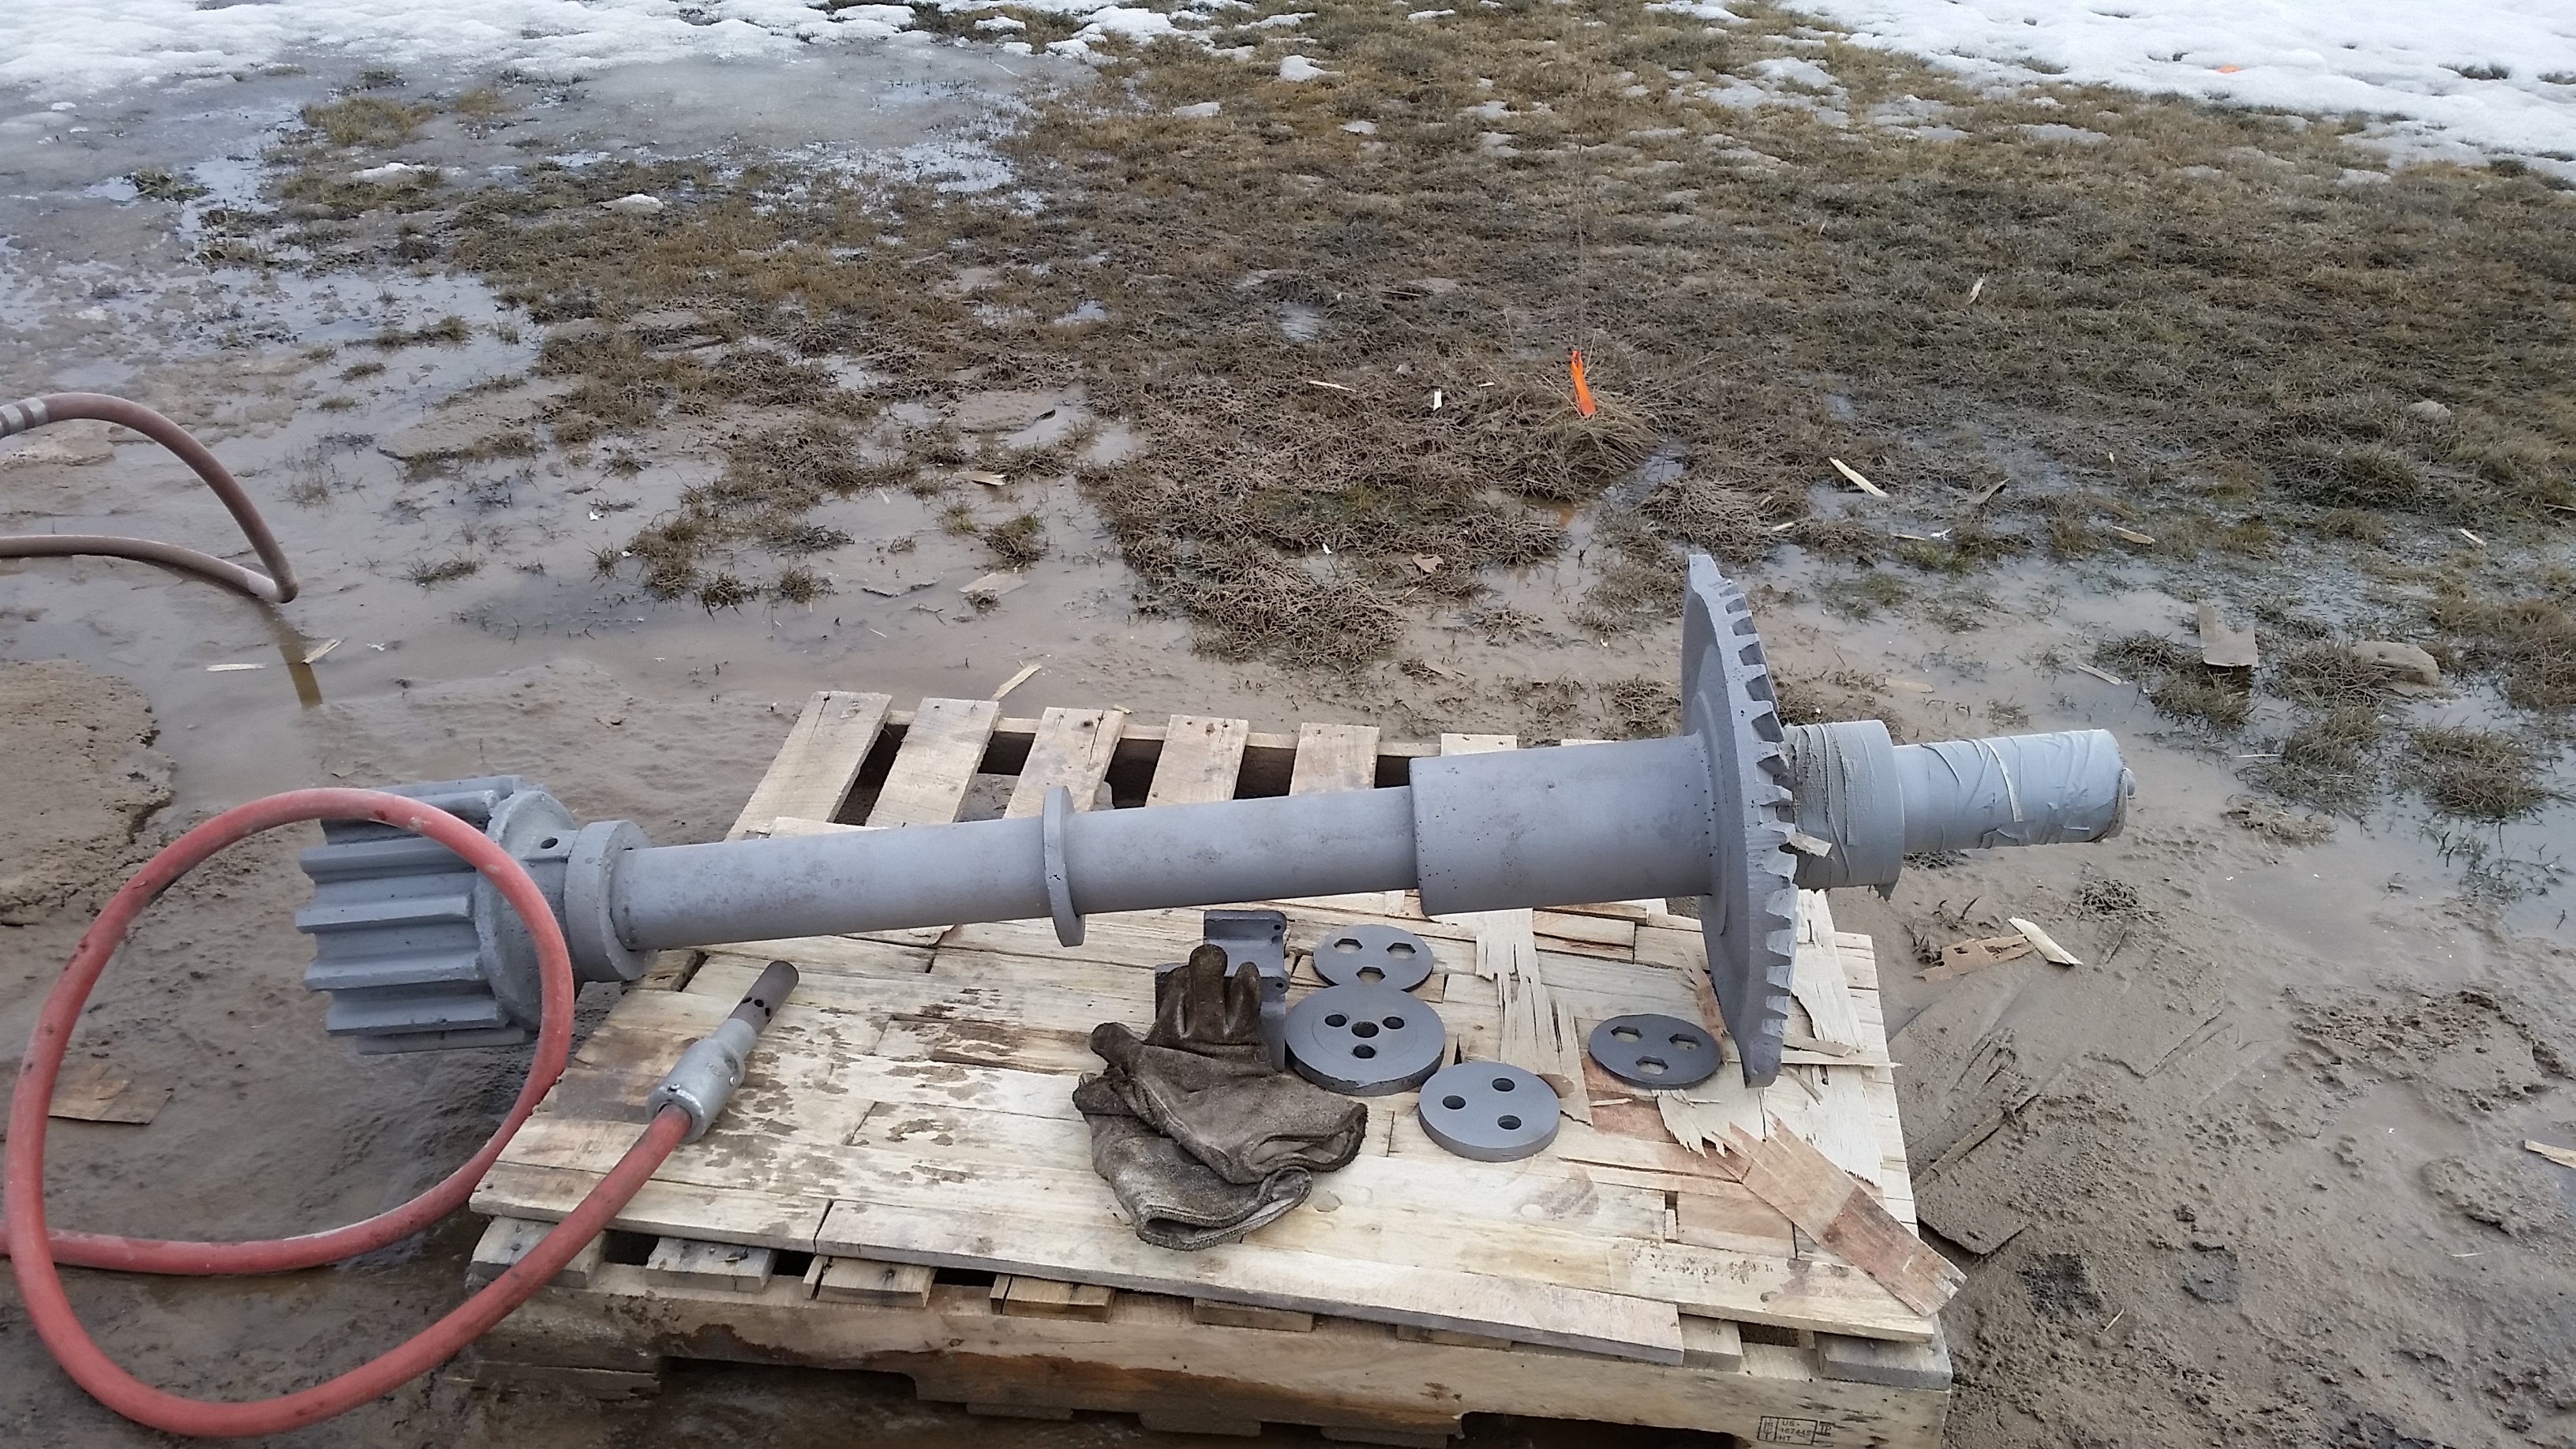
Here’s the first trial fit for the crankshaft! It’s been machined, as were the bearings. We had to scrap a bit in the radiused corners, but by and large, it went very smoothly – and bonus, it spins smoothly too!
 Thanks to Brian and Garth (again) for their time here.
Very interesting. Is there more?
Nice work! Do you know of any Gaar Scott parts piles around?
I have a few spare parts, and there’s a few others kicking around. Really, not a whole lot out there.